Hey, we're Apify, a full-stack web scraping and browser automation platform. If you're interested in using Python for web scraping, this detailed article provides you with some guidance on how to get started using the Python Requests library.
In simple words, web scraping means getting a website's content and extracting relevant data from that content. Almost all programming languages provide support to automate this process. Not least among them is Python and its Requests library.
Getting started with Python Requests
The Python Requests library has made HTTP requests very simple because it's very lightweight and efficient, which makes it a great choice for web scraping.
Requests is the most downloaded Python package, and there's a good reason for that. It does a really good job of taking on tasks that used to be complicated and confusing. That's why the tagline for the Requests library is “HTTP for humans”.
How to set up Python Requests
Let's install the library so we can use it. Open up your terminal or command line and enter the following command to create a new directory and a Python file.
mkdir pythonRequests
cd pythonRequests
touch main.py
We'll use pip3 to install Requests:
pip3 install requestsThis should be a fairly quick download. Once the command is executed, you can confirm the installation by simply running the following command:
pip3 show requestsThis should print the name of the library with other information. Once we're done with the installation, we're ready to make our HTTP requests.
pip. If you're using Python 3 or above, you need to use pip3 with that. Otherwise, it will create issues for you.How to send HTTP requests
With the Requests library, you can not only get information from different websites but also send information to the pages, download images, and perform many other tasks. Let's see what this library offers:
- GET: The GET method allows us to get information from a website.
- POST: The POST method will enable us to send information back to the server, like submitting forms.
- PUT: The PUT method is used to update the existing data.
- DELETE: This is simply used to delete data from the server.
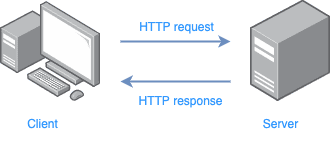
These methods work just like having a discussion with the server. In return for these methods, we also get a response from the server. This response comes with different codes called status codes. For example, the server returns a 200 when it has that particular requested thing or file; 404 means it has nothing related to the request, and so on.
Now comes the point where you make HTTP requests. Simply create a Request object using the appropriate method to make a request. Let's say you simply want to get the data from a website; use the GET method for this.
import requests
response = requests.get('https://www.lipsum.com/')
print(response.status_code)
print(response.content)
This code sends a GET request to the Lorem Ipsum website and prints the response status code and content.
Handling HTTP responses
Once you've got the response, you can apply different methods to it; a few of those methods are below:
response.status_code: This method returns the status code of the response.response.content: The content method is used to get the content in bytes.response.text: This is used to get the content in the form of Unicode text.response.json(): This method is useful when the response is in the JSON format. It returns data as a dictionary.response.headers: This method gives us the headers having information like the type of data, length, and encoding; it's the meta-data - information about the information.
response.content and response.text extract data in different formats. The response.content is useful when dealing with images or pdf. The response.text helps us to extract data in the form of HTML.Let's make a request and see whether it's successful.
import requests
response = requests.get("https://www.wikipedia.org")
if response.status_code == 200:
    print("It's a successful Get requested")
else:
    print("The server returned the Status code: ", response.status_code)
This code sends a GET request to the website. It returns "It's a successful Get requested" if the response is successful. Otherwise, it prints "The server returned the Status code:" with the status code.
How the Requests library handles different types of data
While extracting data from websites, we may interact with different types of data. Requests specifically provides built-in methods to handle different data types. Here are a few of those with examples.
HTML
After making a request to a website, if the server returns the HTML of the webpage, this is how you can handle it:
import requests
response = requests.get("https://www.wikipedia.org")
htmlResponse = response.text
print(htmlResponse)
The code sends the GET request to the Wikipedia website and converts the response into HTML.
JSON
Let's say you're extracting a dataset in JSON: the Requests library provides a function that automatically converts the data to a Python dictionary.
import requests
response=requests.get("https://jsonplaceholder.typicode.com/posts/1")
jsonResponse = response.json()
print(jsonResponse)
The code sends the GET request to the jsonplaceholder website and returns the data in the form of a Python dictionary.
Binary data
The Requests library provides support to handle binary data or the content in bytes, like images or pdf files. Let's say you want to download the logo of Google:
import requests
response = requests.get("https://www.google.com/images/branding/googlelogo/2x/googlelogo_light_color_272x92dp.png")
googleLogo = response.content
with open("logo.png", "wb") as file:
    file.write(googleLogo)
This code sends a GET request to the provided link and returns the response in bytes. The open() method is used here to write data in the wb (Write Binary) mode that opens a file logo.png and writes the data in that file.
open() method opens the file provided as an argument. If the file is not present, it creates one with the same name and writes the data in it.How the HTML data is parsed and extracted
As we've already seen, the Requests library only allows us to get the data of a website, but it doesn't provide support to parse that data. So, we need another library for this. In this tutorial, we're going to get help from Beautiful Soup.
To install Beautiful Soup in your project, just enter the following command on the command line and press Enter.
pip3 install beautifulsoup4
Now you're ready to parse and extract data from any website. Let's say you want all the blog titles from the Apify website.

The code for it looks like this:
import requests
from bs4 import BeautifulSoup
response = requests.get("https://blog.apify.com/")
# Create an object of BeautifulSoup by parsing the content
soup = BeautifulSoup(response.content, "html.parser")
# Find all the elements with the class "post-title" and "h2" heading
postTitles = soup.find_all("h2", class_="post-title")
# Loop through the list of all the post_titles
for postTitle in postTitles:
    print(postTitle.text.strip())
This code sends a GET request to the Apify website, parses the HTML content with Beautiful Soup, and finds all blog titles.
What are the challenges of web scraping with Python Requests?
With every tool comes functionalities and limitations. Python Requests has limitations as well. Let's go through a few of these.
- All the requests are synchronous, which means every request will block the execution of the program. It can cause issues while making a large number of requests. To avoid this, you can use
asyncioandgeventPython libraries. These libraries allow you to make asynchronous requests.
- The Python Requests library is only designed to make HTTP or HTTPS requests. It doesn't provide support for non-HTTP protocols. To make non-HTTP requests like FTP or SSH, you need to use other Python libraries like
ftpliborparamiko.
- It loads the entire response to the memory. This can cause problems when dealing with large-sized files. To download files in chunks, you can pass the
streamparameter or use other libraries likewgetorurllib3.
- It doesn't handle retries automatically. Try using the
requests-retrylibrary, which provides a retry decorator for the Requests library.
Python Requests provides some advanced features like handling cookies, authentication, and session management. They can be used to avoid blocking and improve scraping efficiency. So, let's go deeper and explore these features.
How to handle cookies with Python Requests
A cookie is a small piece of text sent from the website to the user. It is stored in the user's browser to remember information like products in the cart and login information. So, next time you add a product to the cart or sign in somewhere and accidentally close the browser window, you open the website and find the same state. That's done through cookies. They maintain the state of a website. They're also used for tracking users' behavior, such as which pages they visit and how long they stay on the site.
Through Python Requests, we have the control to access and add cookies. Let's see how we can access cookies:
import requests
# send the GET request
response = requests.get('https://stackoverflow.com/')
# Get the cookies from the response
cookies = response.cookies
print(cookies)
This code sends a GET request to the StackOverflow website and gets the cookies from it.
Now, say we want to send cookies to the httpbin website. The cookies parameter in the request allows us to send cookies back to the server.
import requests
# Create a dictionary of cookies
cookies = {'exampleCookie': '123456789'}
response = requests.get('http://httpbin.org/cookies', cookies=cookies)
print(response.text)
This code sends a Get a request and cookies as a parameter. The server will get the cookies from the request and process them according to its own implementation.
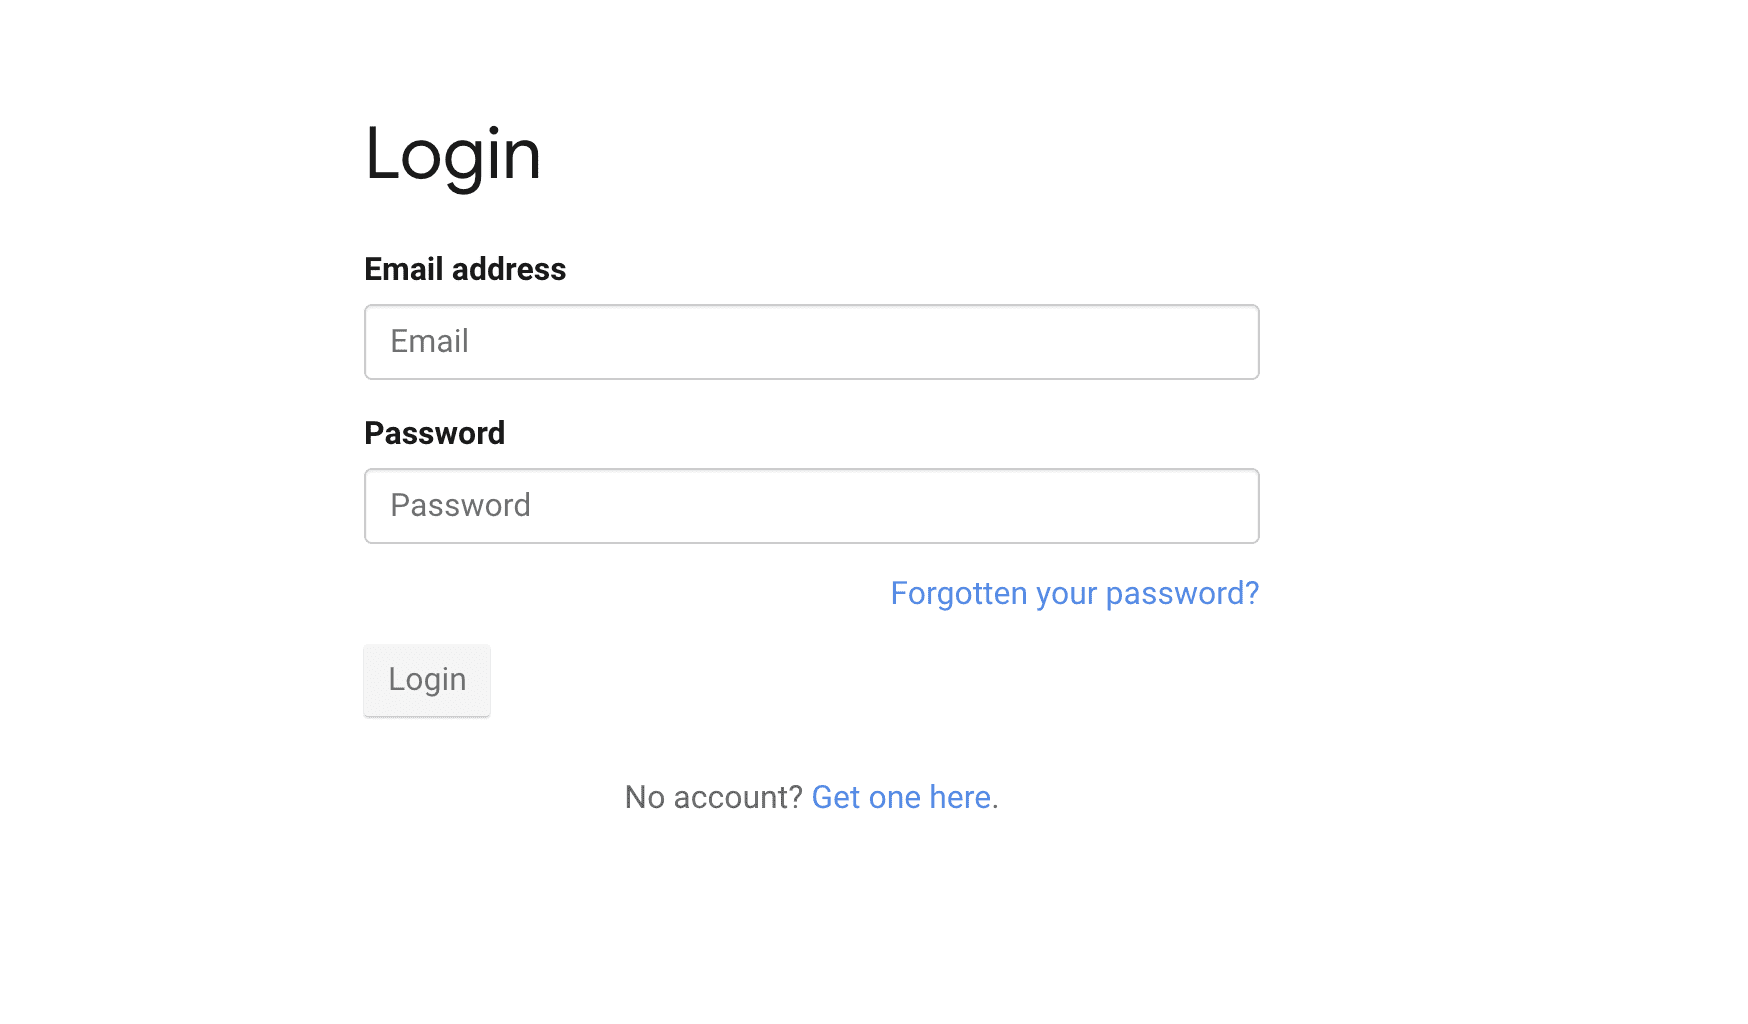
How to authenticate using Python Requests
To authenticate websites, Requests provides automatic authentication support. We just need to give the names of the fields with the correct credentials, and BOOM! It automatically finds the form, fills in the fields, and presses the sign-in button. It's so easy.
Here's how it's done:
import requests
# Login credentials
credentials = {
    'email': 'yourEmail',
    'password': 'yourPassword'
}

response = requests.post('https://newsapi.org/login', data=credentials)

if response.status_code == 200:
    homePage = response.text
    print('Authentication Successful!')
else:
    print('Authentication failed!')
This code sends a POST request to the news api website with the authentication credentials. It stores the HTML of the homepage in the homePage variable and prints "Authentication Successful!" if the authentication is successful; otherwise, it prints "Authentication failed!".
GET request and including it in the query string. This is generally not recommended because the query string can be visible to third parties and may be cached by intermediaries such as proxies or caching servers.How does session management work in Requests?
A session can be used to store users' information on the server throughout their interaction with the website.
Instead of storing the changing information of the user through cookies in the browser, the server gives the browser a unique id and stores some temporary variables. Every time that particular browser makes a request, a server receives the id and retrieves the variables.
In the context of web scraping, sometimes we need to authenticate a website and navigate to different routes. Sessions are used to maintain the performance and stateful information between those pages.
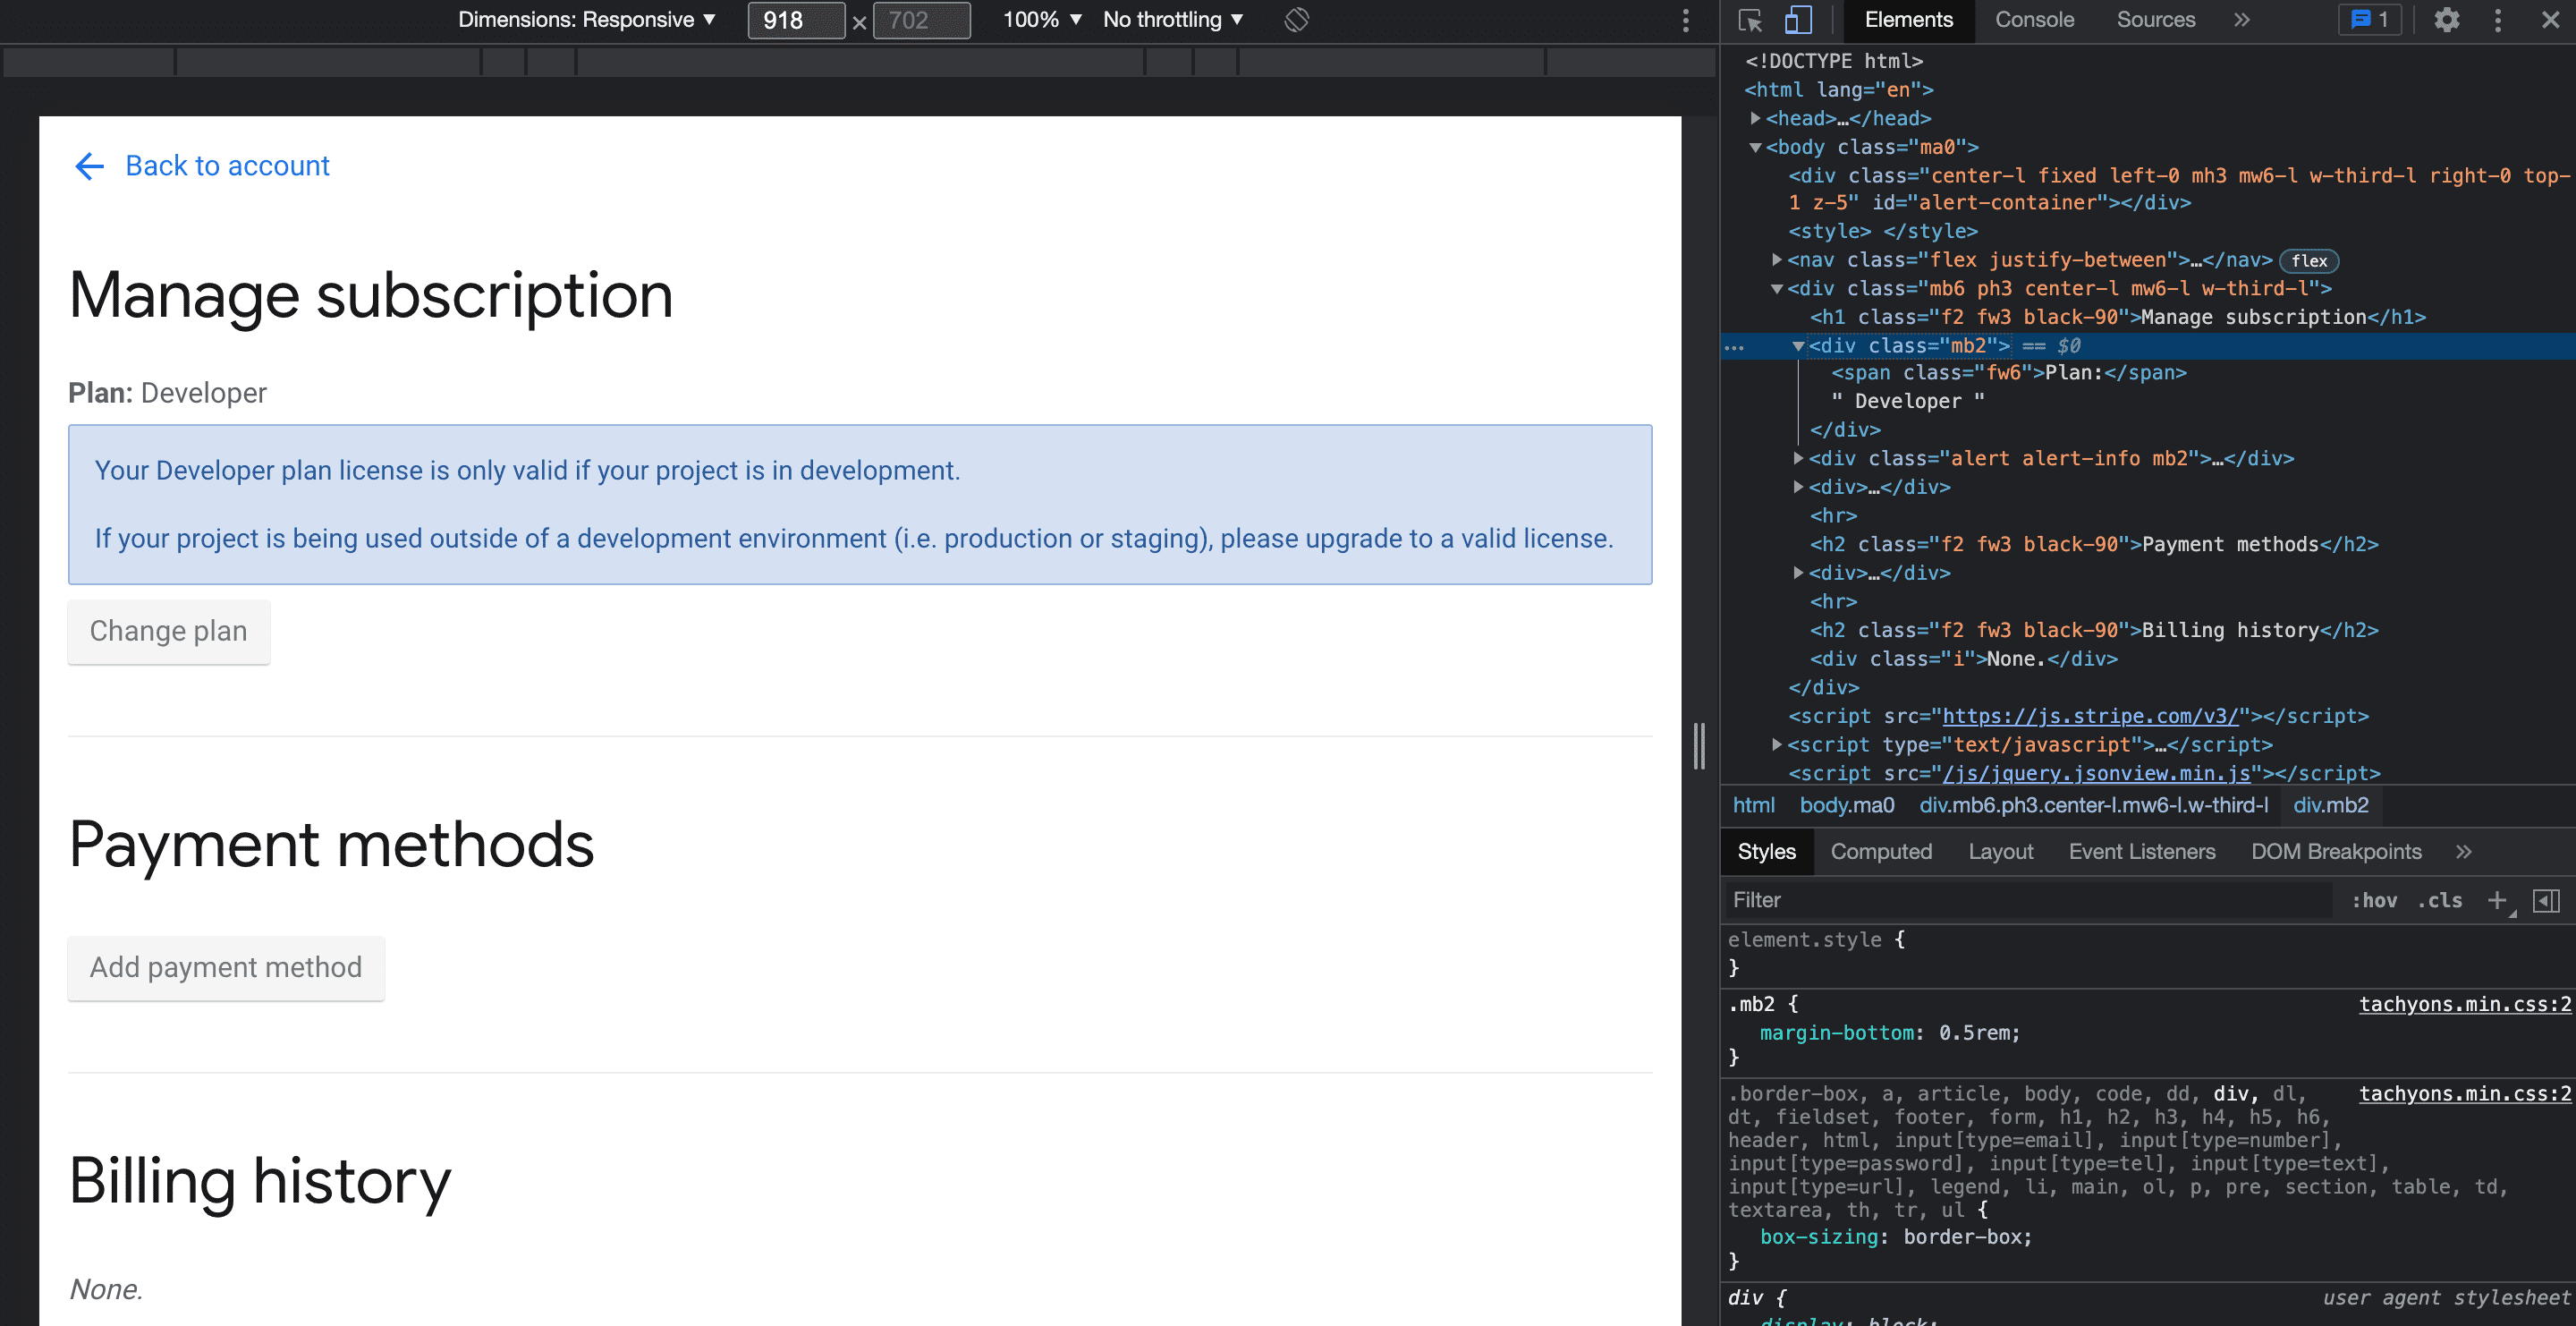
Here's an example in which we'll first log in and then try to access the subscription page.
We'll also extract the current plan from the subscription page.
import requests
from bs4 import BeautifulSoup
# create session object
session = requests.Session()
# Login credentials
credentials = {
    'email': 'yourEmail',
    'password': 'yourPassword'
}

response = session.post('https://newsapi.org/login', data=credentials)
# Show an error if the status_code is not 200
if response.status_code != 200:
    print("Login failed.")
else:
	subscriptionResponse = 		session.get('https://newsapi.org/account/manage-subscription')
  soup = BeautifulSoup(subscriptionResponse.content, 'html.parser')
  subscriptionPlan = soup.find('div', class_ = 'mb2')
  #If the subscriptionPlan is not found
  if subscriptionPlan is not None:
      print(subscriptionPlan.text.strip())
  else:
      print("Failed to find plan element.")
How to use proxies with Python Requests
When trying to make multiple HTTP requests to a website through a script, the website may detect it and block us from making more requests. So, in order to avoid this, we can use different proxies. With multiple proxies, the website will think that the request is coming from different sources and won't limit the usage.
Here's an example of using proxies with Requests:
import requests

# Different proxies
proxies = {
   'http': 'http://103.69.108.78:8191',
   'http': 'http://198.199.86.11:8080',
   'http': 'http://200.105.215.22:33630',
}

# Make four GET requests
for i in range(4):
  response = requests.get('https://httpbin.org', proxies=proxies)
# Print **Request successful** if the status code is **200**
  if response.status_code == 200:
    print("Request successful")
# Print **Request failed** otherwise
  else:
    print("Request failed")
This code sends four GET requests to the HTTP website using multiple proxies and prints the message accordingly. You can get different proxies from this Free Proxy List.
Requests and user-agents
Modern-day websites can easily detect the requests made through any script. To avoid detection, we can add user agents in the headers of our request to make it look like a real browser request. It's a very important technique that has been used to avoid blocking.
import requests
headers={'User-Agent': 'Mozilla/5.0 (Windows NT 10.0; Win64; x64) AppleWebKit/537.36 (KHTML, like Gecko) Chrome/102.0.0.0 Safari/537.36'}
response = requests.get('https://apify.com/', headers=headers)
if response.status_code == 200:
    print("Request successful")
# Print Request failed otherwise
else:
  print("Request failed")
This code sends a GET request to the HTTP website using the user-agents and prints a message according to the response. Generate User-agents Online allows you to generate user-agents as well.
Throttling and rate limiting
Throttling and rate limiting are very important techniques that allow us to limit the number of requests and produce a delay between multiple requests. If we send requests rapidly, the website may detect our bot and block us. So, to avoid this, we can use this technique:
import requests
# Import the time library to add delays between the requests
import time
# Make 10 requests
for i in range(10):
    response = requests.get('https://blog.apify.com/')
    # Add a 1-second delay between requests
    time.sleep(1)
    if response.status_code == 200:
      print("Request successful")
    # Print Request failed otherwise
    else:
      print("Request failed")
This code sends 10 GET requests to Apify with a 1-second delay between each request.
If, after trying all this, you're still having problems, then it's a sign that you need to read our comprehensive guide on how to crawl without getting blocked.
Conclusion and further reading
We've provided a foundational guide for getting started with web scraping using the Python Requests library.
Now you know how to:
- install Requests
- make various types of HTTP requests
- manage server responses
- handle synchronous requests
- deal with cookie authentication
- manage sessions
- use proxies, and
- avoid getting blocked.
When used alongside other libraries like Beautiful Soup, Requests becomes an even more powerful tool for data extraction and manipulation.
You can read about these and other Python web scraping libraries below.
🔖 Web scraping with Beautiful Soup
🔖 Beautiful Soup vs. Scrapy
🔖 Web scraping with Scrapy
🔖 Alternatives to Scrapy
🔖 Web scraping with Selenium
🔖 Scrapy vs. Selenium
🔖 Playwright vs. Selenium
Why is Python used for web scraping?
There are many reasons why you should use Python for web scraping. Here are a few of them:
- Python has an enormous community that provides hundreds of articles and documentation for beginners. This makes things easier for beginners, and they can learn quickly.
- Python is renowned for its readability, making it easier to understand and write code.
- It has pre-defined functions, which means that we don't need to write functions. This saves time and makes the process faster.
- We don't have to define the data types: just define a variable and give it a value of any type.
- It provides data processing and visualization tools, making data analysis and structuring easier.
What are the best Python tools for web scraping?
Depending on your needs and use cases, Python has several tools and libraries for web scraping. Let's take a look at a few of them:
- Scrapy: A web crawling framework that provides a complete set of tools for web scraping and helps to structure data.
- BeautifulSoup: Used for parsing HTML and XML documents. It creates a parsed tree for the web pages and allows us to extract data.
- Selenium: A web scraping and automation tool that supports multiple browsers like Chrome, Firefox, and Edge.
- PyQuery: A Python library that uses a jQuery-like syntax. It uses the ElementTree Python API, allowing us to manipulate and extract data from HTML documents.
- Newspaper3k: Explicitly designed to scrape news websites. It's built on top of the libraries like BeautifulSoup and lxml. It automatically detects and extracts news content, and it can handle pagination as well.
- Requests: A Python library that allows us to make HTTP requests to get and manipulate web pages.
What are common errors in web scraping?
- 400 Bad Request: This status code means that something is wrong on the user end that the server can't understand. For example, invalid request message framing, malformed request syntax, or deceptive request routing. We can confirm whether or not the URL or the headers are correct.
- 401 Unauthorized: This error occurs when we try to access a resource that requires some authentication. So, if we're using some credentials, we need to double-check them.
- 403 Forbidden: This error occurs when the server denies access to the user or the script attempting to access the website. We'll see this error many times when scraping. We can use user-agents, request headers, or rotate proxies to avoid this error.
- 404 Not Found: This error occurs when we try to access a resource that is not available or may have been deleted. This error also occurs when the URL is incorrect.
- 500 Internal Server Error: This error occurs when the server encounters an unexpected condition that prevents it from fulfilling the request.
- 501 Not Implemented: This error indicates that the server does not support the functionality that we've asked for in the request.