Web scraping is the process of automatically extracting data from websites, and Python has been the go-to language for data extraction for years. It boasts a large community of developers and a wide range of web data collection tools to help scrapers extract almost any data from any website.
Here, we'll demo some of the best libraries and frameworks available for web scraping in Python and provide code examples for using them in different web scraping scenarios.
Preparing Python coding environment for web scraping
Before we begin, we need to make sure our development environment is ready. You need to install Python, choose an Integrated Development Environment (IDE), and understand the basics of how to install the Python libraries necessary for efficiently extracting data from the web.
Installing Python
- Download Python: Visit the official Python website and download the latest version for your operating system.
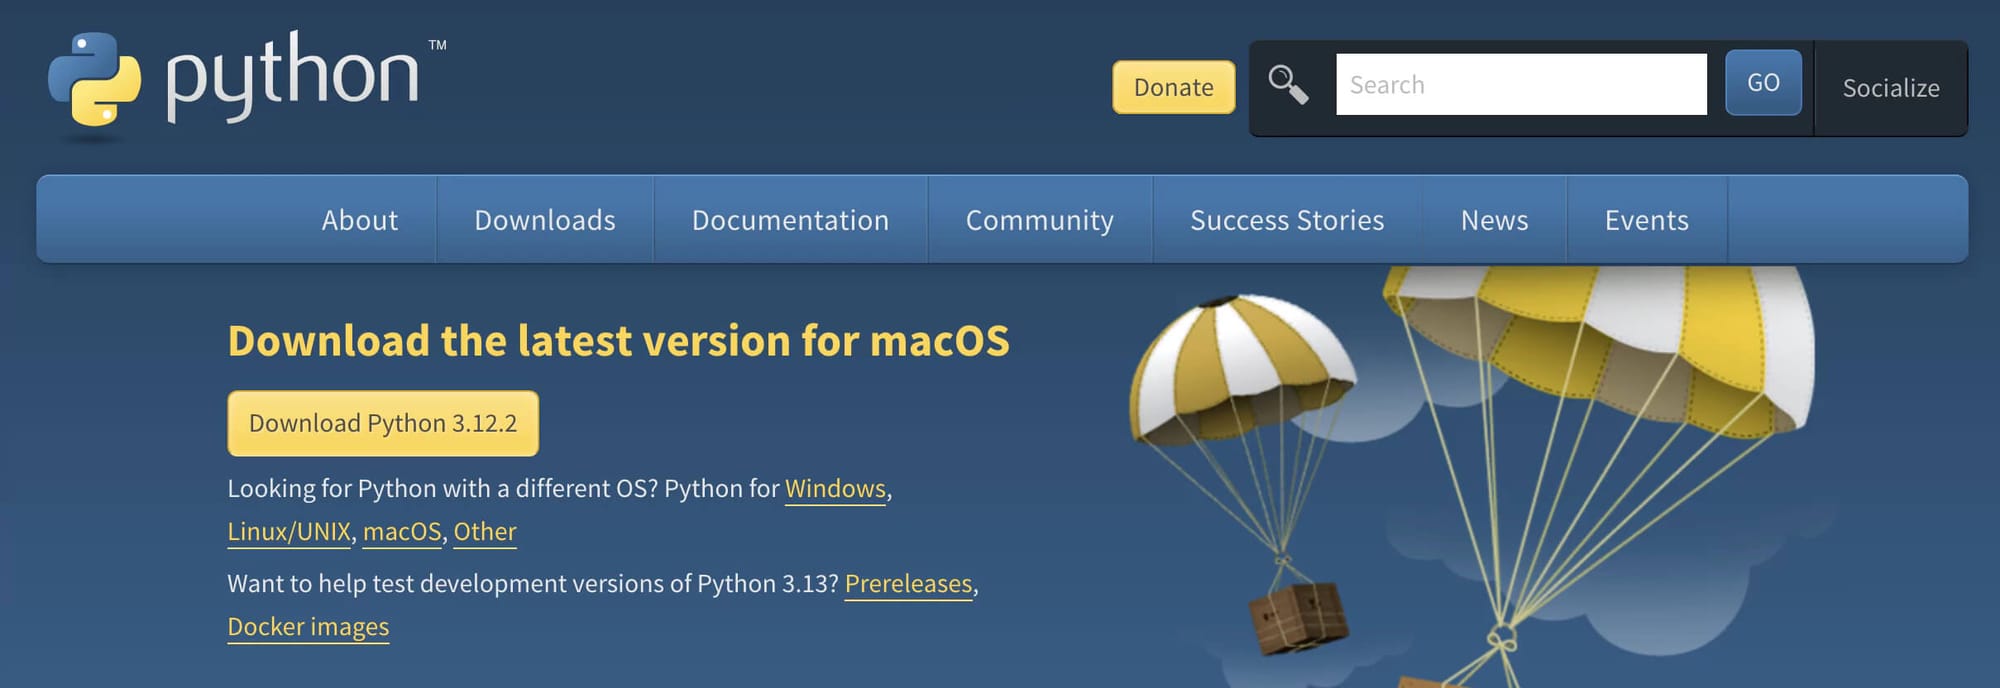
- Install Python: Run the installer and follow all the prompts until Python is properly installed on your computer.
IDE for Python
Once you have Python installed, you’ll need a place to write Python code. Basically, you'll need an IDE, which provides tools to write, test, and debug your code. Some popular IDEs for Python development are:
- PyCharm: Offers a robust environment specifically for Python development. Might be the ideal IDE for Python-exclusive developers.
- Visual Studio Code (VS Code): A lightweight, versatile IDE that supports Python through extensions. However, VS Code doesn’t come equipped to run Python out of the box. To enable that, you'll need to follow a few extra steps described in the VS Code documentation.
- Jupyter Notebook: This notebook is ideal for data analysis and exploratory work with Python. It requires minimal setup and allows you to run your code directly on the web.
Ultimately, the IDE choice comes down to preference. All of the options above are well-equipped to run Python code and will work fine for our web scraping purposes. So, go ahead and choose an IDE that suits your preferences.
How to install Python libraries
In essence, Python libraries are collections of pre-packaged functions and methods that allow you to perform many actions without writing everything from scratch. Libraries are an integral part of software development. The most commonly used way to install Python libraries is by using pip, Python's package-management system.
Installing a library with pip is very simple:
- Open your command line or terminal.
- Use the pip install command followed by the library name. For example, to install the
requestslibrary, you would typepip install requests.
Easy, right? Now that you have the necessary basic knowledge, let’s understand the Python libraries that make the language such a powerful and popular choice for web scraping.
Python web scraping tutorial
To start web scraping in Python, you’ll need two key tools: an HTTP client like HTTPX to request web pages, and an HTML parser like BeautifulSoup to help you extract and understand the data.
In this section, we will go over step by step of the scraping process and explain the technologies involved in each one. By the end of it, you will know how to use BeautifulSoup with HTTPX to pull the title, rank, and URL from all the articles on the first page of Hacker News.
1. Scrape your target website with Python
The first step is to send a request to target page and retrieve its HTML content. You can do this with just a few lines of code using HTTPX:
⚙️ Install HTTPX
pip install httpx
Run the code below.
import httpx

response = httpx.get('https://news.ycombinator.com')

html = response.text

print(html[:200])  # print first 200 characters of html
This code snippet fetches the HTML content of the Hacker News homepage and prints the first 200 characters to verify that the page’s HTML was successfully retrieved. This is accomplished by sending a GET request using httpx.get and storing the HTML content in a variable called html. However, raw HTML isn’t very readable for humans. To extract useful data in a structured form, it is necessary to parse this HTML using BeautifulSoup.
2. Extract data from the page
BeautifulSoup is a Python library that helps you extract data from HTML and XML files. It’s user-friendly and ideal for small to medium projects because it’s quick to set up and can efficiently parse content. For a deeper walkthrough of this library on its own, the Beautiful Soup tutorial covers it step by step. As mentioned earlier, BeautifulSoup is often paired with an HTTP request library. like HTTPX. Now, let’s combine everything to scrape data from all the articles on the first page of Hacker News in a structured format.
BeautifulSoup + HTTPX code to extract the title content, rank, and URL from all the articles on the first page of Hacker News:
import httpx
from bs4 import BeautifulSoup

# Function to get HTML content from a URL
def get_html_content(url: str, timeout: int = 10) -> str:
    response = httpx.get(url, timeout=timeout)
    return str(response.text)

# Function to parse a single article
def parse_article(article) -> dict:
    url = article.find(class_='titleline').find('a').get('href')
    title = article.find(class_='titleline').get_text()
    rank = article.find(class_='rank').get_text().replace('.', '')
    return {'url': url, 'title': title, 'rank': rank}

# Function to parse all articles in the HTML content
def parse_html_content(html: str) -> list:
    soup = BeautifulSoup(html, features='html.parser')
    articles = soup.find_all(class_='athing')
    return [parse_article(article) for article in articles]

# Main function to get and parse HTML content
def main() -> None:
    html_content = get_html_content('https://news.ycombinator.com')
    data = parse_html_content(html_content)
    print(data)

if __name__ == '__main__':
    main()


# Expected Output:
'''
[
   {
      "url":"https://ian.sh/tsa",
      "title":"Bypassing airport security via SQL injection (ian.sh)",
      "rank":"1"
   },
   {
      "url":"https://www.elastic.co/blog/elasticsearch-is-open-source-again",
      "title":"Elasticsearch is open source, again (elastic.co)",
      "rank":"2"
   },
     ...
   {
      "url":"https://languagelog.ldc.upenn.edu/nll/?p=73",
      "title":"Two Dots Too Many (2008) (upenn.edu)",
      "rank":"29"
   },
   {
      "url":"https://collidingscopes.github.io/ascii/",
      "title":"Show HN: turn videos into ASCII art (open source, js+canvas) (collidingscopes.github.io)",
      "rank":"30"
   }
]
'''
The code above includes several functions that work together to fetch and parse the Hacker News homepage. First, it retrieves the HTML content using httpx, then BeautifulSoup is used to extract the title, rank, and URL of each article by targeting specific CSS selectors. Finally, all this logic is combined in a main function that gathers the article details into a list, which is then printed out.
3. Scrape multiple pages
After scraping data from the 30 articles on the first page of Hacker News, it’s time to expand your scraper to extract data from all the articles. This involves dealing with “pagination,” a common challenge in web scraping. To handle this, you’ll need to explore the website to understand how its pagination works and then adjust your code accordingly. For large crawls spanning many pages, a dedicated framework like Scrapy scales better than a hand-rolled pagination loop. The Scrapy tutorial walks through that approach.
Below is a screenshot of Hacker News, highlighting the key elements needed to implement pagination. You’ll also find the updated code that scrapes articles from all pages.
🧑💻 Code
import httpx
from bs4 import BeautifulSoup
import time

# Function to get HTML content from a URL
def get_html_content(url: str, timeout: int = 10) -> str:
    response = httpx.get(url, timeout=timeout)
    return str(response.text)

# Function to parse a single article
def parse_article(article) -> dict:
    url = article.find(class_='titleline').find('a').get('href')
    title = article.find(class_='titleline').get_text()
    rank = article.find(class_='rank').get_text(strip=True).replace('.', '')
    return {'url': url, 'title': title, 'rank': rank}

# Function to parse all articles in the HTML content
def parse_html_content(html: str) -> list:
    soup = BeautifulSoup(html, 'html.parser')
    articles = soup.find_all(class_='athing')
    return [parse_article(article) for article in articles]

# Main function to get and parse HTML content from all pages
def main() -> None:
    base_url = 'https://news.ycombinator.com'
    page_number = 1
    all_data = []

    while True:
        url = f'{base_url}/?p={page_number}'
        html_content = get_html_content(url)
        data = parse_html_content(html_content)
        all_data.extend(data)

        soup = BeautifulSoup(html_content, 'html.parser')
        more_link = soup.select_one('.morelink')
        if not more_link:
            break

        page_number += 1
        time.sleep(2)  # Adding a 2-second delay between requests

    print(all_data)

if __name__ == '__main__':
    main()
This code extends the initial snippet for scraping the first page, with a few tweaks to the main() function. It now handles multiple pages by looping through them, updating the page number in the URL, and using the same parsing functions as before.
4. Scraping dynamic websites with Python
While BeautifulSoup and HTTPX are great for scraping static websites, they can't handle dynamic sites that load content via JavaScript.
For this, we use Playwright, a browser automation library that captures fully rendered pages, including dynamic content. Playwright is effective because it controls a real web browser, but it’s more resource-intensive and slower than BeautifulSoup. Therefore, reserve Playwright for situations where it's truly necessary, and stick to our earlier solution for more straightforward tasks.
Playwright isn't the only option here. Selenium handles the same dynamic, JavaScript-rendered pages, and the Selenium with Python guide shows how.
⚙️ Installation
# Install the Playwright package
pip install playwright

# Install the necessary browser binaries (Chromium, Firefox, and WebKit)
playwright install
🎯 Target website: https://phones.mintmobile.com/
The goal is to scrape the name, price, and URL of each product on MintMobile’s first page. Here’s how you can do it using Playwright:
🧑💻 Code
import asyncio
from playwright.async_api import async_playwright

async def main():
    async with async_playwright() as p:
        browser = await p.firefox.launch(headless=False)
        page = await browser.new_page()
        await page.goto("https://phones.mintmobile.com/")

        # Create a list to hold the scraped data
        data_list = []

        # Wait for the products to load
        await page.wait_for_selector('ul.products > li')

        products = await page.query_selector_all('ul.products > li')

        for product in products:
            url_element = await product.query_selector('a')
            name_element = await product.query_selector('h2')
            price_element = await product.query_selector('span.price > span.amount')

            if url_element and name_element and price_element:
                data = {
                    "url": await url_element.get_attribute('href'),
                    "name": await name_element.inner_text(),
                    "price": await price_element.inner_text()
                }
                data_list.append(data)

    await browser.close()

    print(data_list)

asyncio.run(main())
This code uses Playwright to launch a Firefox browser, navigate to the MintMobile phones page, and wait for the products to load. Once the products are visible, it selects all product elements on the page and loops through them to extract the URL, name, and price of each product. These details are then stored in a list called data_list.
Finally, after collecting the data, the browser is closed, and the list of scraped product details is printed.
That works well, but just printing the data isn't very practical. Next, let's look at how to save this data to a CSV file.
5. Export scraped data to CSV
Saving scraped data to a CSV file in Python is quite easy. Just import the built-in Python csv module and use the code below:
import csv

    # Save the data to a CSV file
    with open('products.csv', mode='w', newline='') as file:
        writer = csv.DictWriter(file, fieldnames=["url", "name", "price"])
        writer.writeheader()
        writer.writerows(data_list)
This code saves the scraped data to a CSV file called products.csv. It creates the file and uses csv.DictWriter to write the data, with "url," "name," and "price" as column headers. The writeheader() function adds these headers and writerows(data_list) writes each product's details into the file.
Here’s the final version of the complete code:
import asyncio
import csv
from playwright.async_api import async_playwright

async def main():
    async with async_playwright() as p:
        browser = await p.firefox.launch(headless=False)
        page = await browser.new_page()
        await page.goto("https://phones.mintmobile.com/")

        # Create a list to hold the scraped data
        data_list = []

        # Wait for the products to load
        await page.wait_for_selector('ul.products > li')

        products = await page.query_selector_all('ul.products > li')

        for product in products:
            url_element = await product.query_selector('a')
            name_element = await product.query_selector('h2')
            price_element = await product.query_selector('span.price > span.amount')

            if url_element and name_element and price_element:
                data = {
                    "url": await url_element.get_attribute('href'),
                    "name": await name_element.inner_text(),
                    "price": await price_element.inner_text()
                }
                data_list.append(data)

    await browser.close()

    # Save the data to a CSV file
    with open('products.csv', mode='w', newline='') as file:
        writer = csv.DictWriter(file, fieldnames=["url", "name", "price"])
        writer.writeheader()
        writer.writerows(data_list)

asyncio.run(main())
How to deploy Python scrapers in the cloud
Next, we will learn how to deploy our scrapers to the cloud using Apify so we can configure them to run on a schedule and access many other features of the platform.
Apify uses serverless cloud programs called Actors that run on the Apify platform and do computing jobs.
To demonstrate this, we'll create a development template using the Apify SDK, BeautifulSoup, and HTTPX, and adapt the generated boilerplate code to run our BeautifulSoup Hacker News scraper. So, let’s get started.
Installing the Apify CLI
Via homebrew
On macOS (or Linux), you can install the Apify CLI via the Homebrew package manager.
brew install apify/tap/apify-cli
Via NPM
Install or upgrade Apify CLI by running:
npm -g install apify-cli
Creating a new Actor
Once you have the Apify CLI installed on your computer, simply run the following command in the terminal:
apify create bs4-actor
Then, go ahead and choose Python → BeautifulSoup & HTTPX → Install template
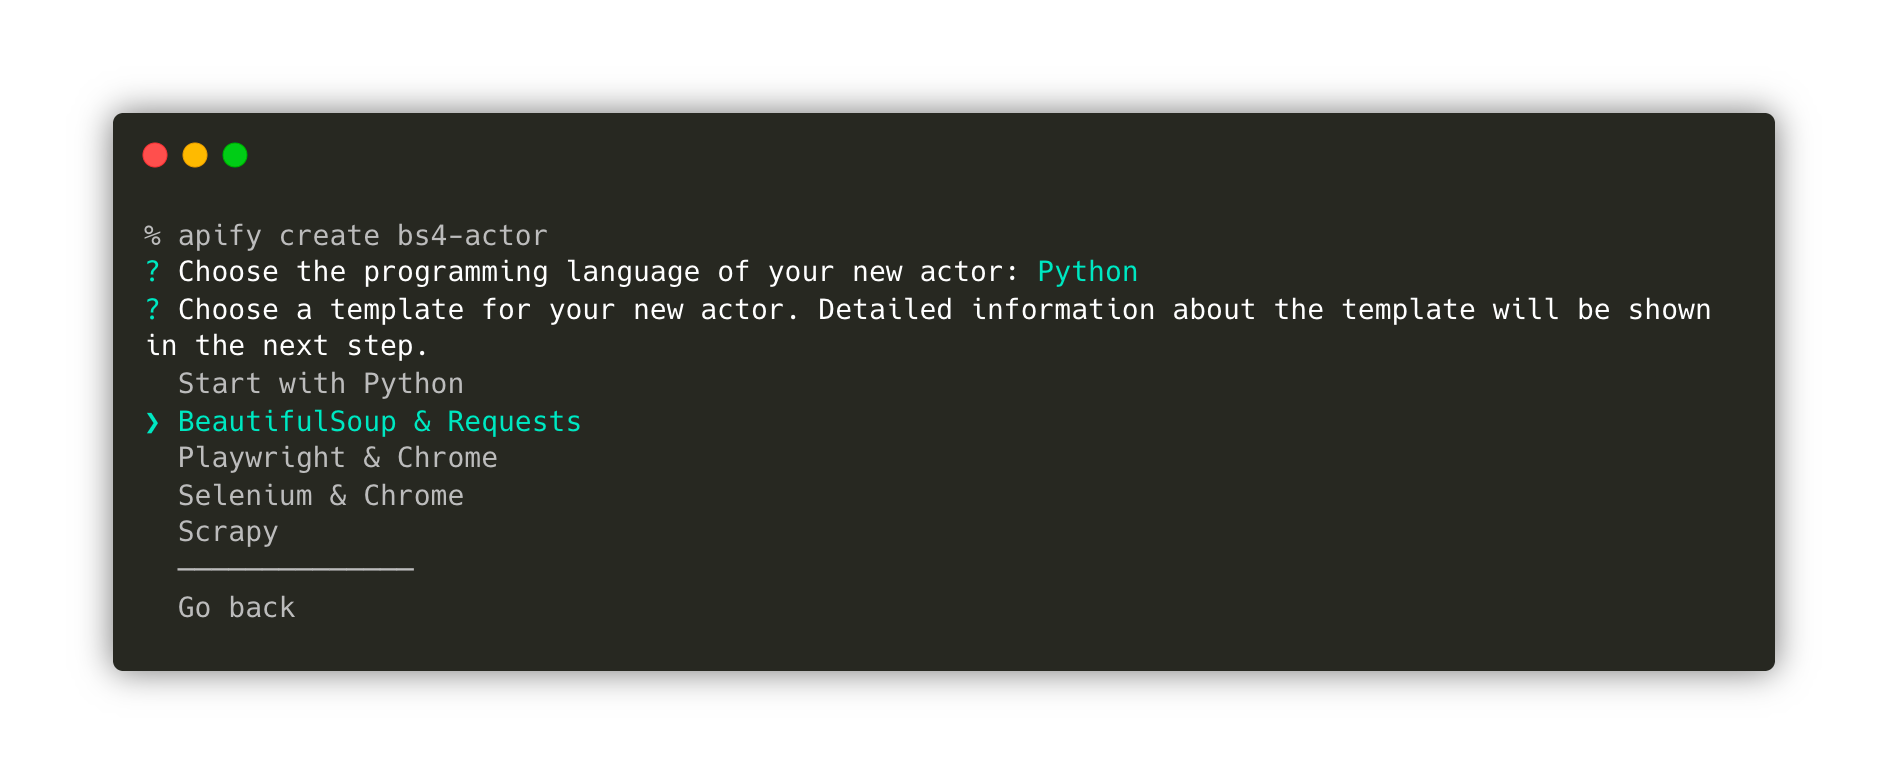
This command will create a new folder named bs4-actor, install all the necessary dependencies, and create a boilerplate code that we can use to kickstart our development using BeautifulSoup, Requests, and the Apify SDK for Python.
Finally, move to the newly created folder and open it using your preferred code editor. In this example, I’m using VS Code.
cd bs4-actor
code .
Testing the Actor locally
The template already creates a fully functional scraper. You can run it using the command apify run if you would like to give it a try before we modify the code. The scraped results will be stored under storage/datasets.
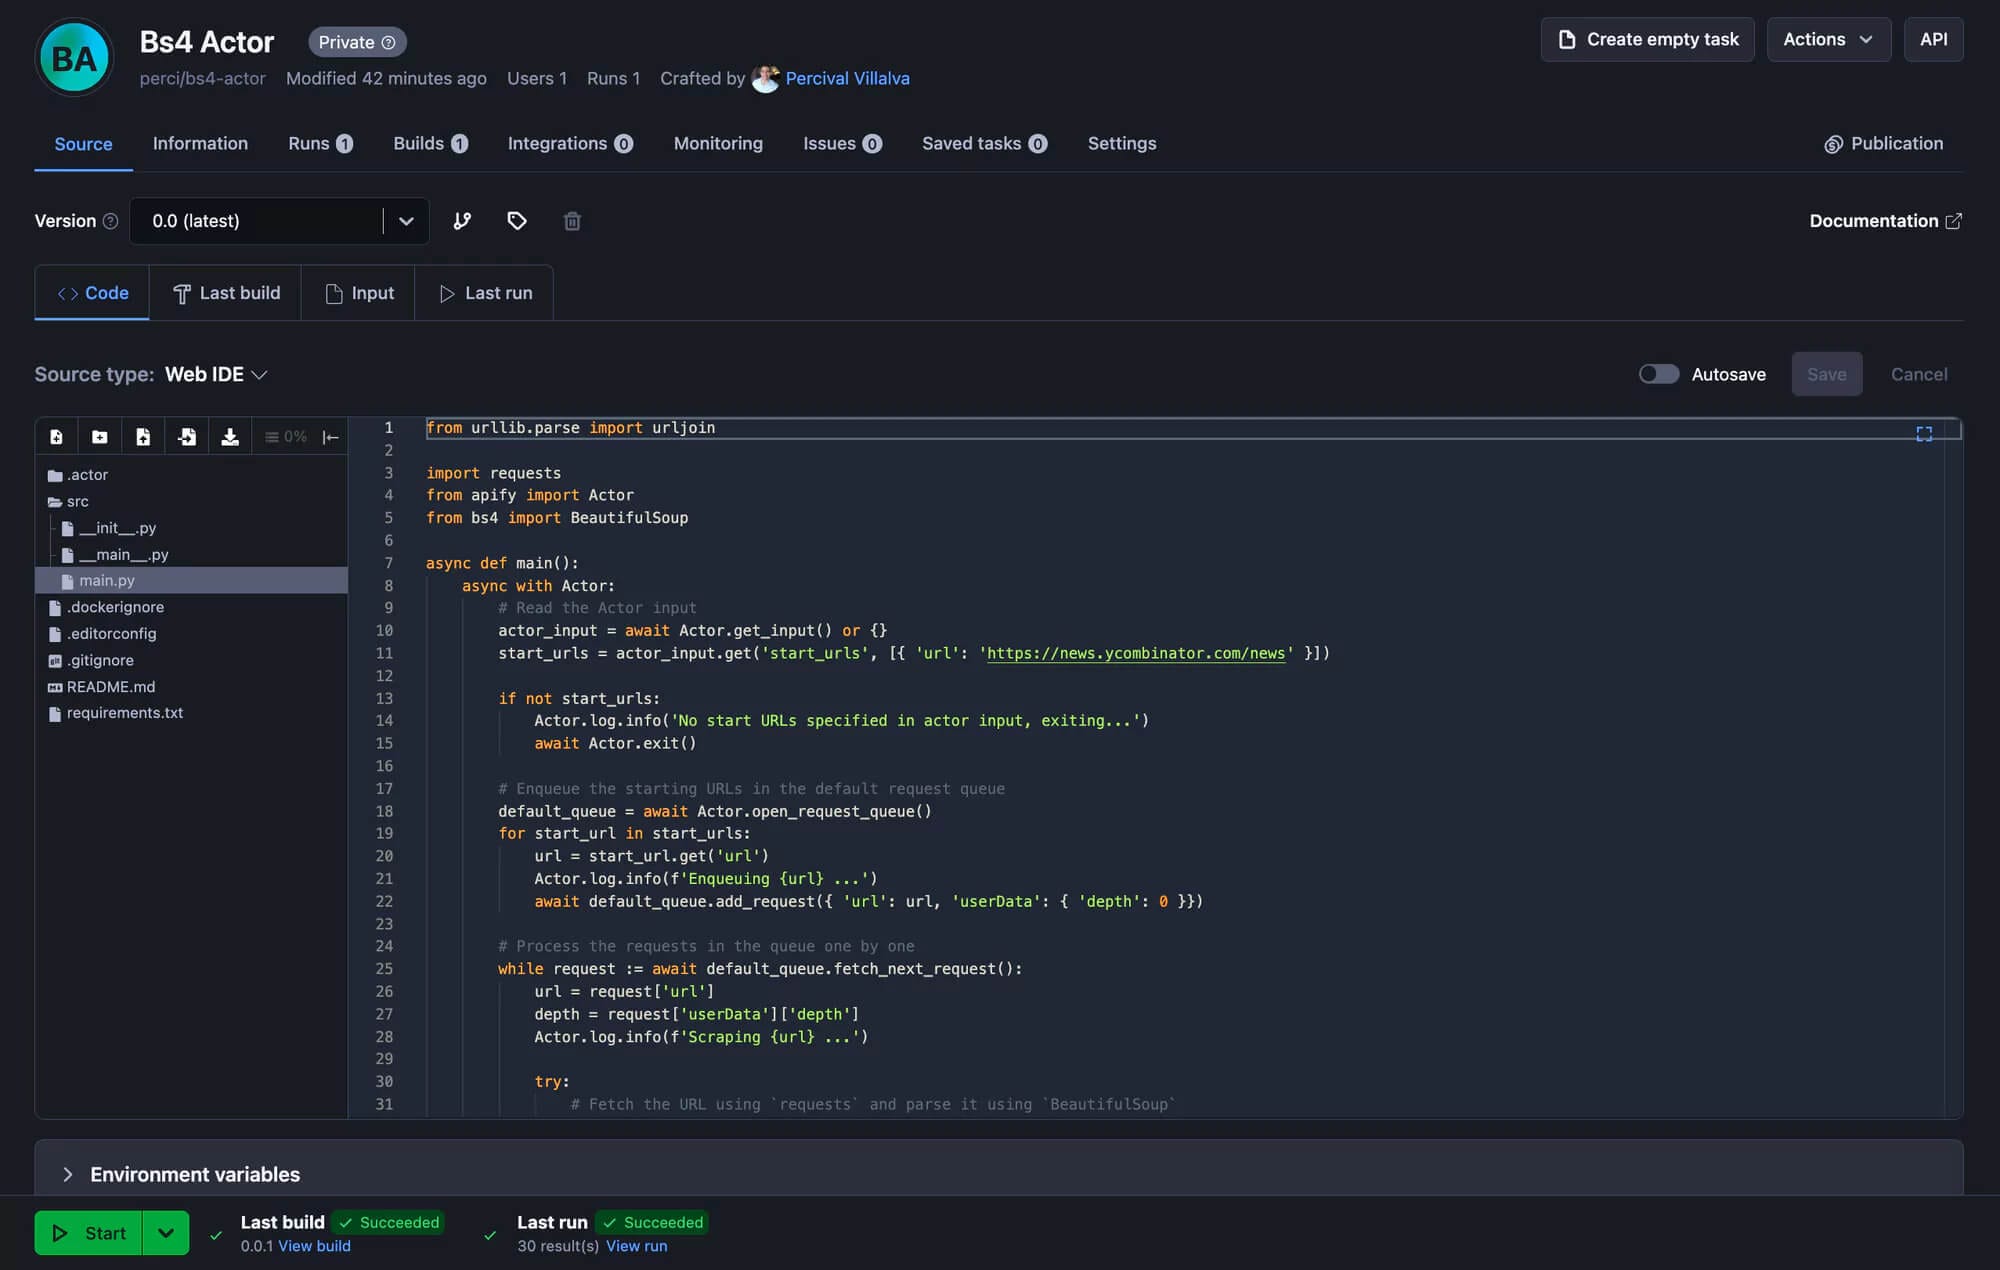
Great! Now that we've familiarised ourselves with the template, let’s go to src/main.py and modify the code there to scrape HackerNews.
With just a few adjustments, this is how the final code looks:
from bs4 import BeautifulSoup
from httpx import AsyncClient

from apify import Actor

async def main() -> None:
    async with Actor:
        # Read the Actor input
        actor_input = await Actor.get_input() or {}
        start_urls = actor_input.get('start_urls')

        if not start_urls:
            Actor.log.info('No start URLs specified in actor input, exiting...')
            await Actor.exit()

        # Enqueue the starting URLs in the default request queue
        rq = await Actor.open_request_queue()
        for start_url in start_urls:
            url = start_url.get('url')
            Actor.log.info(f'Enqueuing {url} ...')
            await rq.add_request({'url': url, 'userData': {'depth': 0}})

        # Process the requests in the queue one by one
        while request := await rq.fetch_next_request():
            url = request['url']
            Actor.log.info(f'Scraping {url} ...')

            try:
                # Fetch the URL using `httpx`
                async with AsyncClient() as client:
                    response = await client.get(url, follow_redirects=True)
                soup = BeautifulSoup(response.content, 'html.parser')
                articles = soup.find_all(class_='athing')

                for article in articles:
                    data = {
                        'URL': article.find(class_='titleline').find('a').get('href'),
                        'title': article.find(class_='titleline').getText(),
                        'rank': article.find(class_='rank').getText().replace('.', ''),
                    }
                    # Push the extracted data into the default dataset
                    await Actor.push_data(data)
            except:
                Actor.log.exception(f'Cannot extract data from {url}.')
            finally:
                # Mark the request as handled so it's not processed again
                await rq.mark_request_as_handled(request)
Finally, type the command apify run in your terminal, and you'll see the storage being populated with scraped data from HackerNews.
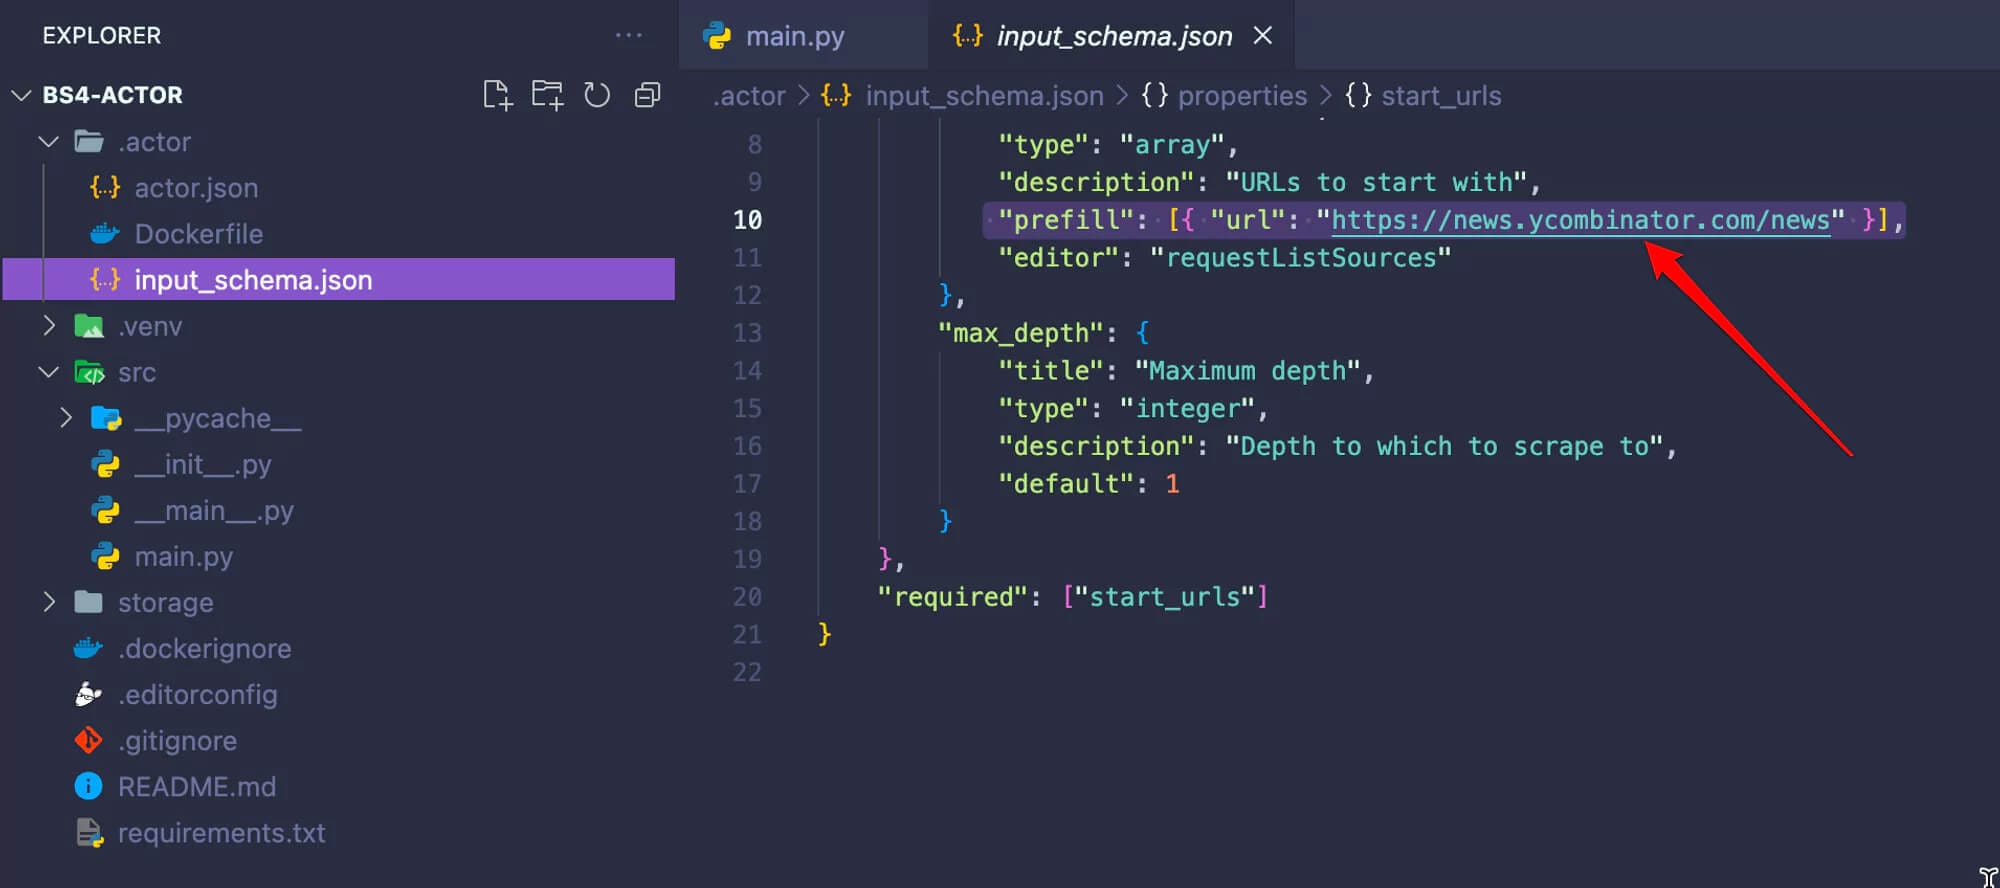
Before we move to the next step, go to .actor/input_schema.json and change the prefill URL to https://news.ycombinator.com/news. This will be important when we run the scraper on the Apify platform.
Deploying the Actor to Apify
Now that we know our Actor is working as expected, it is time to deploy it to the Apify platform. To follow along, you'll need to sign up for a free Apify account.
Once you have an Apify account, run the command apify login in the terminal. You will be prompted to provide your Apify API Token. Which you can find in Apify Console, under Settings → Integrations.

The final step is to run the apify push command. This will start an Actor build, and after a few seconds, you should be able to see your newly created Actor in Apify Console under Actors → My actors.
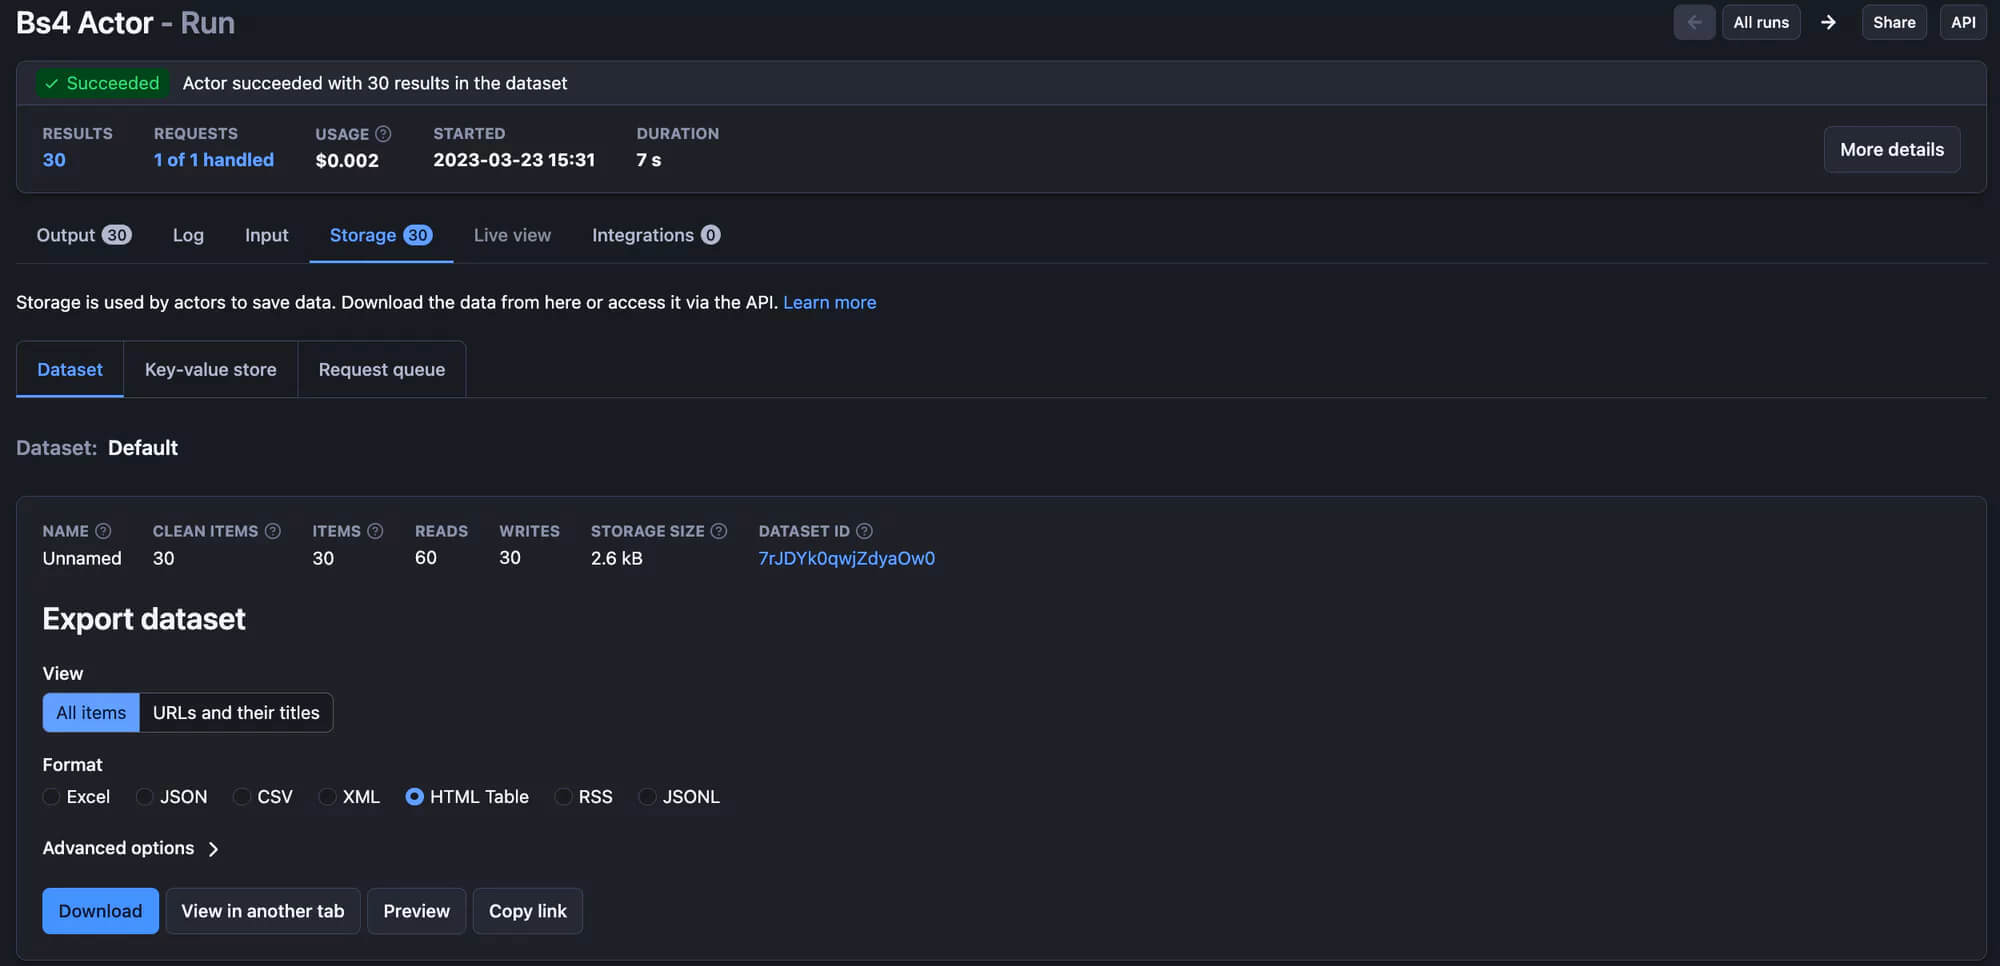
Perfect! Your scraper is ready to run on the Apify platform! Just hit the Start button, and after the run is finished, you can preview and download your data in multiple formats in the Storage tab.
Best practices for web scraping in Python
- Use a user-agent header: This simple yet effective strategy makes your requests appear as if they're coming from a real browser, helping you avoid getting blocked.
- Implement error handling: Things don't always go as planned. Make sure your code can handle network errors and changes in the website’s structure.
- Use proxies: Proxies are a powerful tool for web scraping, helping you avoid IP bans by rotating your requests through different IP addresses.
- Use browser automation wisely: Tools like Playwright or Selenium are powerful but heavy. Use them only when you need to scrape dynamic content that simpler tools like BeautifulSoup can't handle.
- Avoid scraping too frequently: Be mindful of the website’s resources by not scraping too frequently. Adjust your scraping intervals to match the website’s capacity to handle requests.
Click here to learn more about web scraping best practices and how to avoid getting blocked.
Frequently asked questions
Is Python good for web scraping?
Yes, Python is excellent for web scraping due to its powerful libraries like Requests, BeautifulSoup, Scrapy, and Playwright, which simplify the process of extracting data from websites.
What is the best Python web scraping library?
The "best" library depends on your needs: BeautifulSoup and LXML for simple parsing, Requests and HTTPX for HTTP requests, Selenium and Playwright for dynamic content, and Scrapy for large-scale web scraping projects.
Is web scraping legal?
Web scraping's legality depends on the data being scraped and how it's used. It can be legal if it extracts publicly available data and complies with the website’s terms and applicable regional laws, but it's crucial to consult legal advice for specific cases.
Can you get banned for scraping?
Yes, you can get banned for scraping if you violate a website's terms of service, send too many requests too quickly, or scrape protected or private data. This can lead to IP bans, account bans, or legal actions.
Conclusion
Overall, Python is an excellent choice for web scraping due to its simplicity and powerful libraries. Tools like BeautifulSoup make it easy to scrape static websites, while Playwright is perfect for handling dynamic content. You can’t go wrong when web scraping with Python.
If you want the bigger picture beyond Python, the ultimate web scraping guide covers approaches across other languages and tools.