Monitoring Scrapy spiders with Spidermon
One of the key challenges to web scraping is ensuring your data remains consistent and your scraper stays operational in an ever-changing web. This challenge is no less true for building a web scraper with Scrapy.
Monitoring scrapers is one of the solutions we have for staying ahead of potential disruptions to our data scraping tools. This approach becomes particularly necessary when managing multiple scrapers to maintain their effectiveness and data accuracy. But how can we go about monitoring our Scrapy spiders efficiently?
That's where Spidermon comes in – it's a monitoring and testing suite specifically designed for Scrapy spiders and developed by the Scrapy team themselves.
In this Scrapy tutorial, we'll show you how to use Spidermon to keep a close eye on your spiders. We'll also cover how to deploy your spiders on the Apify platform (in the cloud) so you can take advantage of its monitoring and auto-scaling features to ensure your scraping projects run smoothly.
Setting up a Scrapy project with the Spidermon integration
For those already familiar with Scrapy and who've dabbled with Scrapy middleware, integrating Spidermon into your existing projects is quite straightforward.
1. Creating a Scrapy spider
First, let’s create a Scrapy project. Our example will scrape posts from news.ycombinator.com.
scrapy startproject scrapy_spidermon
cd scrapy_spidermon
scrapy genspider -t crawl hackernews news.ycombinator.com
We'll be using an existing Scrapy crawl spider for scraping Hacker News. You can read a detailed guide on how to build this spider in my previous article, Web Scraping with Scrapy 101 - Building a Hacker News Scraper using the CrawlSpider. To make things easier, I've included the full code below so you can follow along and try it on your own.
# spiders -> hackernews.py
# Add imports CrawlSpider, Rule and LinkExtractor 👇
from scrapy.spiders import CrawlSpider, Rule
from scrapy.linkextractors import LinkExtractor

class HackerNews(CrawlSpider):
    name = 'hackernews'
    allowed_domains = ['news.ycombinator.com']
    start_urls = ['https://news.ycombinator.com/news']

    custom_settings = {
        'DOWNLOAD_DELAY': 1  # Add a 1-second delay between requests
    }

    rules = (
        Rule(LinkExtractor(allow=[r'news\.ycombinator\.com/news$']), callback='parse_article'),
        Rule(LinkExtractor(restrict_css='.morelink'), callback='parse_article', follow=True),
    )

    # When using the CrawlSpider we cannot use a parse function called "parse".
    # Otherwise, it will override the default function.
    def parse_article(self, response):
        for article in response.css('tr.athing'):
            yield {
                "URL": article.css(".titleline a::attr(href)").get(),
                "title": article.css(".titleline a::text").get(),
                "rank": article.css(".rank::text").get().replace(".", "")
            }
2. Installing and enabling Spidermon
Spidermon allows us not only to build monitors but also implement notifications for monitor runs.
To have access to all its features, the recommended way to install Spidermon is by running the command below:
pip install "spidermon[monitoring]"
After the installation is complete, add the following lines in your settings.py:
SPIDERMON_ENABLED = True
EXTENSIONS = {
    'spidermon.contrib.scrapy.extensions.Spidermon': 500,
}
This activates Spidermon and makes it a part of our Scrapy project's extensions.
Setting up an item validation monitor
An item validator monitor in Spidermon enables us to validate scraped items against predefined schemas. In other words, this monitor will check if any of the predefined information in the schema is missing from the scraped data.
In practice, we'll use JSON schema validation to ensure the data our spider extracts meets our defined quality standards. To write an item validation monitor, we'll define a monitor class that checks for validation errors recorded during the scraping process. To do this, we can create a new file called monitors.py to contain all the monitors’ logic.
# monitors.py

from spidermon import Monitor, MonitorSuite, monitors
from spidermon.contrib.monitors.mixins import StatsMonitorMixin

class ItemValidationMonitor(Monitor, StatsMonitorMixin):
    @monitors.name('Item validation schema')
    def test_no_item_validation_errors(self):
        validation_errors = getattr(
            self.stats, 'spidermon/validation/fields/errors', 0
        )
        self.assertEqual(
            validation_errors,
            0,
            msg='Found validation errors in {} fields'.format(validation_errors)
        )

class SpiderCloseMonitorSuite(MonitorSuite):

    monitors = [
        ItemValidationMonitor
    ]
This code defines a monitor suite that runs when a spider is closed and checks if there are any item validation errors. If any are present, it raises an error with a message indicating the number of fields with validation errors.
Implementing JSON schema validation
Next, we'll define the JSON schema based on the structure of the items we're scraping. Based on our code, we expect each extracted item from Hacker News to contain a URL, title and rank
Next, let’s create a JSON schema to validate the data scraped by our Scrapy spider. In the context of Spidermon, it's used to ensure that the items scraped by your spider have the correct structure.
{
    "$schema": "http://json-schema.org/draft-07/schema",
    "type": "object",
    "properties": {
        "URL": {
            "type": "string"
        },
        "title": {
            "type": "string"
        },
        "rank": {
            "type": "string"
        }
    },
    "required": ["URL", "title", "rank"]
}
When Spidermon validates an item, it checks that it's a JSON object and that it has the "URL", "title", and "rank" properties, all of which should be strings. If an item doesn't meet these criteria, Spidermon will consider it invalid and add an error to the item's _validation field.
Configuring settings.py
Finally, we have to go back to our scraper’s settings.py file and add a few lines of code to enable the item validation logic.
# settings.py

# Spidermon Item Validation Configuration
ITEM_PIPELINES = {
   'spidermon.contrib.scrapy.pipelines.ItemValidationPipeline': 800,
}

SPIDERMON_VALIDATION_SCHEMAS = (
    './schemas/news_item.json',
)

SPIDERMON_SPIDER_CLOSE_MONITORS = (
    'scrapy_spidermon.monitors.SpiderCloseMonitorSuite',
)
In the code above, the ITEM_PIPELINES setting adds the ItemValidationPipeline which validates the scraped items against a defined schema.
The SPIDERMON_VALIDATION_SCHEMAS setting points to the JSON schema file (news_item.json) used for this validation.
Lastly, the SPIDERMON_SPIDER_CLOSE_MONITORS setting specifies the SpiderCloseMonitorSuite to be run when a spider finishes its job, allowing for checks such as validation error monitoring to be performed at the end of a spider run.
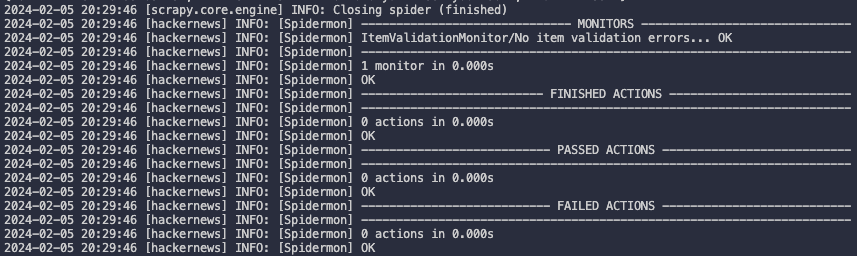
Running the item validation monitor
After that last adjustment, our monitor is ready to go. Run your spider, and you should see the item validation monitor running right after the spider finishes.
Enabling Spidermon notifications on Slack
Reviewing monitoring logs directly from our terminal can be quite cumbersome, especially if we plan to deploy our web scrapers in the cloud to run on a schedule. Fortunately, Spidermon provides built-in support for seamless integration with platforms such as Slack, Telegram, and Discord.
For the purpose of this guide, we'll focus on configuring Slack notifications. However, instructions for setting up notifications for other platforms can be found in the Spidermon documentation.
To enable Slack notifications, you'll need to insert the following code into your settings.py file, after creating and configuring a Slack bot:
#settings.py

SPIDERMON_SLACK_SENDER_TOKEN = '<SLACK_SENDER_TOKEN>'
SPIDERMON_SLACK_SENDER_NAME = '<SLACK_SENDER_NAME>'
SPIDERMON_SLACK_RECIPIENTS = ['@yourself', '#yourprojectchannel']
Update your monitors.py file to add the Slack notification action:
# monitors.py
from spidermon.contrib.actions.slack.notifiers import SendSlackMessageSpiderFinished

# (...monitors code...)

class SpiderCloseMonitorSuite(MonitorSuite):

    monitors = [
        ItemValidationMonitor
    ]

    monitors_failed_actions = [
        SendSlackMessageSpiderFinished,
    ]
Once you've set everything up, run your spider. You should then see a notification like the one illustrated below appear in your chosen Slack channel if the monitor encounters any issues with the extracted data.

Deploying and monitoring spiders in the cloud
After using Spidermon to enable monitors for our spider, the next step is to deploy it to the cloud. Opting for a cloud platform like Apify, designed specifically for web scraping projects, can significantly enhance our spider’s functionality. Apify offers benefits such as task scheduling, easy integration with third-party tools, and data management solutions.
Setting up a spider as an Apify Actor is quite simple, thanks to Apify's native Scrapy migration tool, which will simplify the adaptation of our spider for cloud deployment.
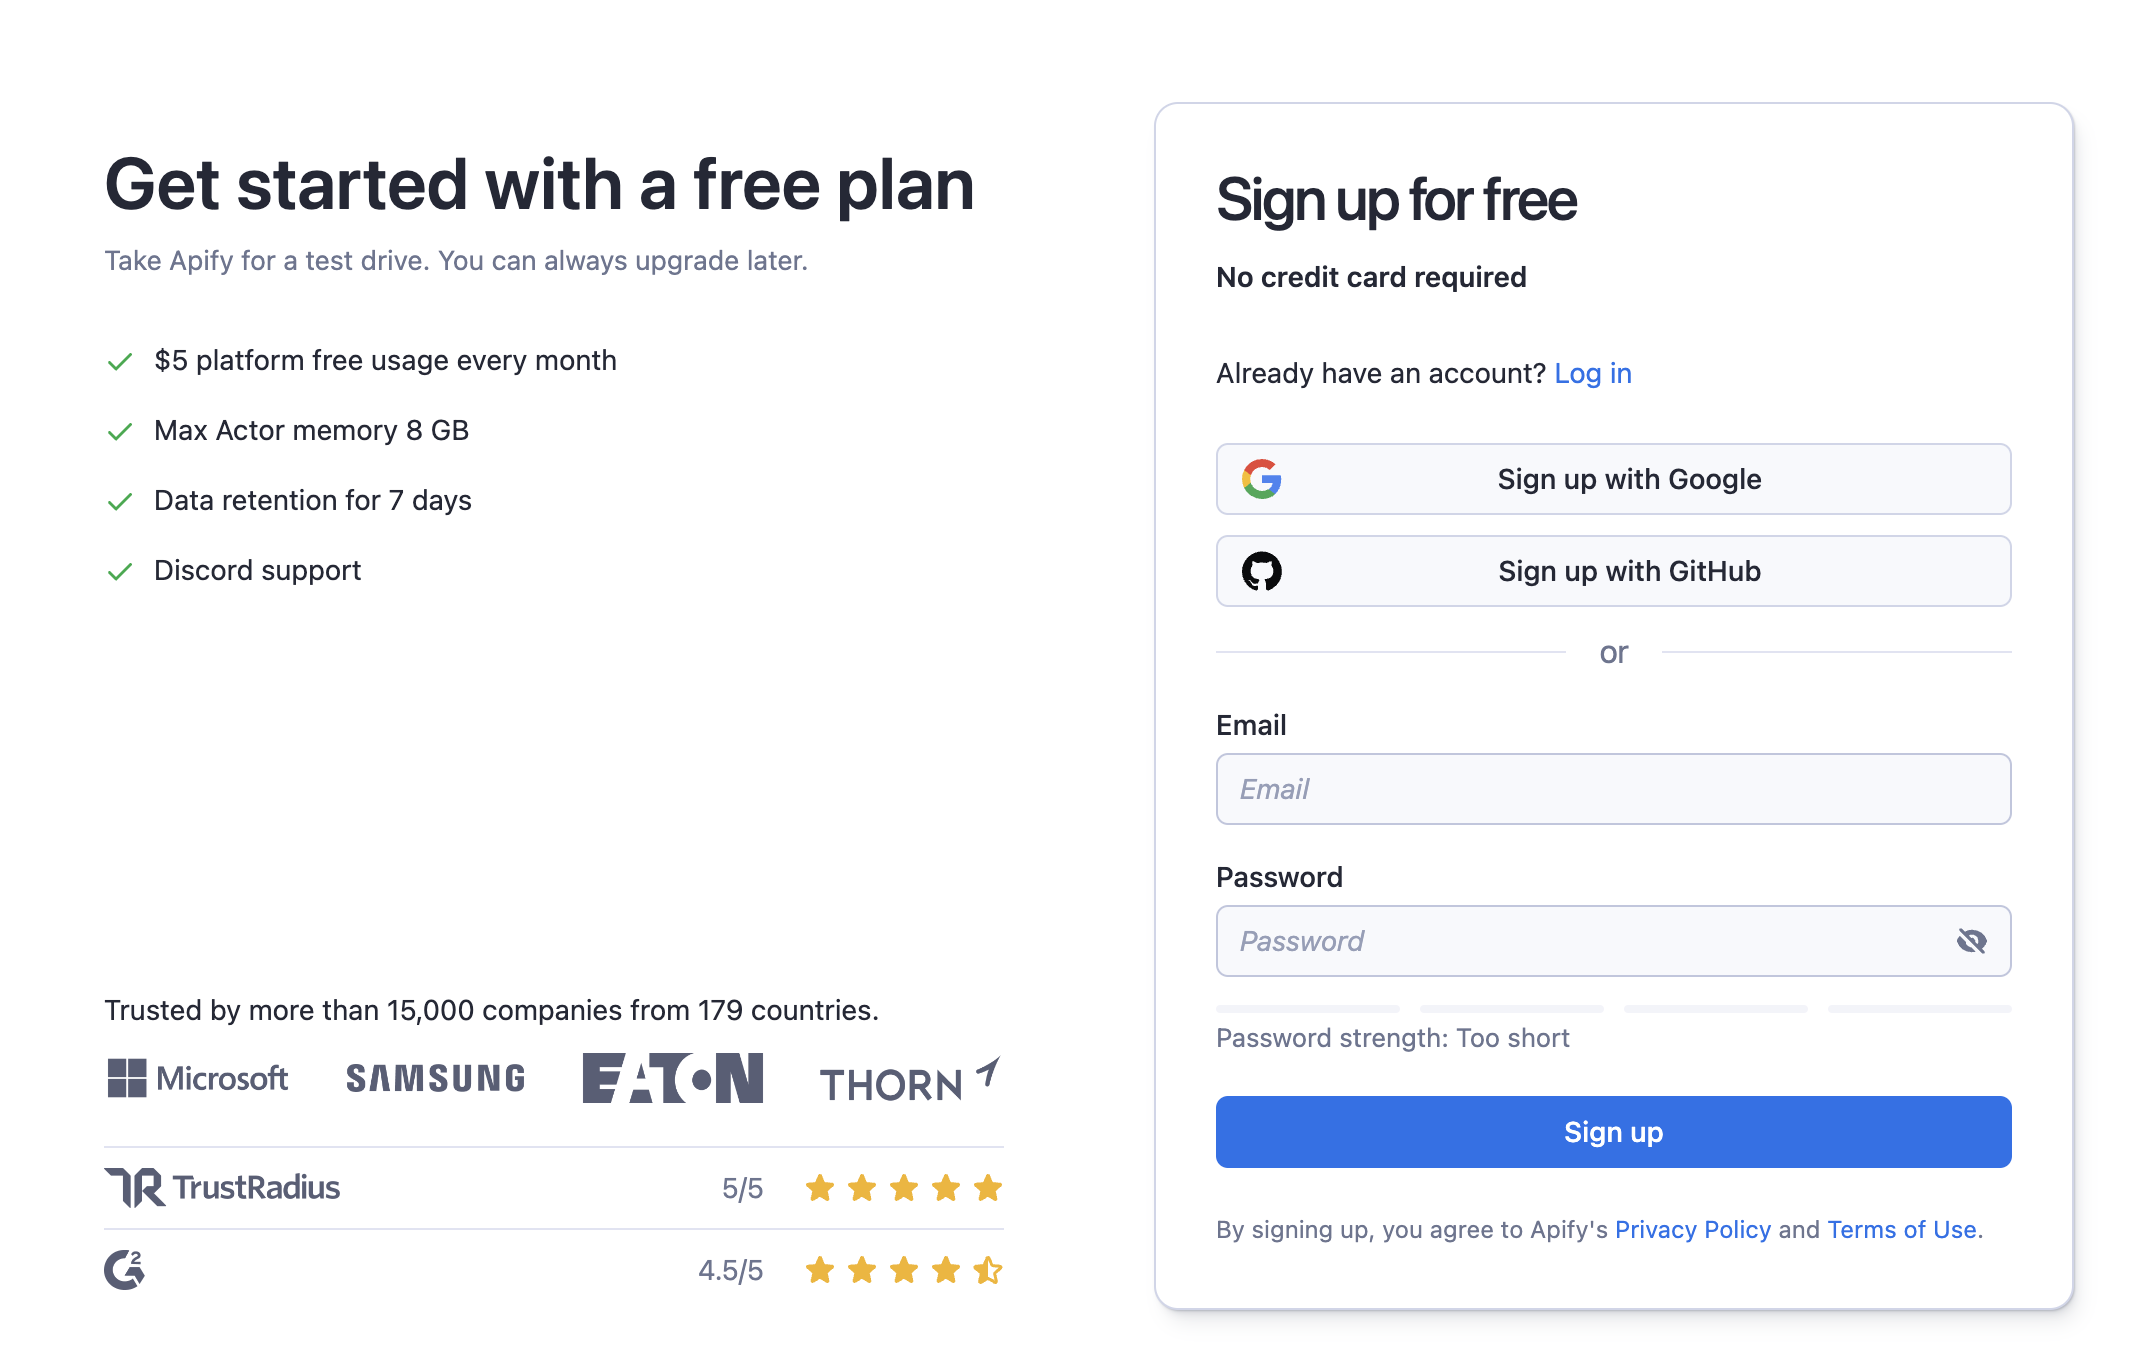
If you're new to Apify, the first steps are to install the Apify CLI and create a free Apify account.
Getting started: Apify CLI and account
Setting up a free Apify account is quite straightforward. Simply click on this link and choose your preferred signup method to get started. You'll receive monthly platform credits at no cost, with no credit card information required.
Next, install the Apify CLI by using one of the methods below:
# Homebrew
brew install apify-cli

# NPM
npm i -g apify-cli
Migrating an existing Scrapy spider
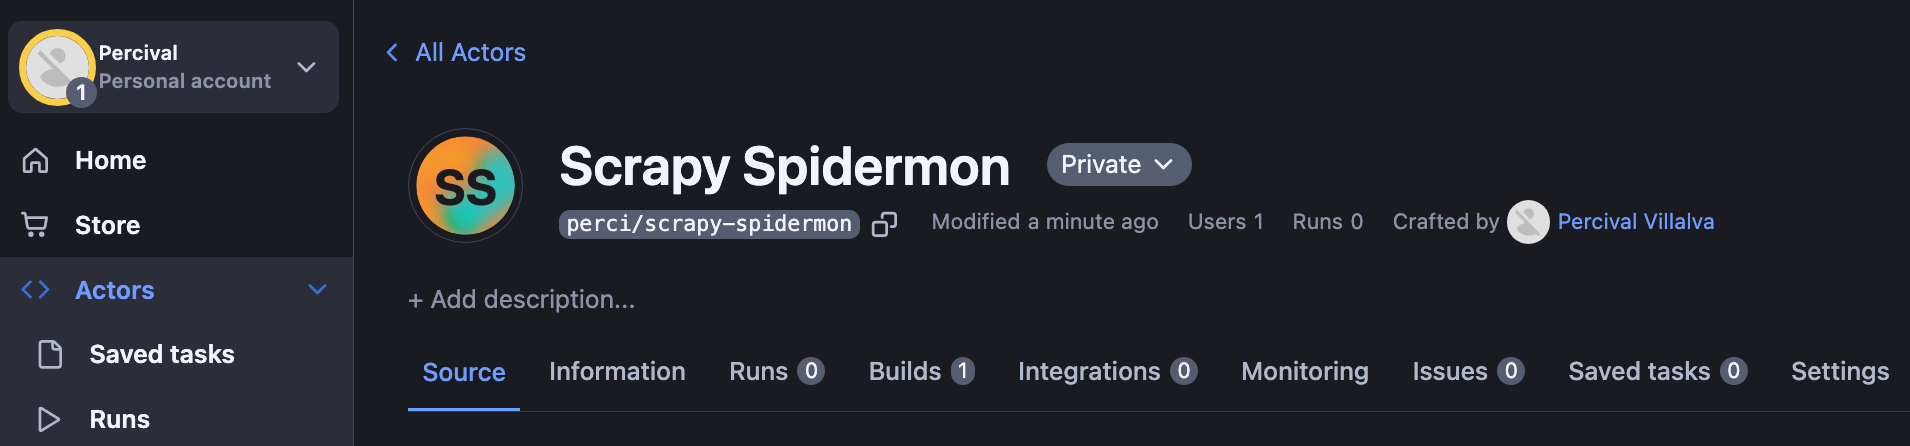
In this guide, we will “actorize” our existing HackerNews Spider. This process means that we will turn our spider into an Actor, ready to run on the Apify platform.
First, navigate to the project root where the scrapy.cfg file is located.
cd scrapy_spidermon
To begin transforming your Scrapy project into an Apify Actor, run the following command and then follow the on-screen instructions in your terminal:
apify init

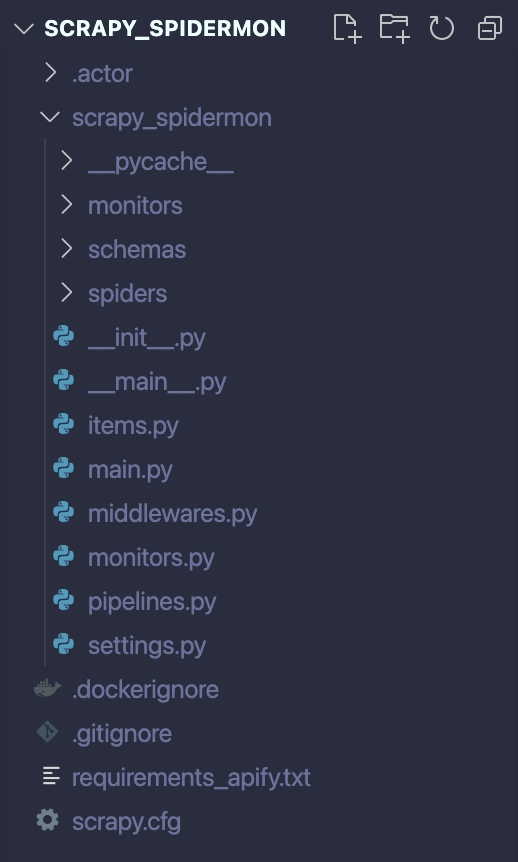
And just like that, your Scrapy Spider has been converted into an Apify Actor, ready for deployment! If you've followed the steps correctly, your project's structure should now resemble the following:
Deploy your Actor
The following command will deploy and build the Actor on the Apify platform. You can then find the newly created Actor under Actors -> My Actors.
apify push
Log in to Apify
From your terminal, run the following command:
apify login
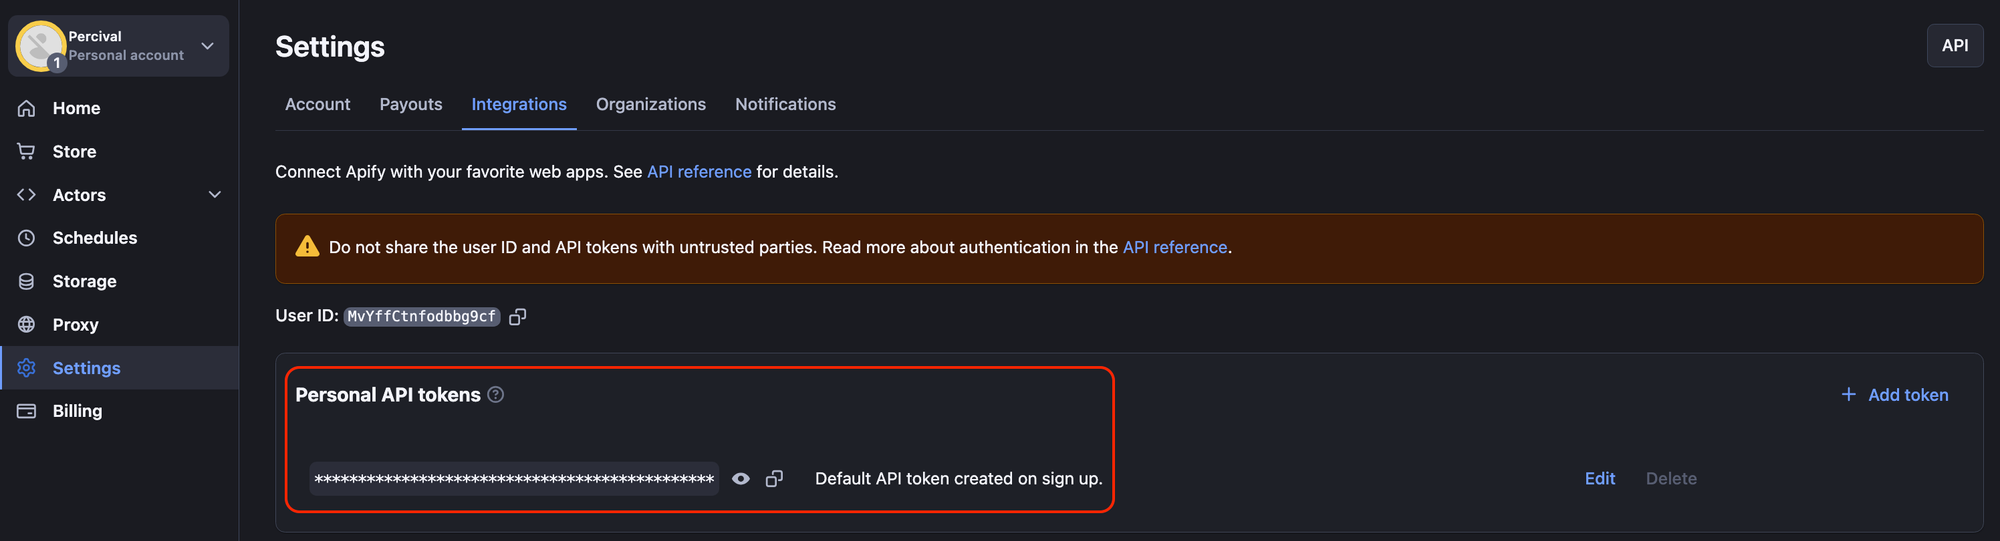
You will be prompted to provide your Apify API Token, which can be found in Apify Console under Settings > Integrations.
Monitoring Actor runs on Apify
Apify is equipped with a suite of powerful features designed to enhance our scrapers, including task scheduling, integration with third-party services, and robust monitoring capabilities.
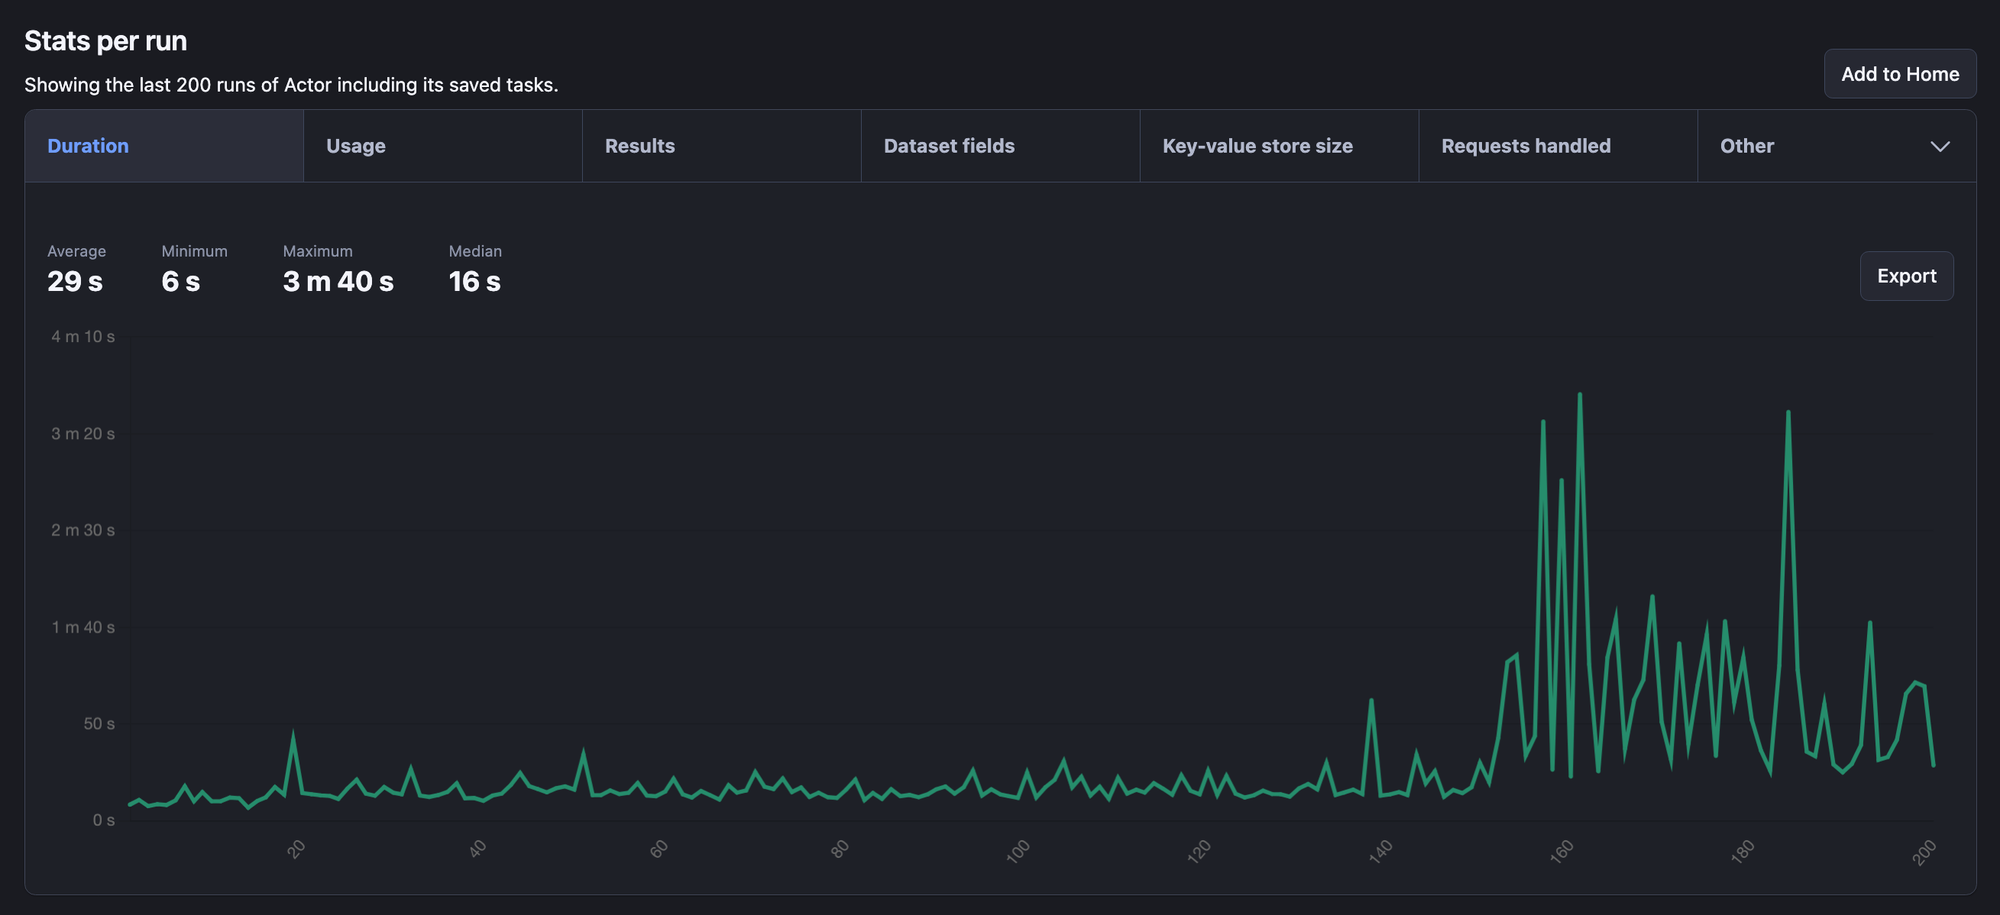
As you might have noticed, there's a specific "Monitoring" tab for your Actor. When your Actor is in operation, Apify records valuable metrics such as the average duration of each run and the number of successful and failed executions. It even allows for the setup of notifications to Slack and other platforms through its built-in integrations.
In this regard, the tools provided by Apify complement those of Spidermon and offer additional insights into the performance of your Scrapy spider.
Now you know how to manage Scrapy spiders
With these insights and spider skills at your disposal, I'm confident you have the capabilities needed to integrate Spidermon and Apify into your workflow. This will give you the means to implement advanced monitoring and testing routines for your Scrapy spiders.
If you're interested in other Python libraries and frameworks, then you might prefer to start with What are the best web scraping Python libraries, or Web scraping with Python: a comprehensive guide.