The web is a vast and dynamic space, continuously expanding and evolving. Often, there’s a need to capture a moment, be it for documentation purposes, testing, design validation, or mere nostalgia. A handy tool for any developer aiming to make capturing website screens and video recordings easier would be a treasure.
Cue in: Screen Capture Actor, a tool created to instantly provide you with crispy recordings of the websites in JPEG, GIF, and MP4 formats. But before we go through setting up this tool step-by-step, let's explore the capabilities of this screen capturing tool.
What is this screen capturing tool all about?
Capturing website content isn't new. What sets our Actor apart? Screen Capture Actor opens up a world of possibilities for developers and designers.
- Versatility: whether you want a screenshot of your latest web design on an iPhone 13 or a video recording of a page transition on a Desktop, this Actor will meet your needs.
- High quality: no more blurry images or laggy videos. Enjoy crisp, clear, and high-resolution output.
- Integration with popular languages: whether you're working with Python, TypeScript, or JavaScript, our Actor integrates seamlessly.
So on the one hand, its versatility allows for capturing screenshots and recording videos of professionally designed websites on various devices, with a high-quality output. On the other hand, the possibility of seamless integration with popular languages like Python, TypeScript, and JavaScript makes it a valuable tool for any developer's toolkit. In fact, it's so easy to set up that it could well become a non-developer's favorite. Let's see how you can automate capturing screen recordings.

Related: How to make an animated scrolling GIF of any web page

How to use a screen capturing tool
Step 1. Find the screen capture tool
Find the Screen Capture Actor (which will look like this) and click the Try for free button. You’ll be redirected from our website to the Apify Console sign-in page.

You can log in or sign up to our platform for free using your email, Gmail, or GitHub account. Once you do that, you'll find yourself in Apify Console – your workspace to run tasks for your Actors, including this one.
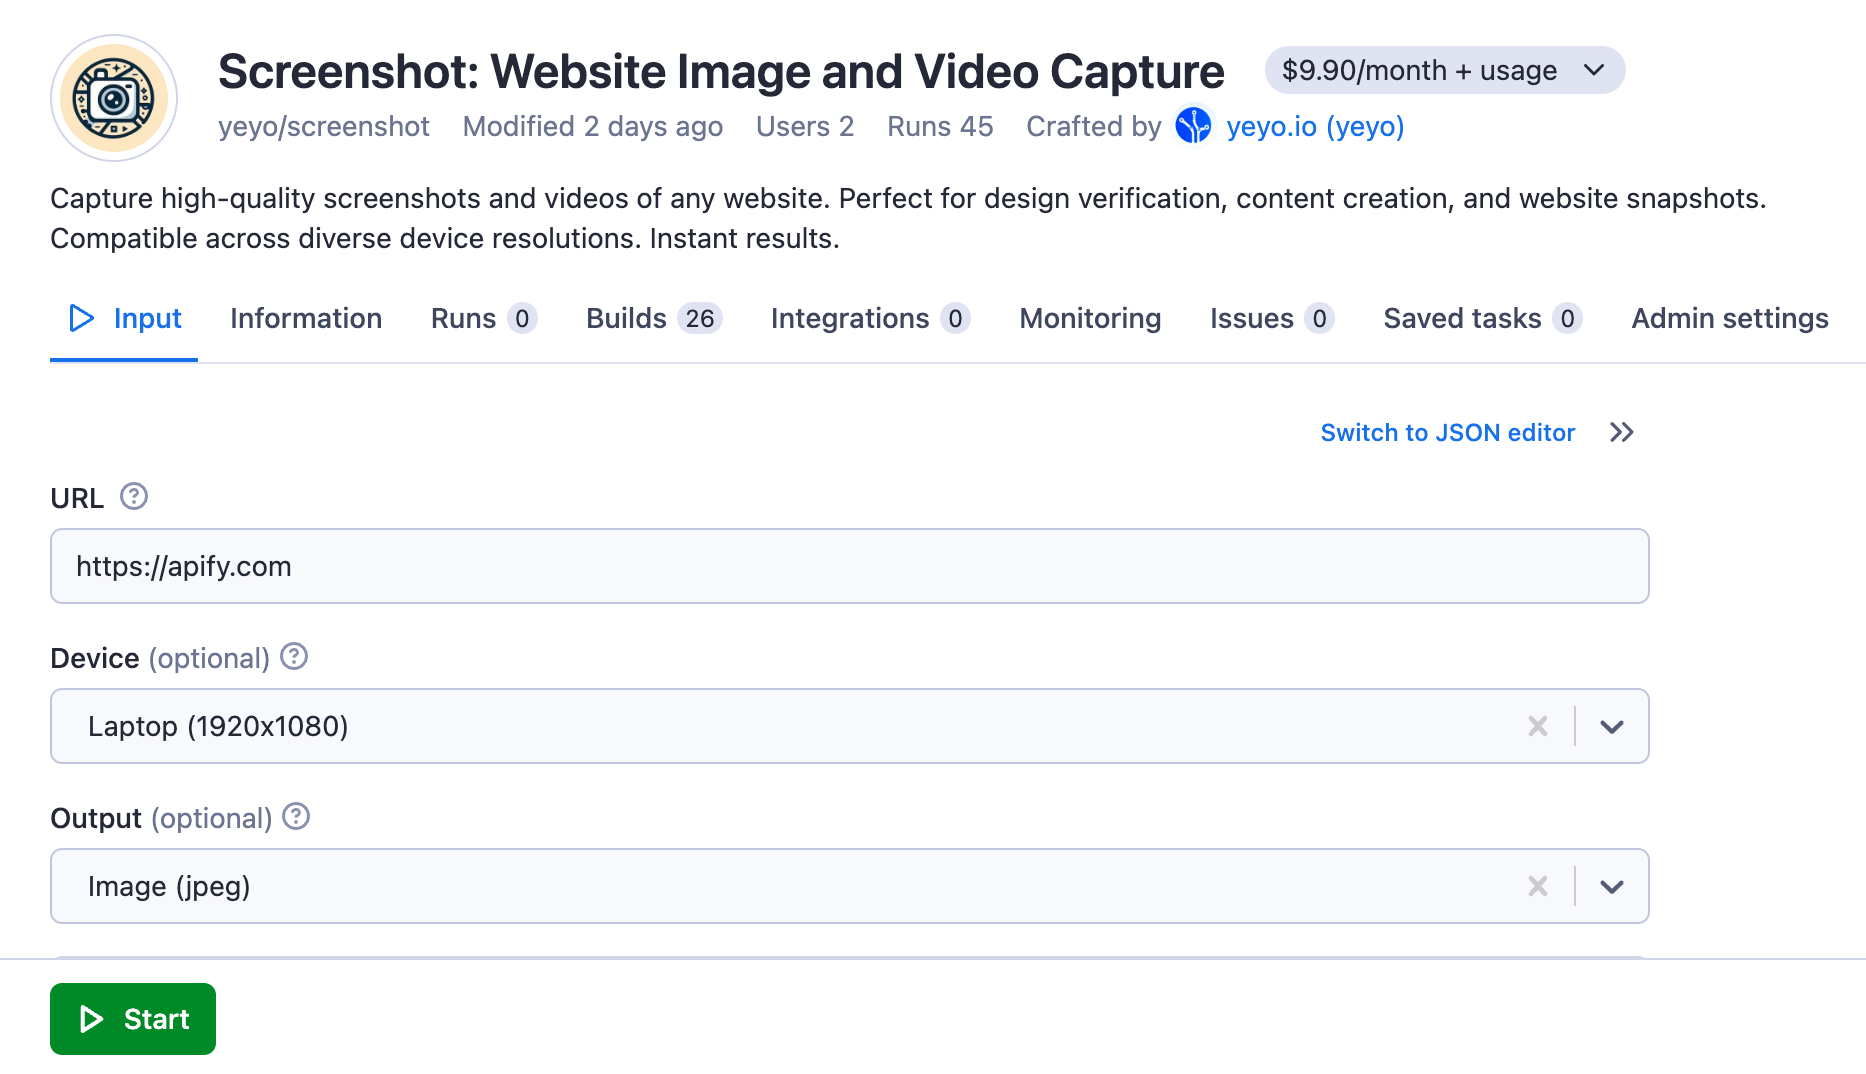
Step 2. Choose URL, device type, and output format
At this point, the screen capturing Actor is like an artist waiting for your direction. But before it gets to work, it still needs just a few details from you:
- URL of the website: add the web page you want to capture.
- Device: specify the device on which the screenshot should be taken. This helps in getting the layout just right.
- Output format: choose how you'd like to capture the site. You've got options like JPEG for images, MP4 for videos, or even a GIF if you're feeling animated.
Step 3. Hit the Start button
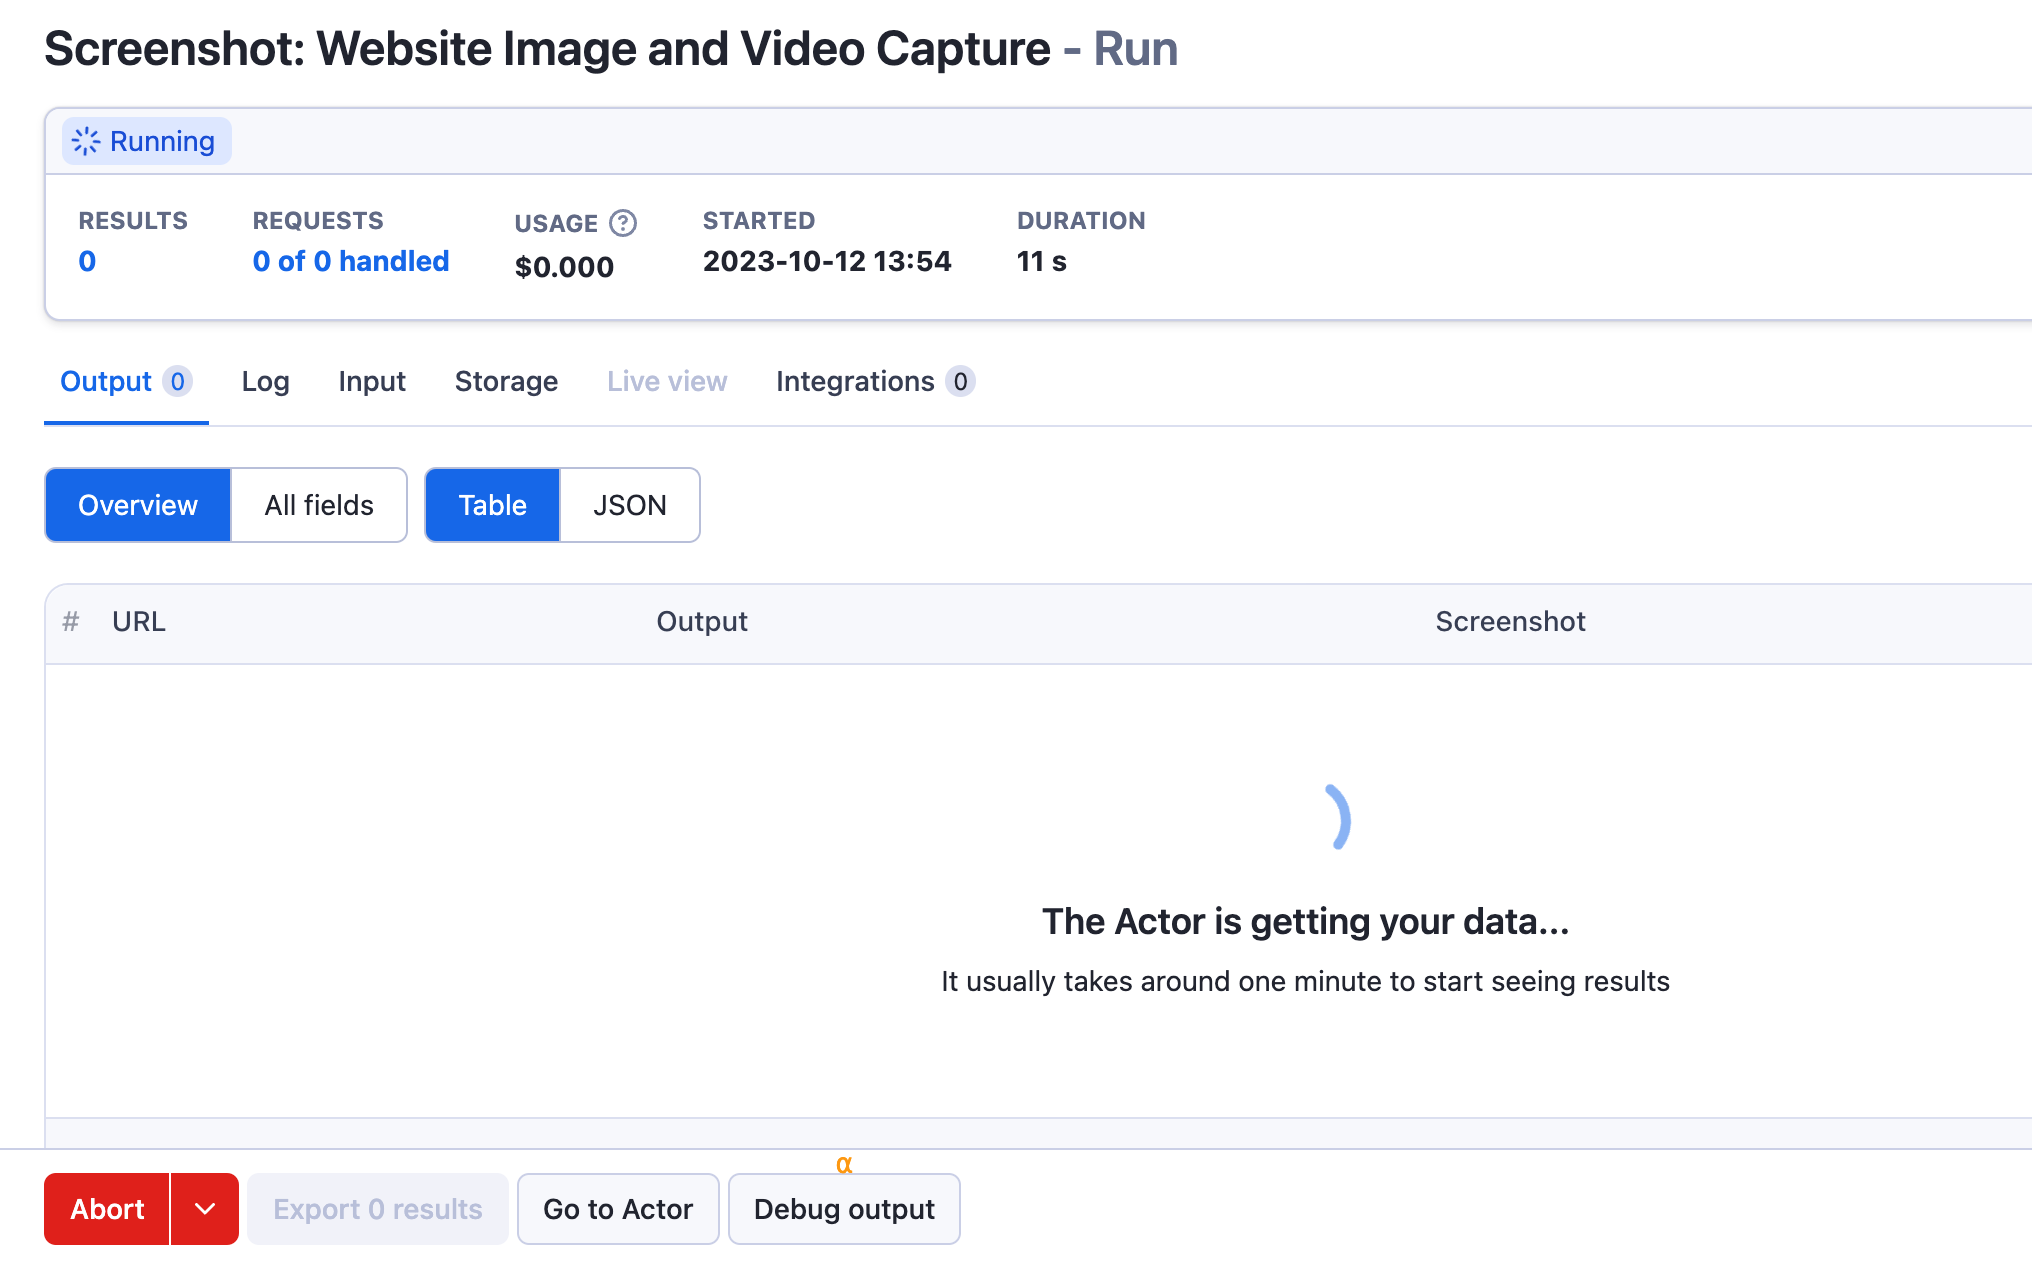
All set? Great! Click the Start button at the bottom of the page. Your Actor will spring into action, capturing the website based on the settings you've provided.
Step 4. Check out your capture
Once the Actor has done its magic, you'll see the status change to Succeeded 🏁. Now you can preview and download your capture. Just like that, you've got a snapshot or video of a website, ready to use however you like.
- Image format: Apify home page as image (jpeg) format.
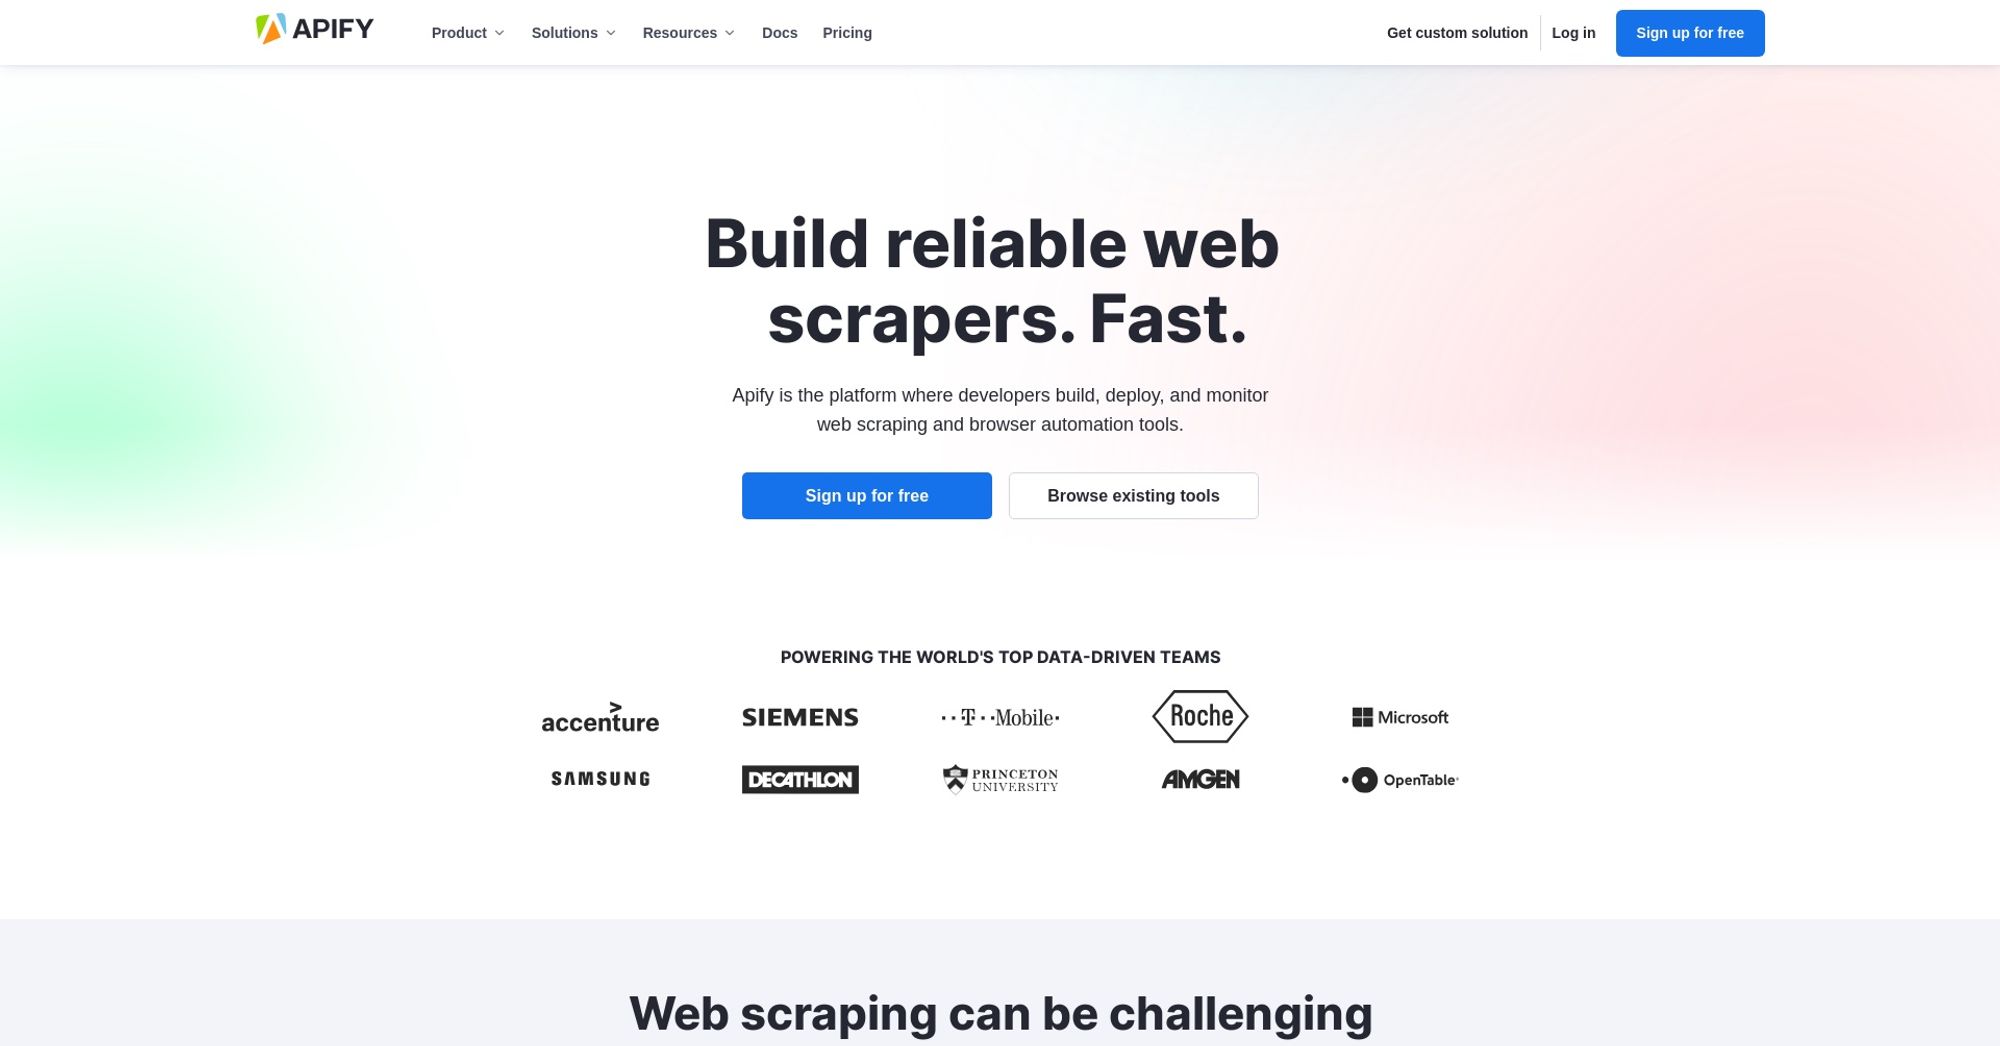
- Video (mp4) format: Apify home page in video (mp4) format.
Screen captured in MP4 format
You can also download any website as a GIF image.
What are the most frequent use cases of screen capture tool?
So now that we know how the screen capture tool works, what are the use cases and in which scenarios the Actor can be useful?
- Design verification: ensure that your website's responsive design is flawless across multiple device resolutions. Consider hiring a professional designer to create a logo for your website that will match your overall brand identity and design principles.
- Content creation: capture high-quality screenshots for your blogs, tutorials, or e-books.
- Website monitoring: record videos of user interactions for analytics and feedback.
Screen Capture Actor can bring efficiency and quality to website screen captures and video recordings. It’s not just another tool but a game-changer for developers, content creators, and anyone who needs to capture a moment on the web. So go ahead and experience its capabilities or explore other fascinating tools in Apify Store.
Related: How to record a Cypress test using Cypress Recorder
FAQs
What inputs does the Actor accept?
You can provide a URL of the website you wish to capture. You can also specify the device resolution from a wide range of options including various models of iPhones, iPads, Pixel devices, and more. Additionally, you can choose the output format as either .jpeg (for images), .mp4, or .gif (for videos).
What does the output look like?
The output is a structured JSON format that provides an overview, including the URL, the chosen output format, and a link to the screenshot or video capture.
Are there any limitations?
The primary constraints are based on the input parameters you provide. Ensure the URL is accessible and that you've chosen a valid device and output combination.
Can I integrate this Actor into my existing project?
Absolutely! Whether you're working with Python, TypeScript, or JavaScript, the Actor can be seamlessly integrated into your workflow. Check out the Integrations page for reference and inspiration.
How does this Actor differ from other screenshot tools?
This Actor offers adaptability across a wide range of devices, ensuring precision and clarity in captures. Its capability to integrate harmoniously with different programming languages and projects sets it apart.
Is there a default device and output setting?
Yes, by default, the Actor uses a Laptop (1920x1080) resolution and outputs in .jpeg format.
How do I view the captured screenshots or videos?
The output JSON will provide you with a direct link to view or download the screenshot or video.
Can I use this Actor to automate browser interactions before taking a screenshot or video?
The primary function of this Actor is to capture visuals. For more complex browser automations, you may need to integrate with other tools or Actors.
Are the screenshots and videos stored securely?
Yes, we prioritize user data security and ensure that your captures are stored with the utmost security measures.


