Best Buy is commonly used as a reference retailer in consumer electronics, and its product pages are frequently incorporated into price-monitoring tools, competitive intelligence pipelines, and e-commerce analytics systems.
Best Buy publishes detailed product information - including pricing, availability, specifications, and reviews - across thousands of SKUs, but extracting this data reliably at scale requires more than manual scraping or ad-hoc scripts. Official APIs often expose core product fields, but the website can include extra presentation-layer details such as promo badges, special pricing, or store-specific phrasing that may not map 1:1 to API fields or may be hard to reproduce exactly from API responses.
In this tutorial, you’ll learn how to scrape Best Buy product data programmatically using E-commerce Scraping Tool by Apify and extract exactly what users see, at scale, while handling anti-bot measures automatically.
We’ll walk through how to run the scraper via the API, configure the input, and retrieve structured results that are ready to plug into databases, dashboards, or downstream data workflows.
What you need to get started
To follow along with this tutorial, make sure you have:
- An Apify account
- A basic understanding of how Apify Actors work when called via API
- Python 3.10+ installed locally
- An IDE (e.g., Visual Studio Code with the Python extension or PyCharm)
- Familiarity with Python syntax and the HTTP request mechanism
Set up your Best Buy scraping project
Make sure you’re already in the directory where you want the scraper project to live. Once you’re there, create the project folder and step into it.
mkdir ecommerce-products
cd ecommerce-products
Next, let’s set up a virtual environment inside of it:
python -m venv .venv
To activate the virtual environment on Windows, execute this command in the IDE's terminal:
.venv\Scripts\activate
Equivalently, on Linux/macOS, run:
source .venv/bin/activate
Access the Apify Actor
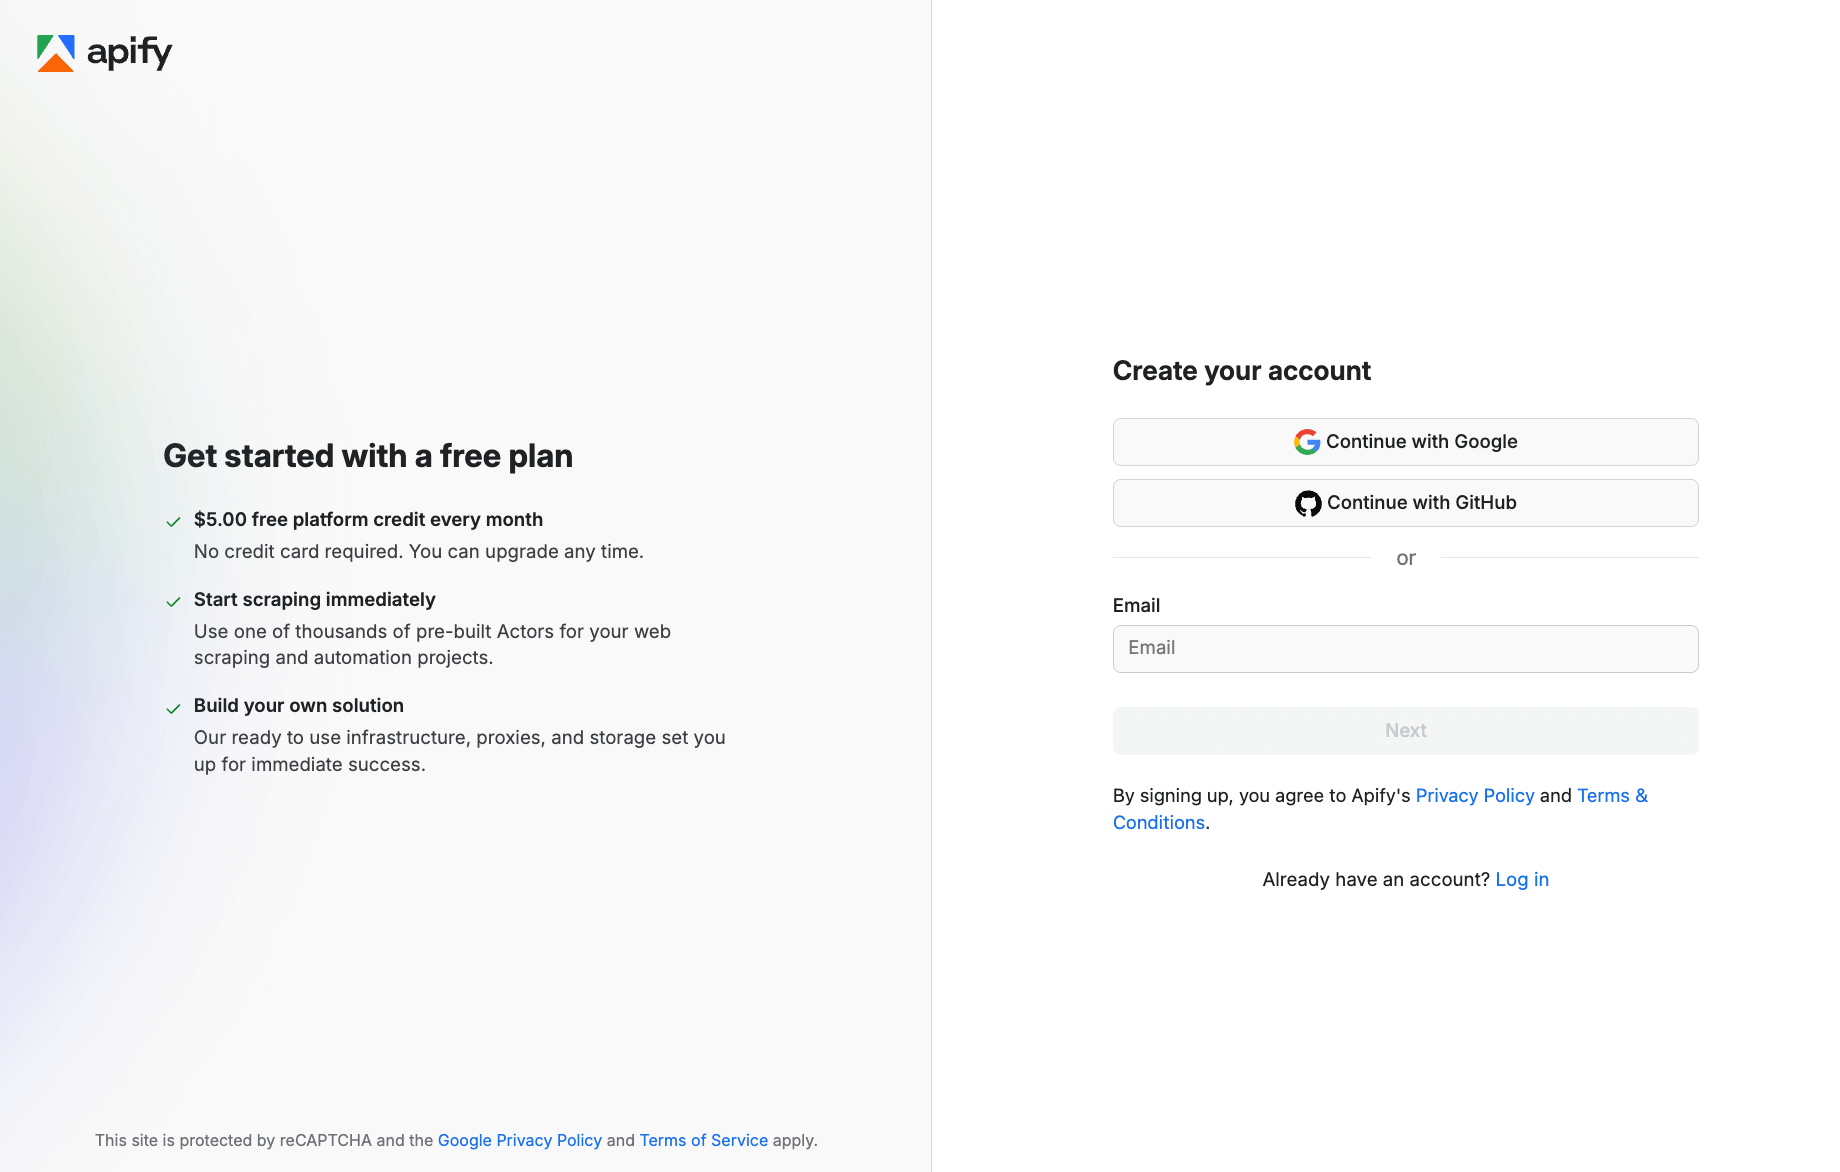
Start by logging into your Apify account. If you don’t have one, you can easily create one for free. You’ll enter Apify Console - your dashboard for running Apify scrapers.
Create a free account or sign up with your Google or GitHub account.
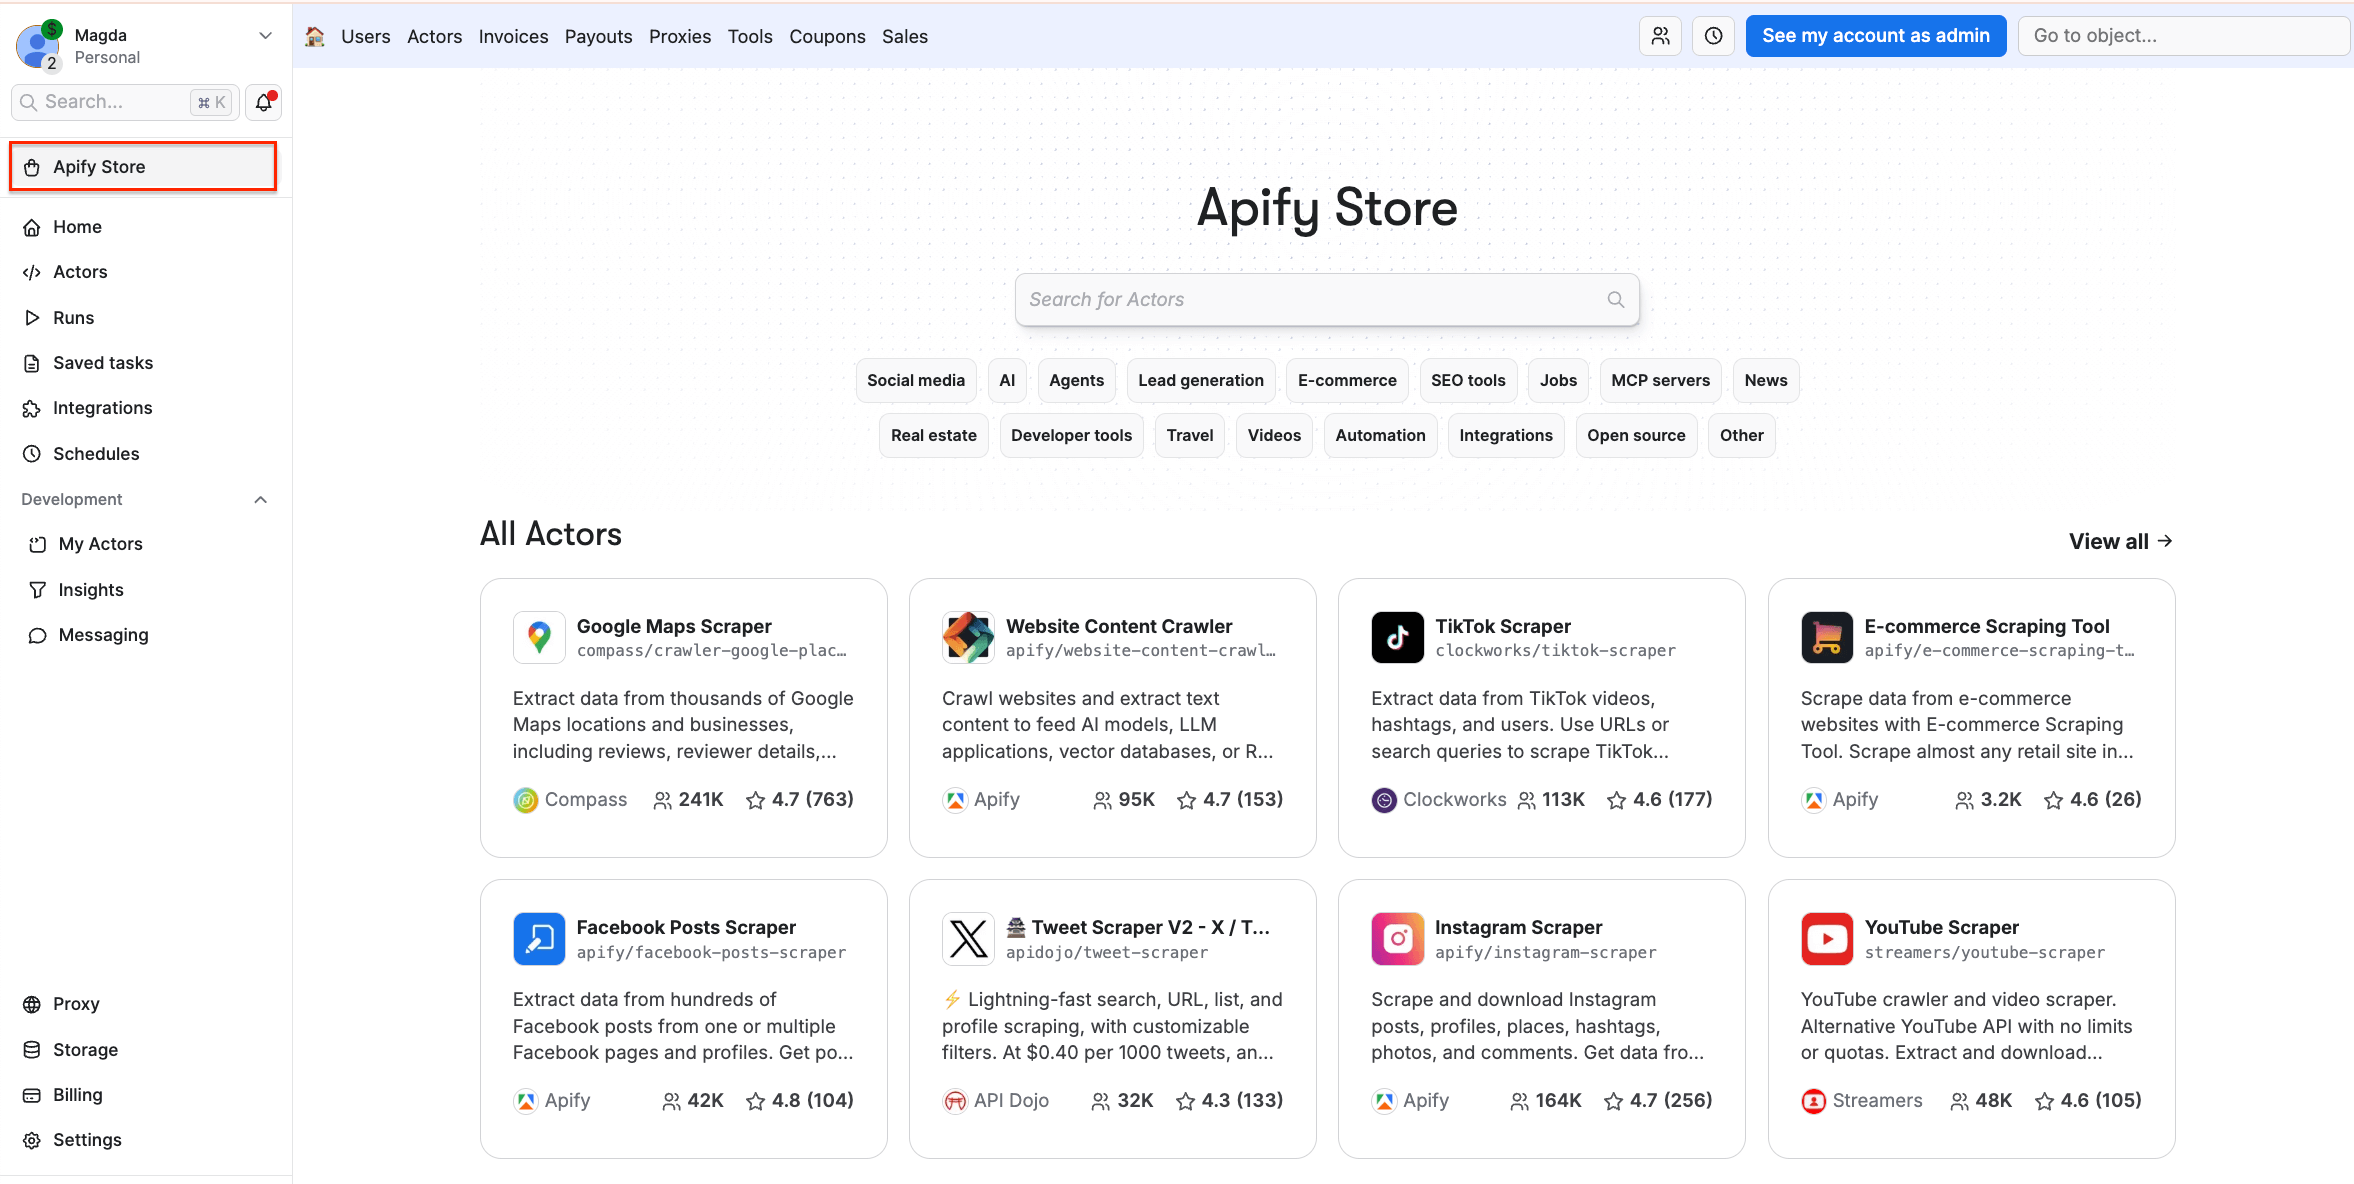
Then, navigate to Apify Store - a marketplace of 10,000+ scrapers and automation tools, called Actors.
- Built-in proxy management
- Anti-bot evasion support
- Integrated storage with structured exports in CSV/Excel/JSON
- Input configuration schema with standardized parameters (URLs, keywords, limits, etc.)
- REST API endpoint for start, stop, and data retrieval
- Easy integration with third-party apps or other Actors
Every Apify Actor can be triggered programmatically via the Apify API, opening up lots of ways to integrate it into your workflows.
On Apify Store, search for E-commerce Scraping Tool and select it from the list:
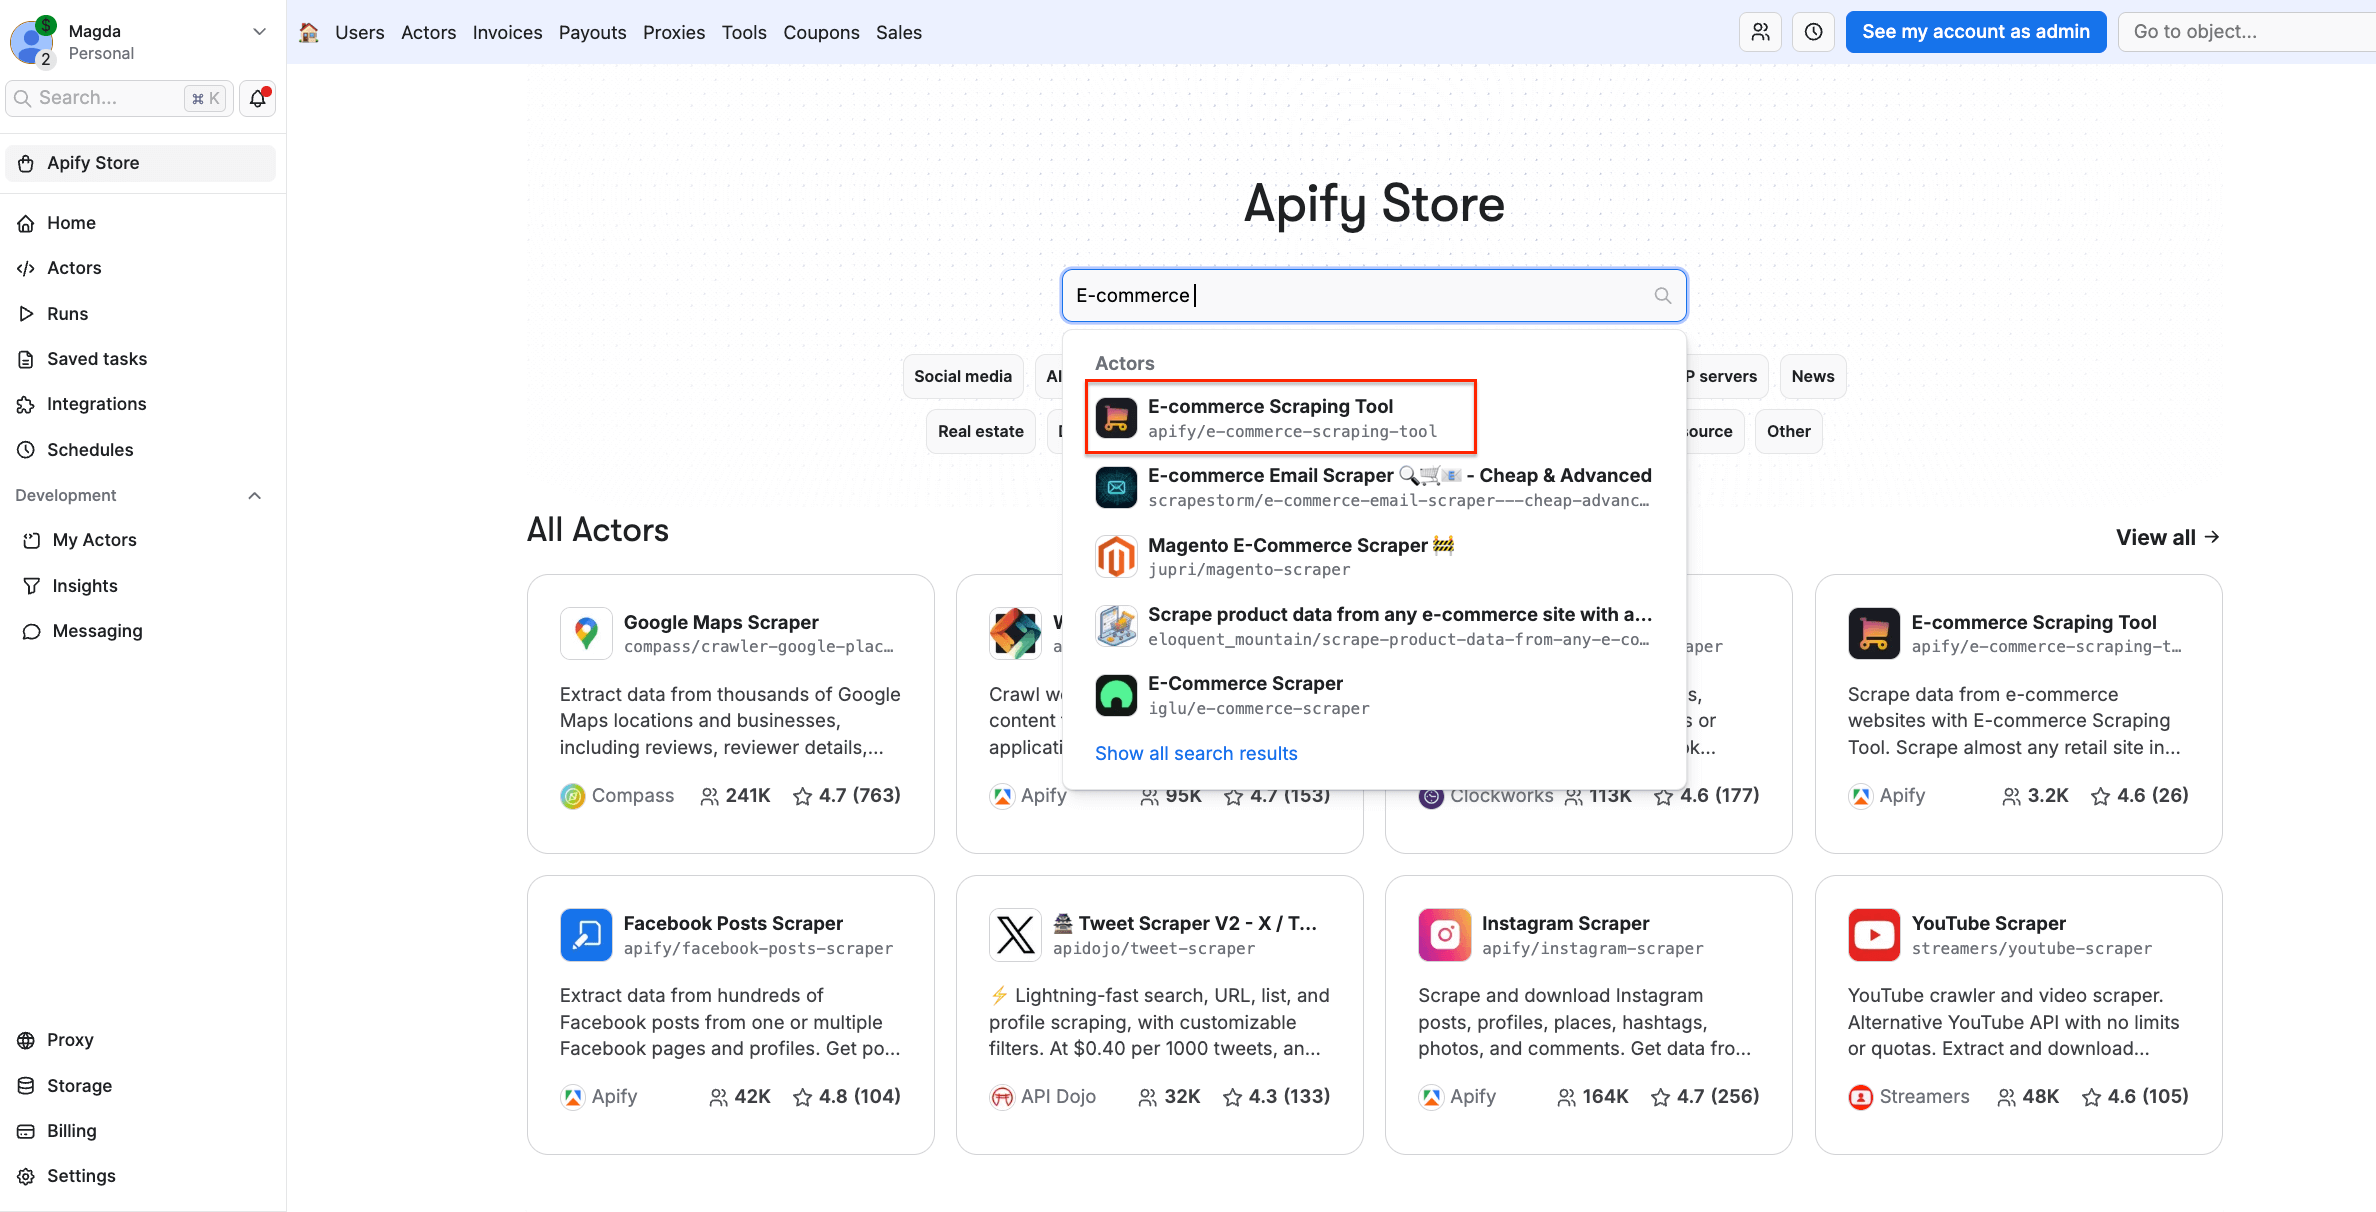
You’ll be redirected to the Actor page.
Test the scraper
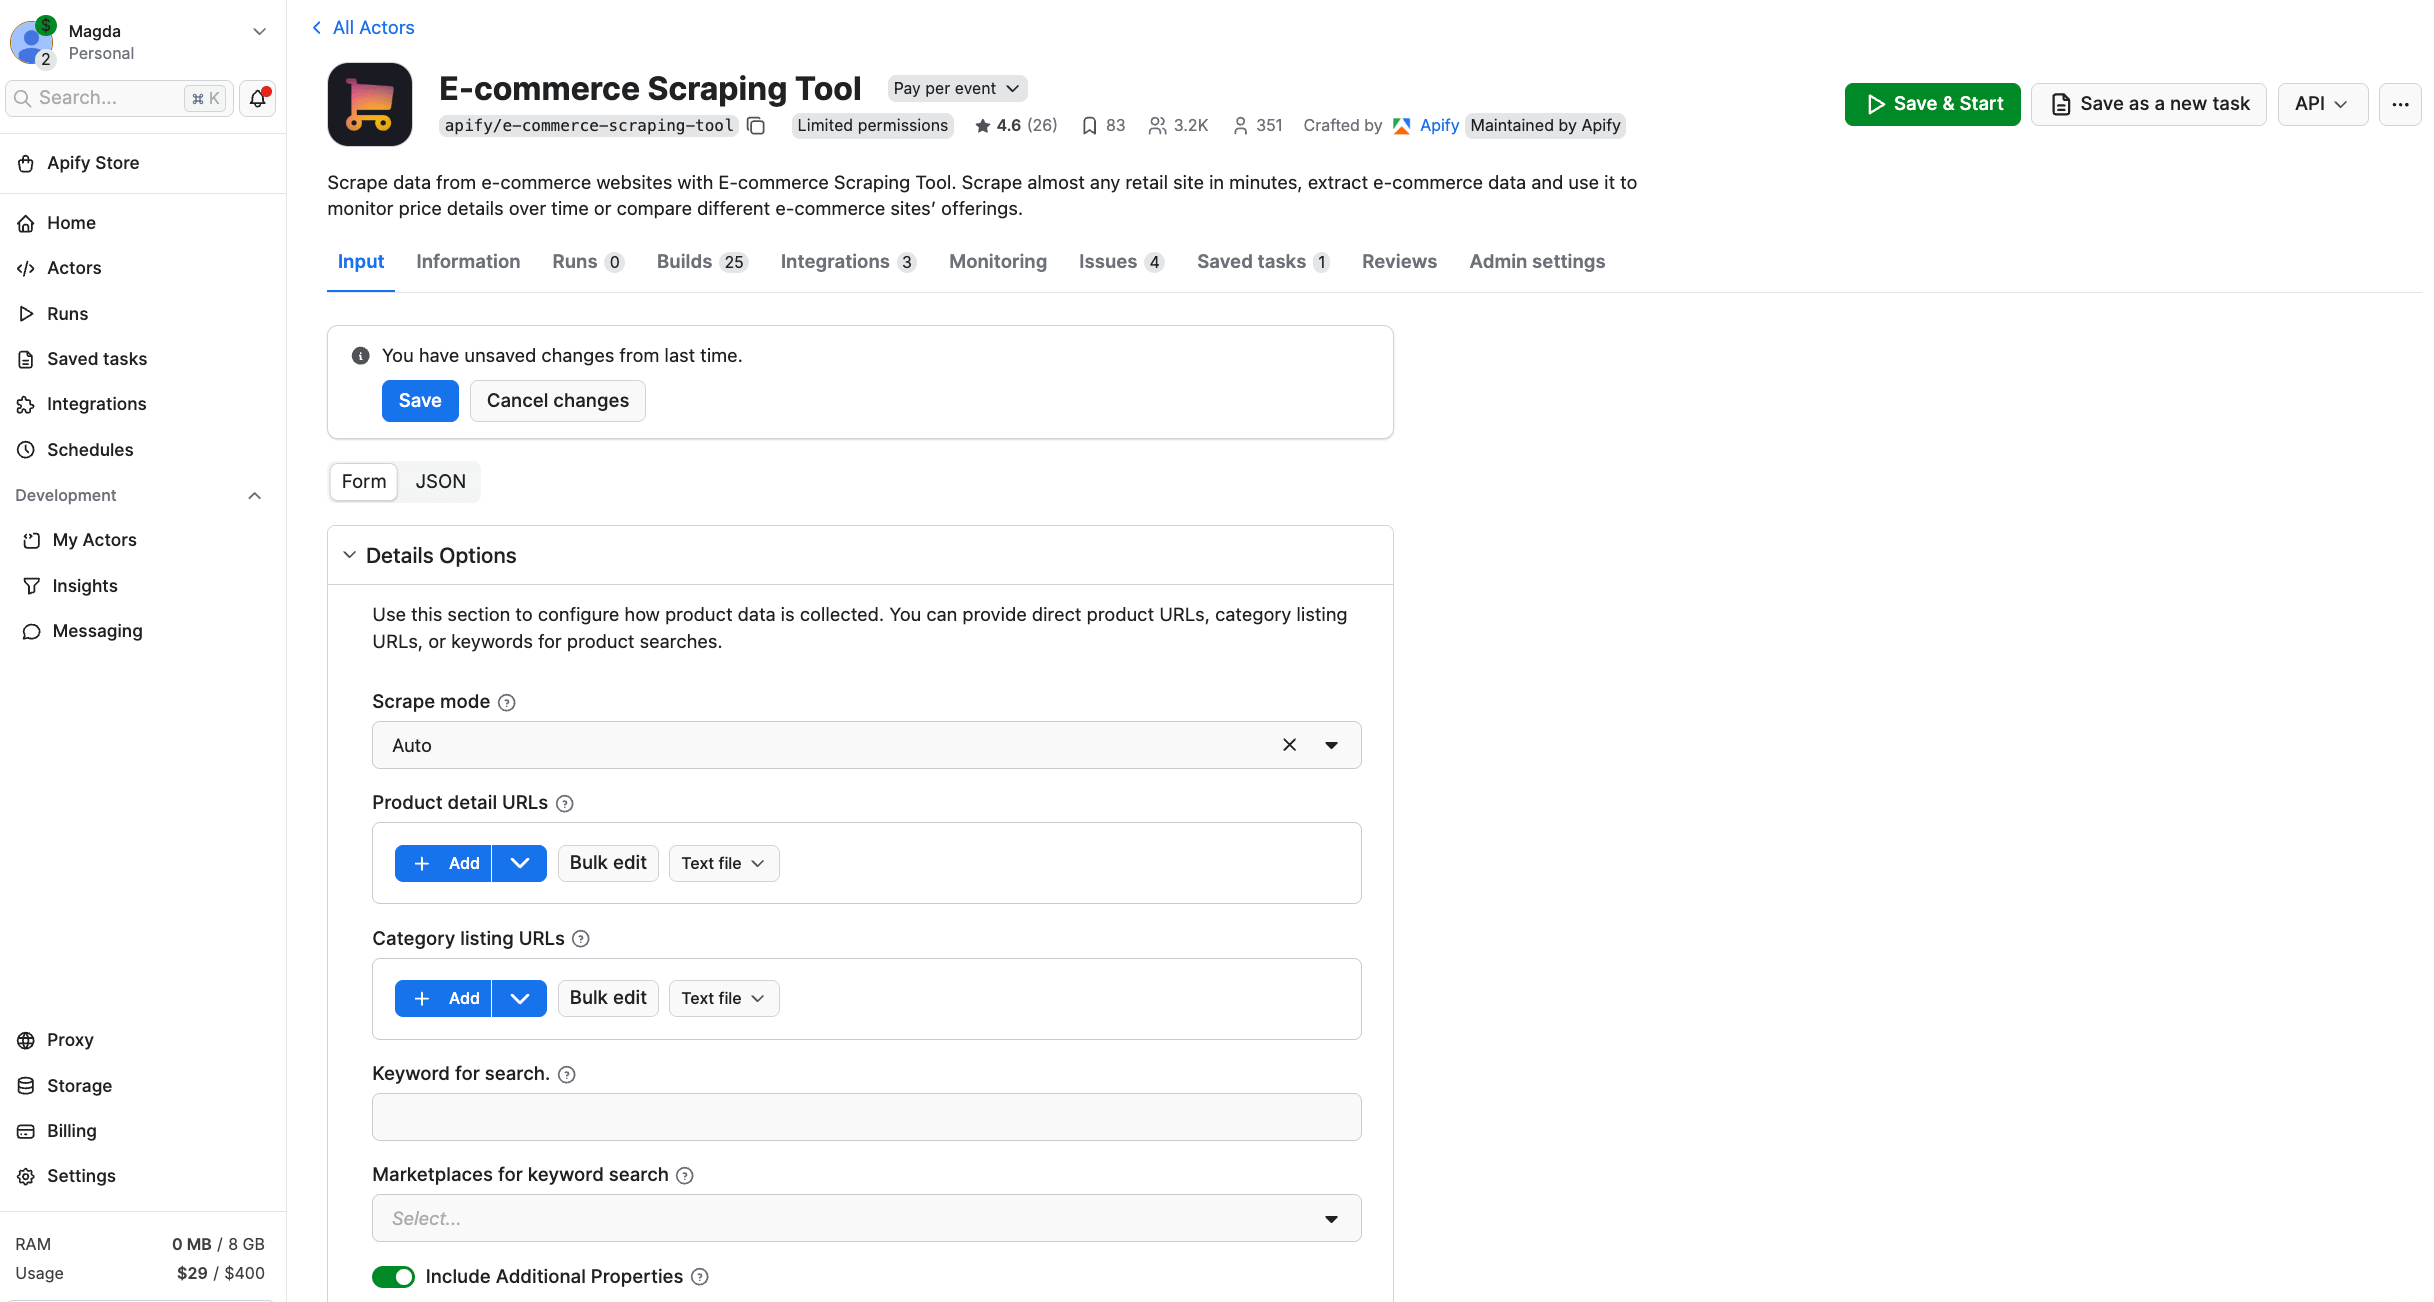
Before diving into the Python integration, let’s test E-commerce Scraping Tool in a no-code workflow inside Apify Console. This is a convenient way for non-technical users to retrieve e-commerce product data.
To configure the Actor, you can choose one of the three input methods: Category listing URLs, Product detail URLs, and Keywords search.
| Input type | What it is | When to use it |
|---|---|---|
| Category listing URLs | Search results or category pages with multiple products | Discover many products, monitor whole categories, find new arrivals |
| Product detail URLs | URLs pointing directly to a single product page | Monitor known SKUs, track specific items for price/stock changes |
| Keyword search | Search marketplaces (i.e. amazon.de, ikea.com, kaufland.at) by keywords | Fast search — no need to gather URLs. Great for market research |
As you can see, E-commerce Scraping Tool can extract data from almost any website in single run, including Amazon, Walmart, eBay, Alibaba, and local e-shops.
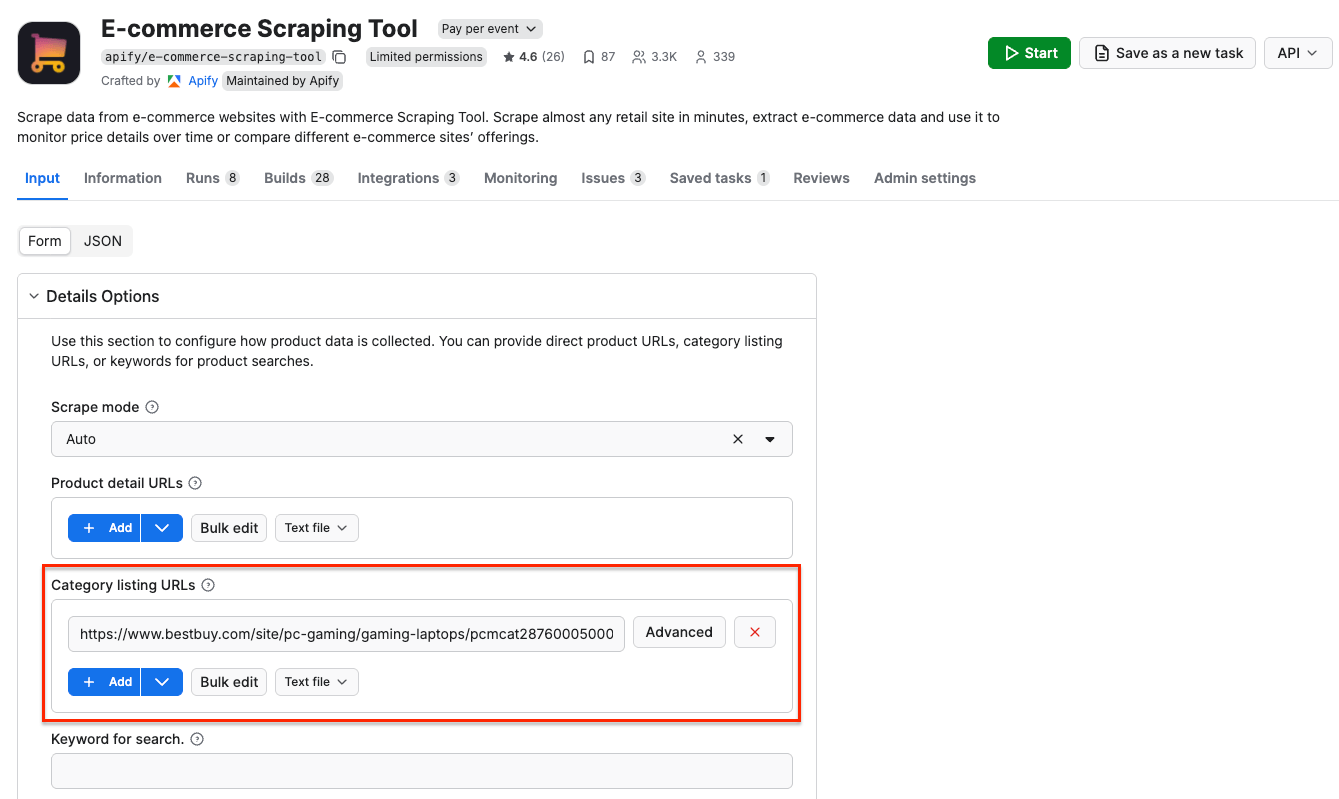
We’ll focus on Best Buy only and use a category listing URL as input, extracting product information from the Gaming Laptops category.

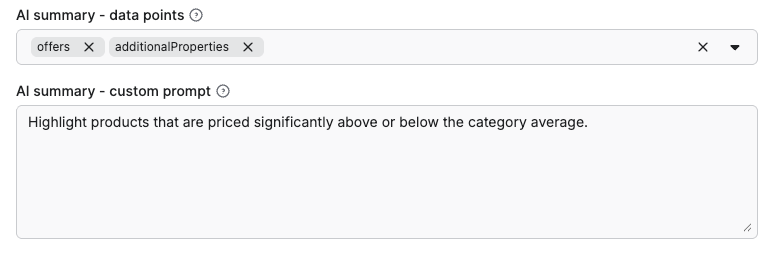
You can also try the AI analysis feature, which allows you to get more out of your data, using natural-language instructions. To use it, define which dataset fields are relevant, and add a custom prompt for the scraper.
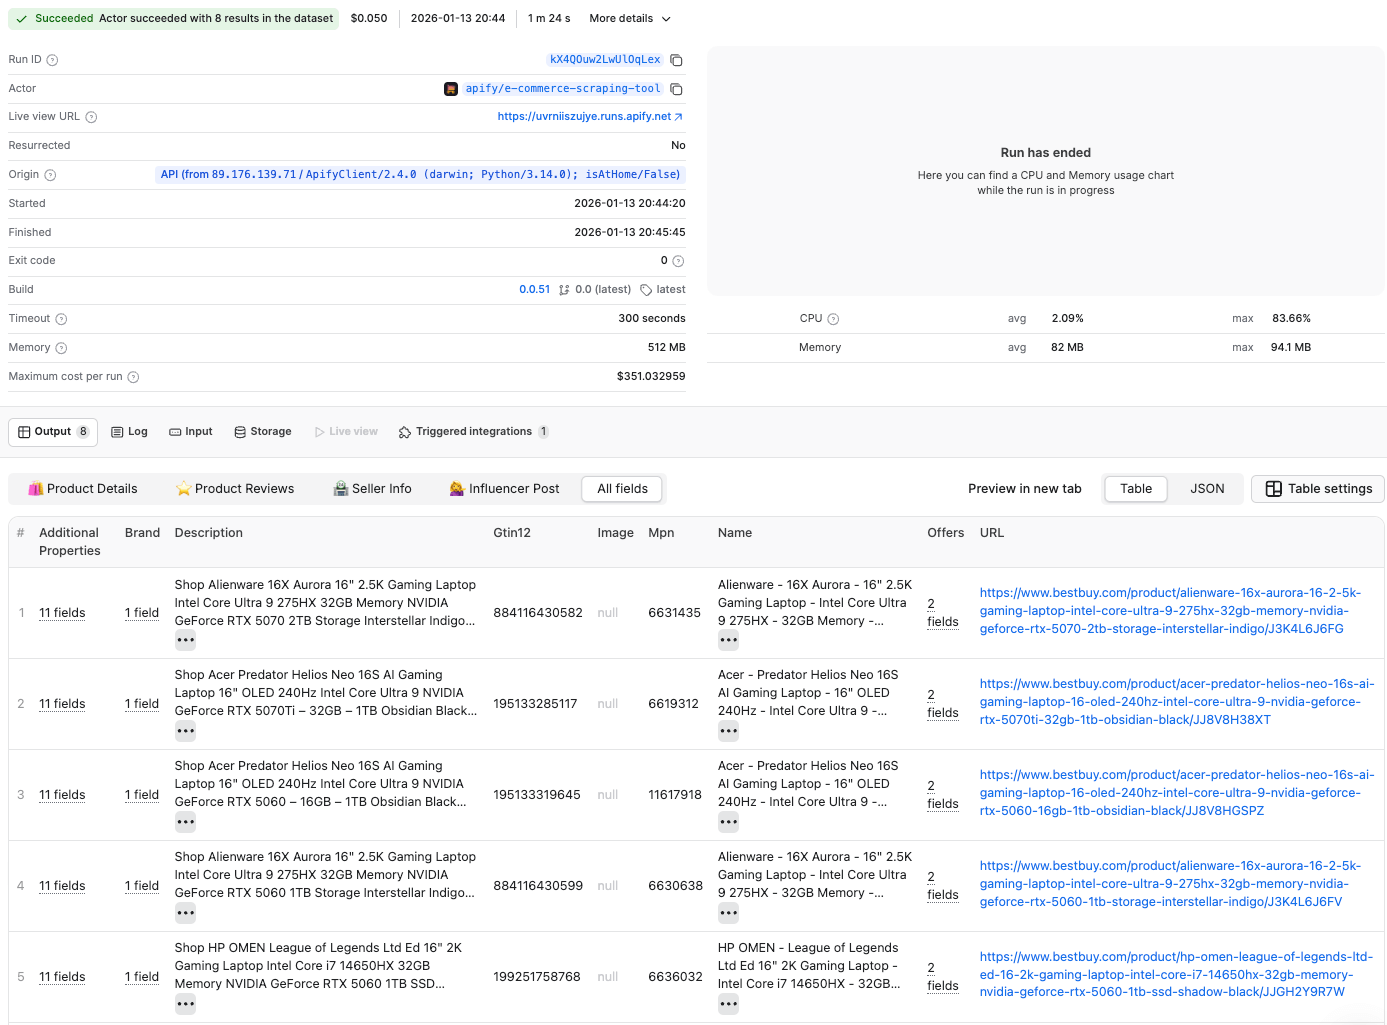
Click Start to launch the Actor. Once the scraper finishes running, you can preview your results in the Output section or download your dataset in Excel, JSON, XML, or other formats. Choose the fields you’re interested in to reduce the information noise.
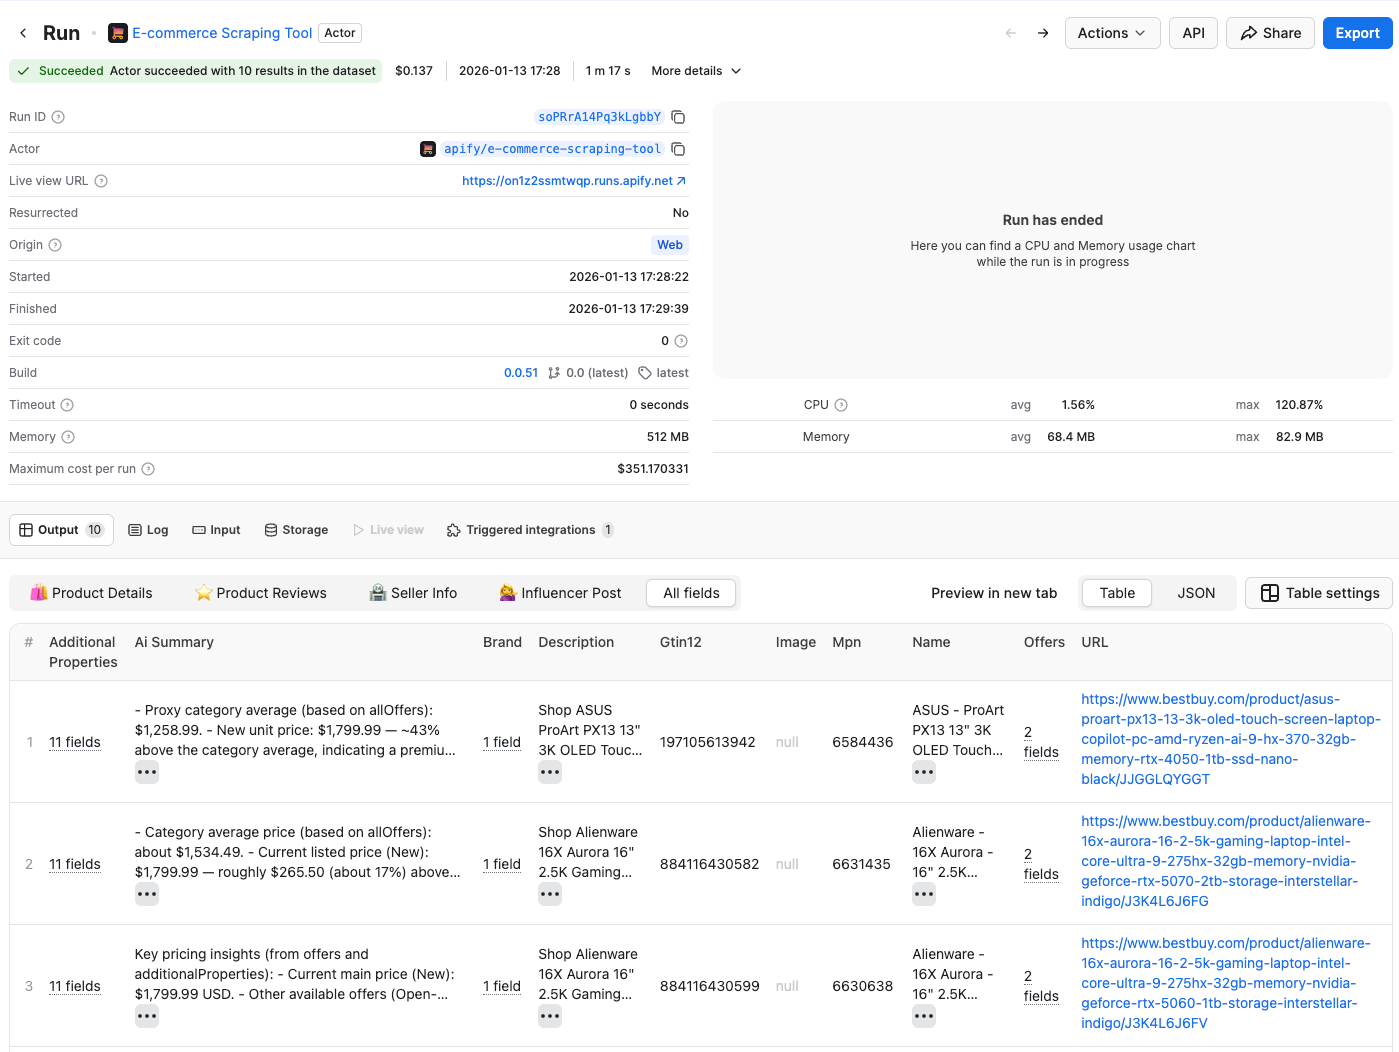
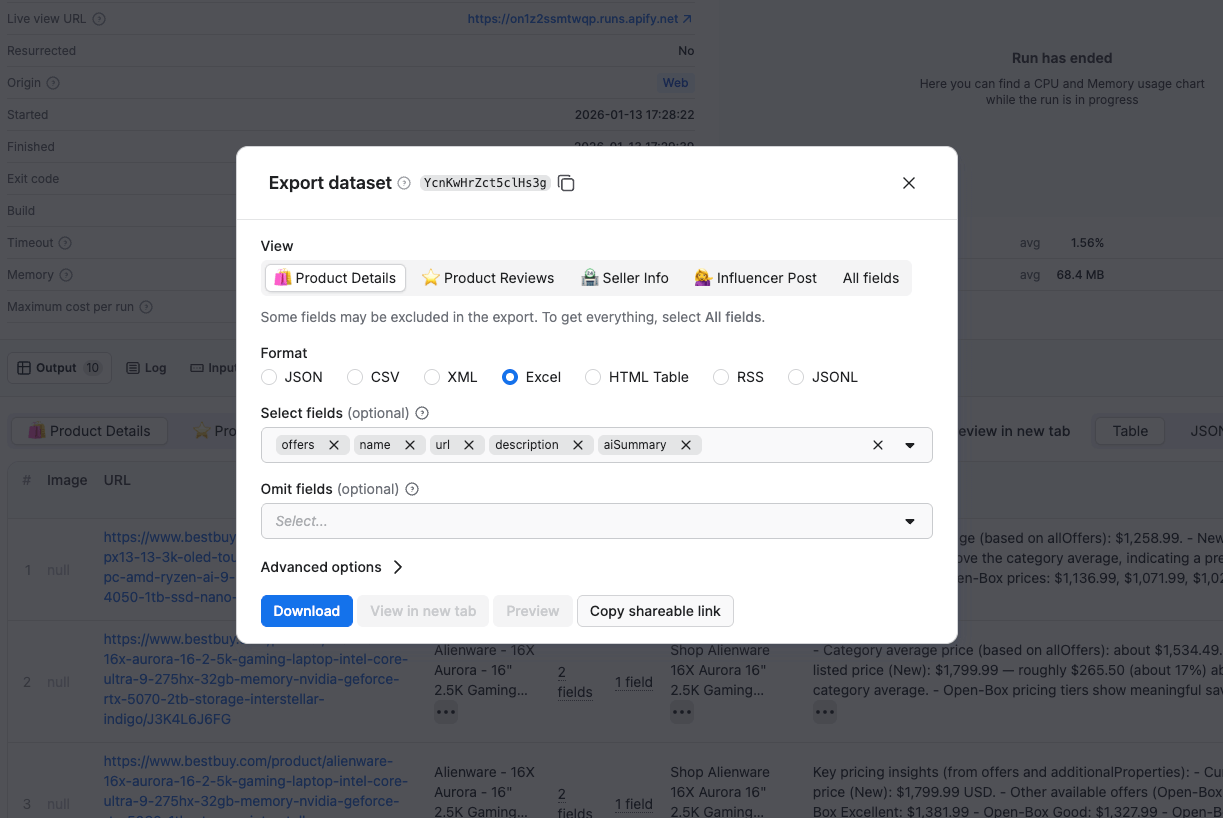
Scraped results are shown in a preview table, along with the AI summary. You can download your dataset in multiple formats.
As you can see, the Actor can extract product names, descriptions, details, prices, product IDs, and product variants.
Next, we’ll run it via an API.
Get started with the API integration setup
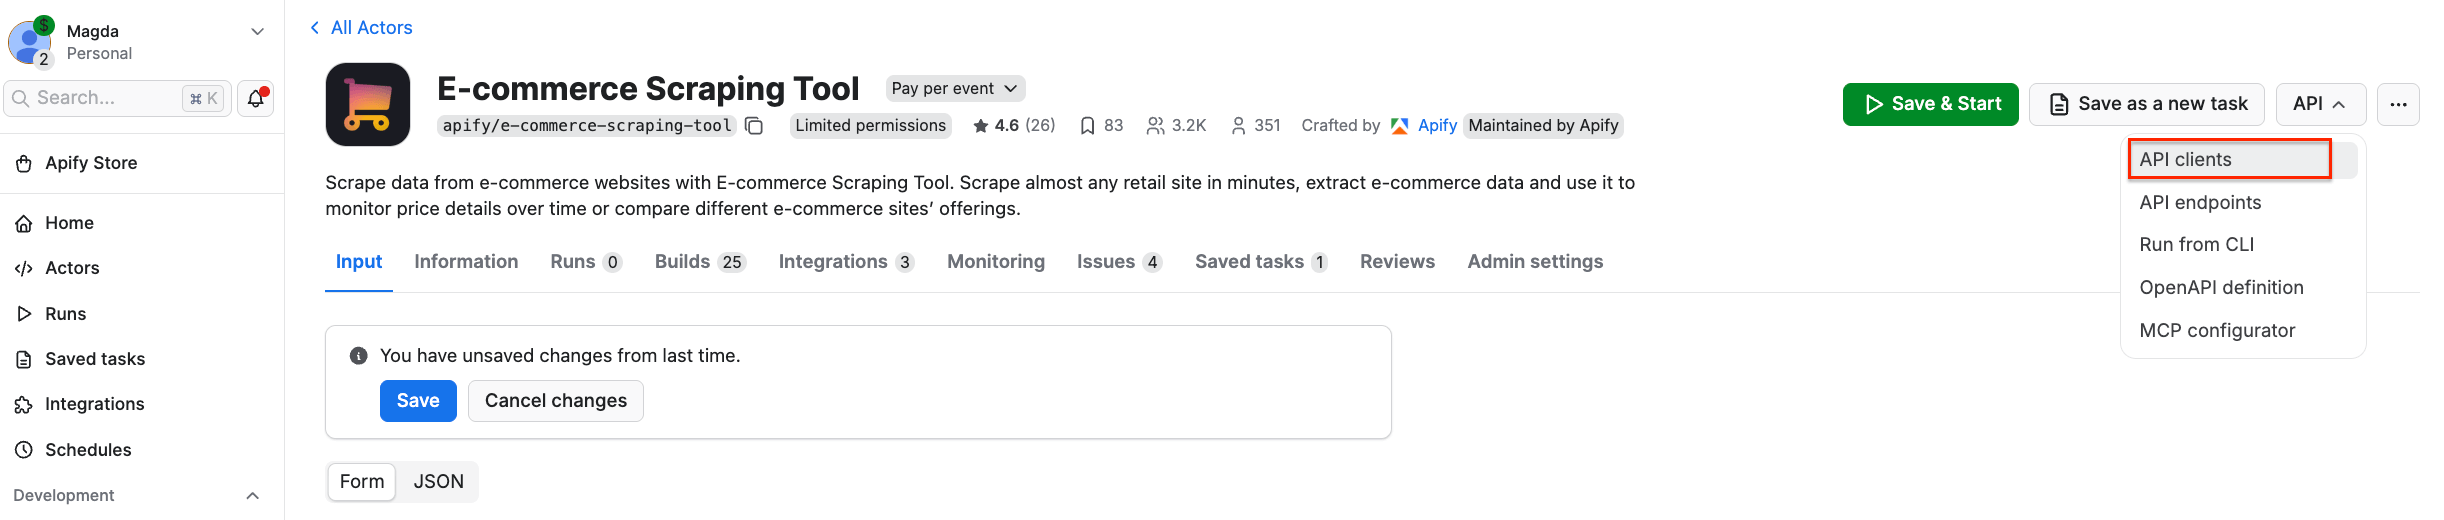
To set up E-commerce Scraping Tool for API usage, locate the API dropdown in the top-right corner of the Apify platform. Then, select API clients:
This will bring up a modal with ready-to-use code snippets for interacting with the Actor via the Apify API client. By default, it displays a Node.js snippet, so switch to the Python tab:
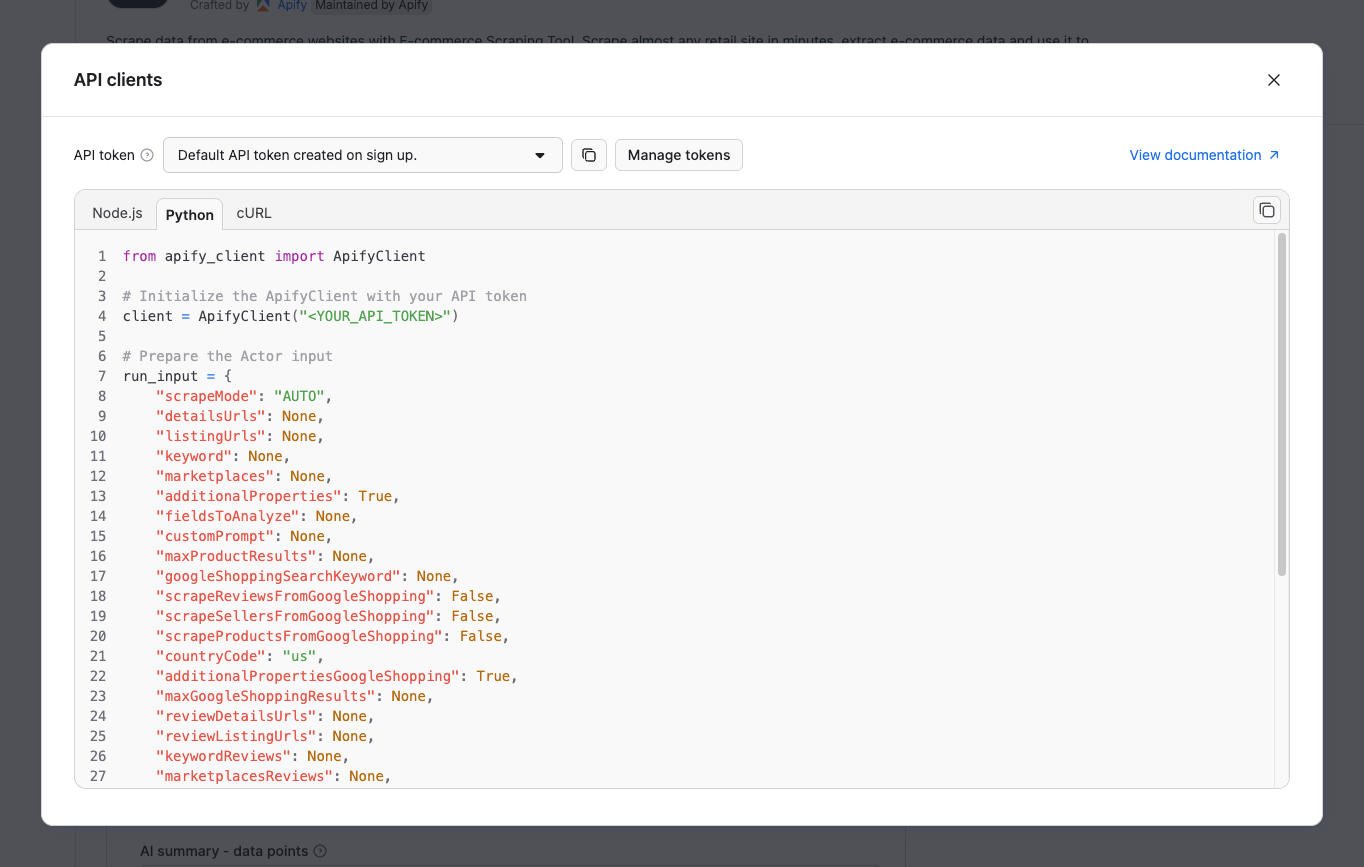
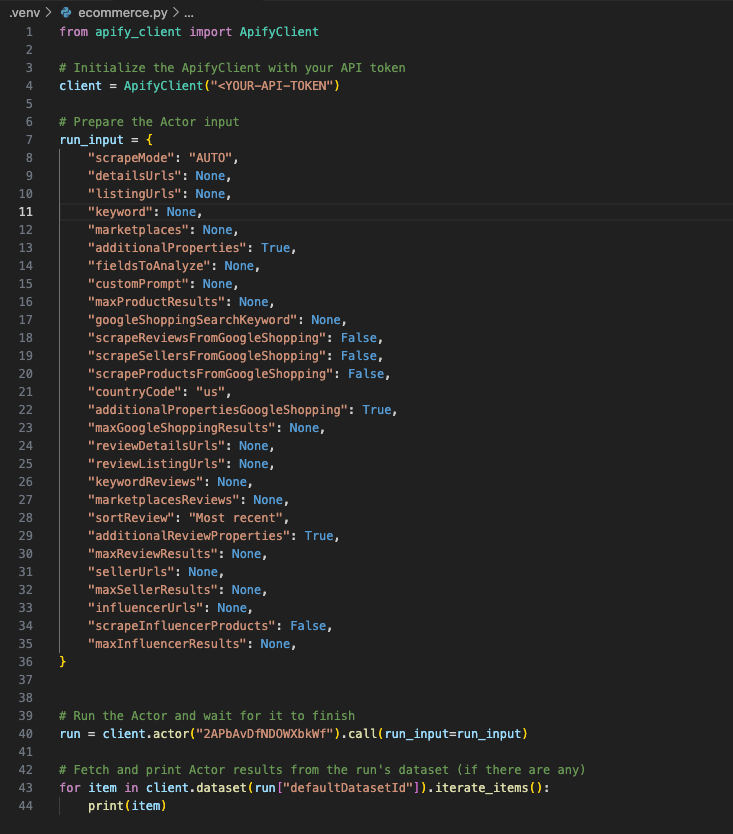
Copy the Python snippet from the modal and paste it into your Python file. Keep the modal open, as we’ll refer back to it in the next step.
Once you move beyond testing, though, don’t hard-code your token anymore. Before publishing the project, pushing it to GitHub, sharing it with someone, or deploying it anywhere, remember to move your token to a .env file instead so it isn’t exposed in the code.
After pasting the code into your file, you’ll likely see a warning that says Import apify_client could not be resolved . That simply means the package isn’t installed yet. To fix it, just run the command below inside the activated virtual environment:
pip install apify_client
Get and set your Apify API token
The next step is to retrieve your Apify API token and replace the placeholder <YOUR_API_TOKEN> in the file with your actual token. That is the final step required for scraping Best Buy via API integration with E-commerce Scraping Tool.
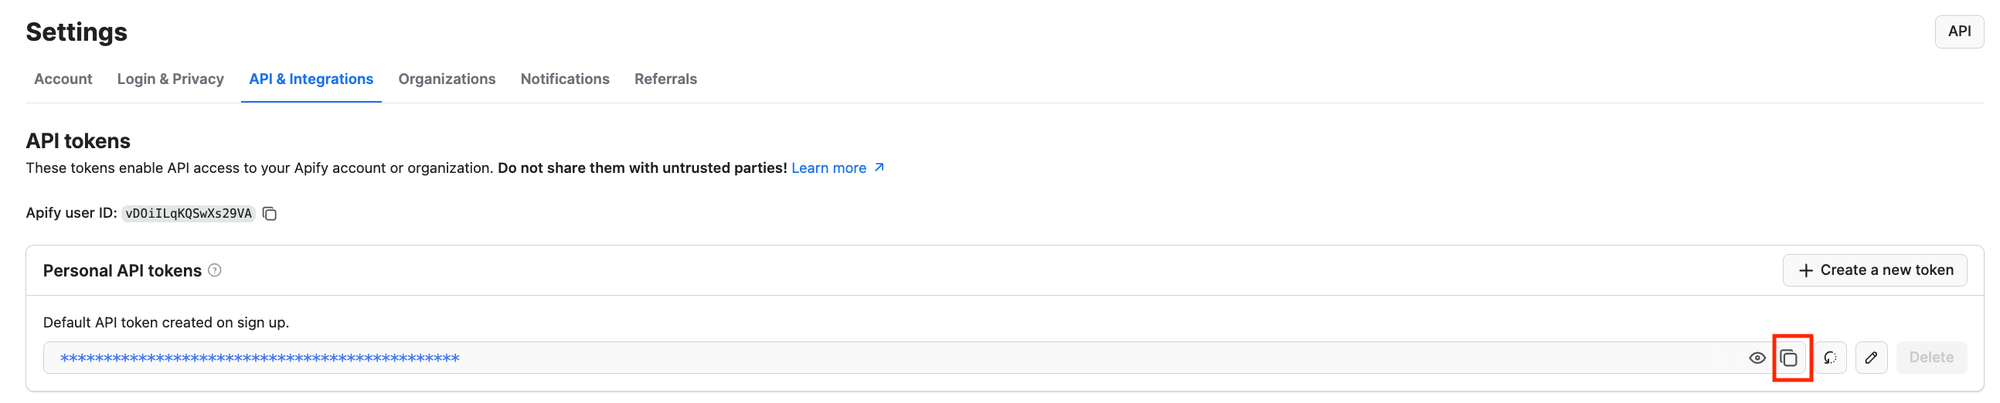
Go back to the Console, and in the API clients modal, click the Manage tokens button:

You’ll reach the API & Integrations section of the Settings page of your Apify account. To access your Apify API token, press the Copy to clipboard icon next to the Default API token created on sign-up entry:
Finally, replace the placeholder with the API token you just copied from your account:
# Replace the <YOUR_API_TOKEN> placeholder with your actual API token
client = ApifyClient("<YOUR_API_TOKEN>")
Configure E-commerce Scraping Tool
Like all Actors, E-commerce Scraping Tool requires input parameters to retrieve data. When using the ApifyClient, these parameters specify which pages the Actor should scrape via API.
In this example, we’ll target the Best Buy category - Gaming Laptops :
https://www.bestbuy.com/site/pc-gaming/gaming-laptops/pcmcat287600050003.c?id=pcmcat287600050003
To simplify the input configuration process, open the Input section on the Actor’s page. Visually interact with the Category listing URLs field, and paste in the target URLs, just like in the testing section above:
Then, switch to the JSON view, which looks like this:
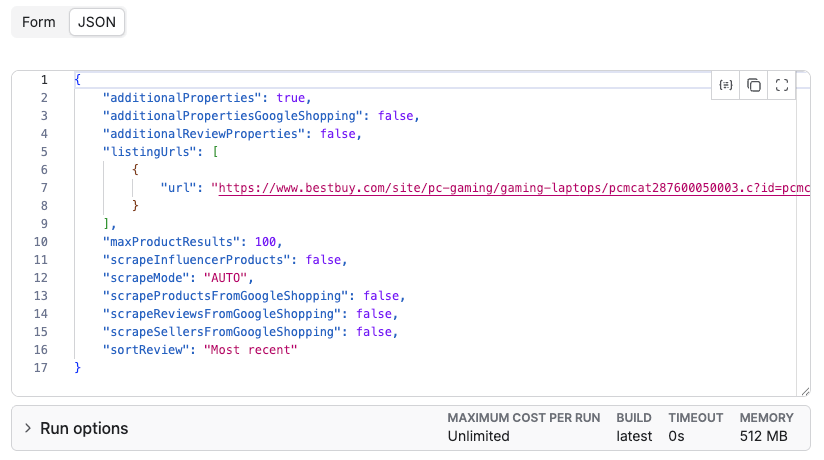
As you can see, our URL appears in the listingsUrls field. Now, follow this structure and populate the input dictionary in Python, and call E-commerce Scraping Tool as shown below:
run_input = {
    "additionalProperties": True,
    "additionalPropertiesGoogleShopping": False,
    "additionalReviewProperties": False,
    "listingUrls": [
        {
            "url": "https://www.bestbuy.com/site/pc-gaming/gaming-laptops/pcmcat287600050003.c?id=pcmcat287600050003"
        }
    ],
    "maxProductResults": 100,
    "scrapeInfluencerProducts": False,
    "scrapeMode": "AUTO",
    "scrapeProductsFromGoogleShopping": False,
    "scrapeReviewsFromGoogleShopping": False,
    "scrapeSellersFromGoogleShopping": False,
    "sortReview": "Most recent"
}

# Run the Actor and wait for it to finish
run = client.actor("2APbAvDfNDOWXbkWf").call(run_input=run_input)
Now that the code is set up to scrape data from the Best Buy category, we can run it to trigger the API call.
After it finishes, go back to Apify Console and open the Runs tab. You’ll see the latest E-commerce Scraping Tool run, with its origin marked as API, which confirms the code worked.
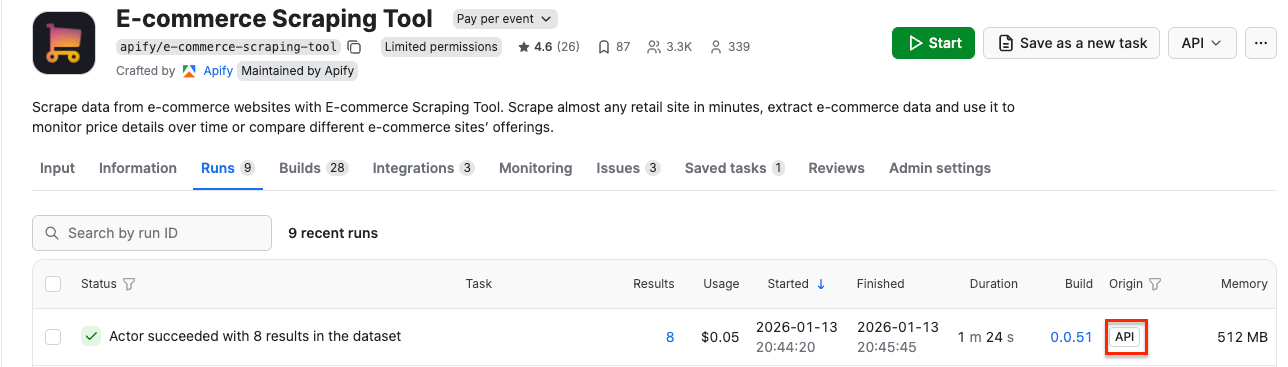
By clicking on the run, we can find the extracted results just like we would if we had started this run from the platform UI instead.
How much will it cost?
E-commerce Scraping Tool uses a pay per event pricing model. You pay for:
- Actor start (per run)
- Listings scraped (for each pagination page)
- Details (for product, reviews, or seller)
- Optional: Residential proxy use (per product)
- Optional: Browser rendering (per product)
- Optional: AI summary
Higher subscription plans unlock lower Actor costs, as seen when comparing Free and Business plans:
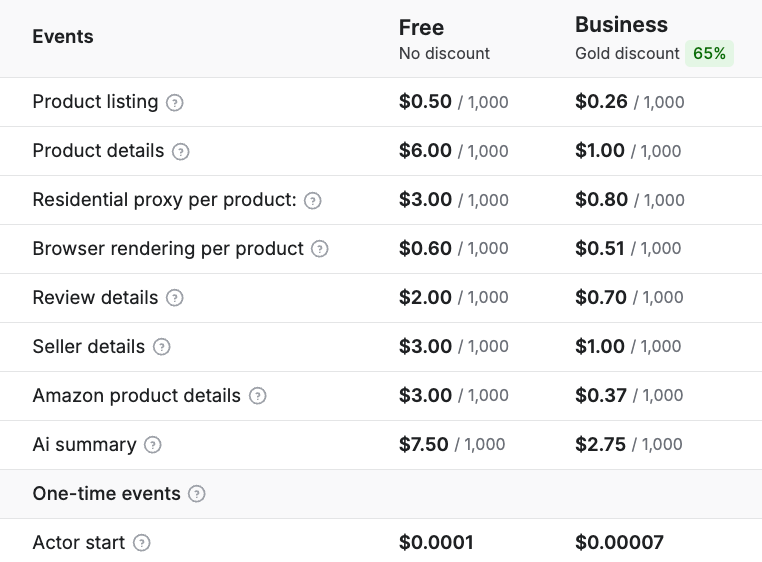
Check the pricing page for detailed breakdowns.
Try E-commerce Scraping Tool
Best Buy is full of valuable product data. Apify lets you collect it at scale with clean, structured outputs and fewer scraping headaches.
Try it yourself: Run the Actor on Apify, plug it into your Python code, and start collecting real-time product data in minutes - no scraping infrastructure required.