Hey, we're Apify, the only full-stack web scraping and automation library. Check out some of our easy to use web scraping code templates if you want to get started on building your own Puppeteer scrapers.
Puppeteer is a Node.js library that allows you to interact with headless and headful Chrome browsers. It enables you to perform lots of tasks, such as navigating web pages, taking screenshots, generating PDFs, and handling files—both downloads and uploads. Puppeteer essentially allows you to automate tasks that would typically require manual intervention in a web browser.

Why handle file downloads and uploads?
File downloads and uploads are common activities when automating web interactions. Whether you're scraping data from websites, testing file upload functionality, or automating document retrieval, Puppeteer's ability to download and upload files makes it an invaluable tool.
Setting up Puppeteer
To set up Puppeteer, you need to have Node.js installed on your computer. If you haven't installed it yet, you can follow this guide for a step-by-step procedure on how to do it.
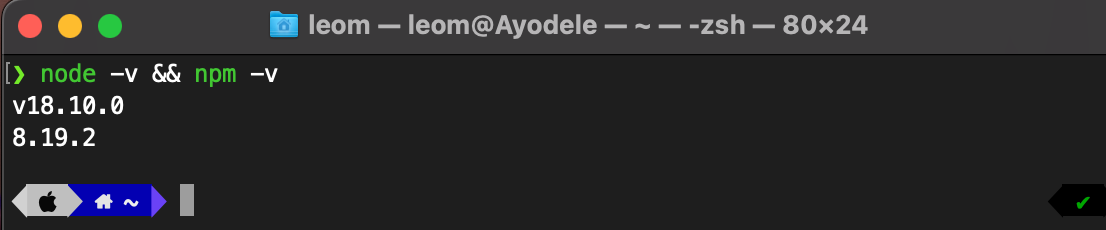
Once Node.js is installed, it will also install npm for you. You can verify this by opening your command prompt (CMD) or your terminal and using this command:
node -v && npm -v
The output will look like the image below:
After that, you can go to your desired location on your computer to create a folder (either desktop or documents) for your project. You'll initialize a new Node.js project in the folder you created using npm init, which will bring up some prompts. Follow through with the prompts, and that will set you up.
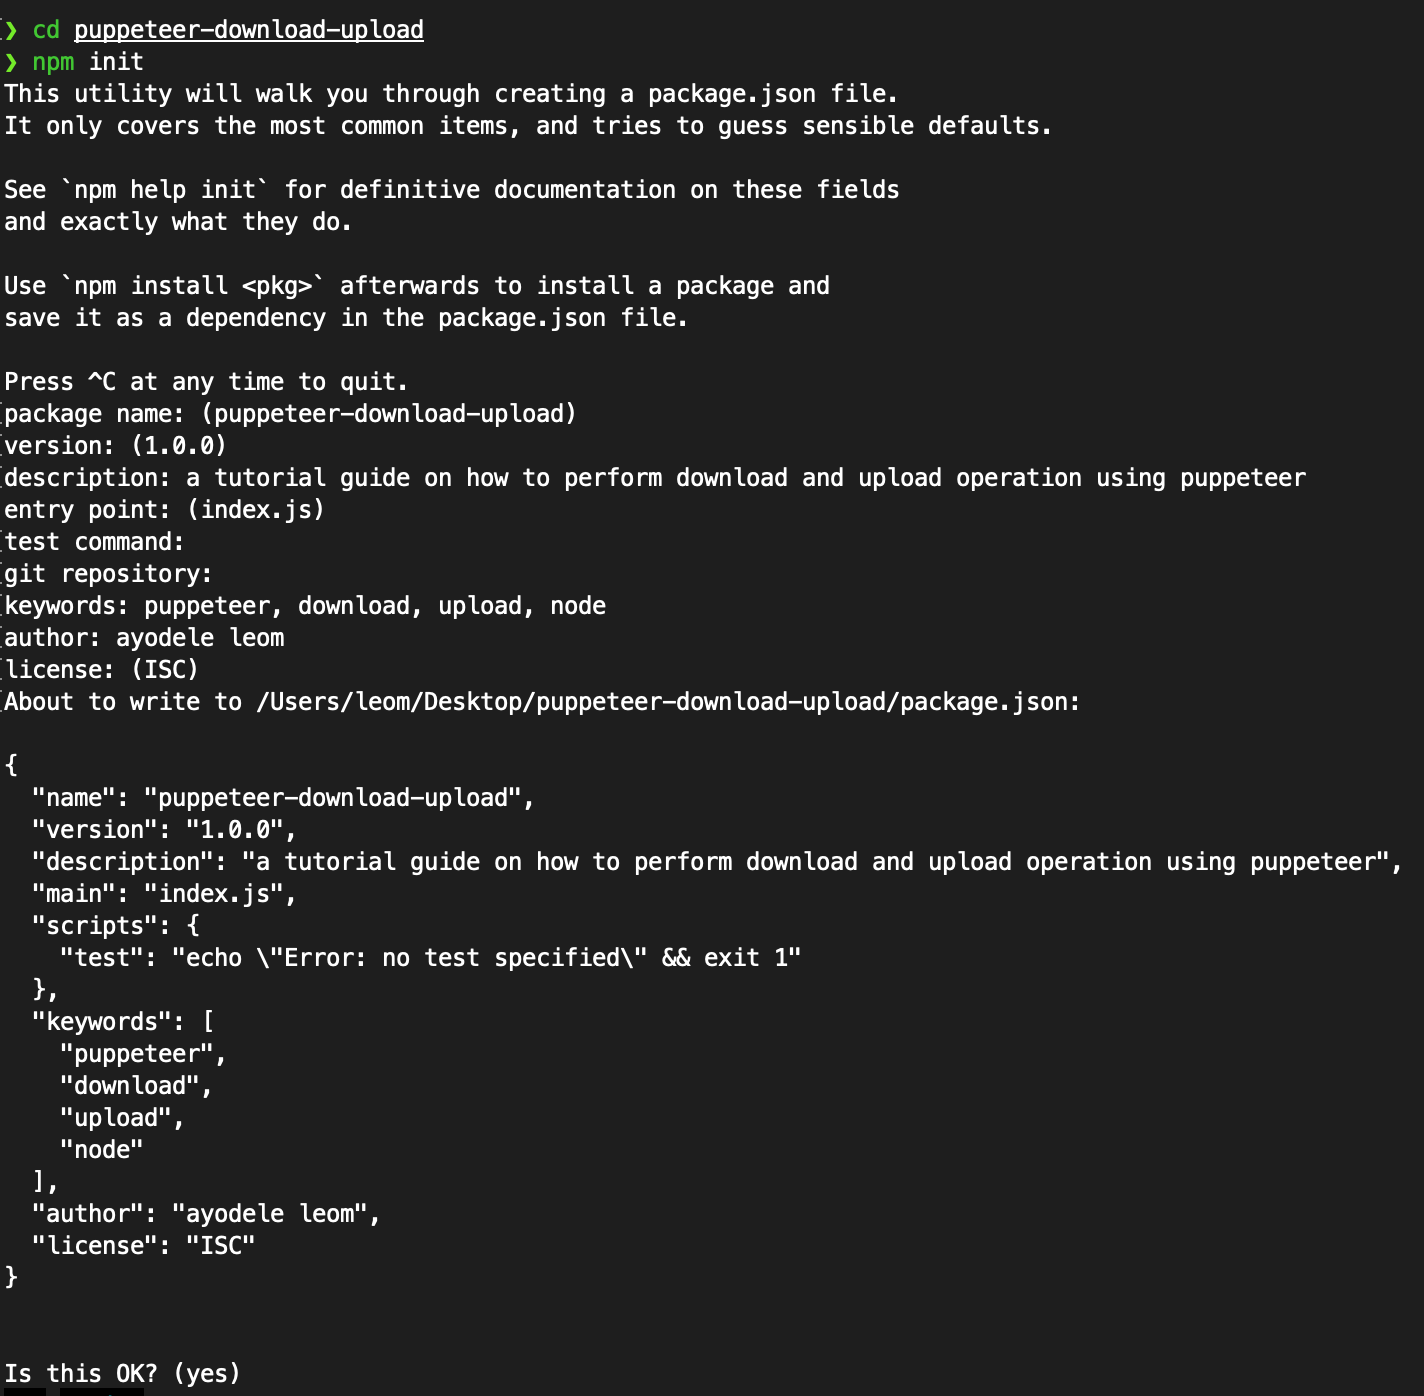
In the image above, a folder called puppeteer-download-upload is created. The cd puppeteer-download-upload command is used to change your directory into the folder, and the npm init command is used to initialize Node.js into the folder. The prompts came up and were filled in accordingly.
This is so you can run Node.js operations within the project.
The next step is for you to install Puppeteer.
In the same project folder, open your terminal, change your directory, and run this command:
npm install puppeteer
1. Create a new project folder
2. Initialize Node into the folder
3. Install Puppeteer
With Puppeteer successfully installed, you're ready to start automating.
Performing download operations with Puppeteer
To perform a download operation with Puppeteer, you'll need a method to trigger the download action, specify the path at which you want the file to be downloaded, and finally take the download action. After deciding on the method, specify the download path and then trigger the download action by navigating to the page or link and clicking the download link.
There are various methods and approaches you can use to perform download operations with Puppeteer. Here are three of them:
- Intercepting network requests using
page.setRequestInterception(true). You can use this to detect a request for a file download based on the content. If you want to learn more about this method, you should read about request interception in the Puppeteer documentation.
await page.setRequestInterception(true);
page.on('request', (interceptedRequest) => {
   // Check the URL or content type to detect a download request
   if (interceptedRequest.url().endsWith('.pdf')) ||
      interceptedRequest.url().endsWith('.jpg') {
       // Handle the download here...
   }
   interceptedRequest.continue();
});
// If the file download doesn't start right away, click a button to trigger it
await page.click('#downloadButton')
- Browser Contexts and
setDownloadBehavior. This is a more direct way to handle downloads using Puppeteer. In this case, when the download is triggered, the file will automatically be downloaded to the specified directory or path. The previous version used thepage._clientprivate API, but it was deprecated. Instead, you should create your own CDP sessions for access to the Chrome dev protocol directly, like so:
const browser = await puppeteer.launch({ headless: false });
const page = await browser.newPage()
const client = await page.target().createCDPSession()
await client.send('Page.setDownloadBehavior', {
       behavior: 'allow',
       downloadPath: '/path/to/save/downloads'
   });
// If the file download doesn't start right away, click a button to trigger it
await page.click('#downloadButton')
Each of the methods listed above is suited to different download scenarios. Just choose the one that best fits the project or task you're working on.
Tips for handling errors
- Handle timeout within your code to give more time for the download operation to be completed.
- To ensure the file is downloaded successfully, you can use the
[page.waitForResponse](<https://pptr.dev/api/puppeteer.page.waitforresponse>)andtargetcreatedconditions. - You can also check the specified directory manually to ensure the file exists and is of the expected size.
Uploading files with Puppeteer
To perform an upload operation with Puppeteer, you'll need a method that lets you perform the file selection option, specify the path at which you want the file to be selected from, and then finally take the upload action.
You can use the elementHandle.uploadFile(...path) method that allows you to upload a file by providing the path, or you can use the fileChooser method.
The FileChooser works when the file chooser has a dialog while elementHadle.uploadFile works directly with the file input element. The method you use depends on the scenario you're working with. If the webpage has a custom button or hides the original file input, FileChooser is advisable. If you're dealing with a standard file input, elementHandle.uploadFile is a better option.
//the code sample of FileChooser

const [fileChooser] = await Promise.all([
    page.waitForFileChooser(),
    page.click('#customUploadButton')
]);
await fileChooser.accept(['/path/file.jpg']);
//code sample for ElementHandle.uploadFile
const UploadElement = await page.$('input[type="file"]');
await uploadElement.uploadFile('/path/file.jpg');
After deciding on the method, specify the path and then trigger the upload action (navigate to the page or link, click the upload button, and submit).
Best practices for secure file uploads
- Check the file type required for upload and make sure you're uploading the correct file type.
- Check and verify the file input and button selectors.
- Monitor and handle network requests accordingly.
Examples of using upload and download
In this section, you'll be trying out the upload and download options available in Puppeteer.
1. Automating a file upload with Puppeteer
In the code below, you'll set up your Puppeteer project as explained earlier, create a new file called upload.js, import Puppeteer, then add a test pdf file in the root folder for the purpose of the example.
import puppeteer from "puppeteer";

// function to handle timeout for every action to be completed
function delay(time) {
    return new Promise(resolve => setTimeout(resolve, time));
}

    const browser = await puppeteer.launch({
        headless: false
    });
    const page = await browser.newPage();

    await page.goto('<https://easyupload.io/>');
    await page.waitForSelector('input[type=file]');
    const inputUploadHandle = await page.$('input[type=file]');

		// path to the file you want to upload
    await inputUploadHandle.uploadFile('./testdoc.pdf');
    await page.click('#upload');

    // Introduce a timeout if necessary (in case of internet speed)
    await delay(20000);

    // Wait for a success message.
    await page.waitForSelector('.upload-success');

    await browser.close();
2. Automating the download of the file you uploaded earlier
In the previous example, you uploaded a file to [easyupload.io](<http://easyupload.io>), after which you were given a download link. Copy the download link to the file, and replace it with the URL in page.goto('...'). Also, create a folder named downloads. This is where your file will be downloaded.
import puppeteer from 'puppeteer'
import * as fs from 'fs';

//function to handle timeout
    function delay(time) {
        return new Promise(resolve => setTimeout(resolve, time));
    }

    const browser = await puppeteer.launch({
			headless: false
			});
    const page = await browser.newPage();

    // Set download behavior
    const client = await page.target().createCDPSession()
        await client.send('Page.setDownloadBehavior', {
            behavior: 'allow',
       // the download path can be set to a folder in your project root
       downloadPath: './downloads'
    });
    // Navigate to the download page. (change the download URL)
    await page.goto('<https://easyupload.io/x2na1r>');

    // Download the file.
    await page.click('#hd1');

    // Wait for the download to complete. Adjust this based on your network speed.
    await delay(10000);;
		//check the download folder to know if the downloaded file exists there
    if (fs.existsSync('./downloads/testdoc.pdf')) {
        console.log('file downloaded successfully!');
    } else {
        console.log('Download failed.');
    }

    await browser.close();
3. Another code sample for upload and download actions with Puppeteer
import puppeteer from 'puppeteer'

//function to handle timeout
function delay(time) {
    return new Promise(resolve => setTimeout(resolve, time));
}

    const browser = await puppeteer.launch({ headless: false });
    const page = await browser.newPage();

    const client = await page.target().createCDPSession();
    await client.send('Page.setDownloadBehavior', {
        behavior: 'allow',
        downloadPath: './downloads'
    });

    await page.goto('<https://imgur.com/upload>');

    const uploadSelector = '#file-input';
    await page.waitForSelector(uploadSelector);
    const inputUploadHandle = await page.$(uploadSelector);
    await inputUploadHandle.uploadFile('./cap.jpeg');

    //wait for the upload to be completed
    await delay(10000);

    // initiate the download process and click the download button
    const downloadLinkSelector = '.upload-download';
    await page.waitForSelector(downloadLinkSelector);
    await page.click(downloadLinkSelector);

    //wait for the file download to
    await delay(10000);

    await browser.close();
You can find some more examples of downloading files in Puppeteer and submitting a form with an attachment in the Apify docs.
GitHub gists
You can explore all the sample code in this tutorial in the GitHub gists below.