Hi! We're Apify. We turn websites into APIs. But in this article, we'll show you how to turn a website into an RSS feed.
If you're like us—used to following the internet the good old way by using RSS—you know the frustration of finding an interesting website with no RSS feed available.
One example is the Apify Changelog.
We're going to use that as an example of how you can use web scraping to turn any website into an RSS feed.
We'll do that by using Apify's Web Scraper.
How to create an RSS feed from a website
Step 1. Open Apify's Web Scraper
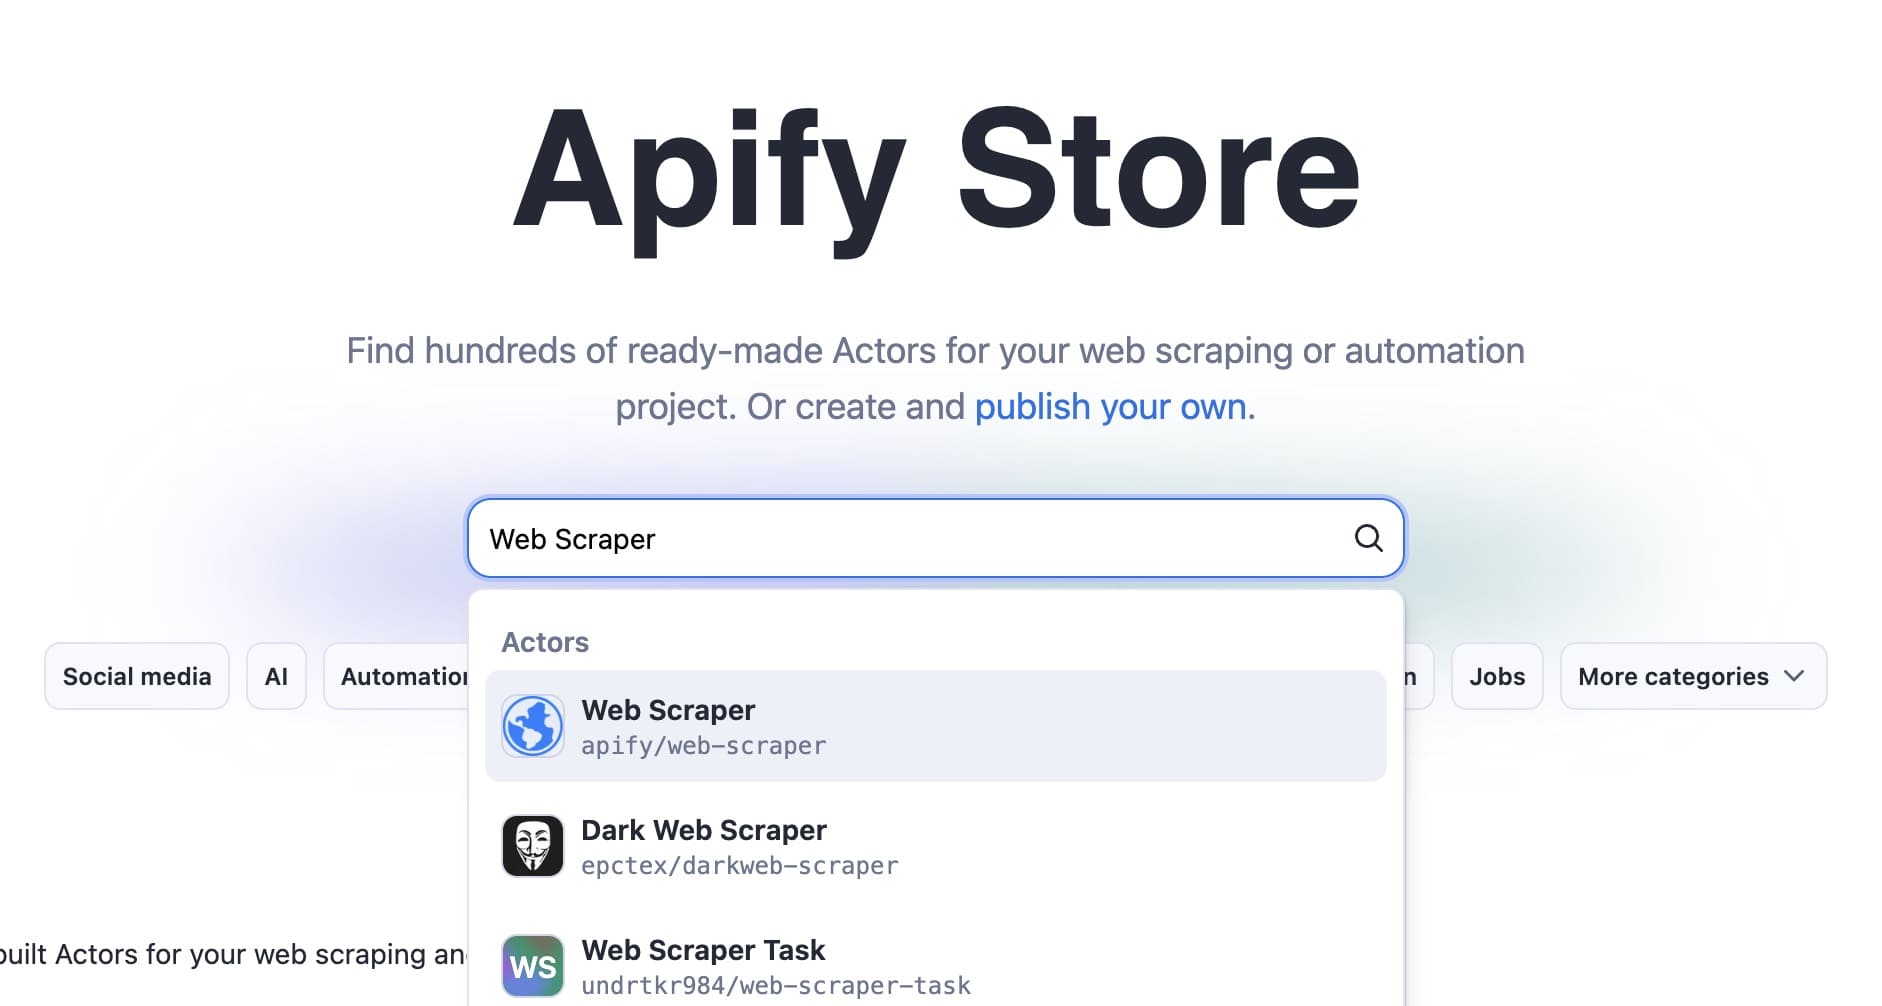
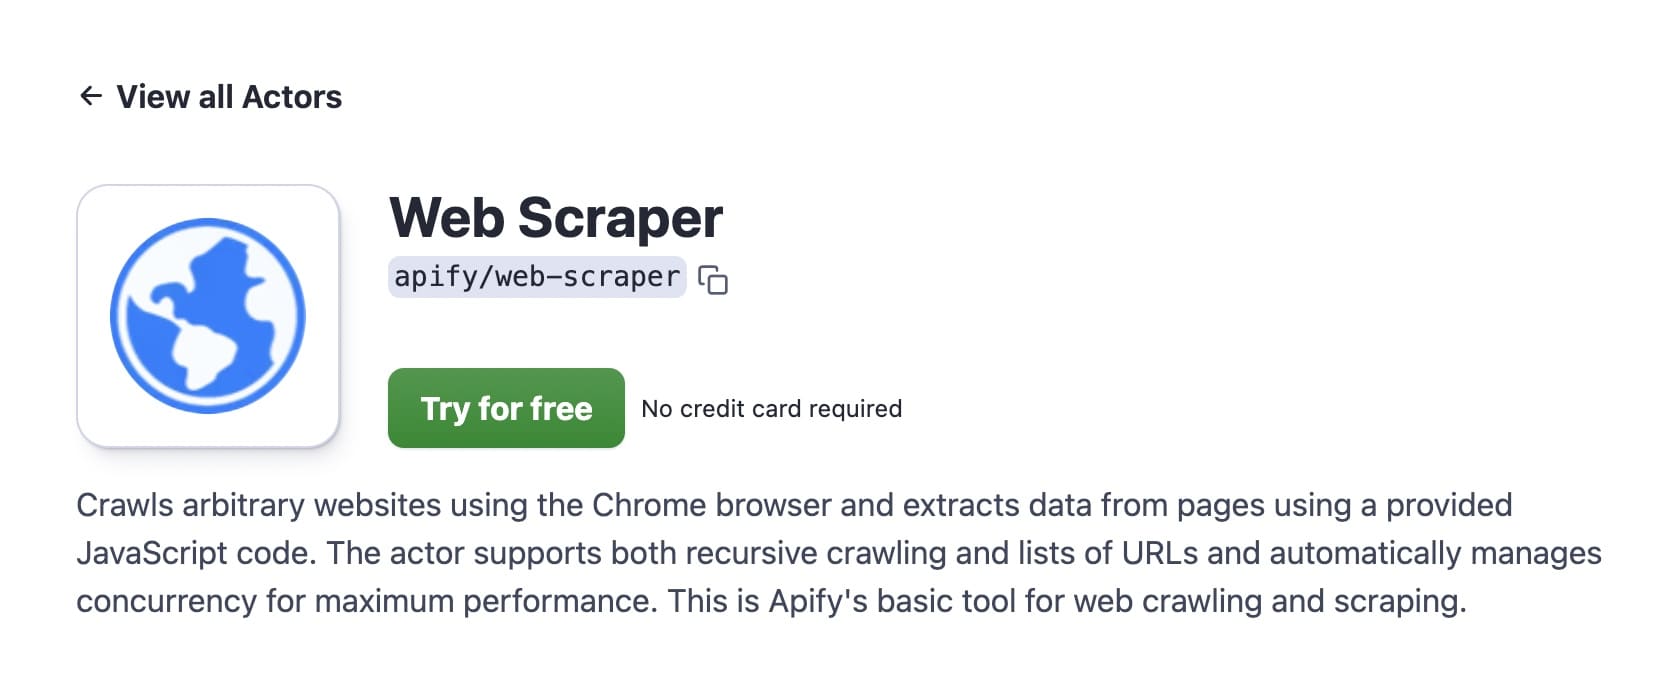
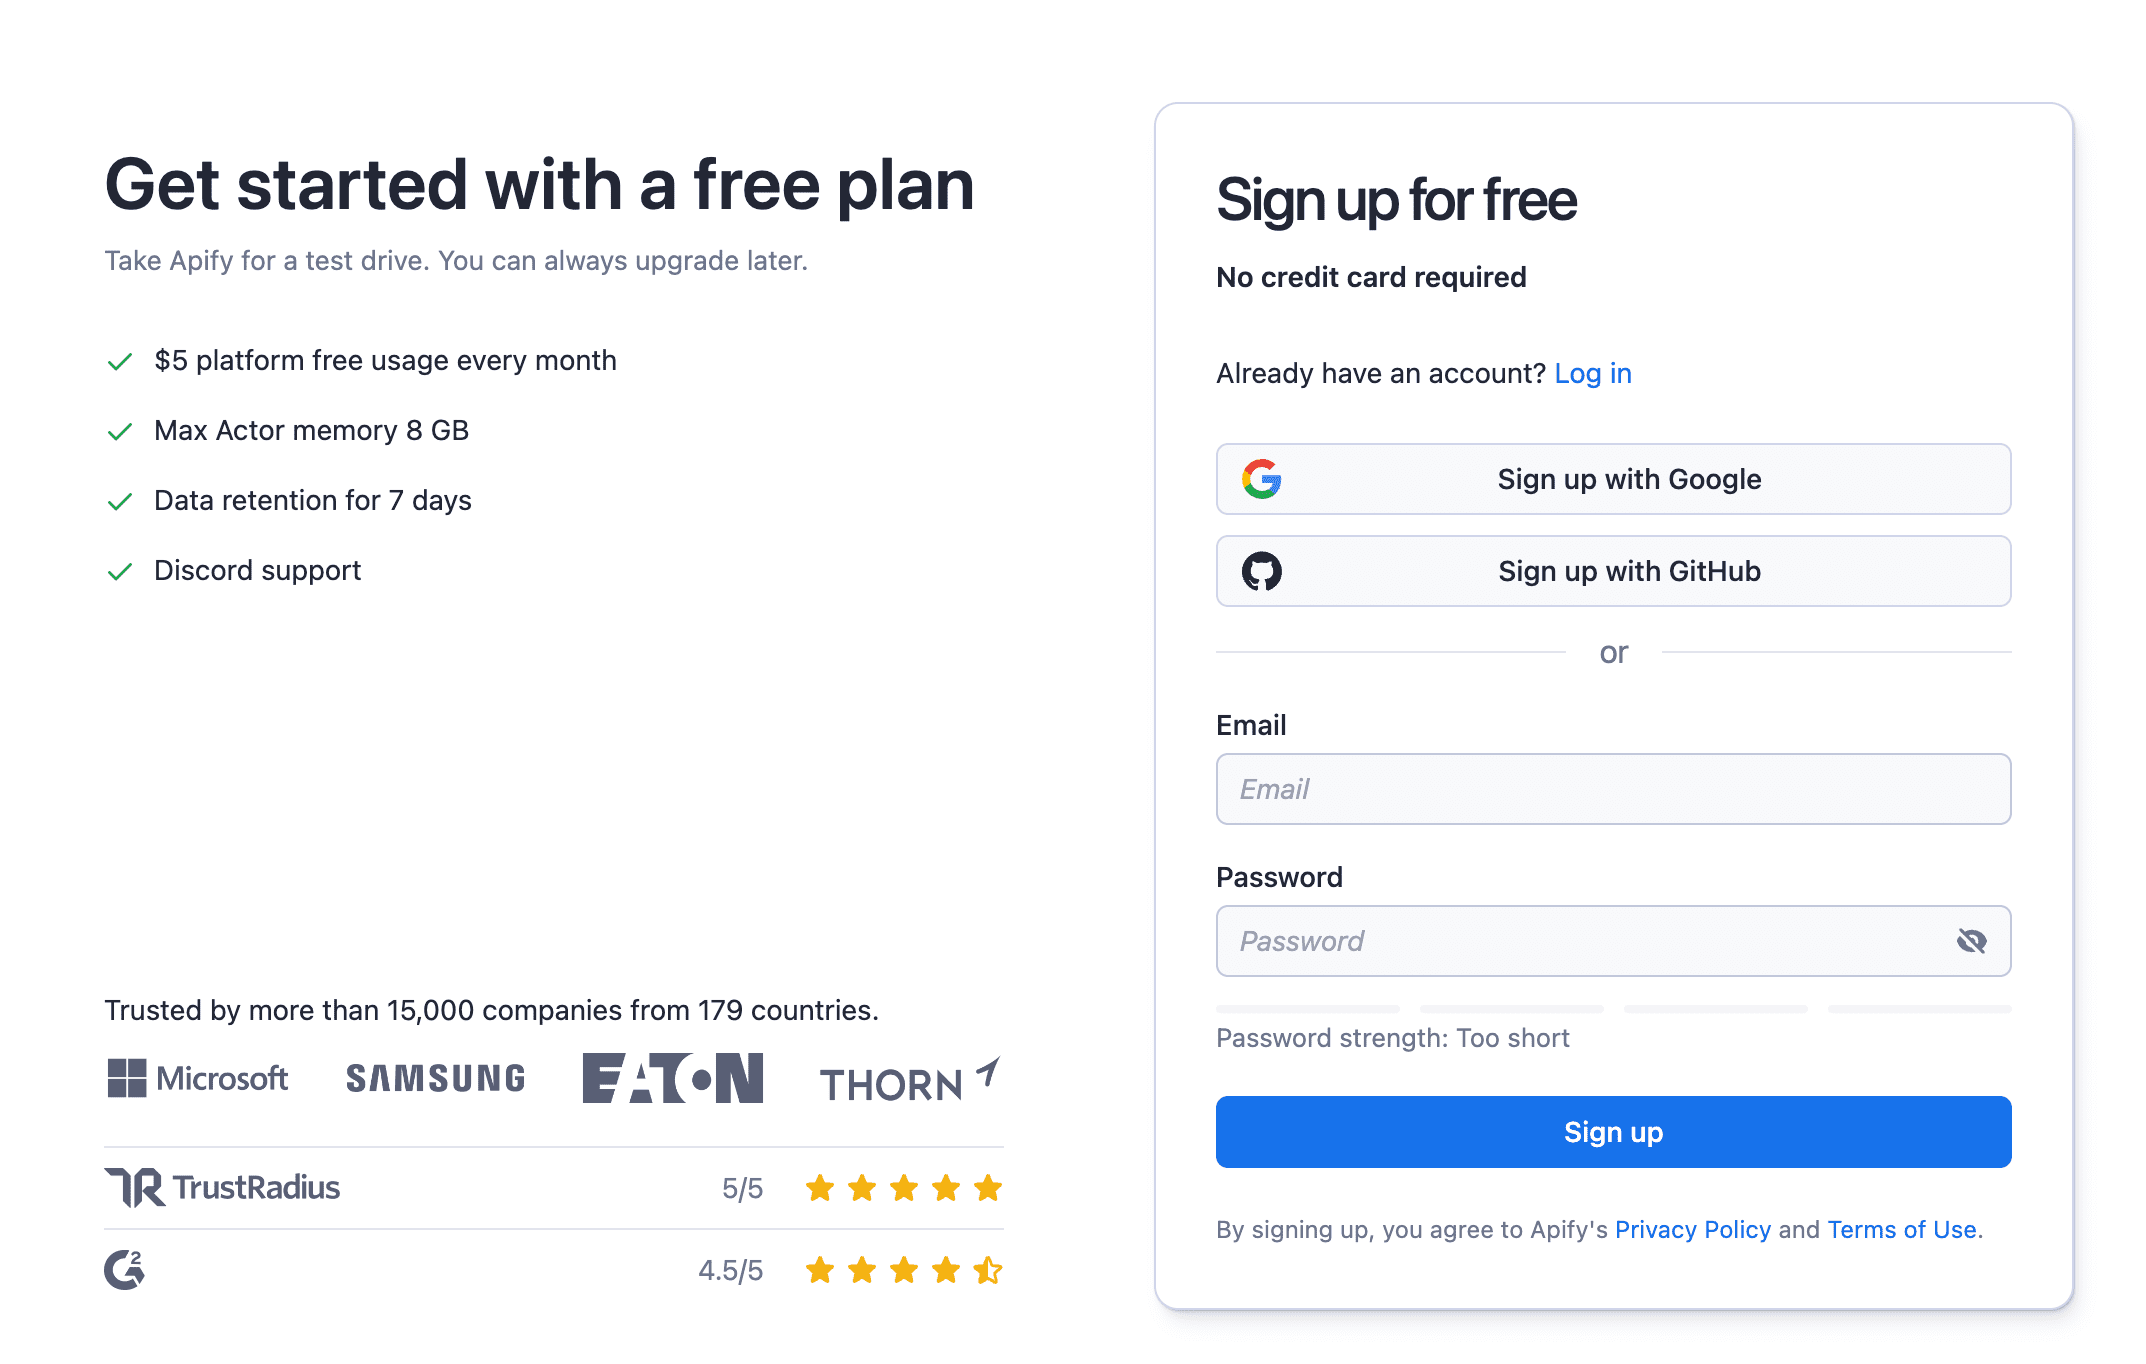
If you don't have an Apify account, go to Apify Store, search for Web Scraper, and click Try for free.
You'll be taken to the signup page, where you can quickly create a free account.
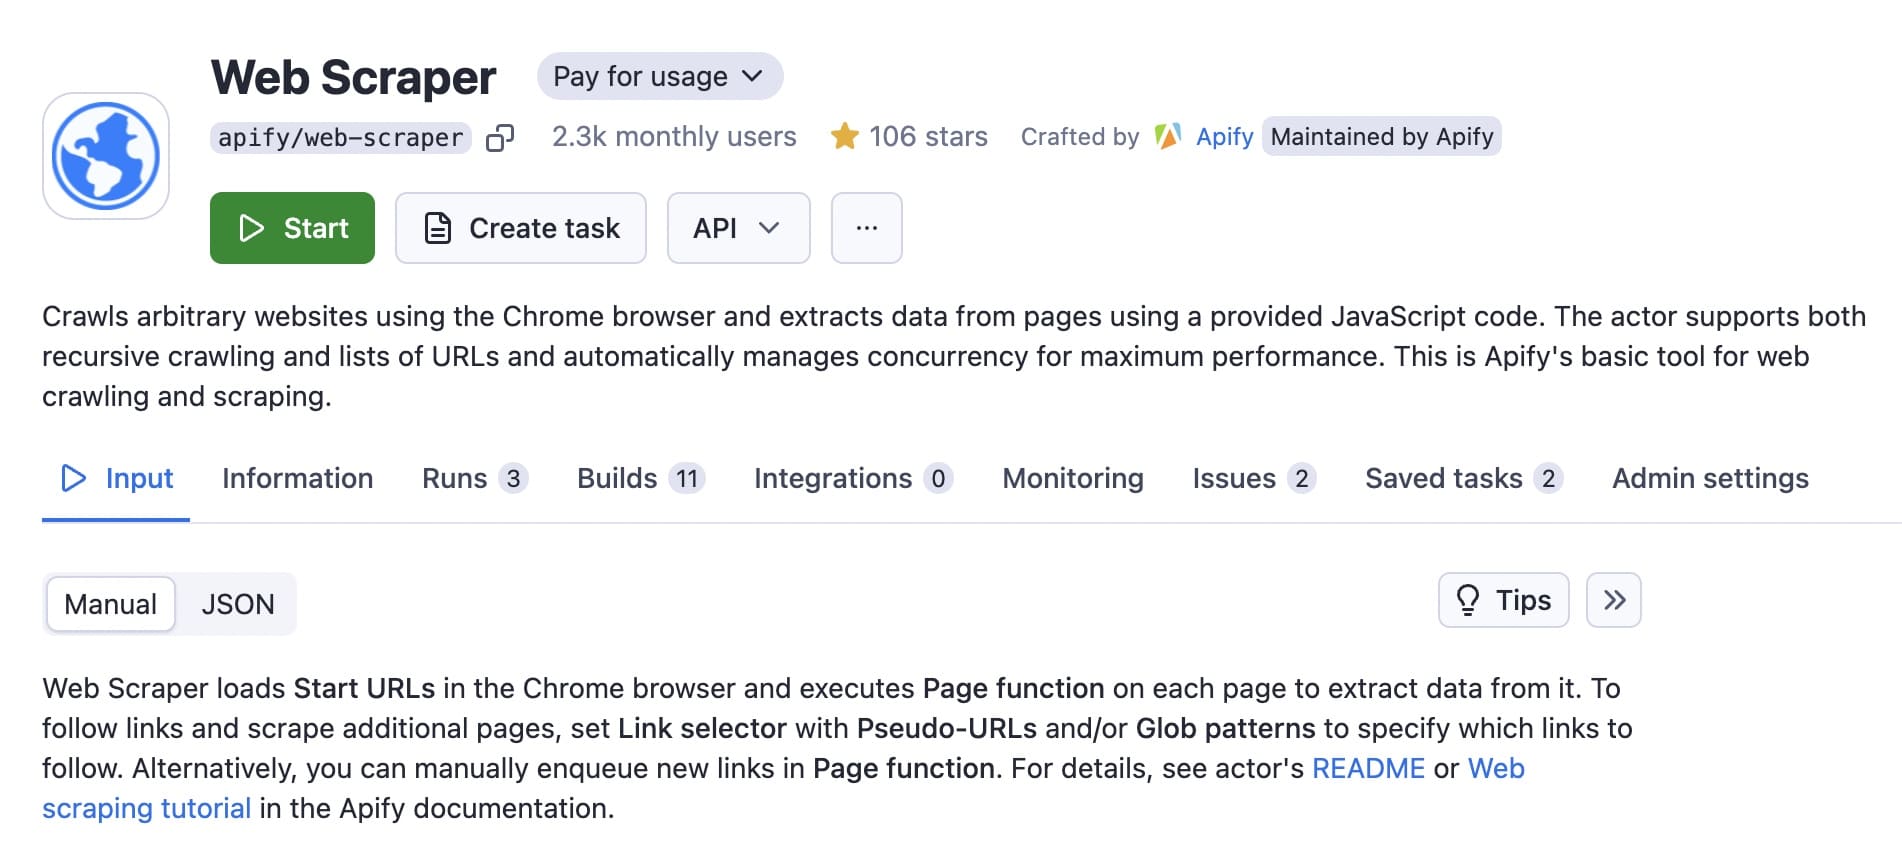
If you have an Apify account, you'll be directed to the dashboard for Web Scraper in Apify Console.
Step 2. Create a new task
Once on the Web Scraper page, click on Create task. You can give it a name to make it easy to find in ‘Saved tasks’.
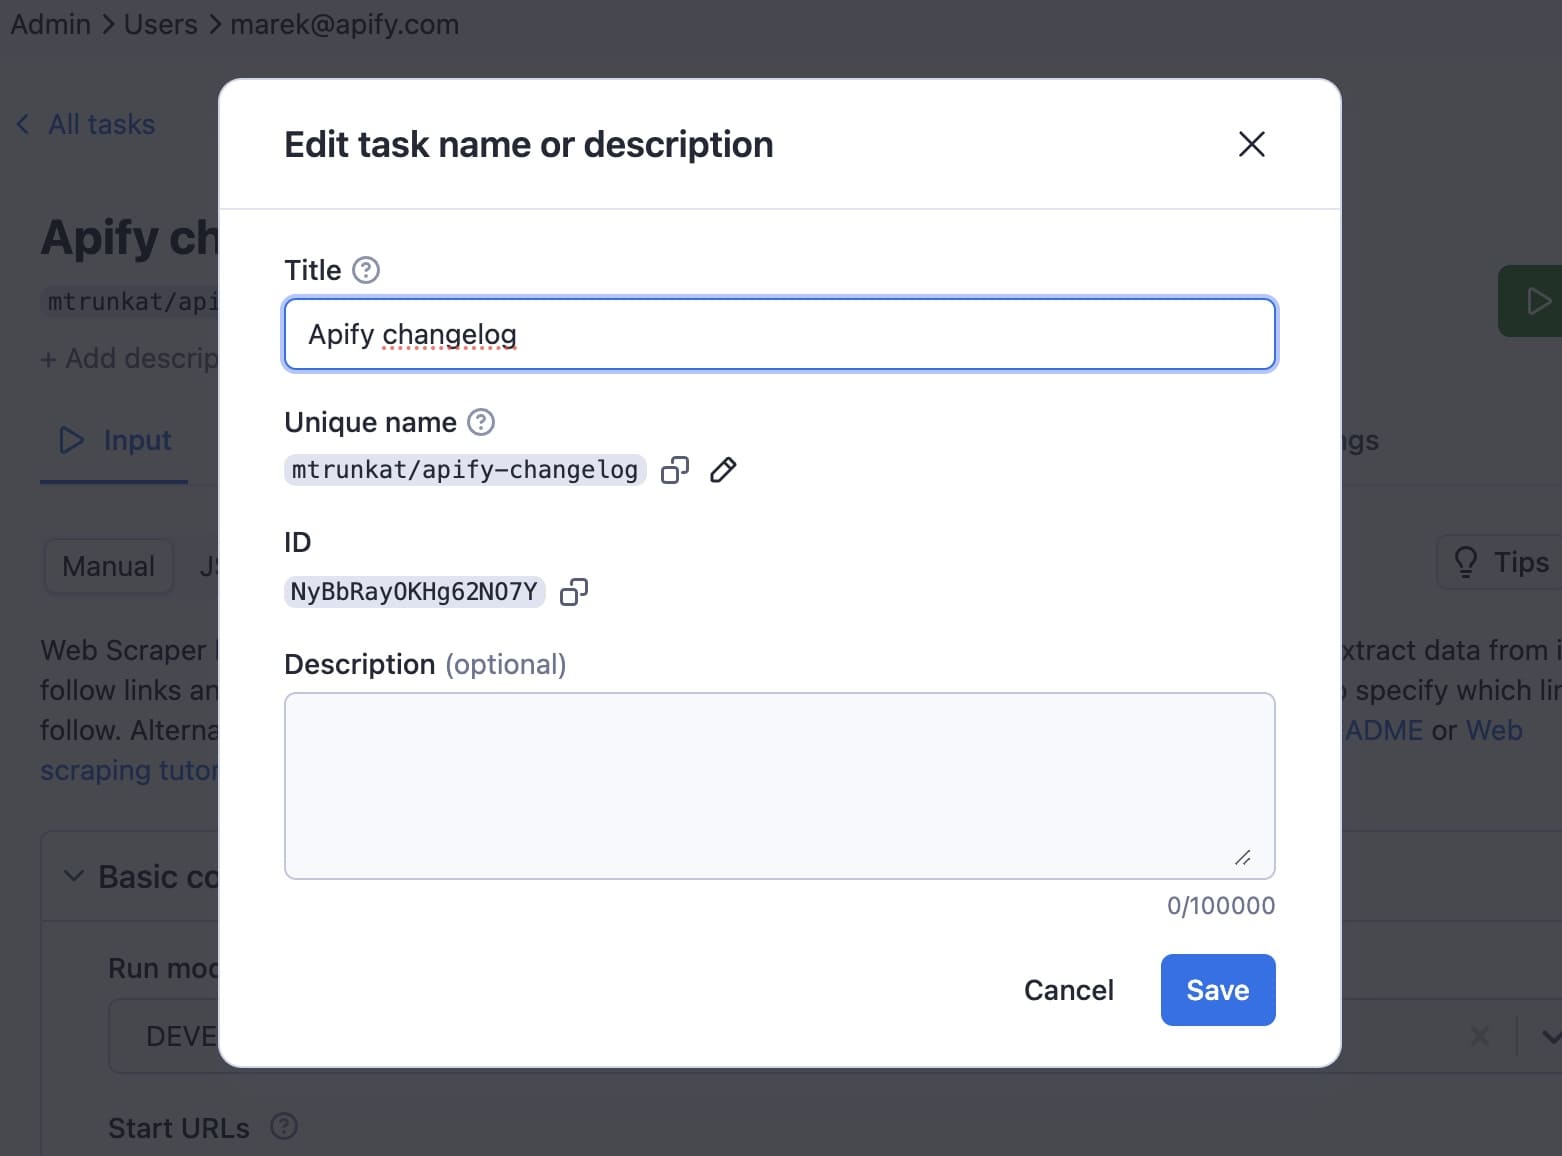
We'll name this one Apify changelog.
Step 3. Insert the Start URL and Glob pattern
For our case, we need only three configurations:
- Start URL
- Glob URL
- Page function.
First, enter the URL you're targeting in the Start URL field. In this case: https://apify.com/change-log.
Then, input the appropriate glob pattern for that URL in the Glob field. In this instance: https://apify.com/change-log/*.
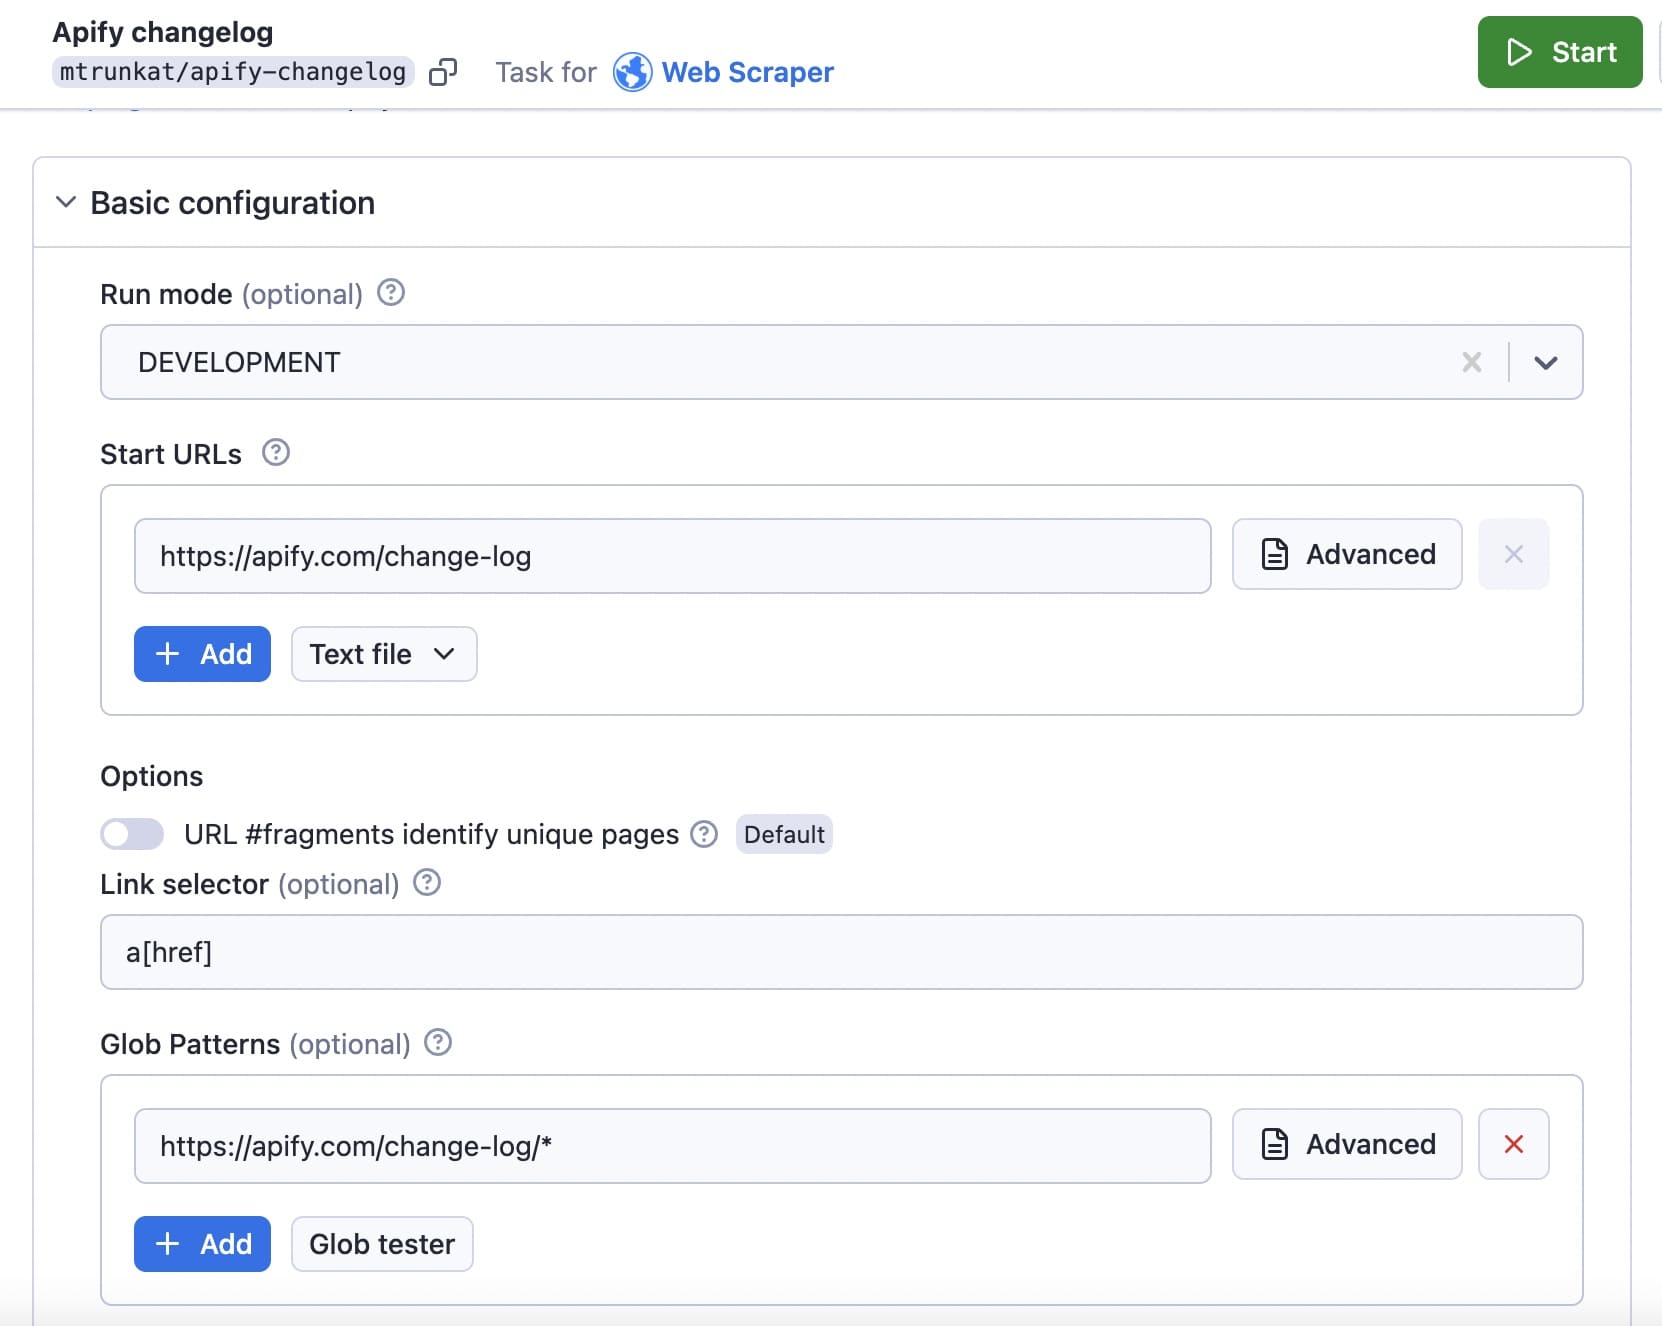
Note: A glob pattern specifies sets of filenames or paths based on wildcard characters. The * (asterisk) wildcard matches zero or more characters in a filename or path. If a website's content is spread across multiple pages or sections, using wildcards in URLs helps the scraper access all of the pages.
Step 4. Create a page function to extract data
Now, we need to put together the page function. To do that, we'll have to look more deeply into the HTML source code of the changelog page.
If you open the Wikipedia page about RSS, you'll find that the RSS item must contain the following fields to be valid:
  <item>
	<title>Example entry</title>
  	<description>Here is some text ...</description>
  	<link>http://www.example.com/blog/post/1</link>
  	<guid>7bd204c6-1655-4c27-aeee-53f933c5395f</guid>
  	<pubDate>Sun, 06 Sep 2009 16:20:00 +0000</pubDate>
  </item>
This means that from each changelog post (such as this one), we need to create a page function to extract:
- The title
- The description (the body of the post)
- The URL
- Some unique ID
- The publication date
Inspect the page with DevTools to see the HTML structure of a page with the data you need:
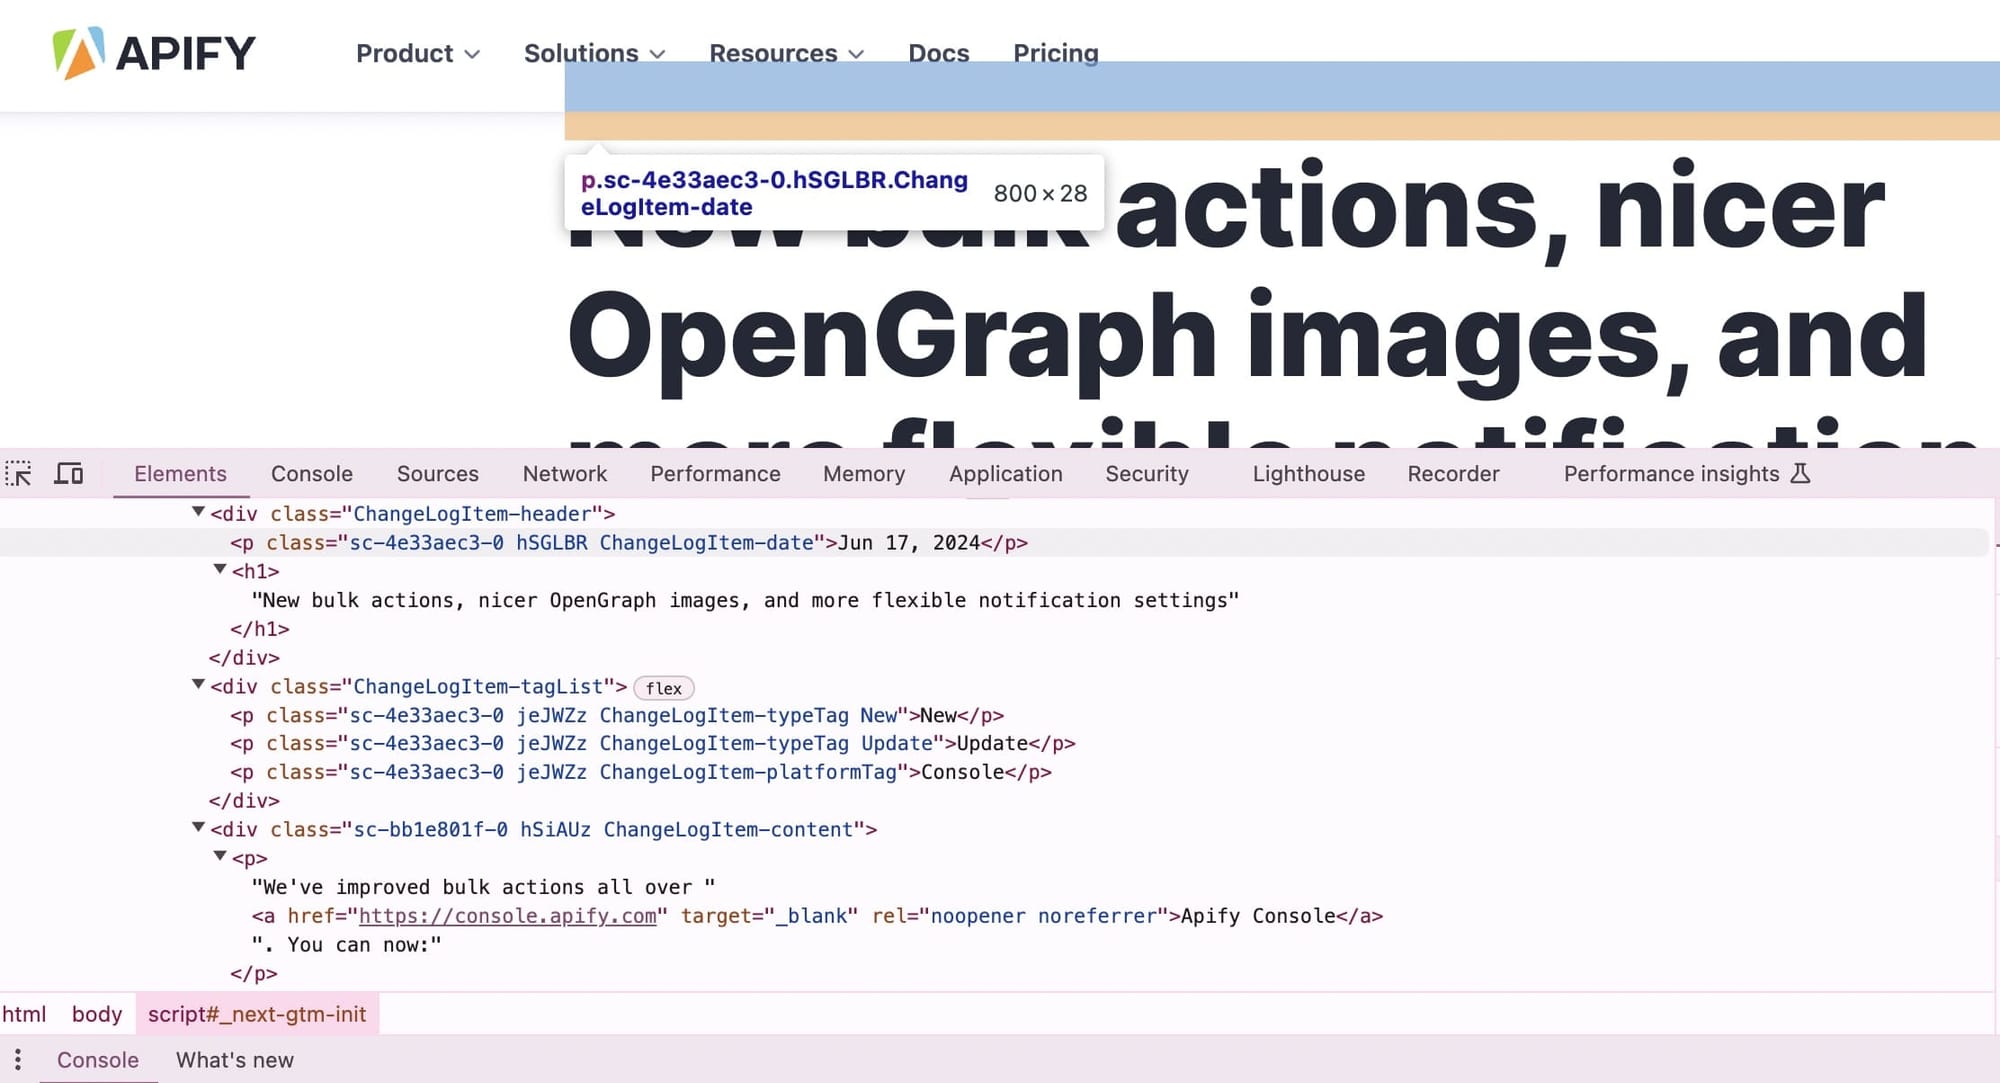
We'll use jQuery, which is already embedded in the page function, to extract the data.
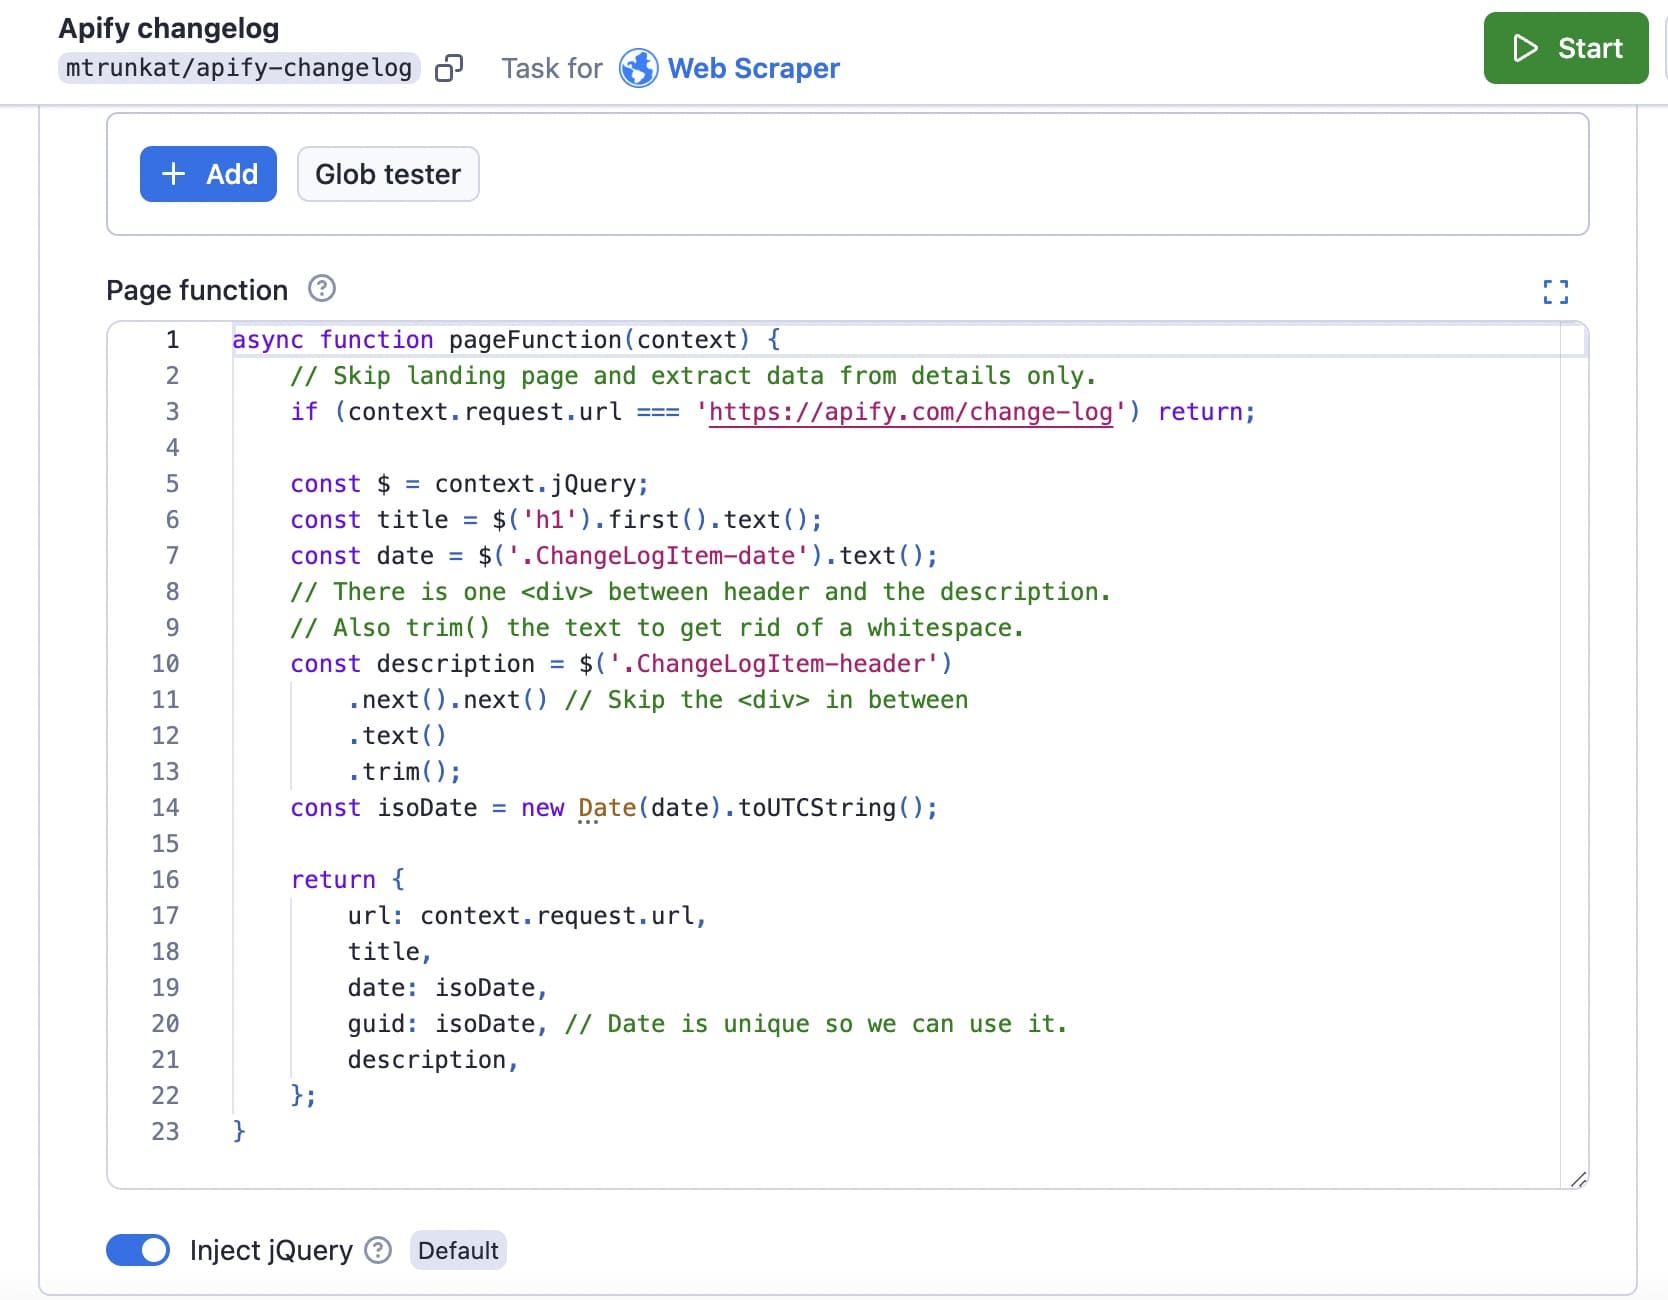
The whole code will look as follows:
async function pageFunction(context) {
    // Skip landing page and extract data from details only.
    if (context.request.url === 'https://apify.com/change-log') return;

    const $ = context.jQuery;
    const title = $('h1').first().text();
    const date = $('.ChangeLogItem-date').text();
    // There is one <div> between header and the description.
    // Also trim() the text to get rid of a whitespace.
    const description = $('.ChangeLogItem-header')
        .next().next() // Skip the <div> in between
        .text()
        .trim();
    const isoDate = new Date(date).toUTCString();

    return {
        url: context.request.url,
        title,
        date: isoDate,
        guid: isoDate, // Date is unique so we can use it.
        description,
    };
}
Insert the code in the page function box:
Step 5. Run the task and view the dataset
Run the task by clicking the Start button. When the scraper has completed a successful run, you'll see the output:
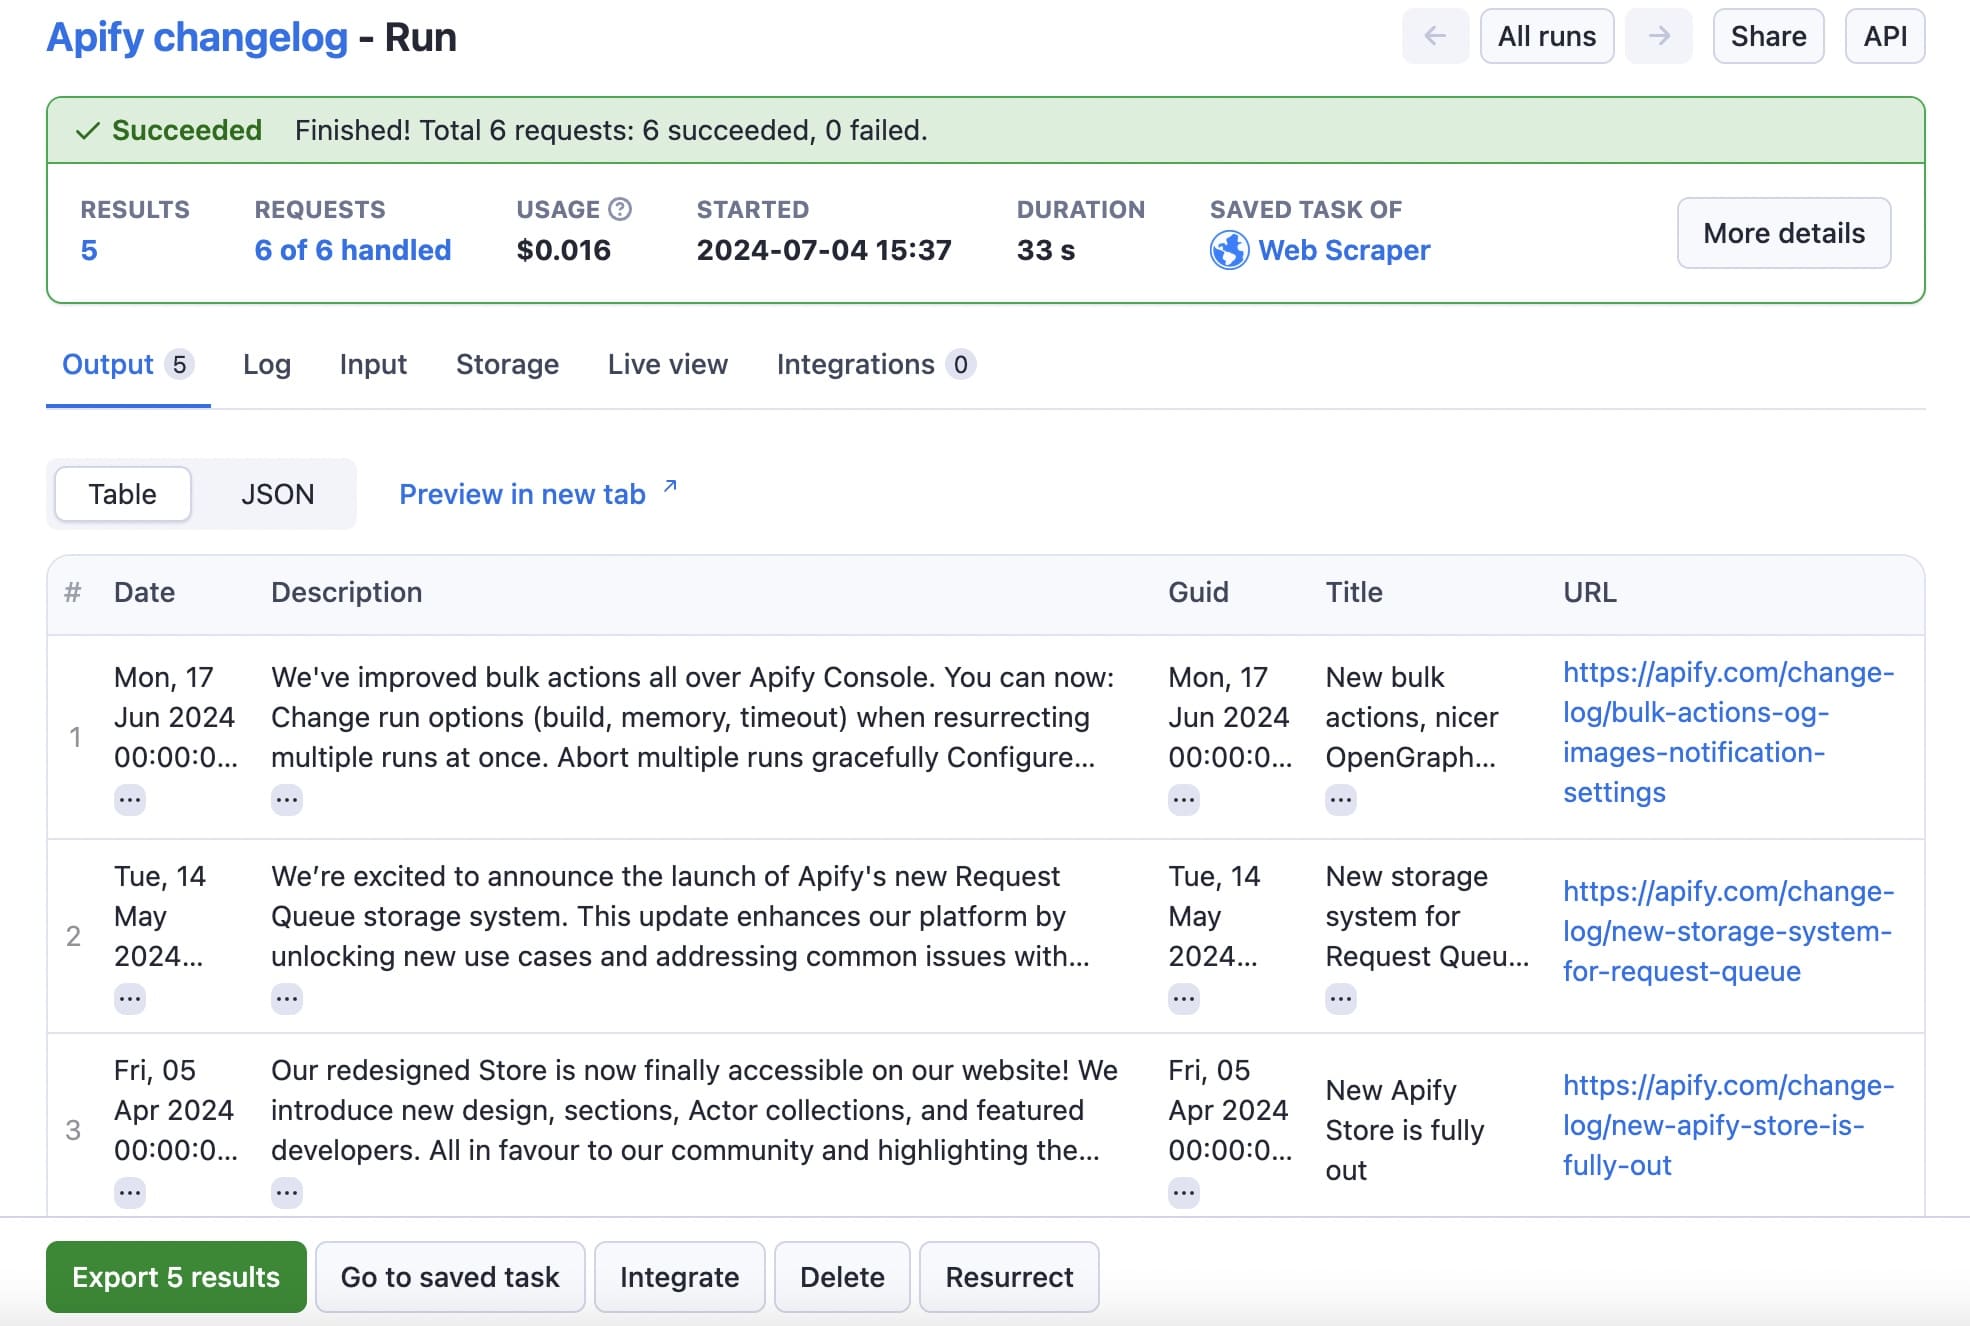
Click the Export results button to view or download your data in any of the available formats.
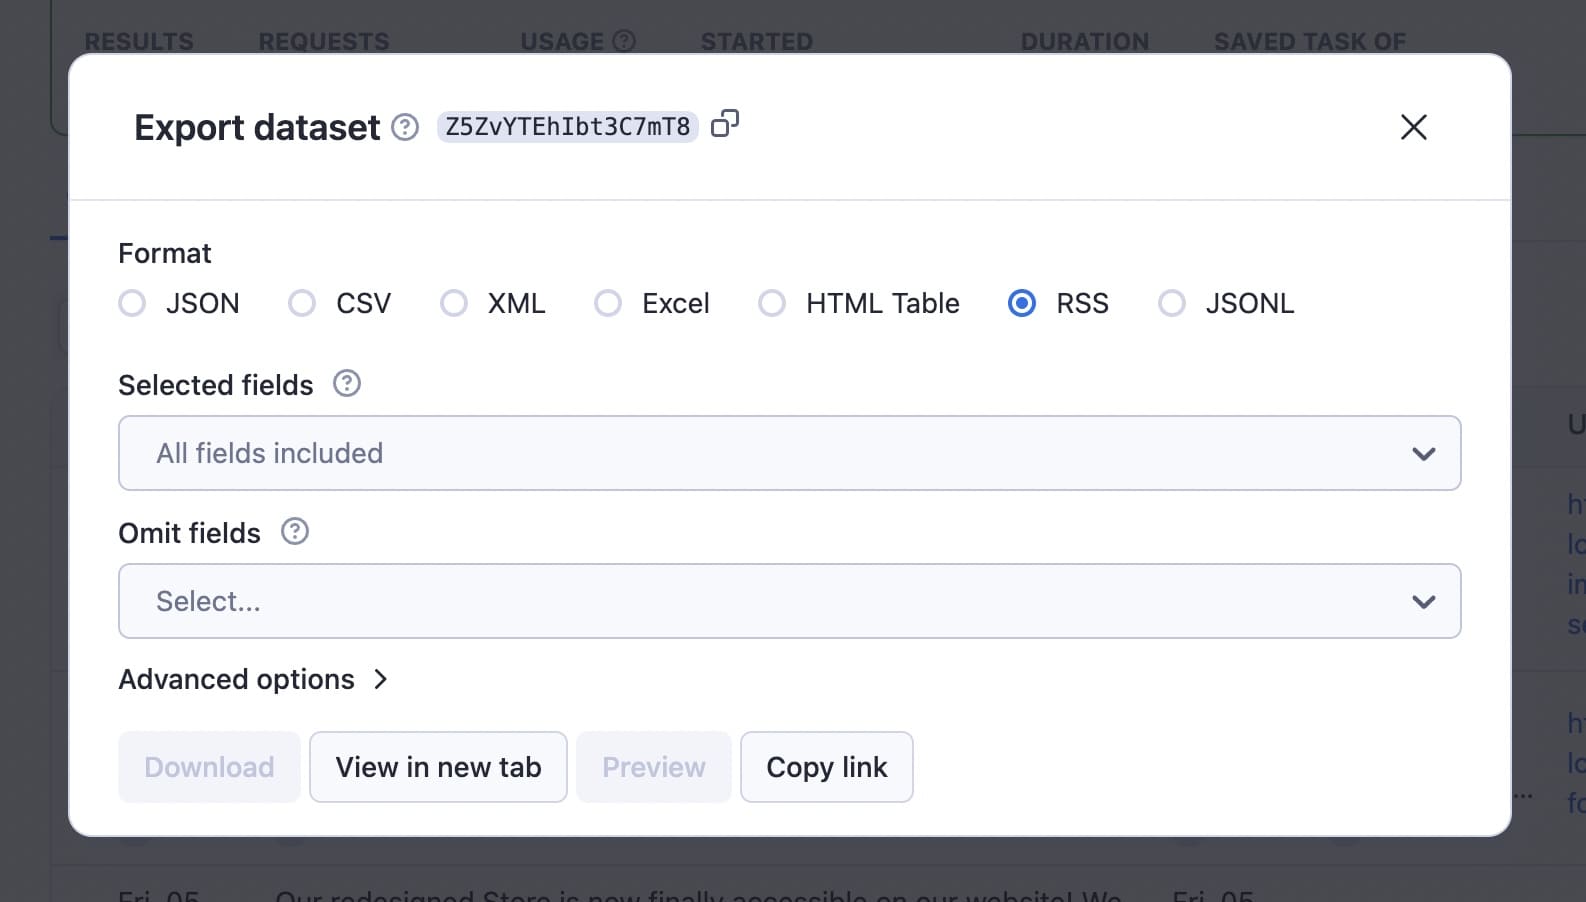
Here's the dataset for this run:
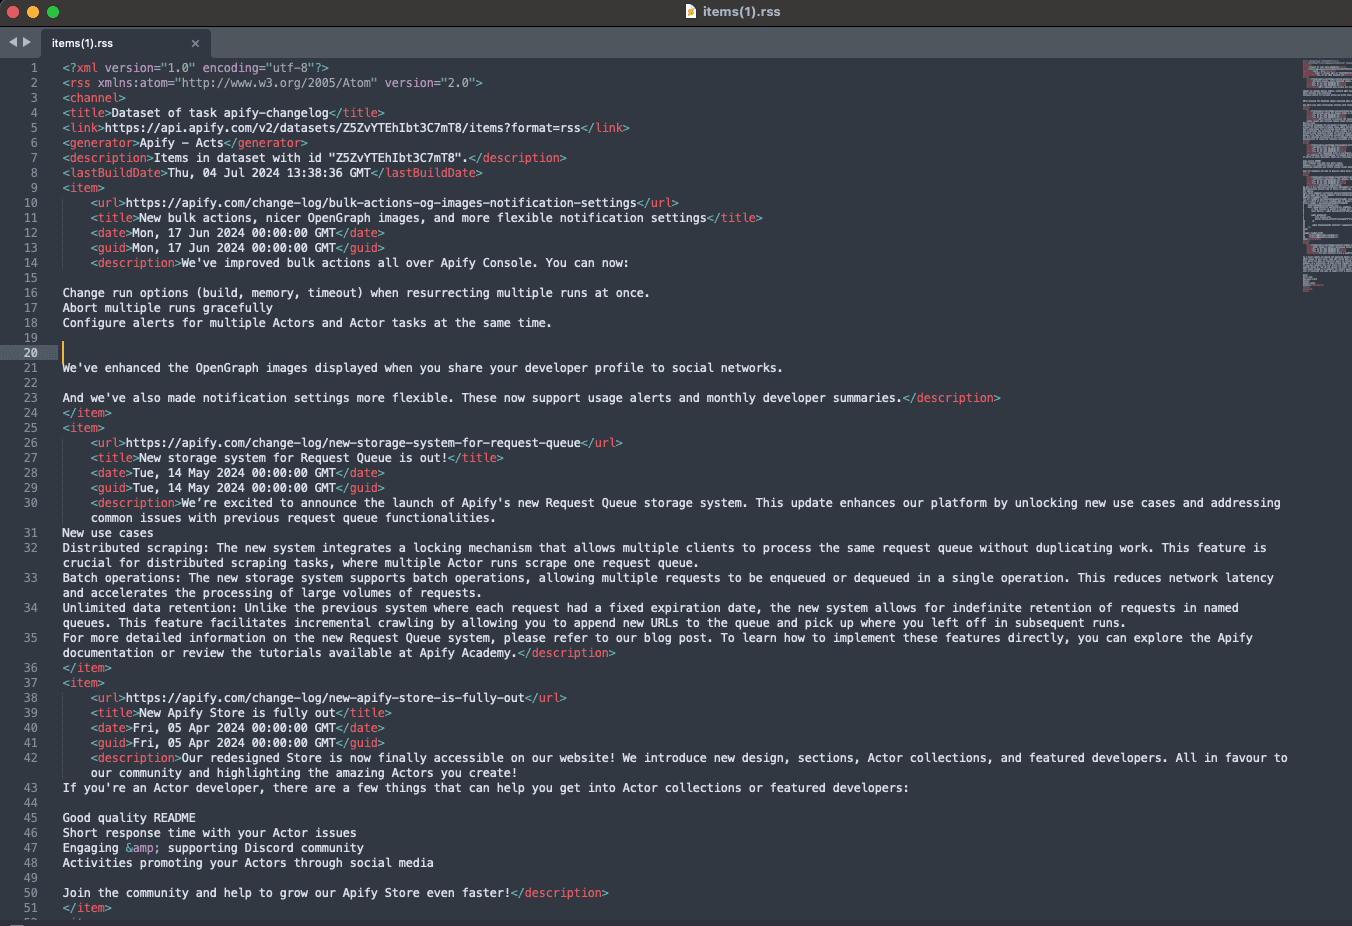
Step 6. Automate scheduled runs
If you want the scraper to run automatically on a schedule, it's very easy to set up. Click on the three dots (...) at the top right for the task you created and choose Schedule.
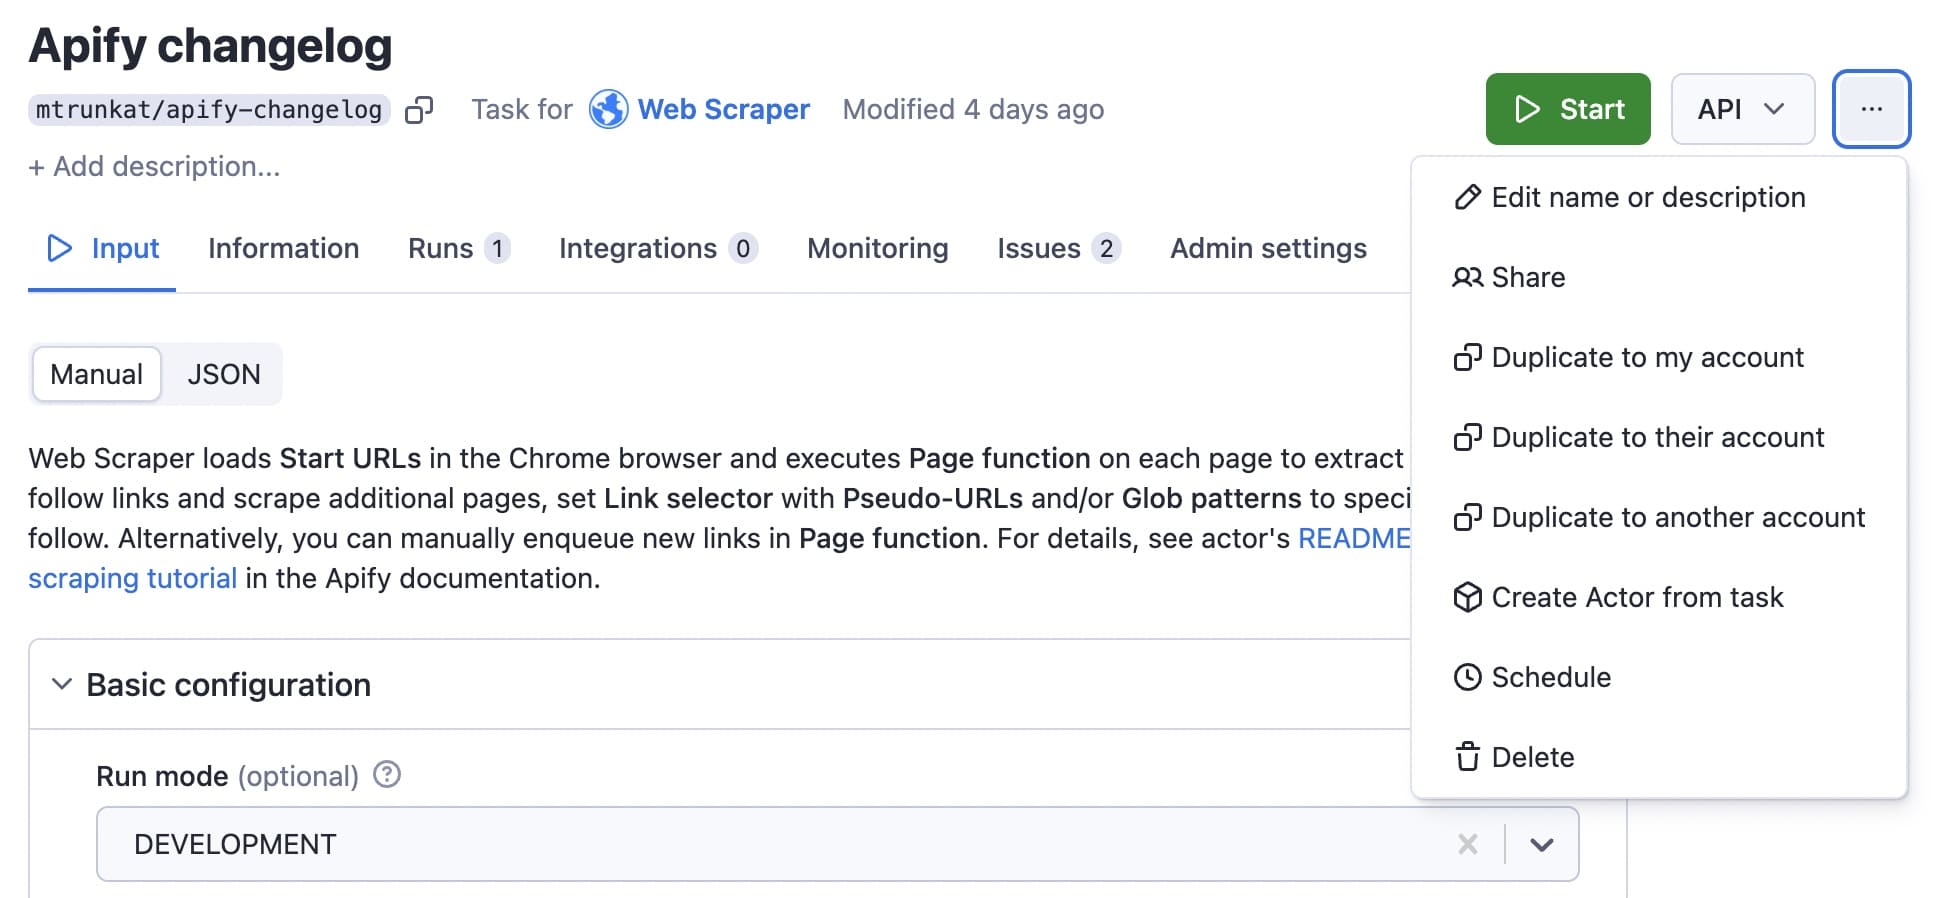
You can name the schedule, give it a description, and set up the frequency of the run:
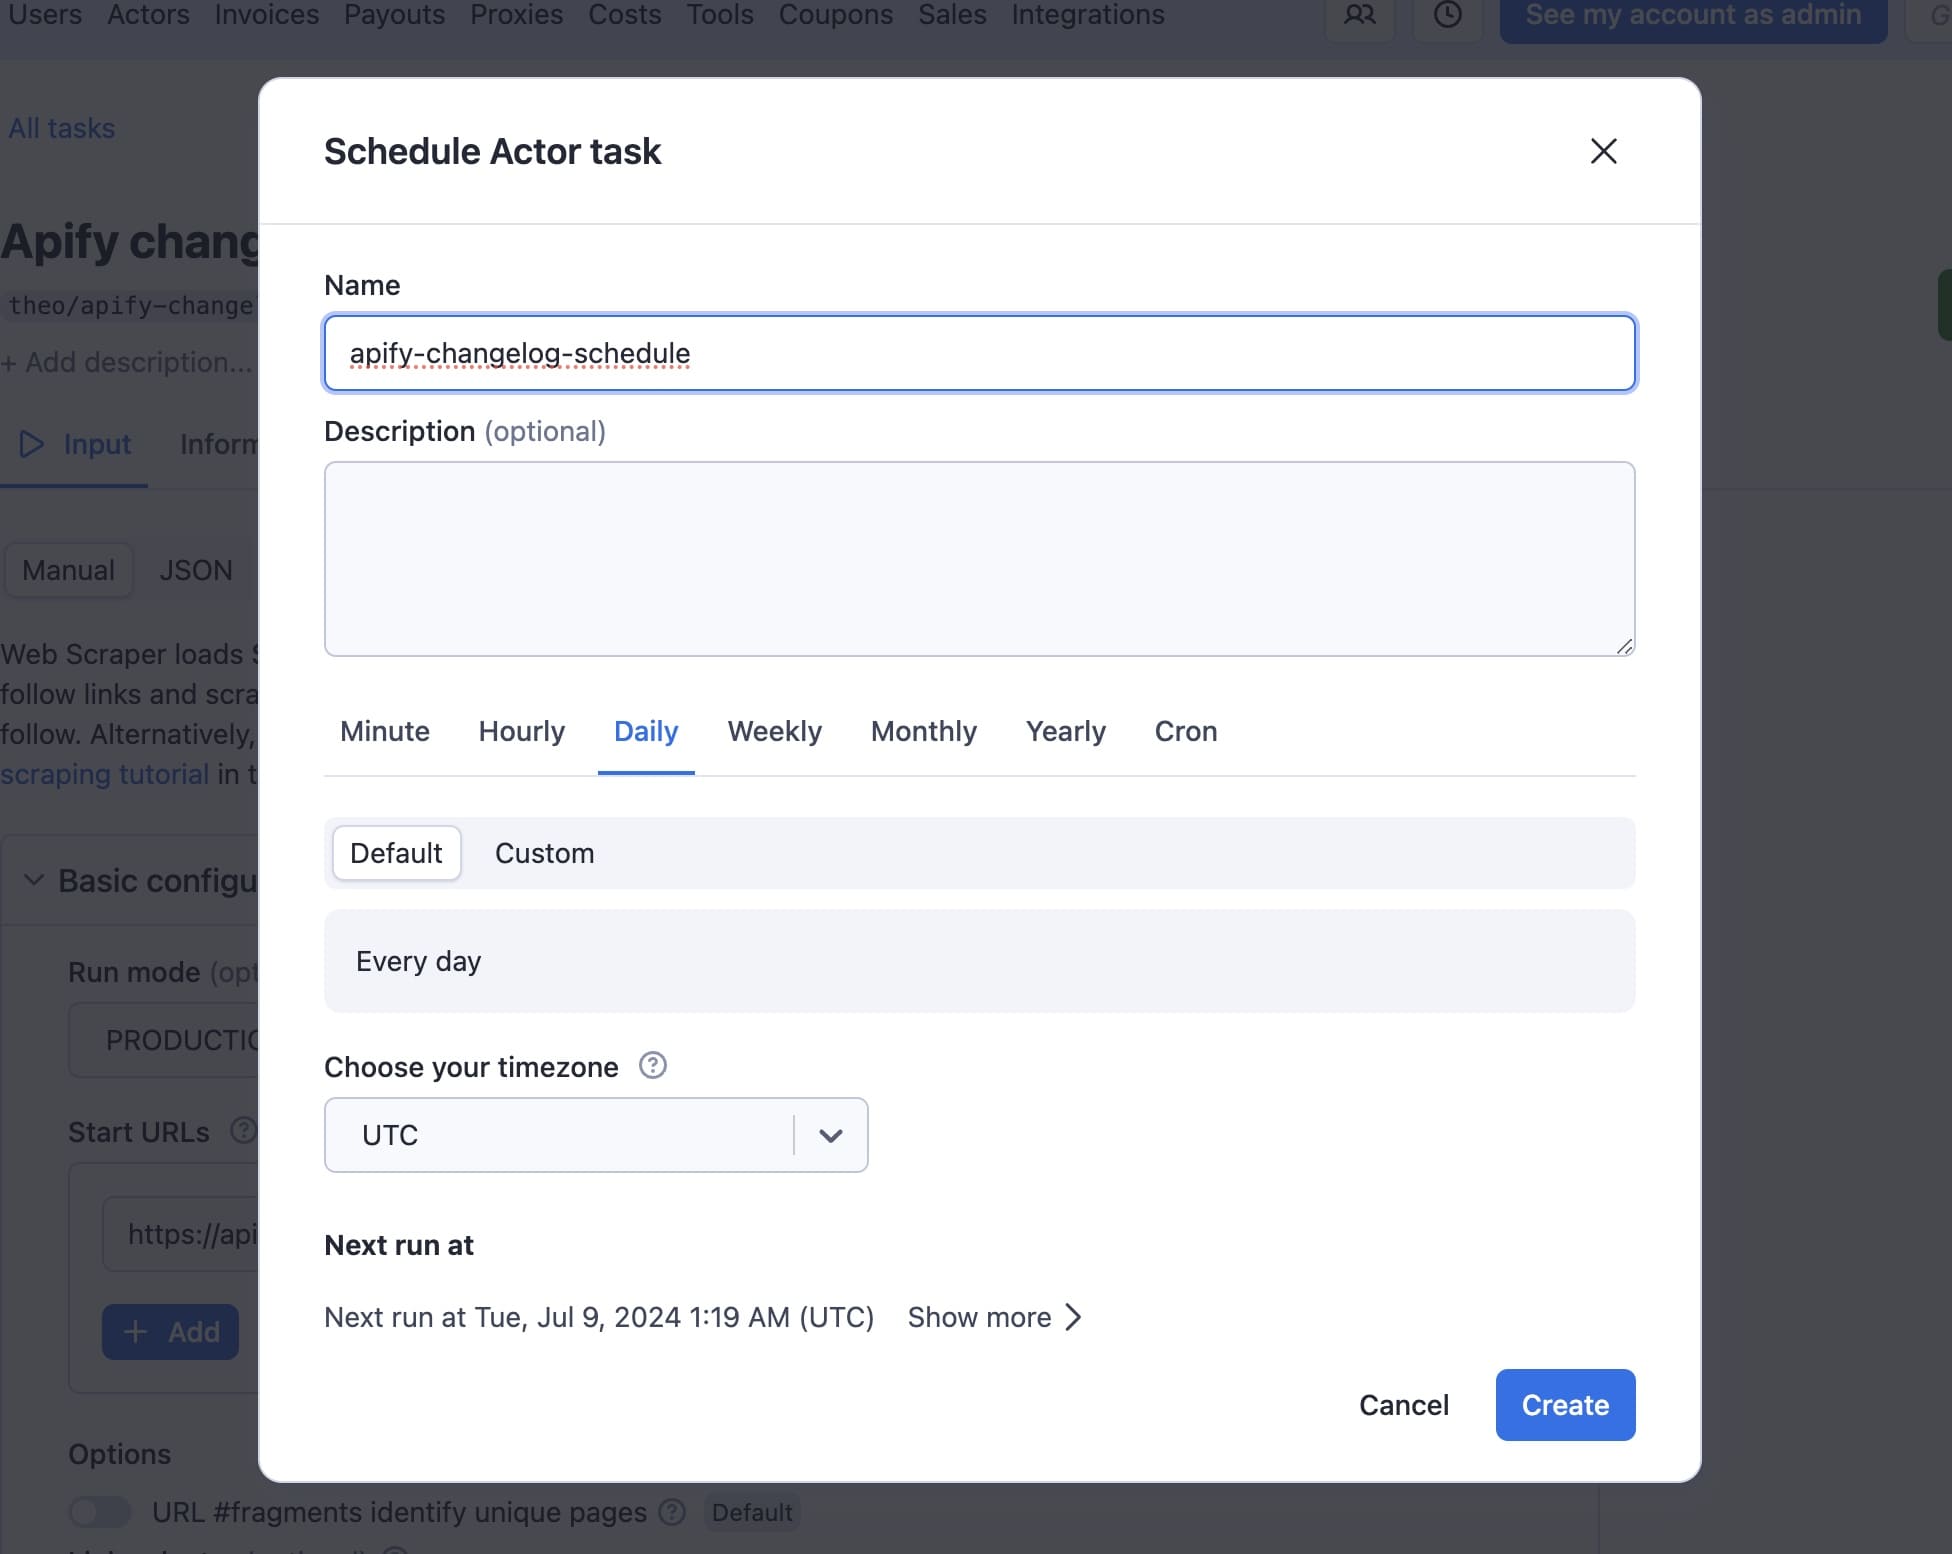
Then just click Create.
What's more, you can copy the API URL to access results from the last run of your task in RSS format:
https://api.apify.com/v2/actor-tasks/[TASK_ID]/runs/last/dataset/items?token=[YOUR_API_TOKEN]&format=rss
Then, paste it to the RSS reader of your choice. This is the result:
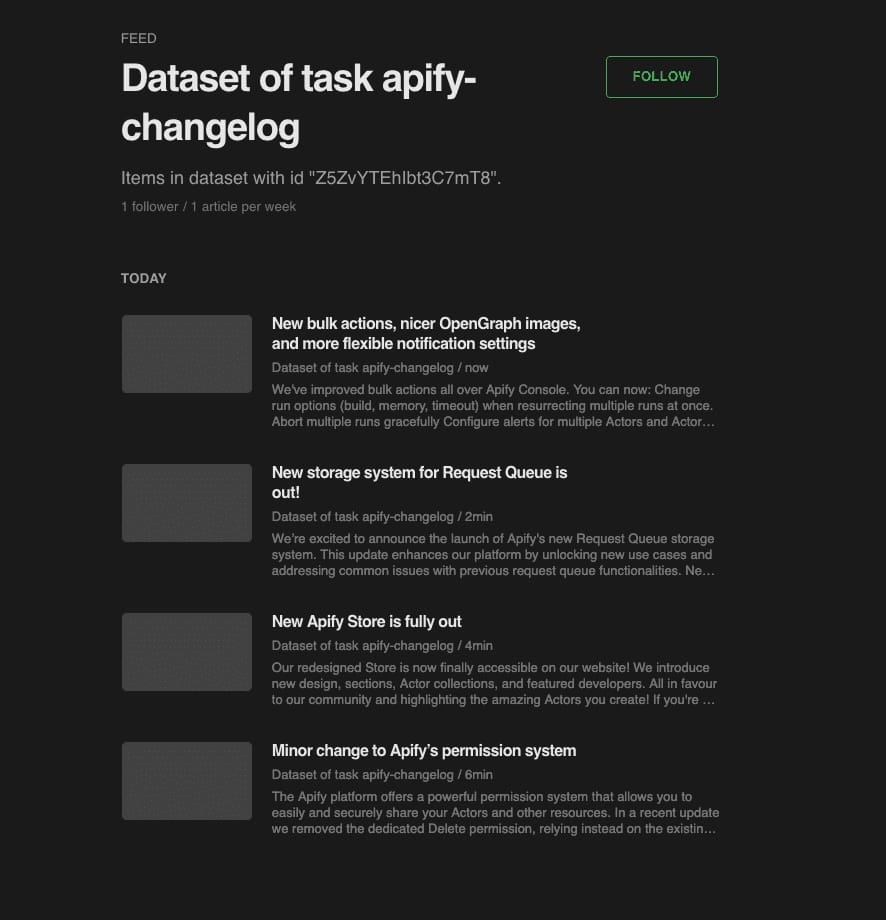
Conclusion: Can I create an RSS feed from any website?
Yes, you can create an RSS feed from any website, even if the website doesn't offer one natively. You can do this by using Apify's Web Scraper.
This tutorial showed you how to use it to create an automatic RSS feed from any website resource so you can easily stay on top of the most important news updates.
And if one RSS feed isn't enough for you, you can use Apify to build an online aggregator instead.


