The Apify CLI has a new kind of user: AI agents. They mess up in ways people don't. They'll say a job is “done” when the build actually broke, guess what an Actor wants until it errors out, dig through config files just to connect, and now they can run scripts on your machine that could read your API token from a plaintext file. So we fixed all four in 1.7.0, then kept going in 1.8.0.
Why AI agents need a different CLI
AI coding agents (Claude Code, Codex CLI, etc.) are great at following deterministic, repeatable steps, but they get confused by:
- Ambiguous “it uploaded, so it's probably fine” progress output
- Missing or unclear “what do I do next?” guidance
- Hidden schemas and required inputs (they'll guess JSON and fail)
We observed these failure modes while testing end-to-end flows with agentic tools (“discover an Actor → inspect its input schema → run it → wait for the final run status”). This release addresses those weak points with explicit instructions, machine-readable status, and reliable exit codes.
Want to see it running first? Check out the walkthrough:
What shipped in 1.7.0
Clearer guidance for apify call
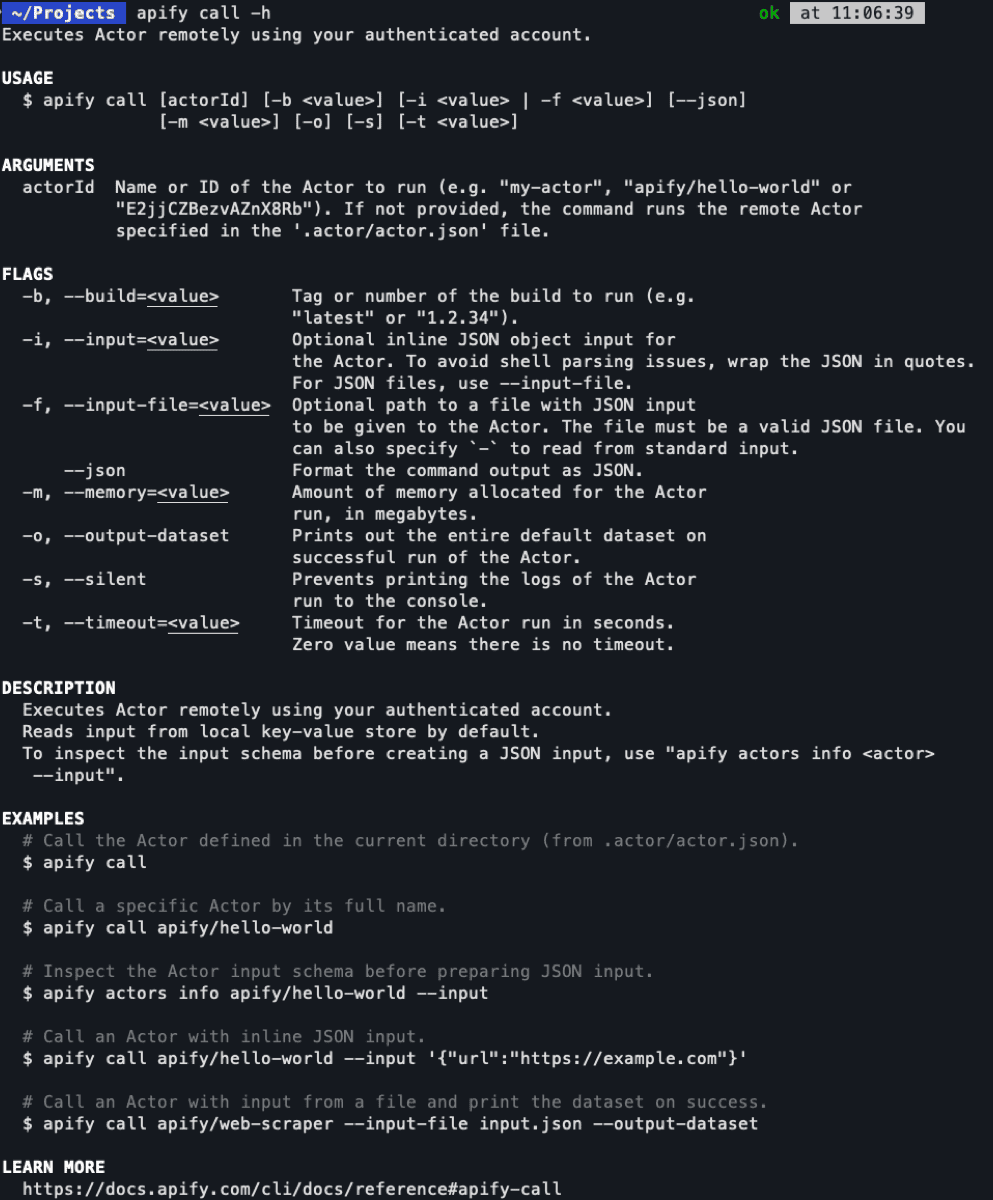
We found that agents sometimes failed when using apify call (running an Actor on the Apify platform). We improved the instructions for exploring an Actor before running it and clarified what to do when the command fails.
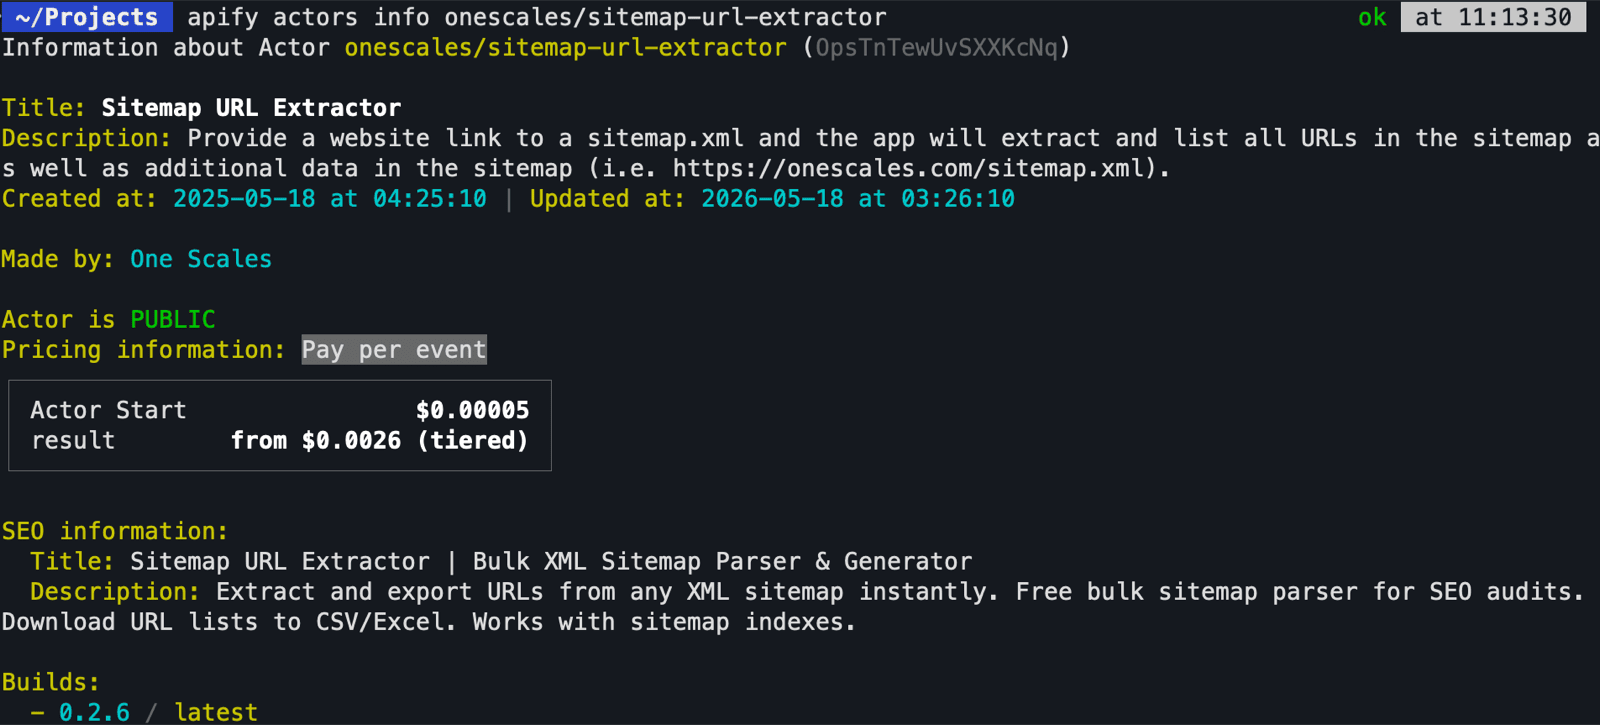
A key part of this is apify actors info <actor-id> --input, which prints the Actor's input schema. The apify call description and examples now tell agents to run it first, so they can see which fields an Actor expects before building JSON input instead of guessing and failing.
Clear final status for builds and runs
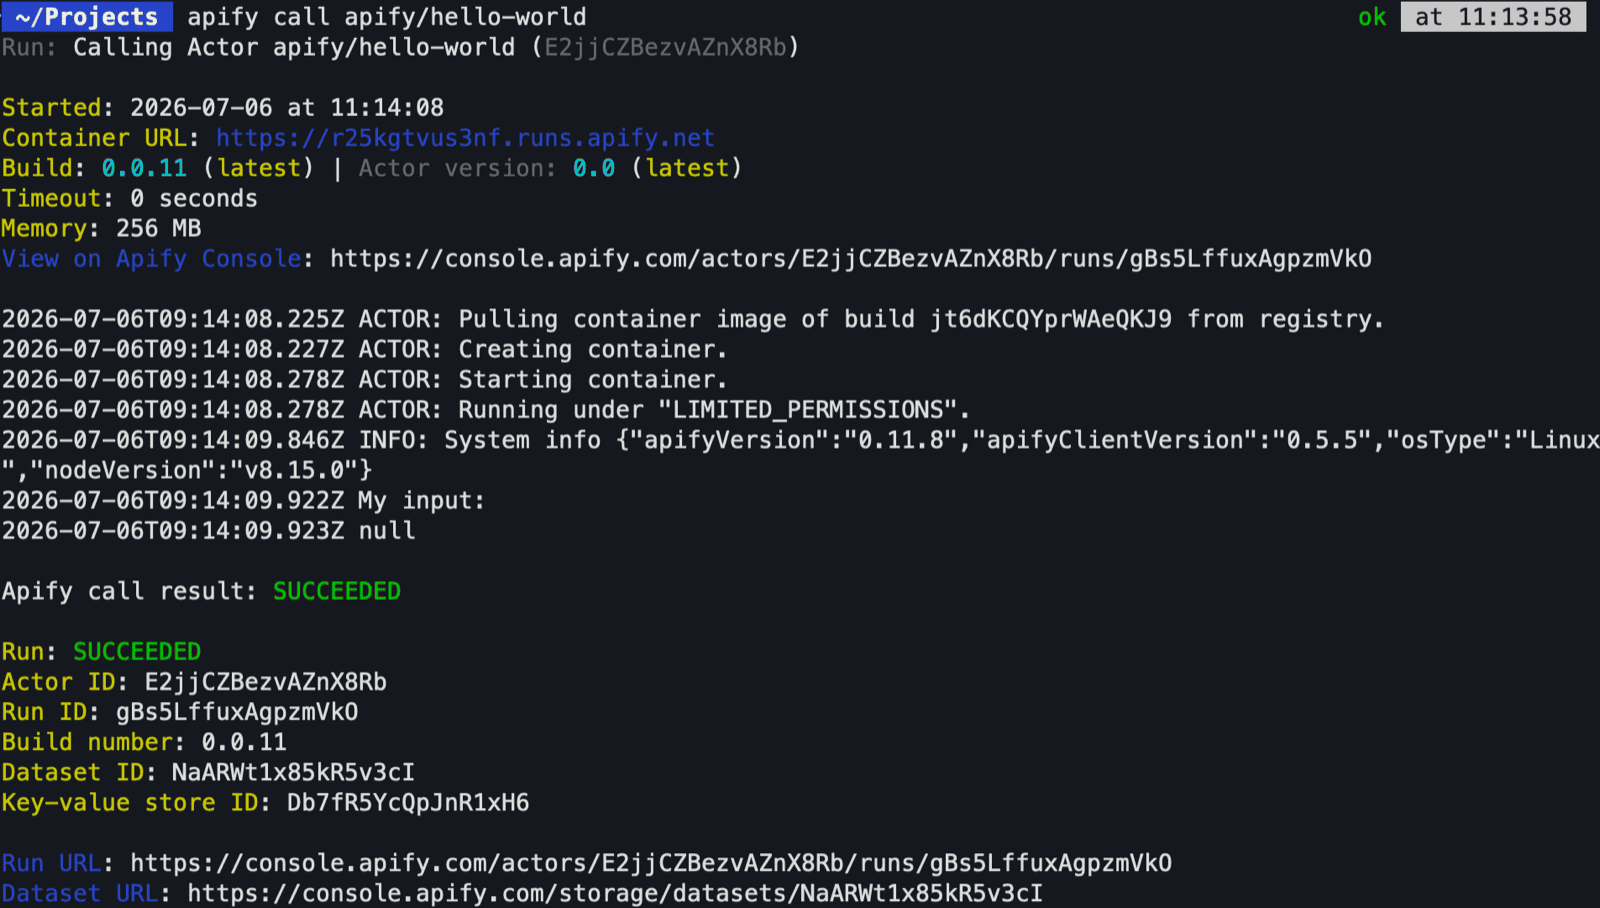
Commands like apify push, apify call, and apify actors start run in multiple phases. An Actor can upload successfully but fail to build, or a run can start cleanly and later end as FAILED, TIMED_OUT, or ABORTED.
That ambiguity tripped up agents, which often reported “done” after early phases succeeded.
Now every build and run ends with an explicit final-status summary, reliable --json output with an ok field, and an exit code of 0 only when the cloud job actually succeeded.
Async flows now print the run or build ID and suggest next commands. New apify runs wait / apify builds wait commands let agents block until a terminal status without hand-rolled polling loops.
The new command: apify mcp install <client>
Connecting an AI client to Apify used to mean editing JSON config files, looking up the right MCP server URL, and pasting in your API token by hand. That's easy to get wrong, and a common failure point for agentic setups.
The new apify mcp install <client> command does it all in one step. It connects your chosen AI client to the Apify MCP server and sets up your token automatically.
apify mcp install claude-code
It supports six clients out of the box: Claude Code, Cursor, VS Code, Codex CLI, Kiro, and Antigravity.
If you want a standalone, client-agnostic way to talk to any MCP server from the terminal, check out mcpc, a universal MCP CLI client.
OS keychain for sensitive variables
The Apify CLI now stores sensitive credentials (your API token and proxy password) in your operating system's native secret store instead of a plaintext file:
- macOS → Apple Keychain
- Windows → Windows Credential Manager
- Linux → system keyring via libsecret (GNOME Keyring, KWallet, etc.)
This matters even more now that AI agents run tools and scripts on your machine: they can no longer read your Apify token by opening ~/.apify/auth.json. Instead, credentials are protected by the OS keychain's access controls.
For existing users, the switch is automatic and invisible. The first time you run the CLI after upgrading, it migrates your token and proxy password from auth.json into the keychain.
What shipped in 1.8.0
The CLI ships an agent skill: guidance for driving apify from an agent. apify help --skill prints it, but nothing in the CLI pointed there, so the main help menu now names the command.
Agents that spawn the CLI with a piped stdin could also hang it. If stdin stayed open and never closed, every command finished its work, printed its output, and then sat there instead of exiting. Claude Code triggers this exact pattern. The CLI now exits cleanly.
apify actors info prints usage stats next to pricing: total users, users in the last 30 days, and total runs. Those are the same popularity numbers apify actors search already returned, so an agent can size up an Actor before spending anything on a run.
The rest of the release is housekeeping. apify create gained a guided wizard with use-case and language filters, plus support for uv-managed Python Actors.
The CLI now ships as a single bundle with a native Windows ARM64 build, and the npm install dropped from 69.4 MB to 57.9 MB. Console links printed by commands like apify call and apify push now respect a new APIFY_CONSOLE_URL environment variable. Point the CLI at a non-production backend and it stops printing production links.