Have you ever run into the following problem?
- Your application is running on AWS/Azure/Google Cloud or another cloud computing service.
- Your servers don’t have fixed IP addresses or you’re going completely serverless with AWS Lambda or Google Cloud Functions.
- You need to connect to a service outside of your network, but its security policy requires that you access it only from whitelisted IP addresses.
Users of the Apify Actor serverless computing platform often ended up facing this issue, so it was time for us to fix it! In this article, we’ll show you how we approached the problem and what kind of solution we added to the open-source proxy-chain NPM package.
Option 1: Enable access from the entire IP address range of your cloud provider
Server instances from most cloud computing providers can have a public IP address, which is typically selected randomly from the provider’s pool of IP addresses. The providers usually publish the ranges of their IP pool, so it’s possible to whitelist the entire range to enable access to the protected external service.
But this approach has two problems. First, it opens your protected service to all other users of the same cloud provider, making the firewall protection completely useless. Second, the range of IP addresses can be large and it can change over time, making this setup painful to manage.
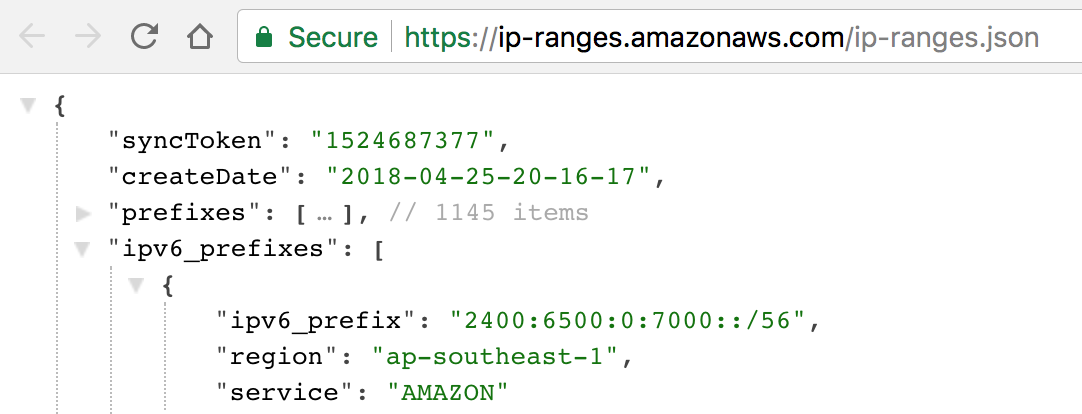
For example, the IP address range of AWS has 1145 IPv4 prefixes and it changes quite often. You’d need to subscribe to SNS notifications about the range changes and update your firewall settings after every change, either manually or automatically, if your application supports it.

Option 2: Manually assign static IP addresses to your servers
Another option is to manually assign static IP addresses to your servers and only whitelist these few addresses on the firewall. This option works well for small applications that run a few servers and don’t change them often. But if you’re running a large system that dynamically launches servers based on workload and can have dozens of servers running at a time, this setup will not scale.

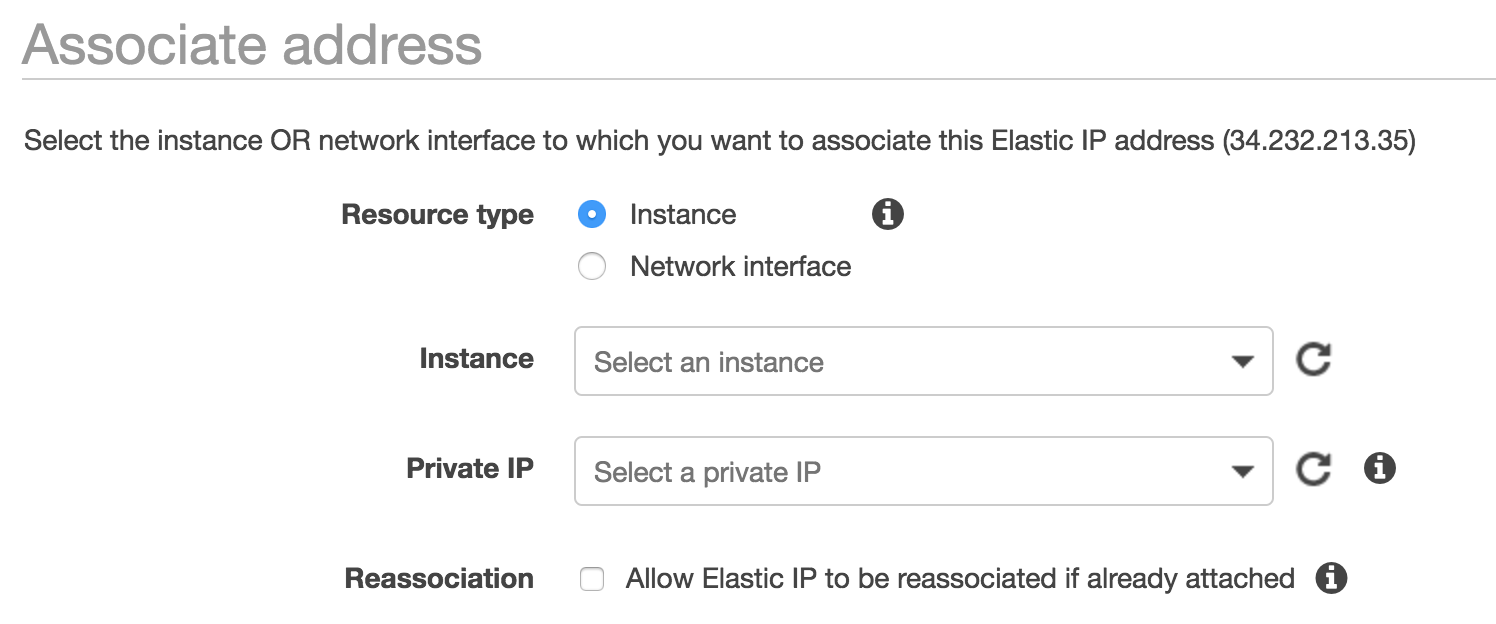
For example, AWS has a limit of 5 static IP address per region and it’s quite tricky to make these so-called Elastic IP addresses work with an EC2 auto-scaling group.
Option 3: Use VPN to proxy all traffic via a static IP address
Another option people often come up with is to use a virtual private network (VPN), either locally-run or hosted. For example, you can set up a single instance with a static IP address to run a VPN server and have all other instances use a VPN client to proxy their network traffic through the server. This way, the network connection to the protected service will always come from the static IP address.

This solution works well, but it requires a non-trivial setup on both server and client. The VPN server is a single point of failure, and in mission-critical applications it needs to be doubled for redundancy. The application needs to set up a local VPN client, typically by installing a virtual network interface. Unfortunately, this is problematic in environments with Docker and downright impossible on AWS Lambda.
Option 4: Tunnel the connections via a HTTP proxy with a static IP address
But why do we need to use a heavy-weight solution like VPN if there is a much simpler alternative to forward network traffic — an HTTP proxy? The HTTP proxy is able to forward protocols such as HTTPS and FTP using the HTTP CONNECT tunnel, so it must be possible to use it to tunnel any other protocols too.
Of course, we’re not the first to come up with this idea. For example, there is an open-source tool for Linux called ProxyChains that can make connections from any program to be tunneled via a HTTP/SOCKS proxy. They describe the following use cases:
You may need it when the only way out from your LAN is through proxy server.
Or to get out from behind restrictive firewall that filters some ports in outgoing traffic.
And you want to do that with some app like telnet.
Indeed you can even access your home LAN from outside via reverse proxy if you set it.
Use external DNS from behind any proxy/firewall.
Use TOR network with SSH and friends.
In our case, we didn’t want to make our users install additional tools. We were thinking it would be great to have this functionality available as an NPM package for Node.js to aid Node.js development.
Thanks to our recent work on the proxy-chain NPM package, we gained quite intimate knowledge of HTTP proxying and decided to add this functionality to the package. This is how it works:
- Let’s say a user wants to perform a TCP connection to a target server
service.example.com:1234via an HTTP proxy server running athttp://bob:password@proxy.example.com:8000 - The user calls the
createTunnelfunction that starts a local TCP server on a random port, e.g.localhost:4567 - Now, any TCP connection made to
localhost:4567is tunneled via the HTTP proxy to the target server - Once the network operation is finished, the user calls the
closeTunnelfunction
Now you only need a HTTP proxy server with a static IP address. You can set up one yourself (e.g. using a Squid server) or buy one from any one of the plenty of proxy providers out there. If you have lots of traffic, you can use multiple HTTP proxies and just rotate them randomly or in a round-robin fashion.
Here’s a code example:
The best part of the above solution is that it works in Node.js out of the box. You don’t need to install any external tools or change any configuration — it works even on AWS Lambda (well, as long as you trust your proxy provider 😀).
Here’s another, fully functional code example, which uses Apify Proxy:
If you’re not afraid of a bit of code and want to see an advanced real-world example of how we use the tunneling, then have a look at the source code of the drobnikj/mongodb-import Apify Actor act available on GitHub. The act connects to a MongoDB Atlas database that only allows access from whitelisted IP addresses and while doing so it implements some advanced steps to make Mongo 3.6 connection strings to replica sets work, e.g. by rewriting systems hosts file and opening multiple tunnels for each database in the replica set, but that’s another story...


