Web scraping with Python code templates
If you're planning a web scraping project, Apify provides code templates that save you development time and give you immediate access to all the features the Apify platform has to offer.
Watch this video for a more general overview of how to use Apify's code templates
This article will guide you through creating a simple web scraper in Python using the Apify CLI and a Python web scraping template. We'll focus on a practical project: scraping headlines from TechCrunch.
We'll explain how to set up the project and deploy the scraper to the Apify platform.
Build a TechCrunch scraper with Python
Step 1: Set up the environment
Start by setting up your environment. First, you need to install the Apify CLI. This can be achieved using NPM with the following command:
npm i -g apify-cliThis command will install the Apify CLI globally on your computer.
Step 2: Set up your project
Next, create a new Actor using the Python start template. You can do this by running the following command:
apify create my-actor -t python-startThis command creates a new venv project in your directory and creates a new Actor named my-actor using the Python template.
Step 3: Run the Actor locally
Navigate to the newly created Actor's directory and run it locally. This can be done using the following commands:
cd my-actor
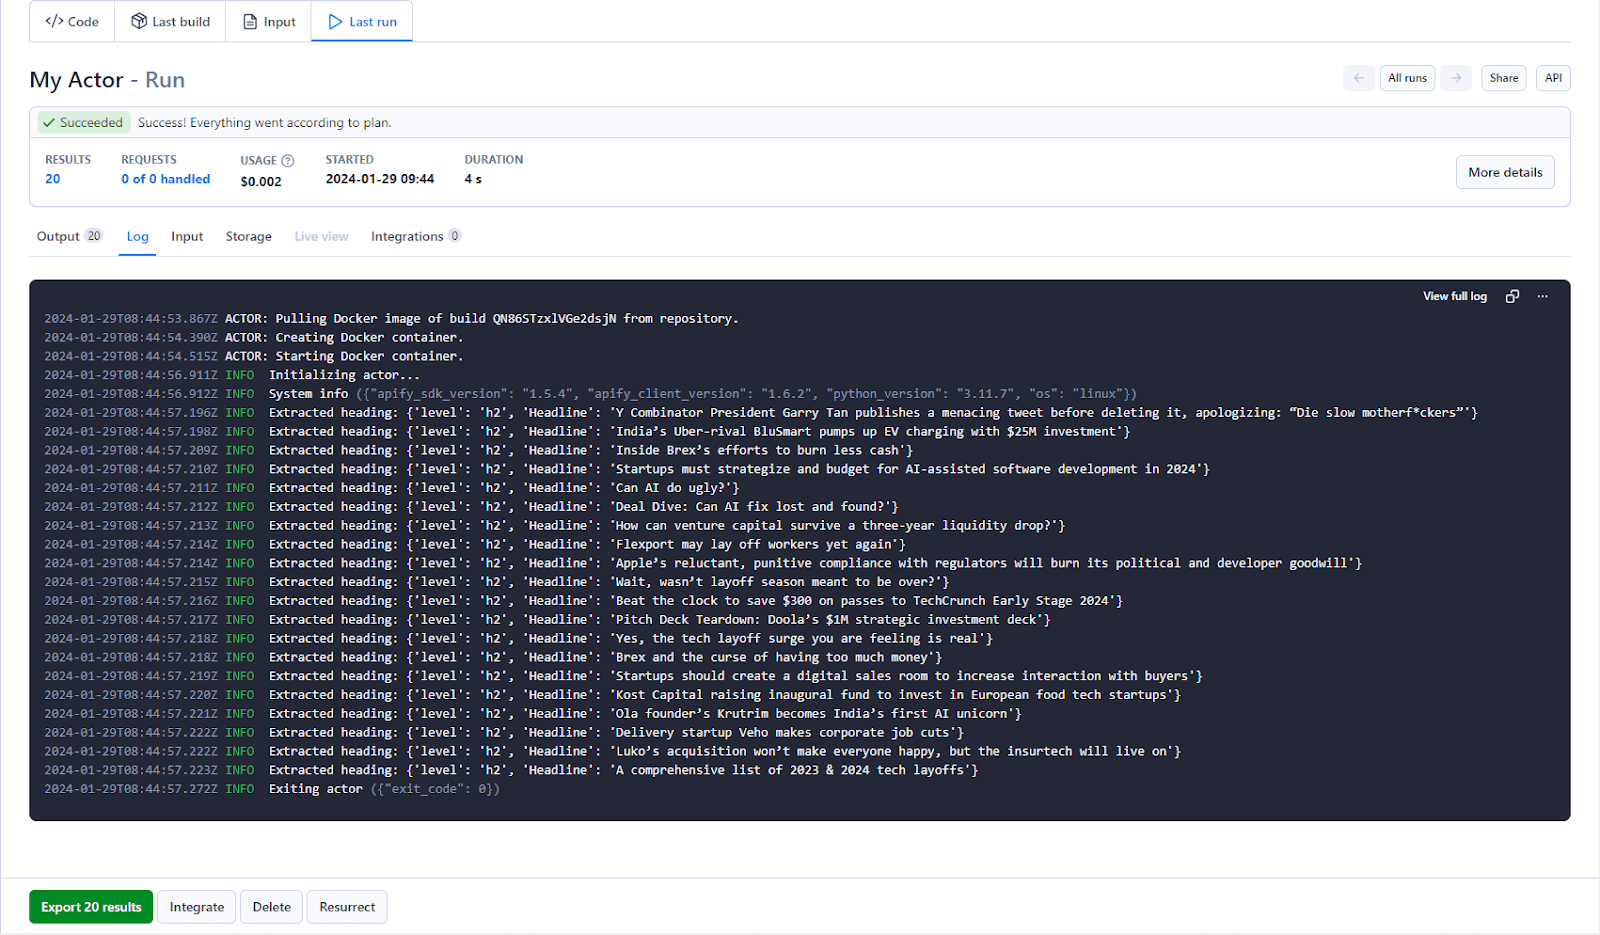
apify runThese commands move you to the my-actor directory and run the scraper locally. The output on your terminal should be similar to this:
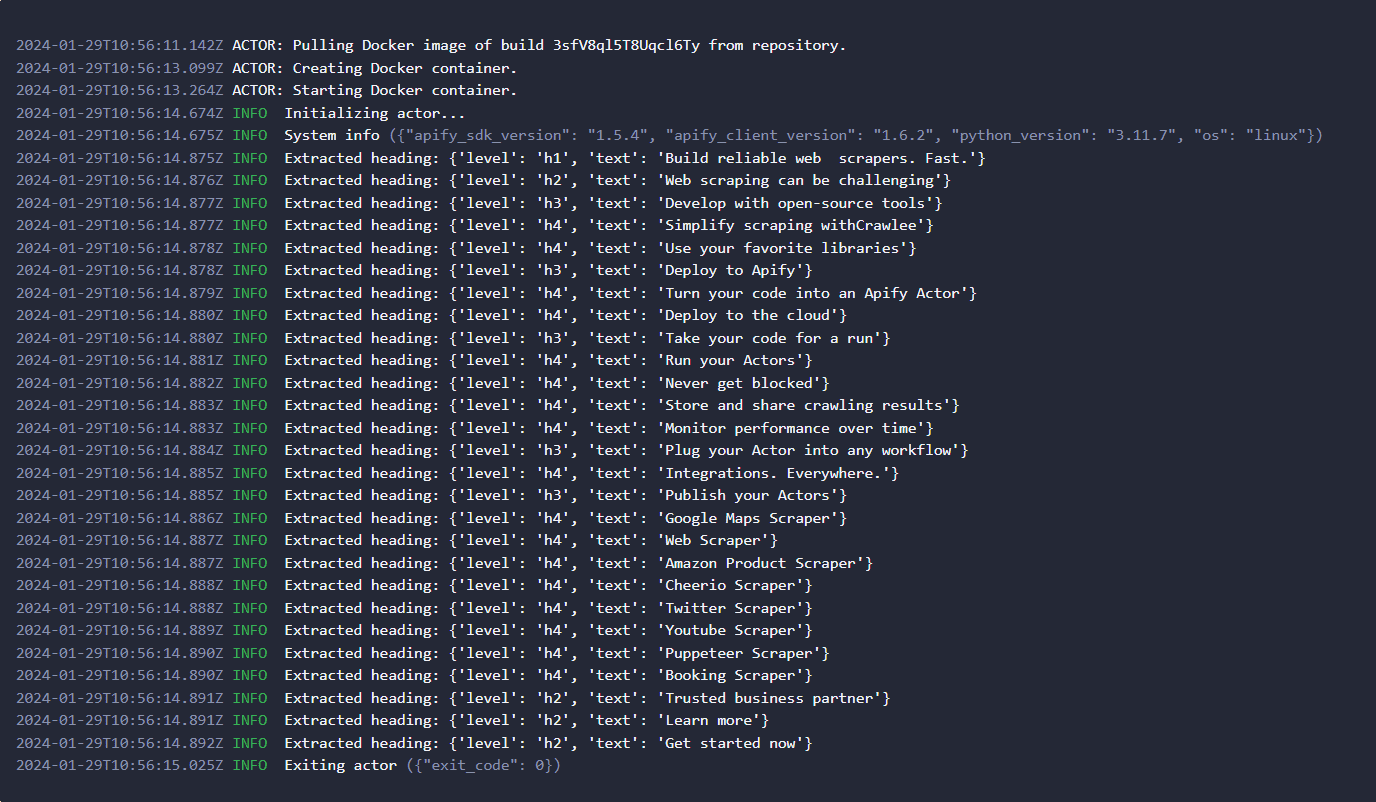
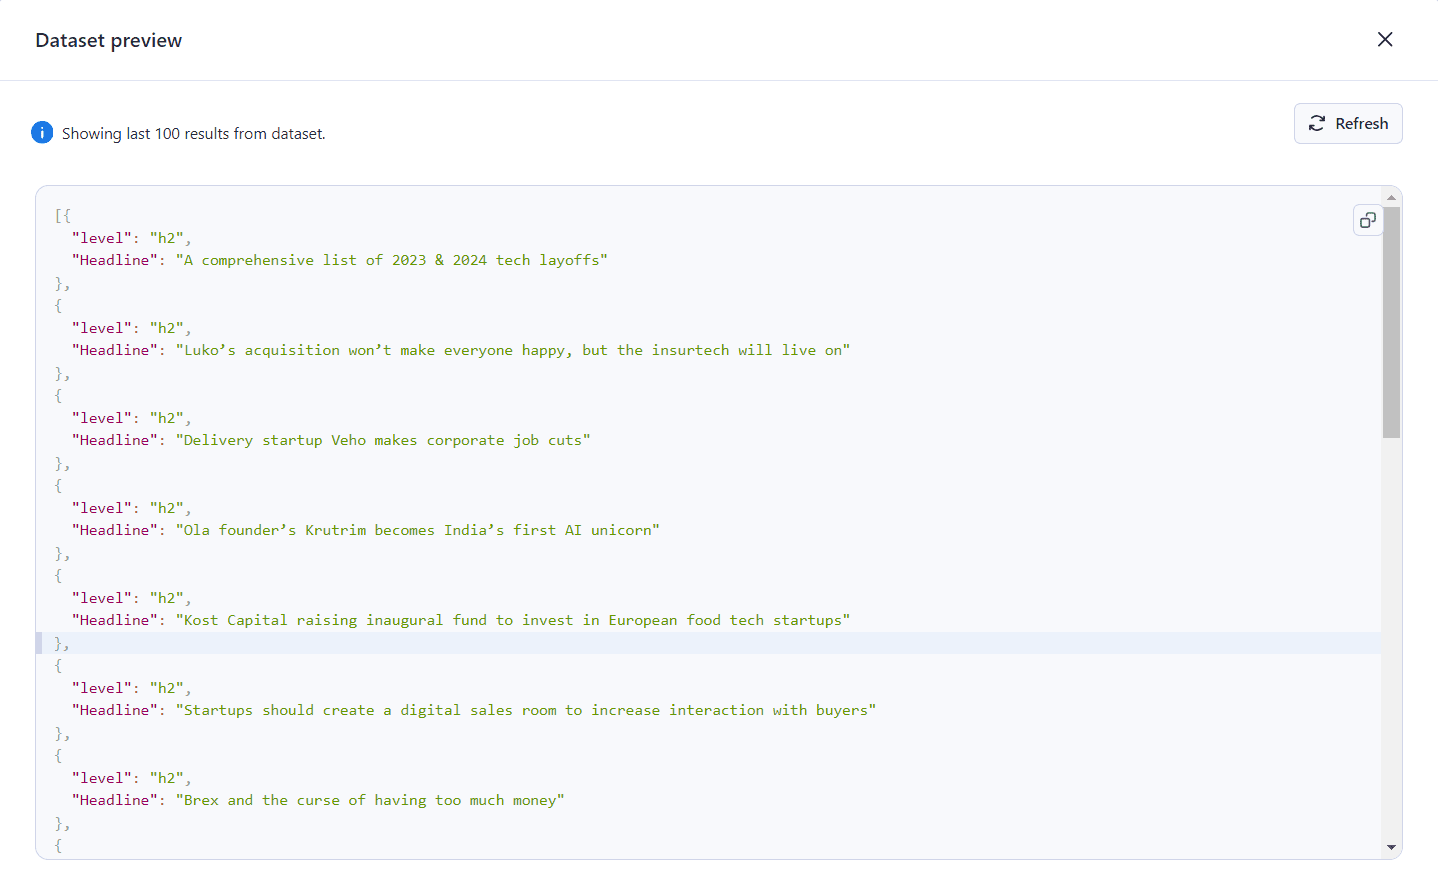
The scraped data in this template are page headings, but you can easily edit the code to meet your custom needs.
Step 4: Write your code
Navigate to the ./storage/keyvaluestores/defaul/INPUT.json file and add our Techcrunch URL to it.
{
"url": "https://techcrunch.com/category/startups/"
}
Navigate to your ./src/main.py file, where the main scraping logic is contained, as we'll be making a few changes that will allow us to scrape TechCrunch.
async def main() -> None:
    async with Actor:
        actor_input = await Actor.get_input() or {}
        url = actor_input.get("url")

        async with AsyncClient() as client:
            response = await client.get(url, follow_redirects=True)

        soup = BeautifulSoup(response.content, "html.parser")

        headings = []
        for heading in soup.find_all(["h2"]):
            clean_text = heading.get_text(strip=True)
            heading_object = {"level": heading.name, "Headline": clean_text}
            Actor.log.info(f"Extracted heading: {heading_object}")
            headings.append(heading_object)

        await Actor.push_data(headings)
In this code, we define an actor_input variable, which contains the URL of the webpage we want to scrape. We then send a GET request to the URL using httpx and parse the HTML content of the page using Beautiful Soup. After that, we find all the h2 tags that contain headlines in the news articles and extract their text. Finally, we log the extracted headlines and push them to a dataset.
Step 5: Log in to your Apify account
Before deploying your scraper, you need to log in to your Apify account. This can be done using the following command:
apify loginUpon executing this command, you will be prompted to enter your Apify API token. This token can be found here.
Step 6: Deploy your scraper to the cloud
Once logged in, you can deploy your scraper to the cloud. This is done by pushing your Actor to Apify using the following command:
apify push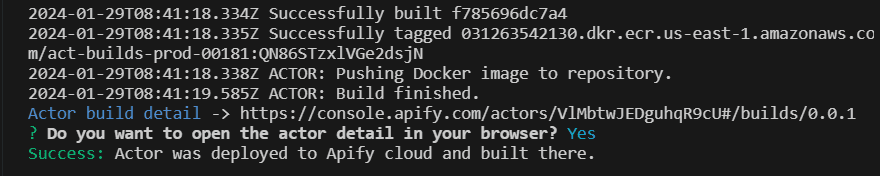
This command uploads your project to the Apify cloud platform and builds an Actor from it. Click on the Start button at the bottom of Apify Console to run your scraper on the cloud. You can find your newly created Actor here.
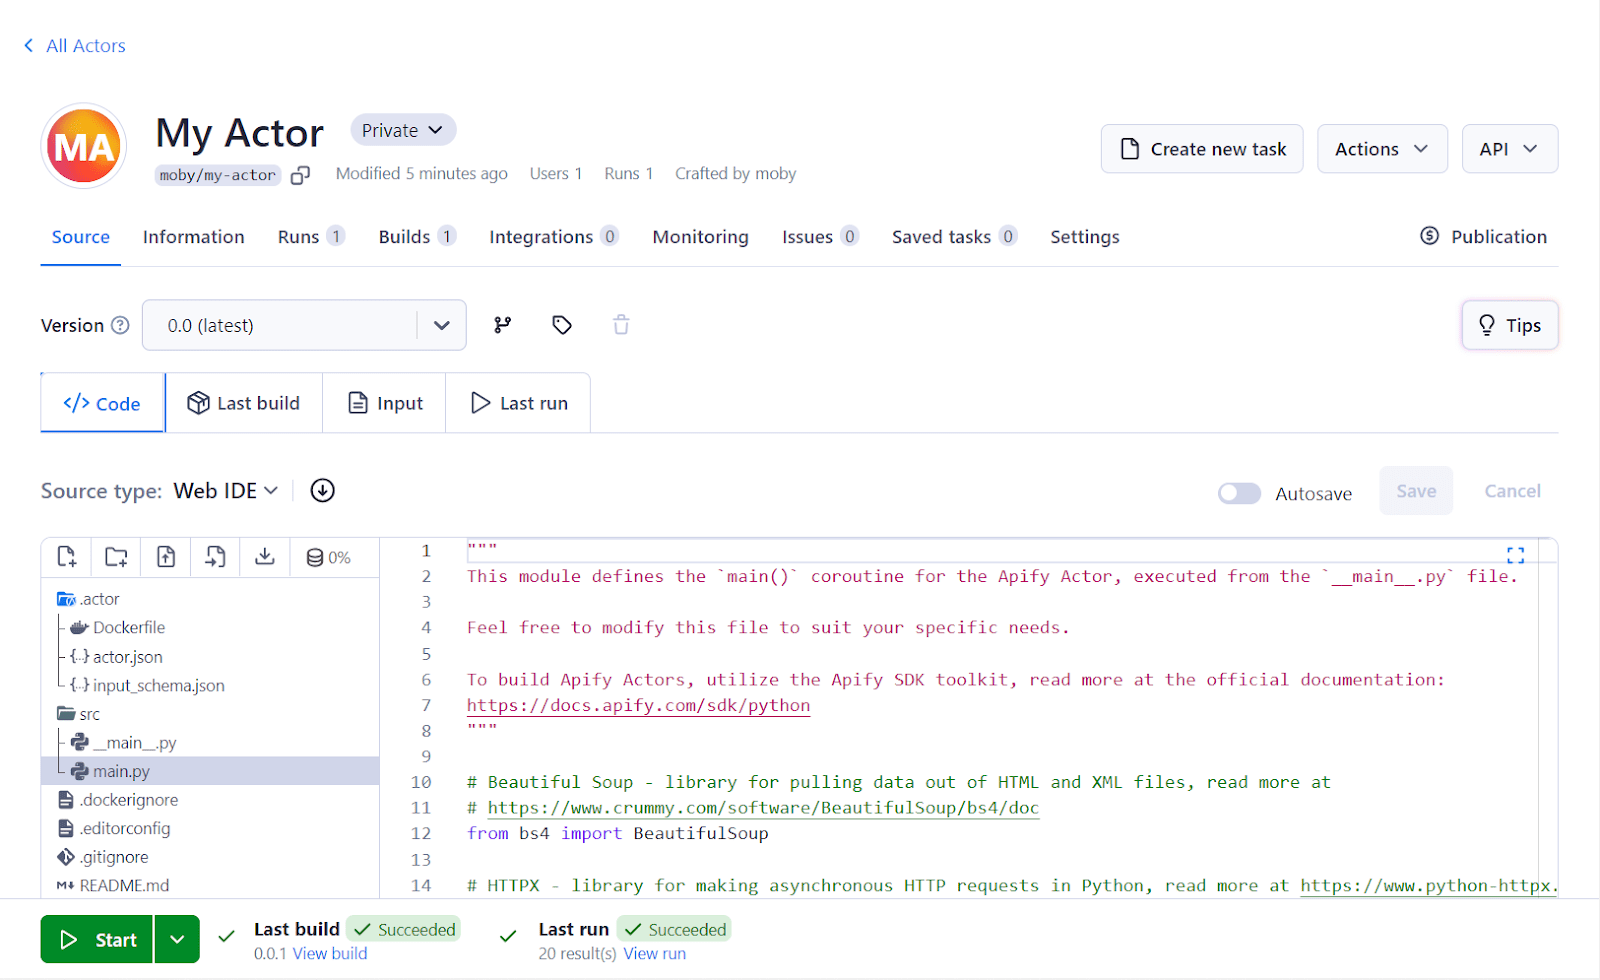
Step 7: View results and export the data
After deploying and running your scraper, you should be able to view the results of your scraping task.
You can choose to export your results data in a number of formats in Apify Console.
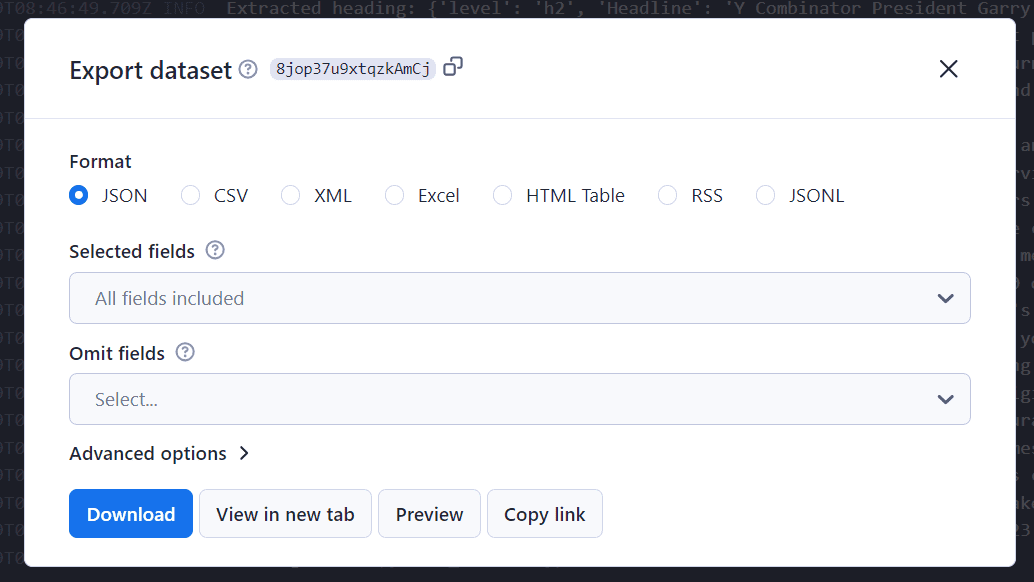
Apify supports previewing and exporting your data in various formats, such as CSV or JSON.
Conclusion and next steps
In this tutorial, we used Apify's Python template to make a web scraper for TechCrunch. We extracted the latest Startup news headlines from the website, and the scraper was then deployed on Apify. With this project, we demonstrated that you can use Apify to scrape web content efficiently and scalably while saving you development time.
Interested in learning how to use Apify's JavaScript SDK and Puppeteer and Headless Chrome web scraping template? Then check out our tutorial on how to build a stock web scraper for Nasdaq. Also, consider exploring other available templates and SDKs to test out various web scraping and automation features.