Most scrapers follow the same pattern: make a request, parse the HTML, and hope the site hasn’t changed. That works, until you run into JavaScript-rendered pages, CAPTCHAs, login walls, or dynamic content that needs real interaction.
You can still handle all that with tools like Playwright or Selenium, but doing it well takes deeper knowledge, careful handling of page structure, and constant maintenance as sites change. In the age of AI, there should be a better way, and there is.
Browser Use makes scraping simpler. Instead of scripting every step, you describe the task in plain language. An LLM-powered agent takes over, navigating the page, clicking elements, and extracting the data you need.
📑 In this tutorial
You’ll learn how to:
- Run scraping tasks in your own browser (with cookies, logins, and user context)
- Automate complex flows using a large language model
- Return structured output using Pydantic models
- Handle sensitive data securely during automation
Everything runs locally and for free (except the LLM API key, unless you are also running your own local LLM), using Python, Playwright/Browser-Use, and an LLM API key.
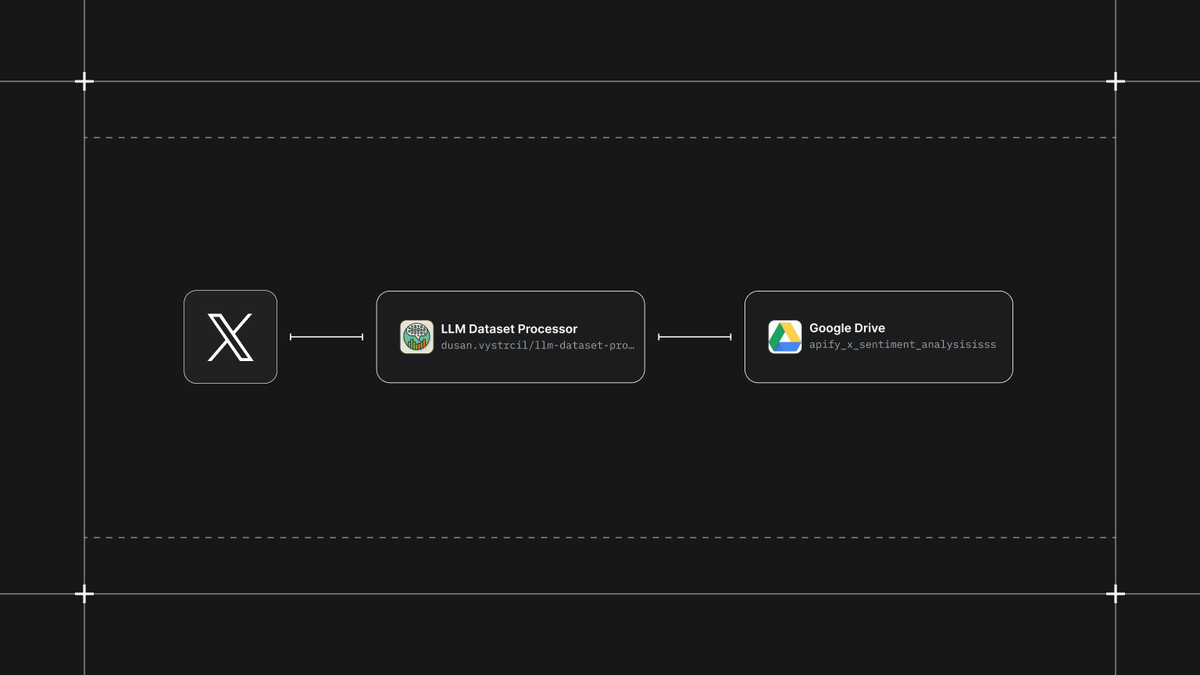
If you’d rather skip the tutorial and dive straight into the code, no problem. Head over to the GitHub repo below. It includes the final example from this guide and a quick setup walkthrough in the README.
🧰 What is Browser Use?
Browser Use is a Python framework that lets a large language model (LLM) control a browser in real time, clicking buttons, filling out forms, navigating pages, and scraping data.
At its core, it’s a wrapper around Playwright that exposes the browser’s environment to an LLM like GPT-4o or Claude. Instead of manually coding every action, you write a prompt describing the task, and the model figures out how to interact with the page based on the DOM and screenshots.
Here’s what makes it special:
✅ Real browser context
Browser Use runs on an actual browser (Chrome by default), which means it can:
- Use your existing cookies and sessions.
- Avoid login hurdles, CSRF tokens, and bot detection mechanisms.
- Interact with JavaScript-based UIs that static scrapers can’t parse.
🧠 LLM-powered reasoning
Traditional scrapers need strict, rule-based logic. Here, the LLM:
- Gets a snapshot of the page (DOM + visual layout).
- Decides what to click, type, or scrape.
- Can handle vague or high-level instructions like “compare the prices of GPT-4o and Claude 3.7”.
🆓 Free to use locally
Browser Use is free and open-source as long as you are running it locally. With it, you can:
- Use OpenAI or Anthropic if you have an API key.
- Or run everything offline with a local LLM like LLaMA (optional, not covered in this guide).
🧩 Built-in structured output
You can define the structure of the data you want using Pydantic models, and Browser Use will extract and validate it.
In short, Browser Use lets you create scrapers that behave more like human assistants, browsing, clicking, and extracting data intelligently, without requiring you to write detailed scripts for every page.
Next up, we’ll walk through how to get it installed and running locally.
⚙️ Setup
Before we start scraping, let’s get the environment ready. We’ll install Browser Use, set up the necessary tools, and make sure everything runs locally on your machine.
This part assumes:
- You have Python 3.8+ installed.
- You’re comfortable using some basic terminal commands.
- You already have a code editor (like VS Code, PyCharm, or any other IDE of your preference).
If that’s all good, let’s move on with the setup.
1. Create a project folder
Start by creating a new folder for your project:
mkdir ai_web_scraper
cd ai_web_scraper
(Recommended) If you want to keep things clean, set up a virtual environment:
python -m venv .venv
source .venv/bin/activate   # On Windows: .venv\\Scripts\\activate
2. Install required packages
Install the core dependencies:
pip install browser-use
python -m playwright install
The playwright install command downloads the browser binaries that Playwright needs to function (including Chrome).
3. Get your LLM API Key and save it on a .env file
You’ll need an API key from an LLM provider. Browser Use supports OpenAI, DeepSeek, Anthropic, and others. In this tutorial, I’ll use OpenAI since that’s the one I have access to.
- Create a
.envfile in your project root:
touch .env
Paste your API key inside .env (no quotes, just the key):
OPENAI_API_KEY=sk-...
If you’re using another model, the setup is almost identical, you just use a different environment variable. The docs list them all under “Supported Models.”
That’s it, you’re ready to build your first agent.
Next, we’ll create a minimal working example that opens a browser and performs a simple task using GPT-4o.
🤖 Basic example: Creating your first AI agent
Now that your environment is ready, let’s build an AI agent that launches a browser and runs a simple task, all powered by GPT-4o.
This will help you verify that everything’s working and show how easy it is to control a browser with natural language instructions.
Step 1: Create a new Python file
Inside your project folder, create a file called main.py:
touch main.py
Then open it in your editor of choice.
Step 2: Set up the agent
Paste the following code into main.py:
import asyncio
from browser_use import Agent
from langchain_openai import ChatOpenAI

async def main():
    # Create the language model interface
    llm = ChatOpenAI(model="gpt-4o")

    # Define the browser agent with the LLM
    agent = Agent(
        task = "Search for the latest Python release on DuckDuckGo.",
        llm = llm,
    )

    # Ask the agent to perform a task
    result = await agent.run()

    # Print the result
    print(result)

# Run the async main function
if __name__ == '__main__':
    asyncio.run(main())
Step 3: Run it
Make sure your .env file contains your OPENAI_API_KEY, then run the script:
python main.py
A Chrome browser should launch automatically. The agent will:
- Go to DuckDuckGo.
- Type in the query.
- Click on a result.
- Try to find an answer on the page.
You’ll see its reasoning steps and final output printed in your terminal.
What just happened?
- ChatOpenAI sets up the connection to GPT-4o using your OpenAI API key. This is the model that will control the browser.
- Agent is the main class from Browser Use that ties the LLM to browser automation. You give it a
task(in plain English), and it figures out how to accomplish it using the web. .run()executes the task. The agent opens a fresh browser session, navigates to DuckDuckGo, performs the search, and returns the result.- The raw result is printed directly. If you wanted structured data (like
JSON), you’d need to add a controller and output model, we’ll cover that later.
By default, this runs in a clean browser environment. It won’t reuse your saved logins, cookies, or settings, useful for quick tasks, but limited if you’re trying to access authenticated content.
In the next section, we’ll show you how to run Browser Use on your actual Chrome profile so the agent can access pages where you’re already signed in.
🧩 Using your own browser instance (real sessions)
By default, Browser Use launches a clean browser session, similar to an incognito window, with no saved cookies, logins, or personalization. That’s fine for basic scraping, but it comes with limitations:
- You’re not logged into any sites
- You may run into login walls or CAPTCHAs
- You can’t automate tasks that require authentication (like accessing your Amazon account or social dashboards)
The good news is: Browser Use can connect to your real browser, the same one you use daily, complete with your cookies, sessions, and preferences. This solves many of the headaches involved in scraping authenticated content.
That said, it’s important to be realistic about the risks. This setup works well for light scraping with your personal accounts, but if you try to scale aggressively, especially on platforms like Instagram, Facebook, or LinkedIn, your account may get flagged or banned.
If you’re doing anything beyond casual use, it’s safer to log in with a throwaway account you don’t mind losing.
With that out of the way, here’s how to connect Browser Use to your own browser.
Step 1: Find your Chrome executable
You’ll need the path to your Chrome installation. Use the right one for your OS:
- macOS:
chrome_path = "/Applications/Google Chrome.app/Contents/MacOS/Google Chrome"
- Windows:
chrome_path = "C:\\\\Program Files\\\\Google\\\\Chrome\\\\Application\\\\chrome.exe"
- Linux:
chrome_path = "/usr/bin/google-chrome-stable"
Step 2: Connect to your browser
Update your main.py to include a Browser instance that uses this path:
import asyncio
from browser_use import Agent, Browser, BrowserConfig
from langchain_openai import ChatOpenAI

async def main():
    # Create the language model interface
    llm = ChatOpenAI(model="gpt-4o")

    # macOs example
    chrome_path = "/Applications/Google Chrome.app/Contents/MacOS/Google Chrome"

    browser = Browser(
        config=BrowserConfig(
            browser_binary_path=chrome_path
            )
    )

    # Define the browser agent with the LLM
    agent = Agent(
        task = "Post a funny joke on X (Twitter).",
        llm = llm,
        browser=browser,
    )

    # Ask the agent to perform a task
        await agent.run()
    await browser.close()

# Run the async main function
if __name__ == '__main__':
    asyncio.run(main())
Before running this, make sure you close all open Chrome windows. Playwright can’t connect to your profile if it’s already running.
Step 3: Run the script
python main.py
This time, the browser that opens should:
- Match your actual Chrome setup, including dark mode, bookmarks, and extensions
- Already be logged into sites you use regularly
With access to your real browser context, the agent can now scrape pages behind logins, bypass soft authentication walls, and interact with more complex content, all without triggering typical bot protections.
In the example below, the agent goes to X (Twitter) and posts a joke from an account that’s already signed in. This is just one example of the kind of agentic automation you can build with Browser Use.
The agent came up with the joke: “Why did the scarecrow win an award? Because he was outstanding in his field!”
Okay, maybe it’s not the best joke ever, but it’s definitely better than what I would’ve come up with, so I’ll take it.
Why this matters
Using your actual browser context makes a big difference. It allows you to:
- Scrape content behind logins
- Automate personal workflows like checking analytics, downloading reports, or posting a joke to show off your refined sense of humor.
- Give the AI better context, since it sees the same layout and language you do
Next, we’ll look at how to extract clean, structured data using Pydantic models.
📦 AI scraping and structured output parsing
By default, when you run a task with Browser Use, the result comes back as raw text, usually readable but not consistent or structured. That’s fine for quick lookups, but it’s not great if you want to use the output in code later (e.g., saving to CSV, passing it to an API, etc.).
Let’s fix that by introducing structured output using Pydantic models. This lets you tell the agent exactly what kind of data you want and how it should be formatted.
Step 1: Define the output format
Add this to your script to declare your expected structure:
from pydantic import BaseModel
from typing import List

class Post(BaseModel):
    caption: str
    url: str

class Posts(BaseModel):
    posts: List[Post]
In plain English, this code is saying: “I expect a dictionary with a posts key, and its value should be a list of dictionaries, each with a caption and a url.”
Step 2: Use a controller
Browser Use needs to know you want structured output. You do this with a Controller:
from browser_use import Controller

controller = Controller(output_model=Posts)
Step 3: Update your agent
When you create your Agent, pass in the controller. Following from our previous configuration, that’s how your agent will look like:
agent = Agent(
        task = "Go to x.com/apify and retrieve the text and post URL of the 3 most recent posts.",
        llm = llm,
        browser=browser,
        controller=controller
    )
Now the agent knows what kind of response to aim for.
Step 4: Run a task and parse it
Putting it all together, your code will look something like this. I’ve also added a step to save the parsed results to a JSON file, so you can easily access the scraped post content later.
import asyncio
import json
from browser_use import Agent, Browser, BrowserConfig, Controller
from langchain_openai import ChatOpenAI

from pydantic import BaseModel
from typing import List

class Post(BaseModel):
    post_text: str
    url: str

class Posts(BaseModel):
    posts: List[Post]

async def main():
    # Create the language model interface
    llm = ChatOpenAI(model="gpt-4o")

    chrome_path = "/Applications/Google Chrome.app/Contents/MacOS/Google Chrome"

    browser = Browser(
        config=BrowserConfig(
            browser_binary_path=chrome_path
        )
    )

    controller = Controller(output_model=Posts)

    # Define the browser agent with the LLM
    agent = Agent(
        task = "Go to x.com/apify and retrieve the text and post URL of the 3 most recent posts.",
        llm = llm,
        browser=browser,
        controller=controller
    )

    # Ask the agent to perform a task
    result = await agent.run()
    await browser.close()

    posts_list = []
    try:
        final_result = result.final_result()
        # Notice: final_result() is a method call, not an attribute access
        if final_result:
            parsed: Posts = Posts.model_validate_json(final_result)
        print(f"Retrieved {len(parsed.posts)} posts")

        for post in parsed.posts:
            posts_list.append({
                "post_text": post.post_text,
                "url": post.url
            })

        file_name = "posts.json"
        with open(file_name, 'w') as f:
            json.dump(posts_list, f, indent=4)
        print(f"Saved results to {file_name}")

    except Exception as e:
        print(f"Error processing results: {e}")

# Run the async main function
if __name__ == '__main__':
    asyncio.run(main())
Now just run the code, your AI agent will visit the specified Twitter (X) profile, scrape the latest 3 posts, and save them to a JSON file.
Up next, we’ll cover some useful extras, like providing the agent with initial steps, and handling sensitive data without leaking it to the model.
🏁 Initial actions
Instead of making your agent figure out how to reach a page every time, you can give it a head start using initial_actions.
For example, in the previous case, we could have preloaded the Apify X page (https://www.x.com/apify) before the LLM even gets involved. This reduces the number of steps the model has to reason through, making the automation more efficient and saving you a few API credits in the process.
# main.py
# ... rest of the code

# 👇 Runs without the LLM input
initial_actions = [
      {'open_tab': {'url': "https://www.x.com/apify"}},
]

# Define the browser agent with the LLM
    agent = Agent(
        task = "Retrieve the text and post URL of the 3 most recent posts.",
        llm = llm,
        browser=browser,
        controller=controller,
        initial_actions=initial_actions
    )
This skips the extra step of having the model figure out how to reach a known page. It can start interacting right away, which makes the process faster and reduces API usage.
🔐 Sensitive data: use credentials without leaking them
Finally, there are cases where the agent needs to log in or use credentials, but you don’t want to expose sensitive information like passwords directly in the prompt where the LLM could access them.
That’s where the sensitive_data parameter comes in. It acts like a placeholder system. For example:
sensitive_data = {
    "X_USERNAME": "your_email@example.com",
    "X_PASSWORD": "your_secure_password"
}
In your prompt, you can refer to the placeholders:
task = "Go to Twitter, log in with X_USERNAME and X_PASSWORD, and fetch the latest tweet from my timeline."
Then pass the sensitive data when creating the agent:
agent = Agent(
    llm=llm,
    browser=browser,
    controller=controller,
    initial_actions=initial_actions,
    sensitive_data=sensitive_data
)
The model only sees the labels (X_USERNAME, etc.), not the actual values. But the browser still fills them in correctly.
This is especially useful for automating logins or scraping authenticated content when the accounts aren’t already logged into your browser.
⚠️ A quick note on reliability
Browser Use is powerful, but not bulletproof. Tasks can fail if: • The prompt is too vague • The site’s layout is unusually complex or heavily dynamic • The model takes an inefficient or incorrect path
To improve reliability: • Be clear and specific with your task prompts • Use initialactions to skip unnecessary steps • Define a controller.outputmodel to get structured, predictable output • Handle errors and consider retrying failed runs when needed
That said, you now have a solid toolkit for building AI agents that can navigate and scrape real websites with minimal effort.
🏁 Conclusion
Browser Use is one of the most practical tools available right now for AI-powered web scraping and automation, especially when you want to automate interactions that would be painful or require specialized knowledge to set up using traditional scrapers.
To recap, you now know how to:
- Set up Browser Use and Playwright locally.
- Run a real browser instance with your own session and cookies.
- Control that browser using an LLM and natural language prompts.
- Extract structured data using Pydantic models.
- Handle sensitive data and optimize task execution with initial actions.
With this setup, you’re ready to start building real AI browser agents that can log into dashboards, download reports, post content, or handle multi-step workflows on their own.
📁 GitHub repository
You can find the full working code in this repo. Feel free to fork it, adapt it, or open issues if you run into trouble.
If you want to go deeper, the Browser Use documentation has great examples on advanced configuration, handling errors, and even integrating local LLMs.