The days of sorting and analyzing your data to prepare graphics and charts for presentations are long gone. Applications like Tableau Public can now access your data directly from the database where you are storing them and prepare your visualizations for you.
What is Tableau?
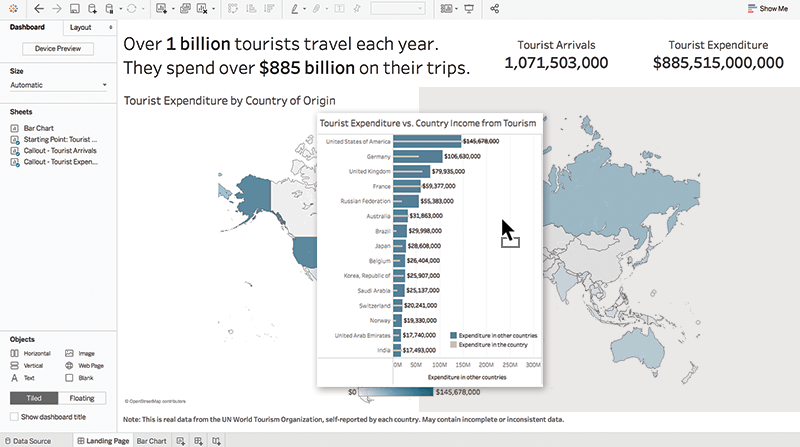
Tableau is an analytics platform that makes visualizing your data effortless. Visualizations help you understand your data better and share insights to improve your business.
Imagine you have just extracted a large amount of data from a website or logged endless rows of numbers into a Google spreadsheet. You might feel overwhelmed by what to do with it next. Sort through it, make sense of it, and then? Create a graph? A chart? A table?
Tableau Public does that for you automatically. You connect it to your database, and it gives you back a neat dashboard with all the graphs and charts you may need. Quick, automated, and efficient.
All you need to do is connect Tableau to your database of choice.
How does Tableau work?
You just need to create a Tableau Public account and connect it to your database Google Sheets and some in a data warehouse like Snowflake (see Snowflake's pricing here) Once it has access to your data, Tableau Public creates a dashboard where it shows you your data through graphs and charts, allowing you to notice patterns and insights you might otherwise miss.
A large amount of data is useless if you can’t draw the correct conclusions from it. Tableau turns Big Data into Actionable Data. It helps you make sense of your data to apply the insights to grow your business. If you’re exploring Tableau alternatives, consider other BI tools that also integrate with multiple data sources and offer flexible visualization features.
Why do I need Tableau?
So you understand how Tableau works and now you are wondering why you would need it. For businesses looking to harness these benefits effectively, Tableau Software consulting services can be invaluable. Here are the 3 main reasons why you should start using Tableau Public now:
Easy to read dashboard
You might insert a large amount of data on Google Sheets, and then stare at the numbers and wonder, “so what does this mean?”. Or you might need to present your data to clients or colleagues, but want to show up with a meeting summary rather than endless columns and rows of dry numbers.
Tableau Public, once connected to your Google Sheets spreadsheet, will automatically present the data to you in an easy-to-read eye-catching format.
Multiple sources in one dashboard
Another advantage of this software is that it can access multiple sources of data at a time, grouping the results all in one place. That way, if you are storing some data on Google Sheets and some other data on Snowflake, Tableau can still create charts based on all of the data at the same time.
Eye-catching graphs and charts
Whether you are creating charts for personal use or presenting them to third parties, Tableau’s beautiful graphics are definitely worth a note. Tableau dashboards look professional and engaging, making data analysis much more enjoyable.
Limitations on refreshing your dashboards
The main limitation is that Tableau Public only lets you refresh your dashboards automatically once a day. That isn’t always enough for some users. You may want your charts to be up to date at all times, without having to refresh them yourself. You don’t want to be looking at outdated data only because you forgot to refresh it manually. Not in 2022.
Automation tool to let you refresh your dashboards whenever you want
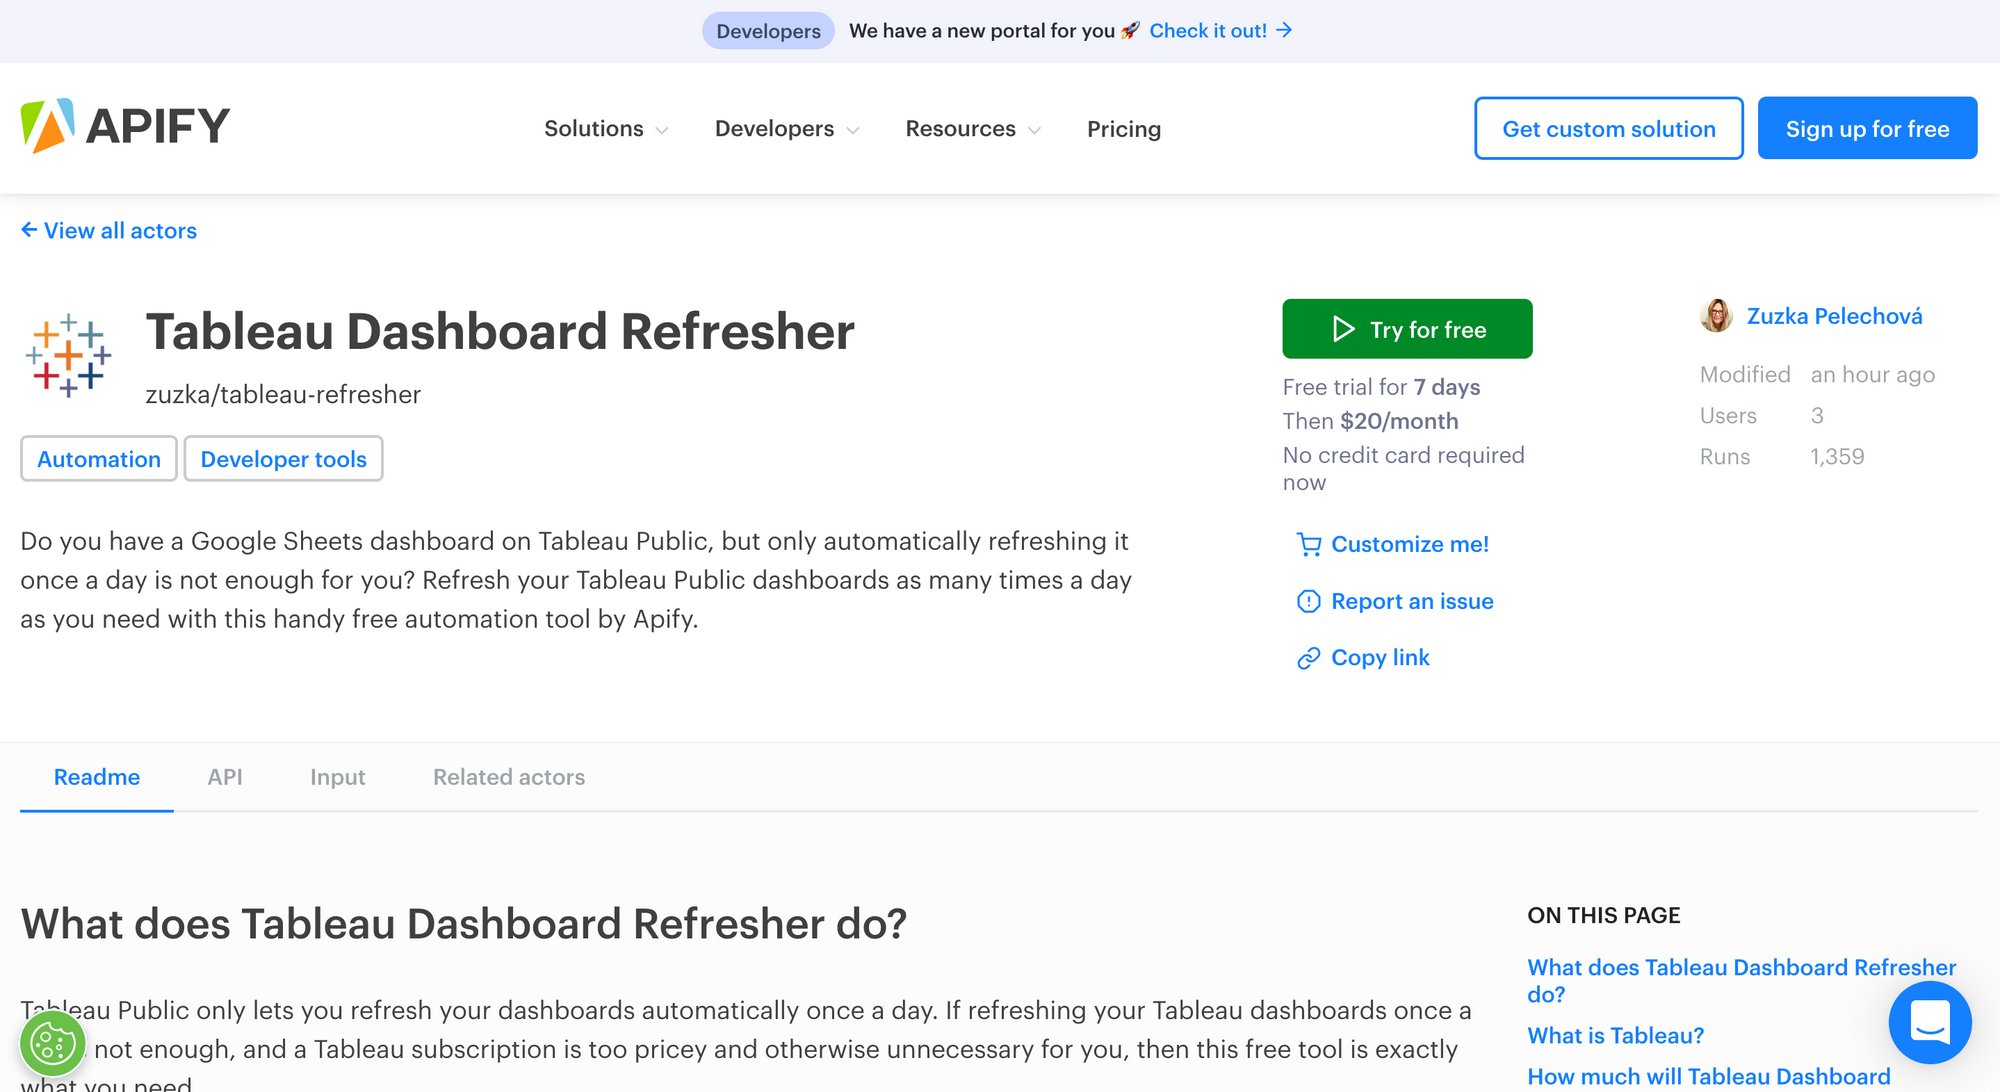
That's why Tableau Dashboard Refresher was created. Its only purpose is to activate infinite automatic refreshes for your Tableau Public dashboards connected to Google Sheets. This way, if you need it to refresh automatically several times a day (or even every ten minutes), you can set it up to do just that.
Upgrading to a Tableau plan only to have access to infinite automatic dashboard refreshes might turn out to be a bit pricey, especially if you don’t need any other extra feature and you are on a budget.
Tableau Dashboard Refresher only requires your Tableau Public login credentials and the URL of the dashboard that you want to refresh. Once you set it up, it will simply log in as you and refresh the dashboard as often as you would like it to.
How to refresh your Tableau dashboards automatically like a pro
Find your Actor
1. Go to Tableau Dashboard Refresher and click the Try for free button. You will be redirected to Apify Console, which is your workspace to run tasks for your web scraping tools. If you already have an Apify account and are logged in, go to Step 3.
Sign up
2. If you’re not signed in, you’ll find yourself on the sign-up page (if you are already signed in, skip to Step 3.) Sign up using your email account, Google, or GitHub.

3. Click the Create new task button (either at the top or at the bottom of the page).

4. You can now fill in all the required fields on the Input display. The Actor won’t run until you click the Run button at the bottom of the page. There are only three input fields to fill in to get the job done. You will need to provide your Tableau login credentials (email and password) and the URL for the dashboard you want to refresh.

5. Once you're ready, click the Run button. Your task will change its status to Running, so wait for the scraper's run to finish. It will be just a minute before you see the status switch to Succeeded.
6. That’s it. You are all set! The Actor will now periodically refresh your Tableau dashboard as often as you like. Now you just need to schedule the Actor.
Schedule the automation
7. To schedule the Actor's runs, click Schedule in the left-hand bar. This is what you will see.
8. Now click the Create new button.

9. Then select the Tasks tab, which will look like this.

10. Click the Add task button and select the Actor task ID from the drop-down list. This refers to the task that you created and ran before (the name appears at the top of the screen in Step 3, as soon as you create it.)

11. Your task has been added. Now you can go back to the Settings tab and personalize your schedule (name of the schedule, frequency of runs, time zone). Once you are done, don’t forget to press the Save button.

And that's it! Enjoy refreshing your Tableau dashboards whenever you like ⏱️😁
Email us at support@apify.com if you have any suggestions or questions.