Receive all response notifications from the various articles on your shared Medium publication in one place.
Imagine you are a company with a blog on Medium. Your team posts interesting articles but then forgets to follow up on the valuable responses from users and potential customers.
Medium lets you set up email activity notifications on your blog posts, which works well for individual users. But what if your Medium blog has articles from multiple users? Wouldn’t it be useful to receive all notifications in one place?
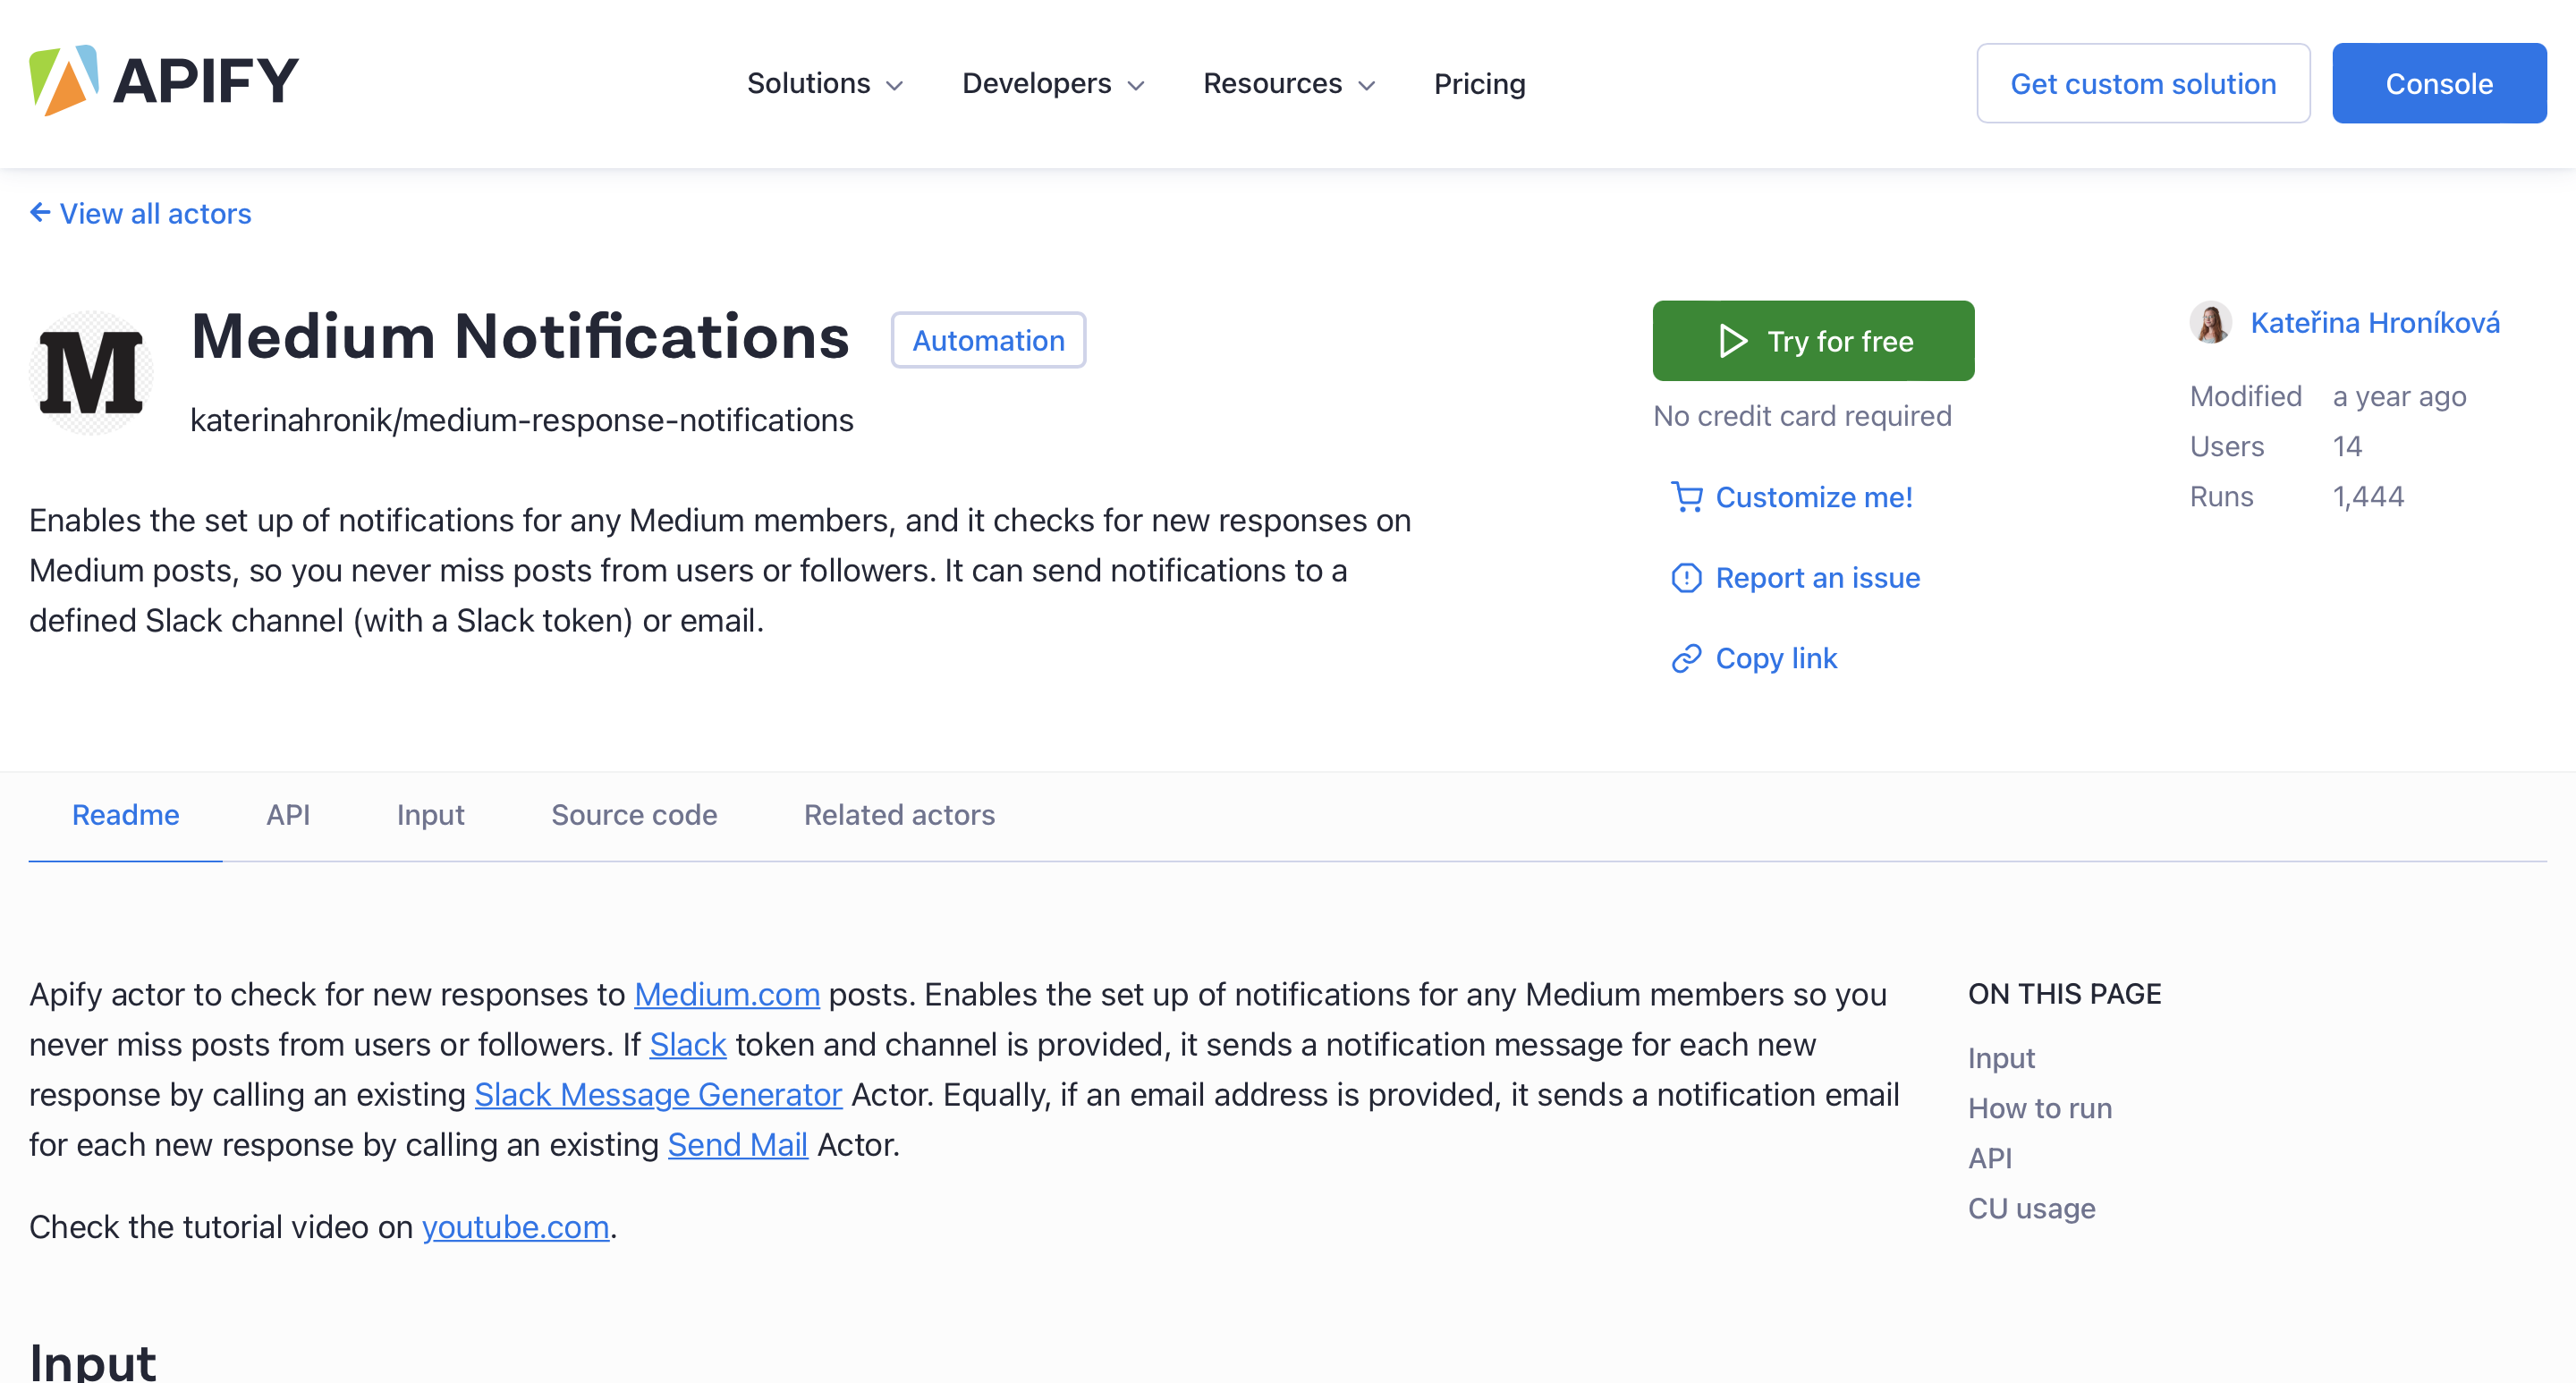
We have created the Medium notifications (katerinahronik/medium-response-notifications) Actor to help us keep up with responses to our Medium blog posts. It lets you select the articles you want to monitor and checks them every day for new responses. Then, it sends the notifications to your inbox.
Here are 6 steps to never missing another response on your Medium blog:
1. First, go to the Actor's page and click the Try for free button. You will be redirected to Apify Console, which is your workspace to run tasks for your scrapers. If you already have an Apify account and are logged in, go to Step 3.
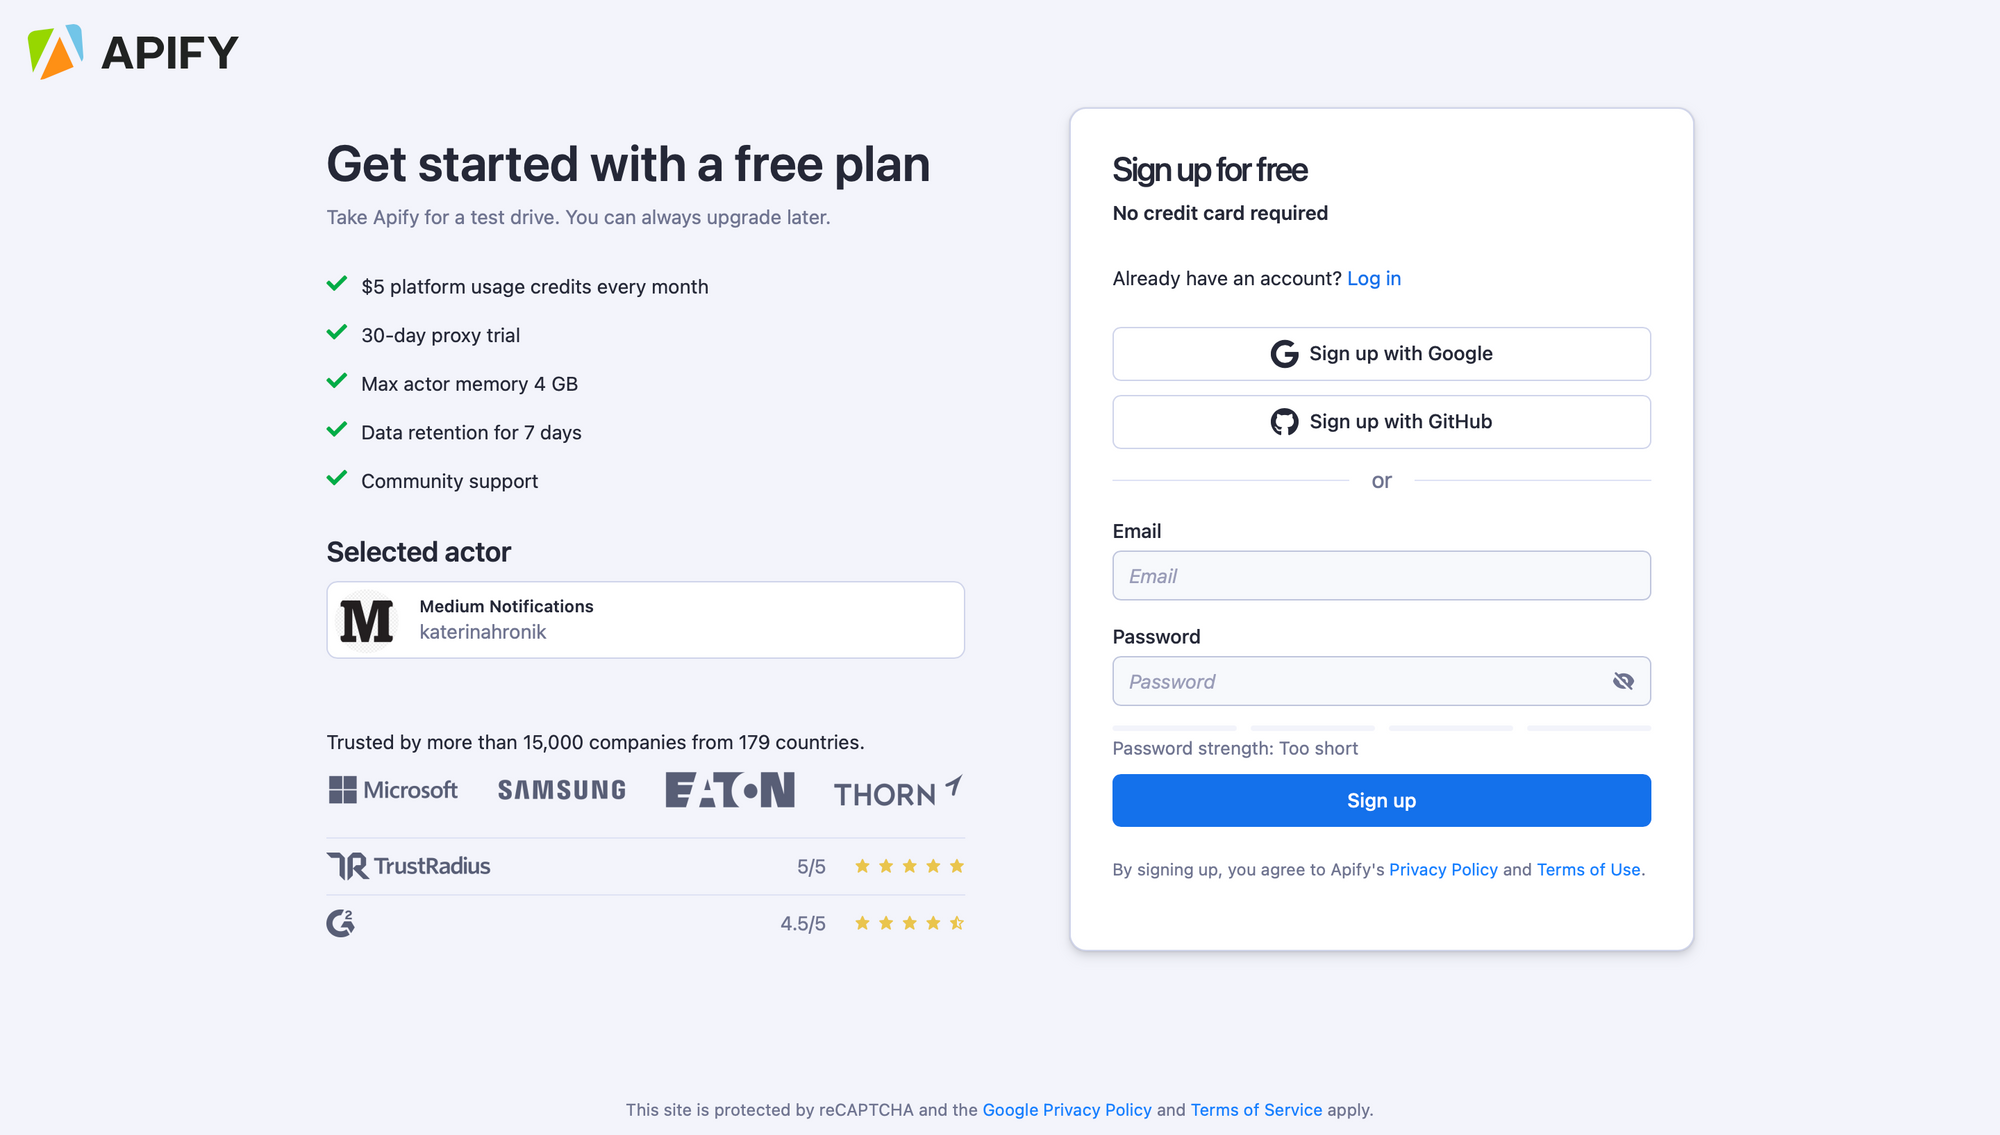
2. If you are not signed in, you’ll find yourself on the sign-up page (if you are already signed in, skip to Step 3). Sign up using your email account, Google, or GitHub. You will be redirected to the scraper’s page on your Apify Console.
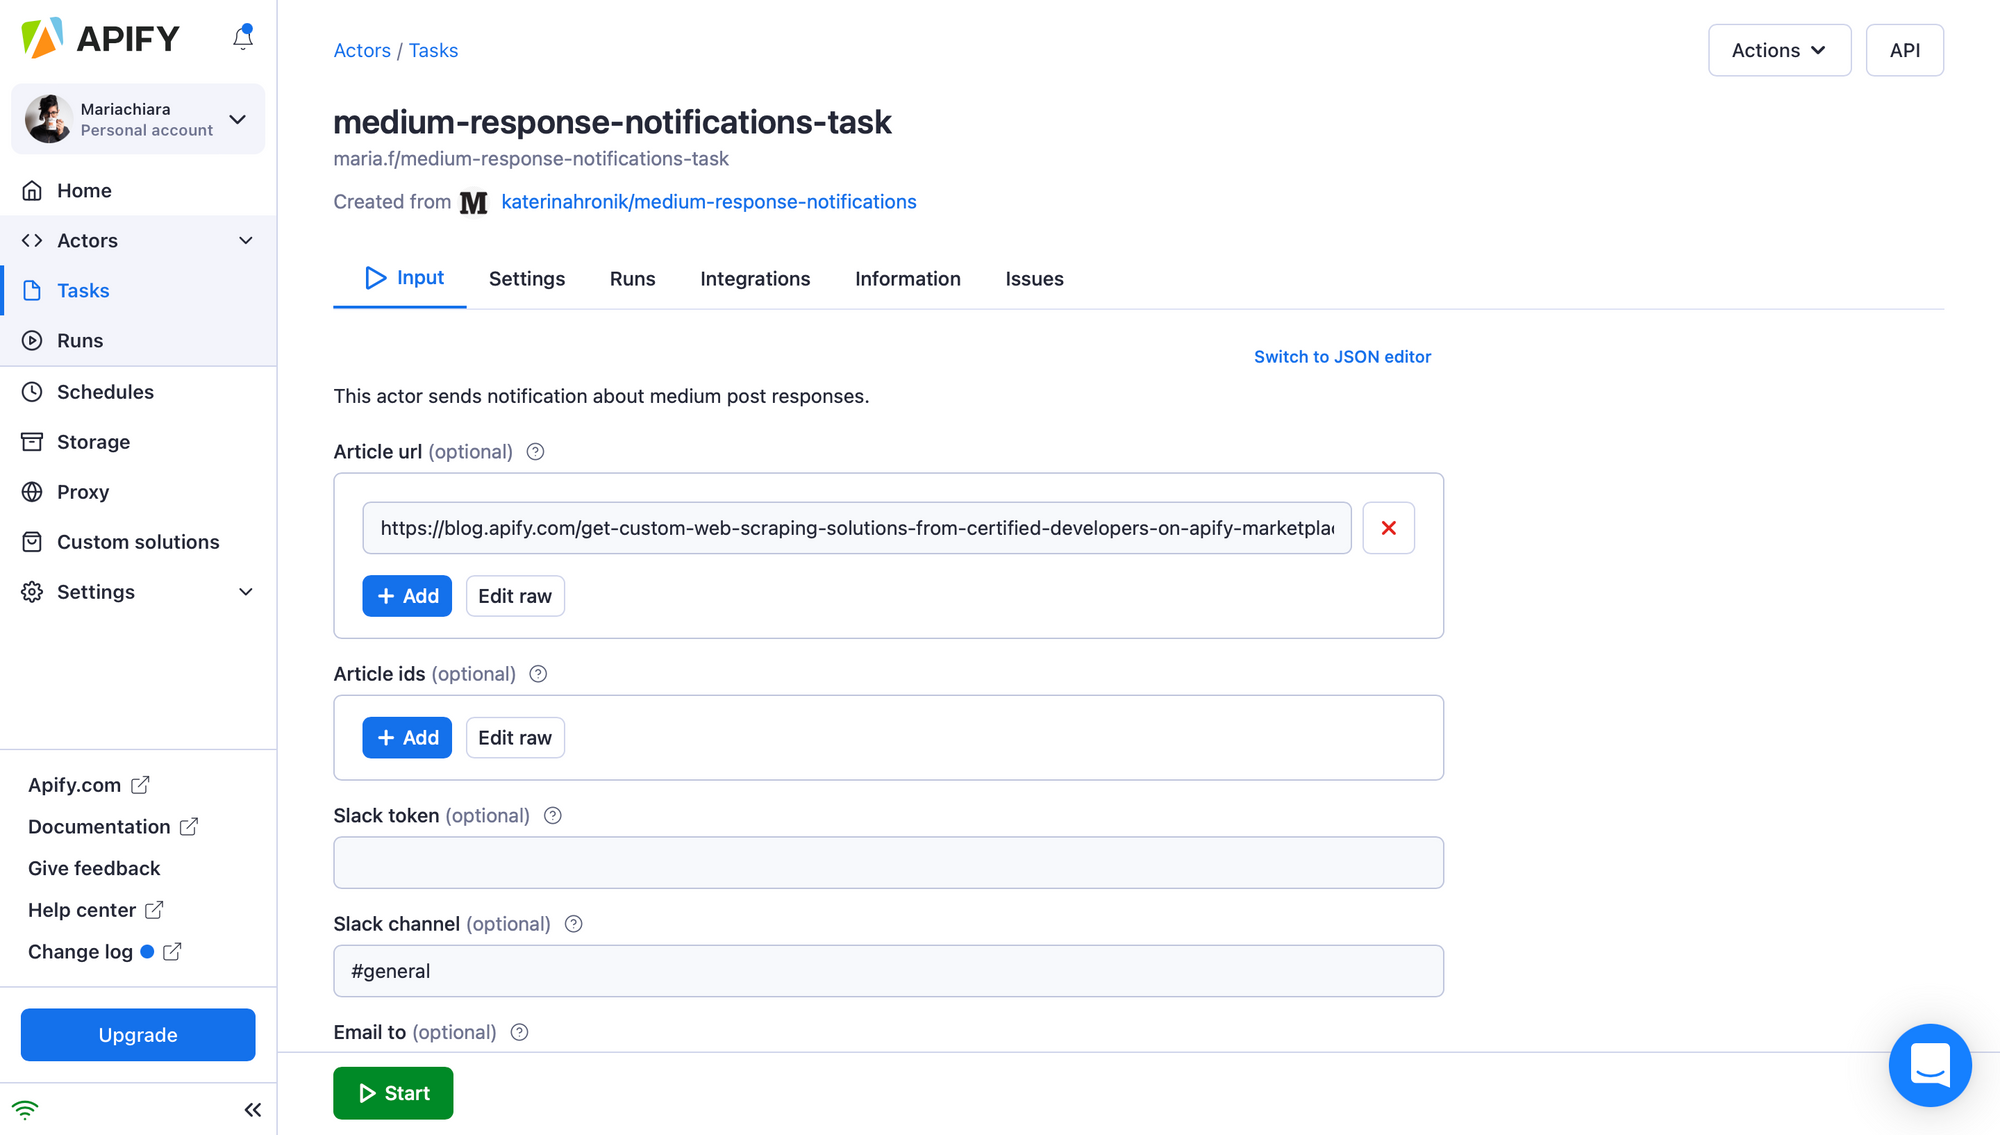
3. Click the Create new task button. The name of the task will appear at the beginning of the page. You will need it later.
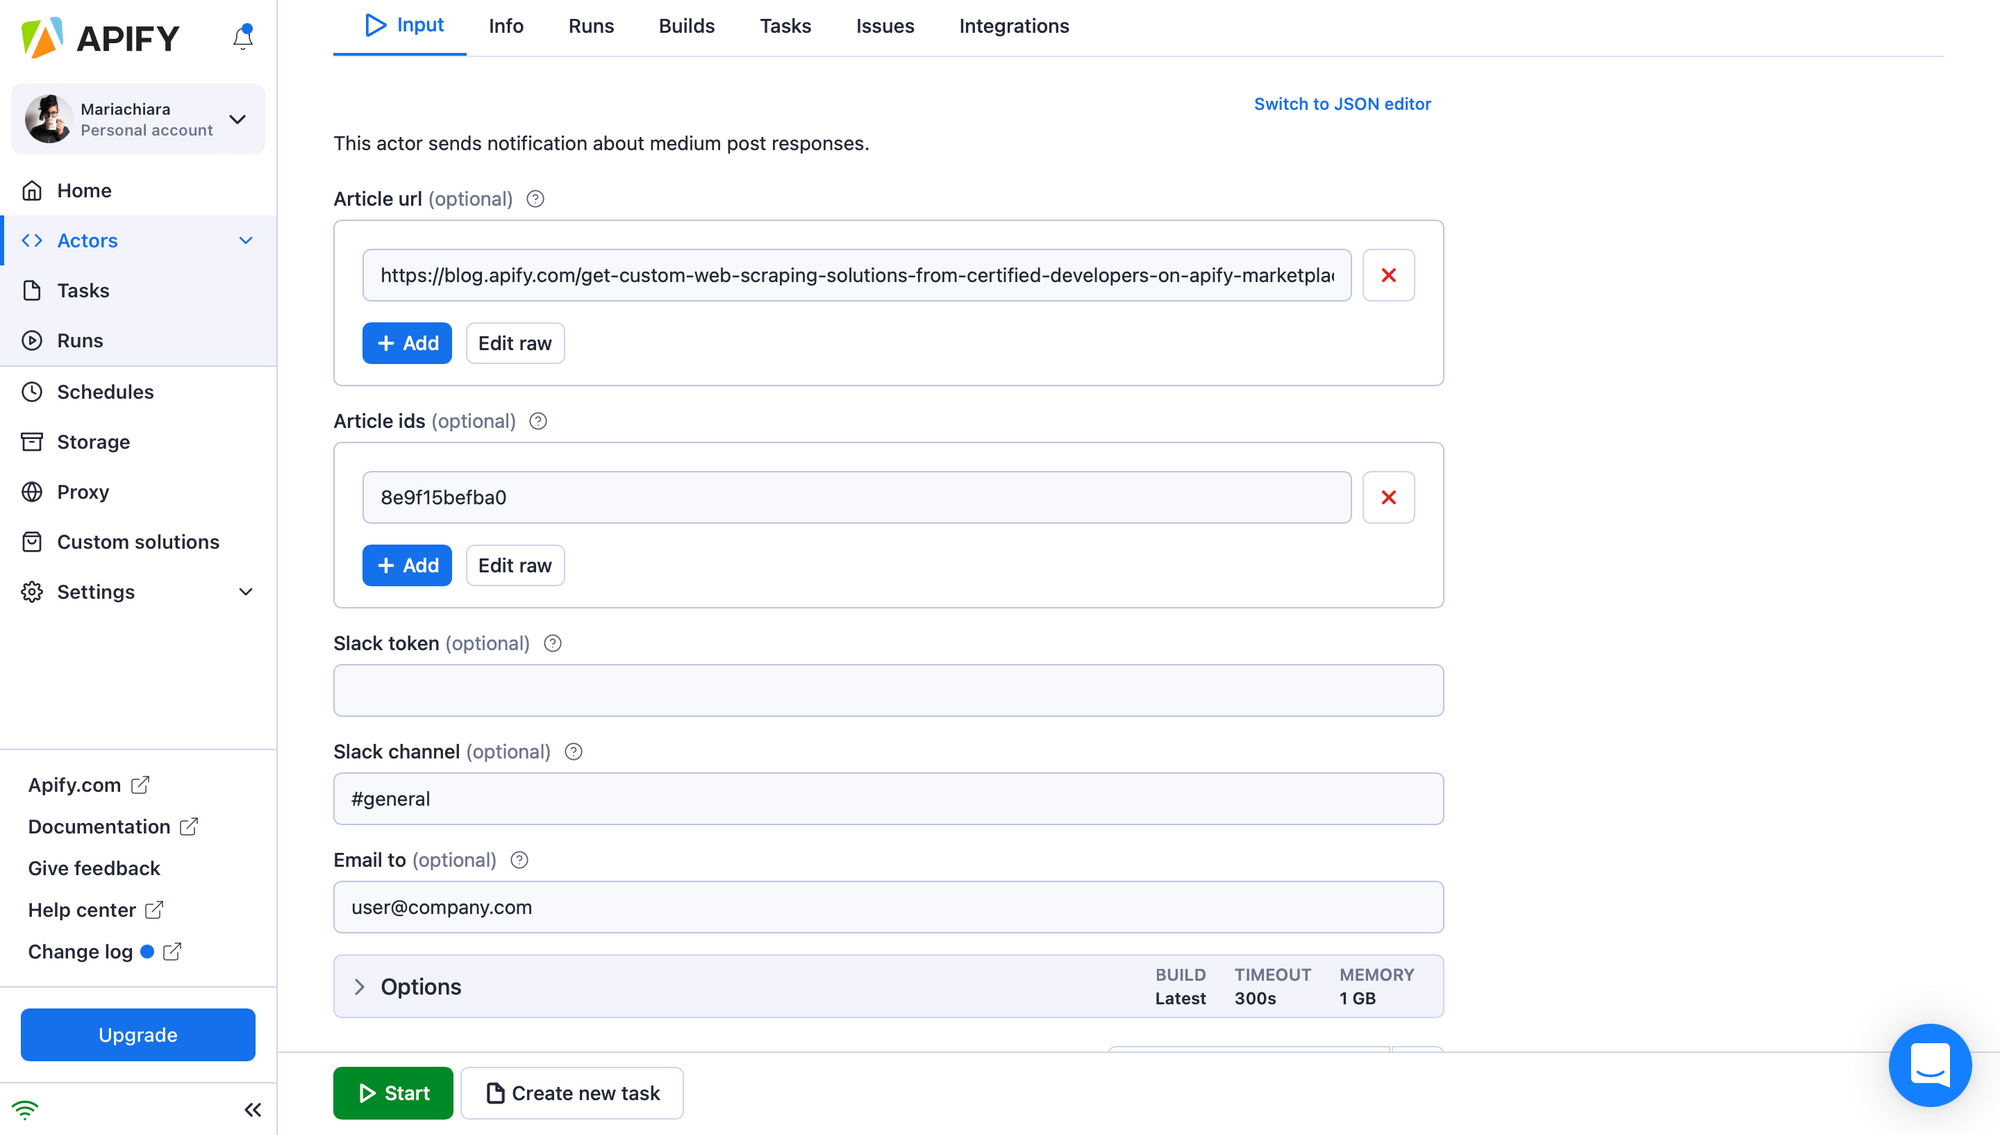
4. Now you can fill in the input fields. In the Input section, add all the URLs or article IDs (the alphanumeric part at the end of the article’s URL, e.g. 8e9f15befba0) of the Medium blog posts you want to track. Remember to also add your email address. Once you are done setting up your search, click the Start button.
That's it! You will find all the notifications in your email inbox. Each will contain the Medium blog post’s title and a link to its responses from the previous day.
Of course, doing this every day isn’t efficient. Luckily, we can automate this, too, by setting up a Schedule:
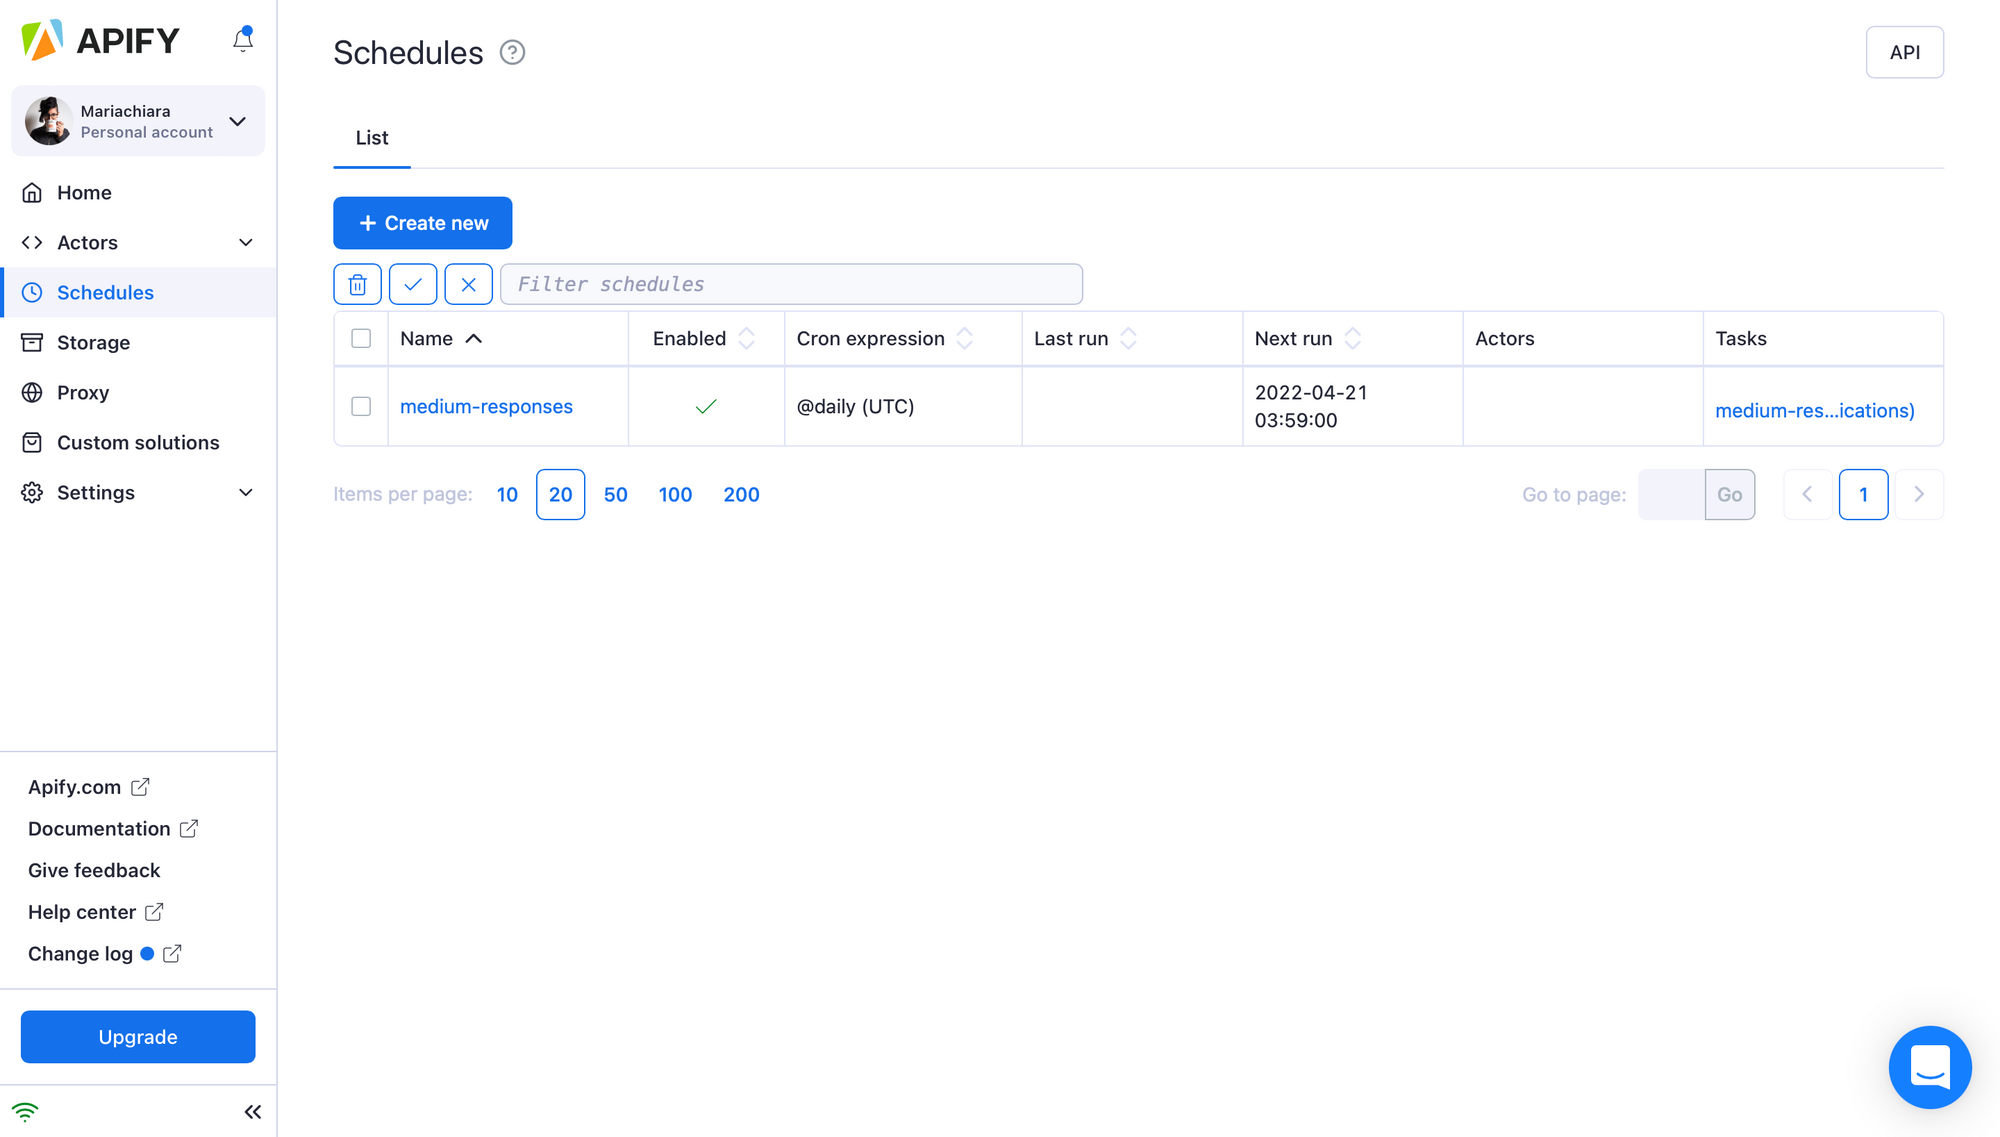
5. In the left-hand-side menu, click on the Schedules button.
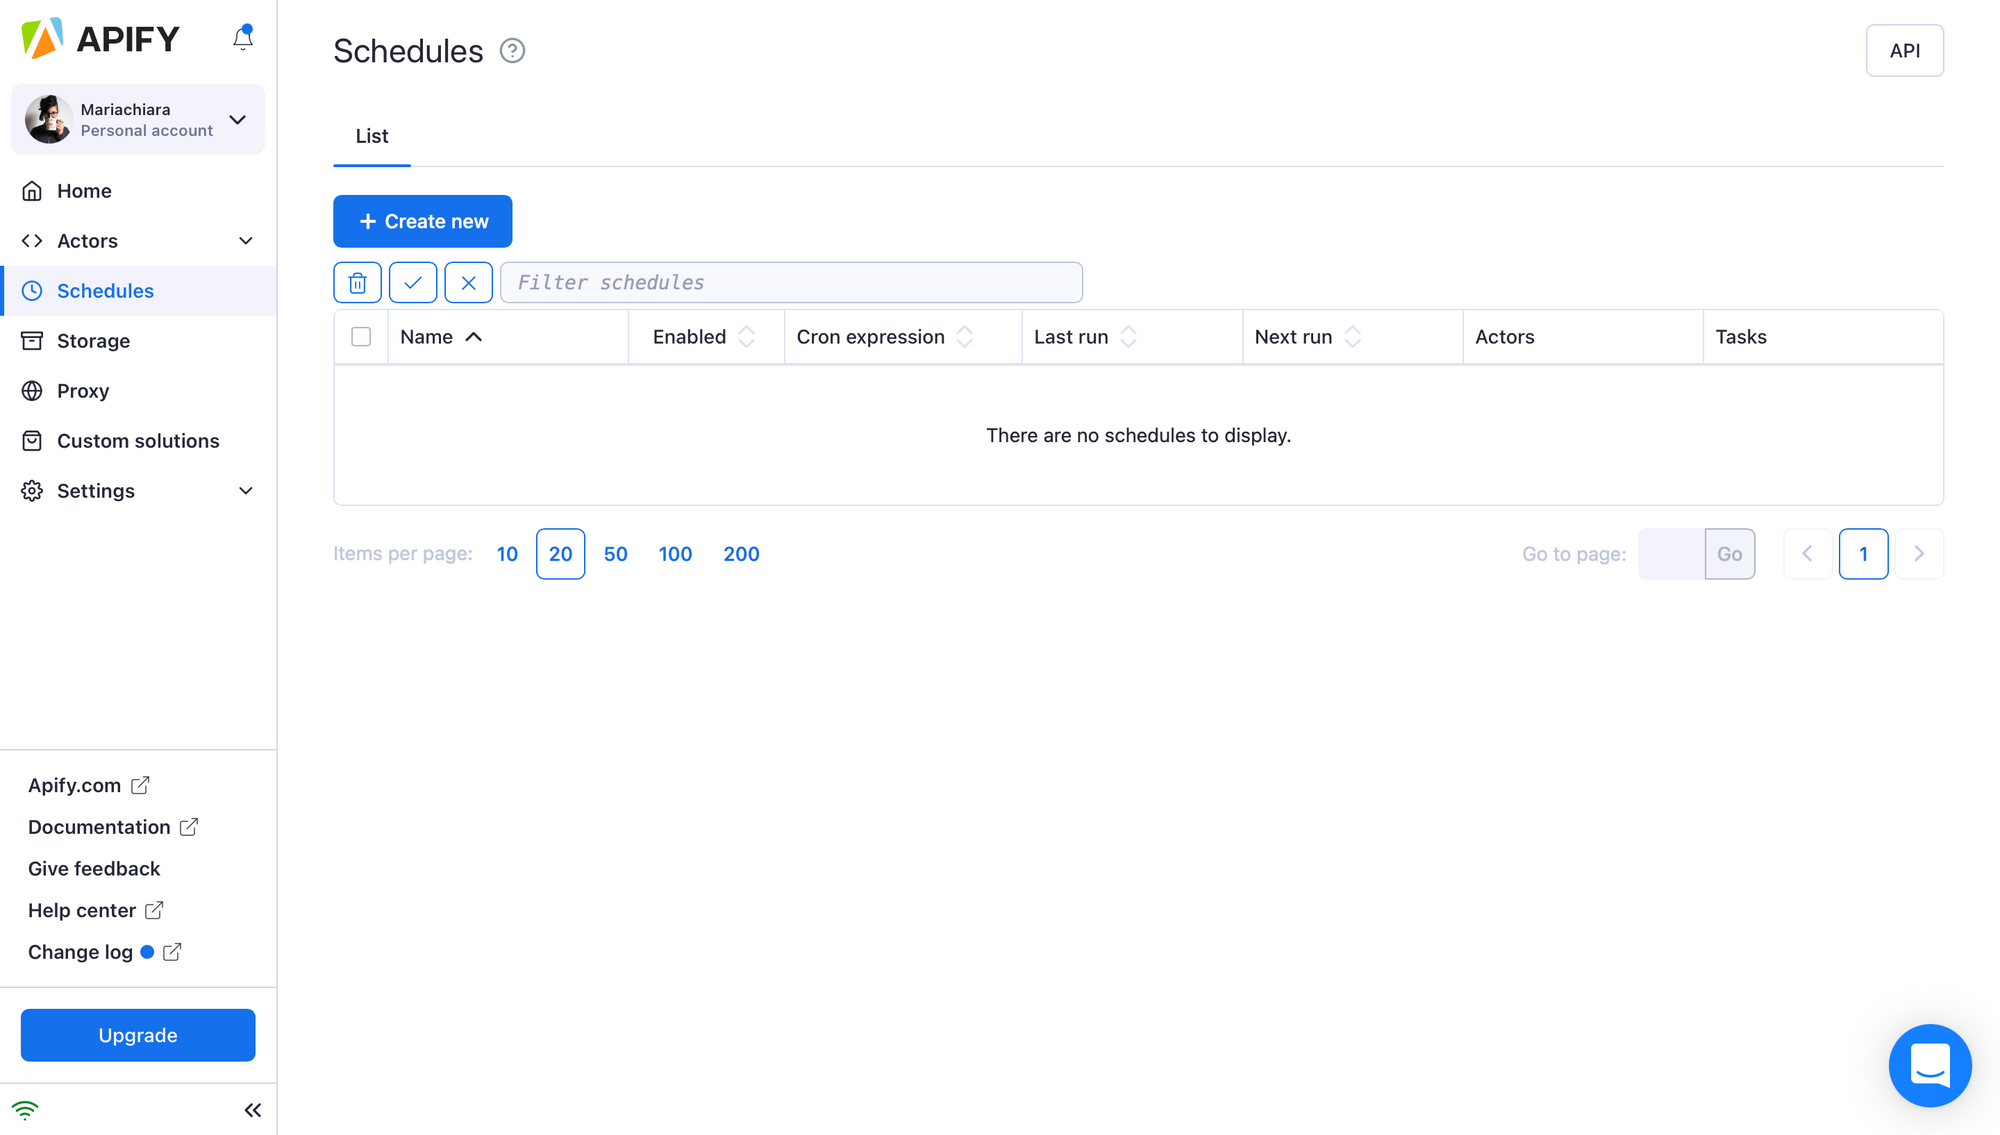
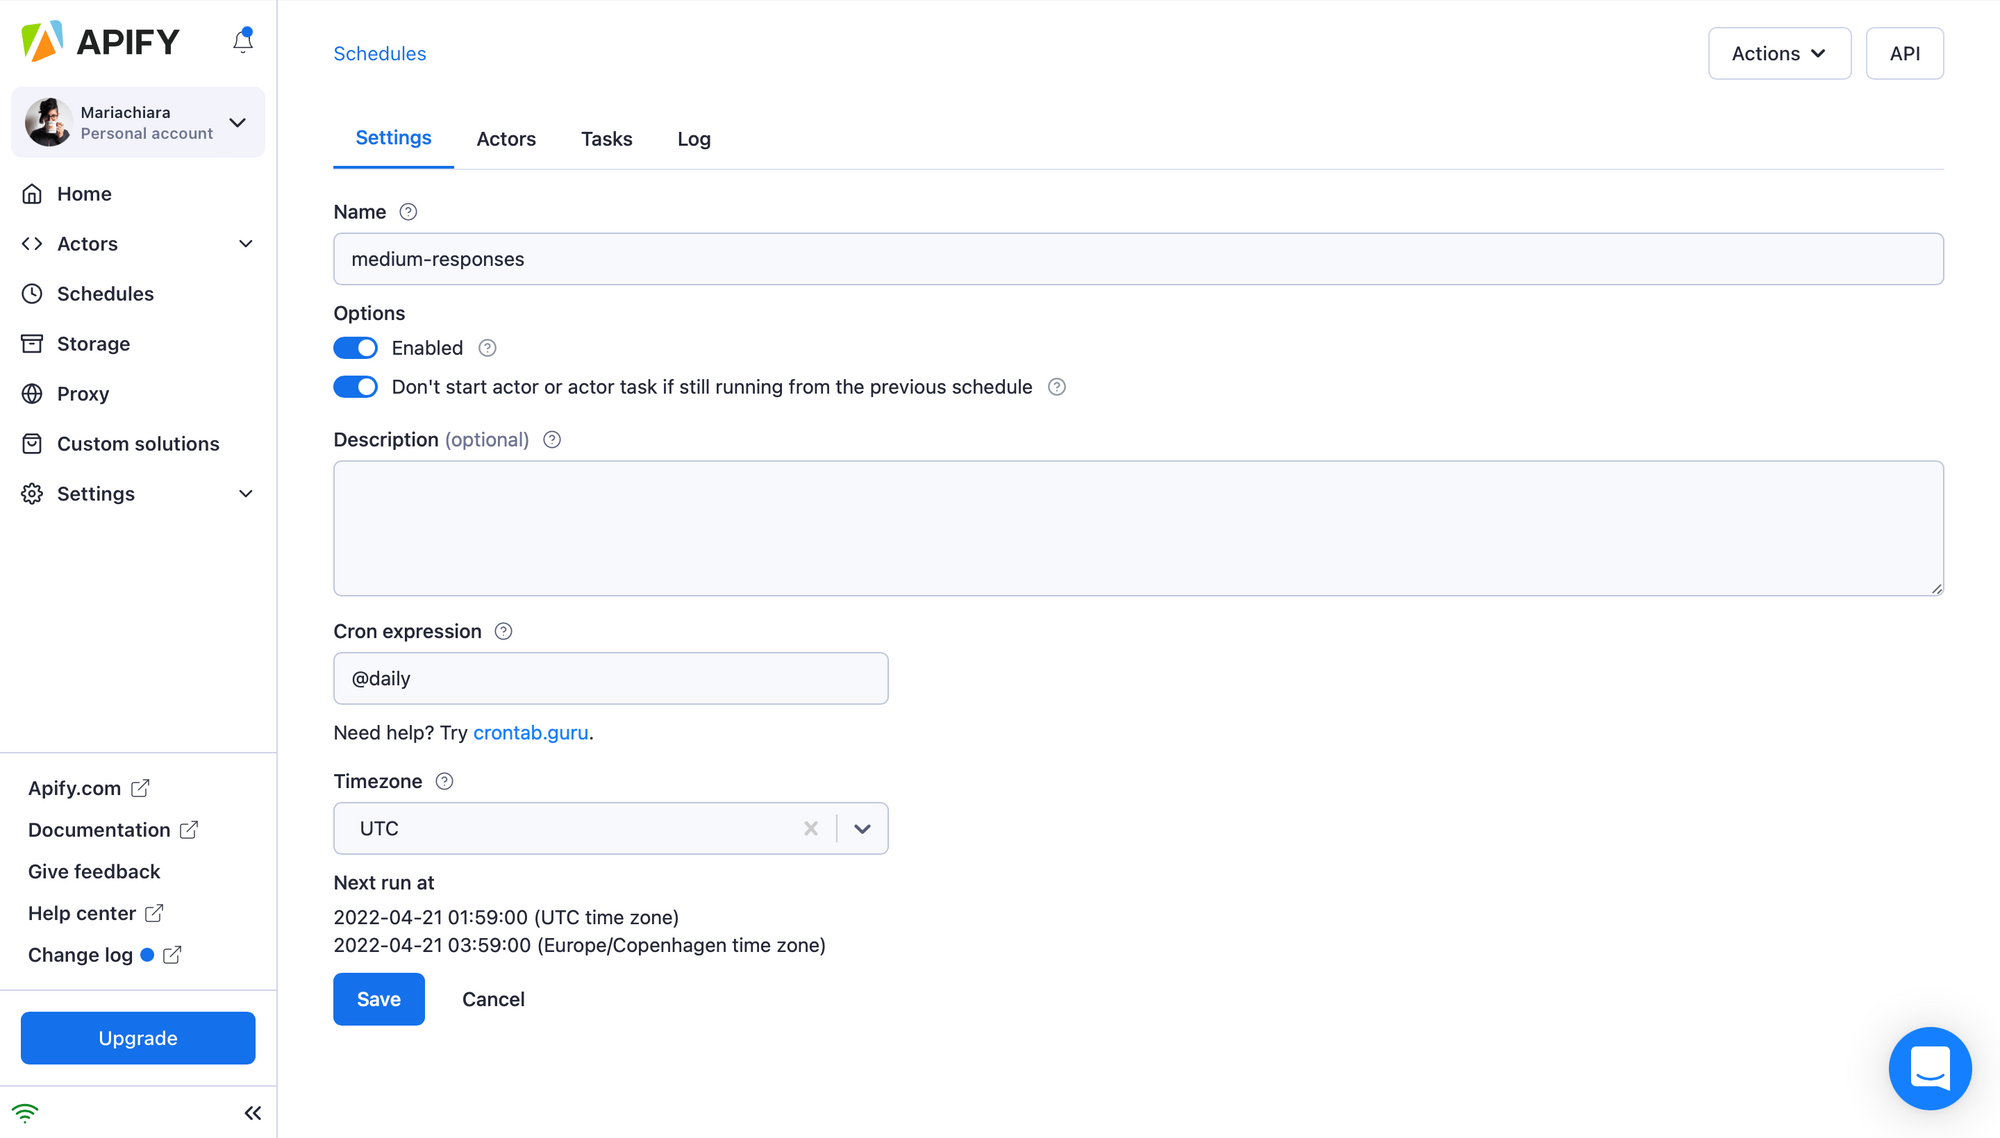
6. Create a new schedule. Then, in the Settings tab, name it, and set how frequently you want to run it. When you are done, click Save.
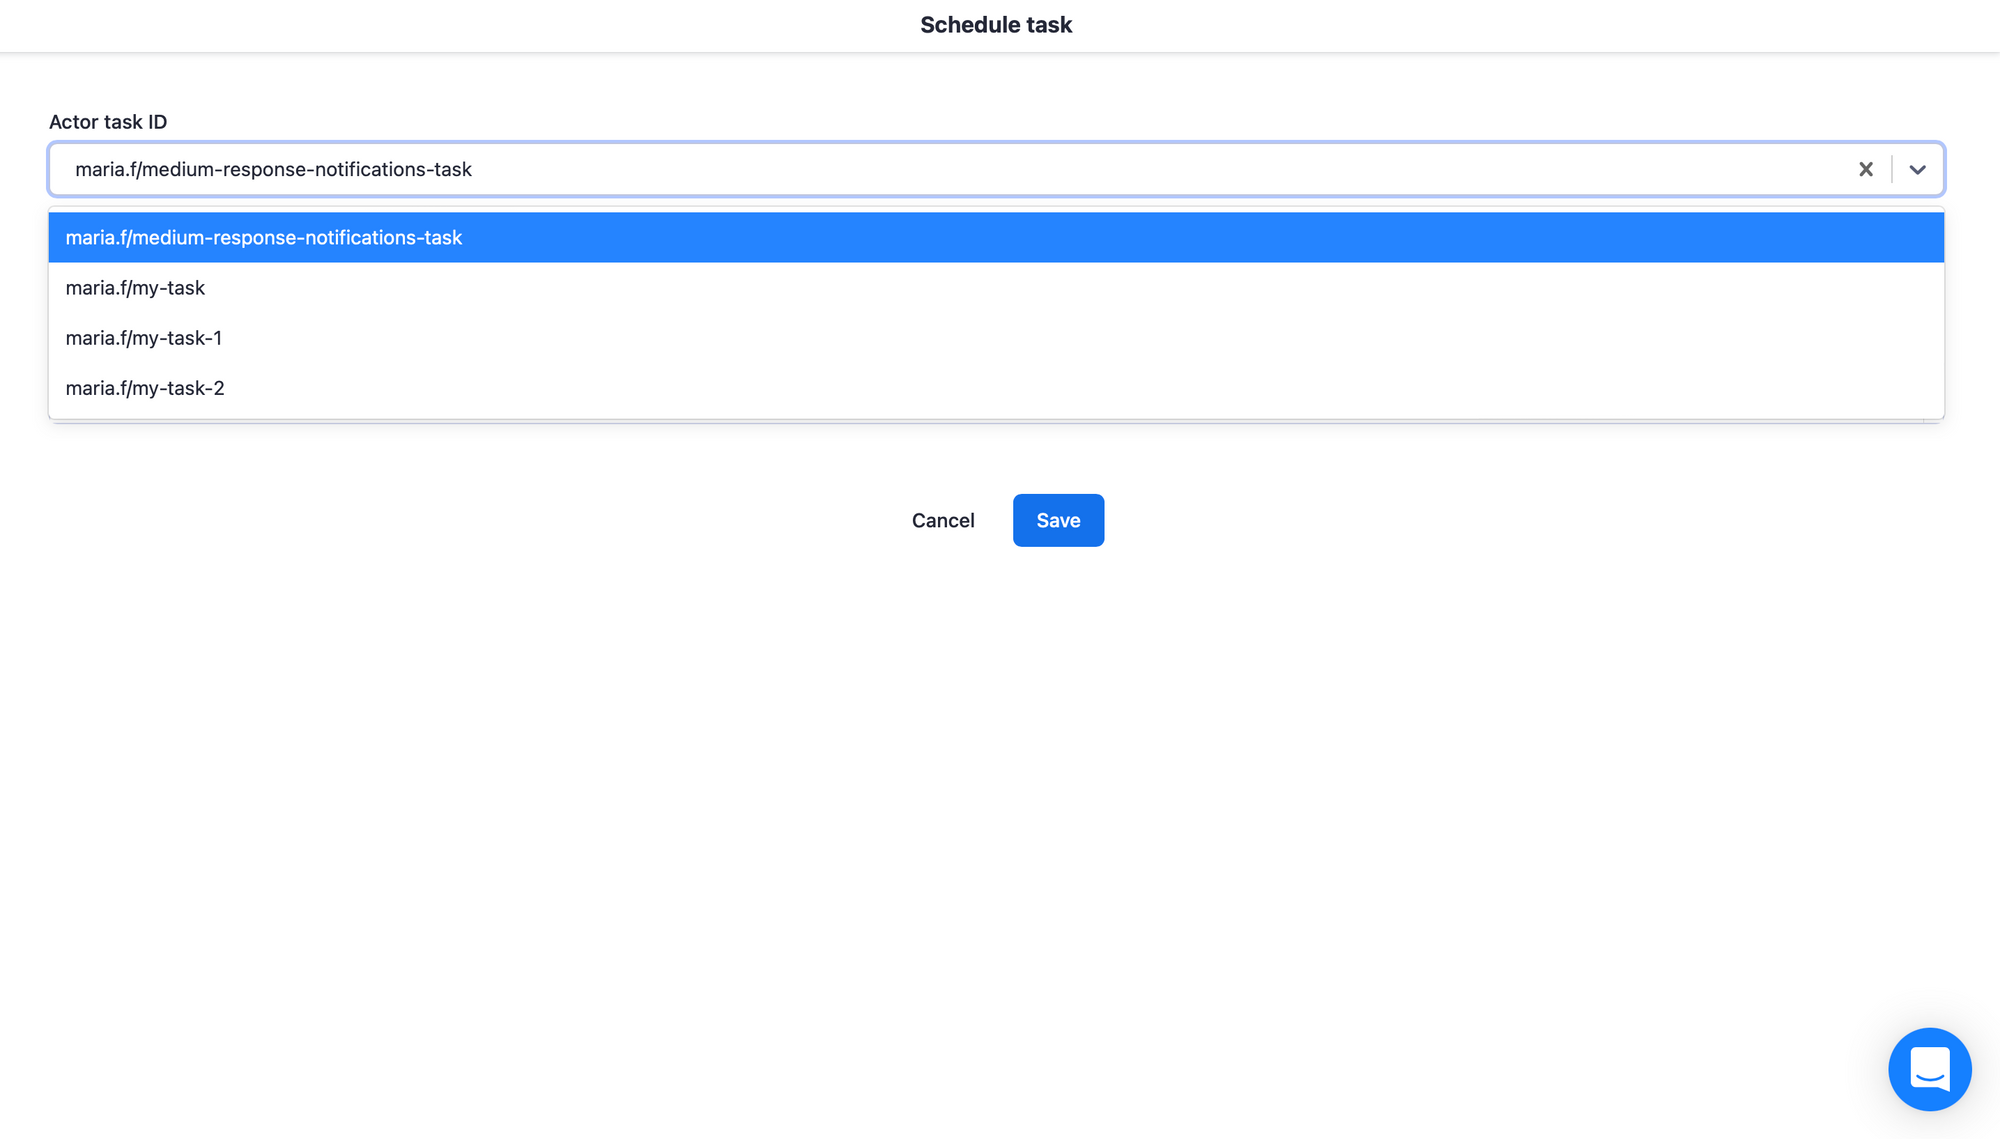
7. In the Tasks tab, select the task you created for the Medium notifications Actor in Step 3 of this tutorial from the dropdown menu, and click Save.
8. Under the Schedules tab, you can check if the schedule is set up properly and when the next run will be.
One more step for Slack users:
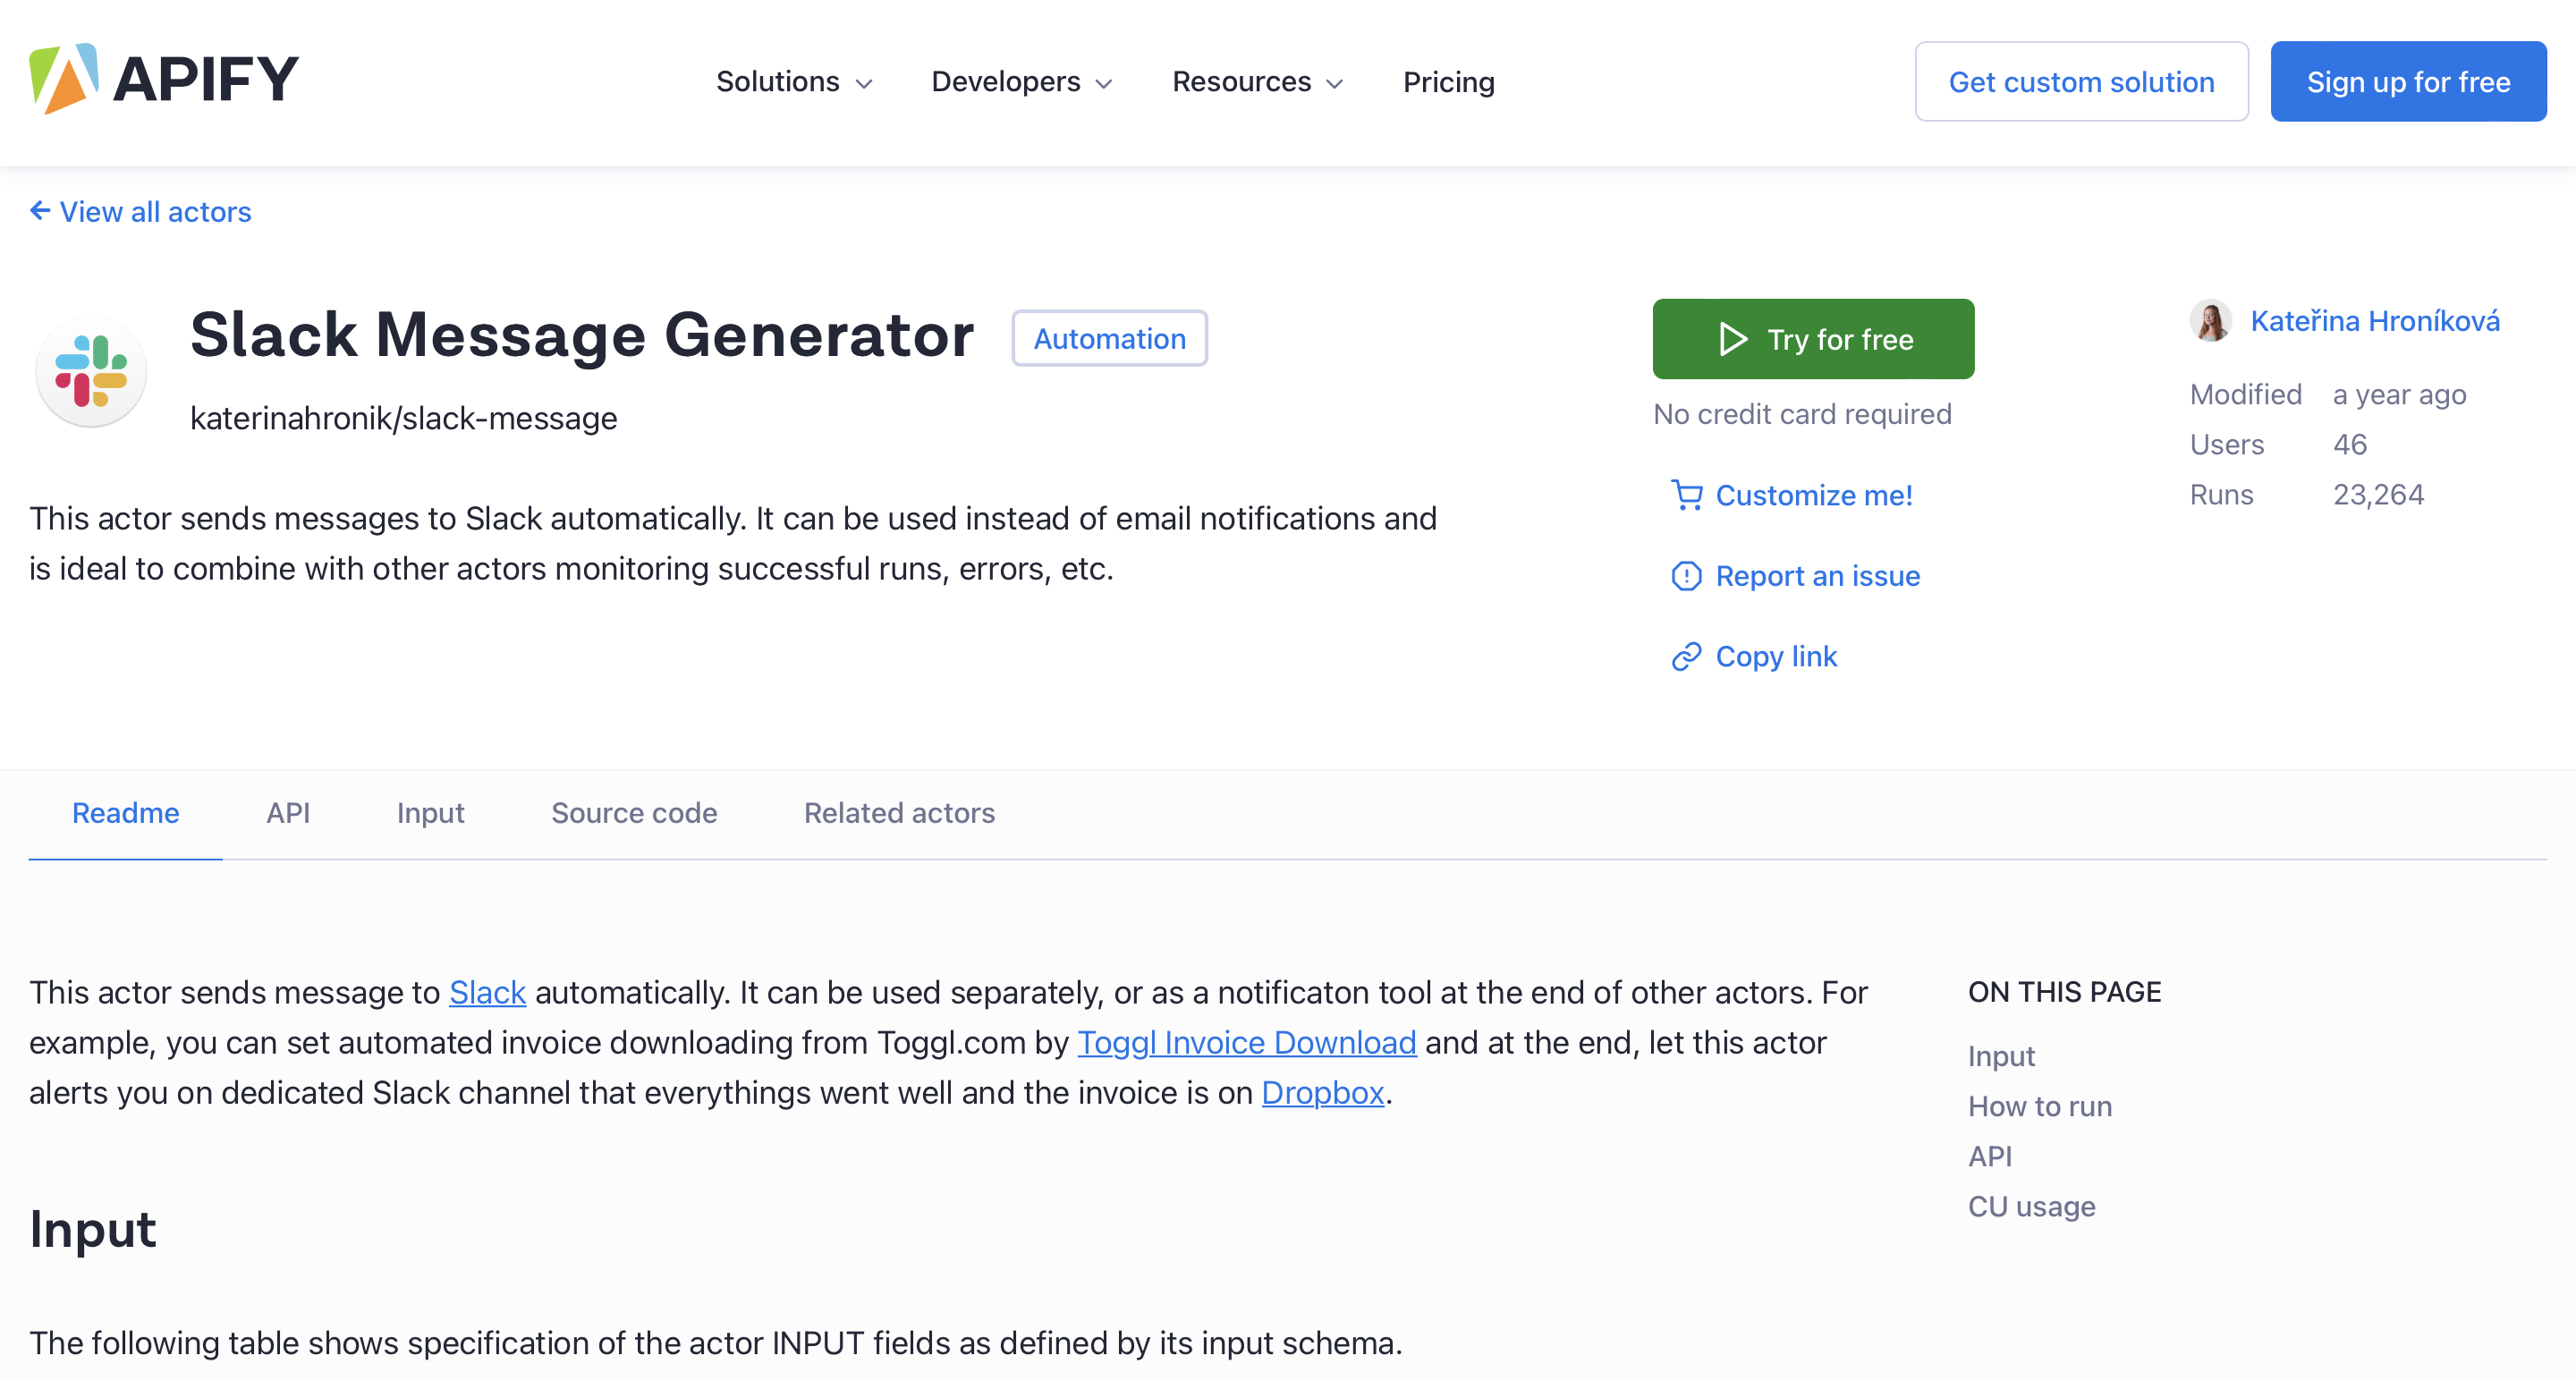
If a Slack token and channel are provided, the Actor can send a notification message for each new response using the existing Slack Message Generator (katerinahronik/slack-message) Actor.
We hope you enjoy web scraping and robotic process automation with Apify.
If you have any more questions or interesting ideas on how to improve Apify, let us know!