Web scraping is a very useful skill for anyone who works with data, but it can be quite complicated for those who are new to it. With the popularity and capabilities of large language models, it's natural to wonder if we can use AI for web scraping.
We'll answer this question with a practical example and demonstrate the relatively new concept of LLM web scraping. We'll use the Apify platform to deploy our solution and run it from the cloud.
This entire article will serve as a tutorial, so you can follow it step-by-step.
📌 We'll be referring to Apify Actors in this guide. Actors are serverless cloud programs that run inside Docker containers. Originally made for web scraping, they can allow advanced scripts, including LLM support.
What is LLM web scraping?
LLM web scraping is what it sounds like: using an LLM for web scraping. Although not a technical term per se, it's emerging as a concept. You can think of it as “LLM-assisted web scraping” or “semantic web scraping with LLMs”. You can use it to handle traditional web scraping complexities in many ways, like:
- Interpreting raw HTML: Extracting product descriptions even if they’re buried in complex, unstructured markup
- Interfacing with dynamic pages: We can use the reasoning models to fetch JavaScript-rendered content.
- Using scraping instructions in natural language: Taking a simple query from the user and fetching the scraped content accordingly (like, “Get all the weather data from the cities which hit 40C or more yesterday”)
To keep it simple, we'll focus on the most common use: providing AI with instructions in plain English instead of using a scraping script.
🔖 If you want a tutorial that shows how to use an LLM agent to navigate the page and click elements, check out the guide below.
How to create an LLM web scraper
In this example, we'll use Python to make an LLM web scraper. We'll then get the LLM to help extract the desired content from the BBC Sports website with simple instructions.
📌 While it's pretty common for developers to have a Python interpreter installed on their machine, even that isn't required, as all the code will be executed on Apify’s platform.
1. Setup and prerequisites
pip install apify beautifulsoup4 httpx
pip install langchain langchain_openai
2. Set up the LLMs API
We've installed the prerequisites and set up an Apify Actor. Now we'll set up the LLM API (OpenAI, in this case).
- Using a desktop
If you're using VS Code or PyCharm (or any other IDE of your choice), you can set up the keys using environment variables. Create the .env file in your project directory and then add the API key.
OPENAI_API_KEY = "sk-***************************"
Now you can load environment variables from the .env file.
#By setting it as the environ variable, we can access it in any code.

import os
from dotenv import load_dotenv
load_dotenv()                                   # Load environment variables from .env file
openai_api_key = os.getenv("OPENAI_API_KEY")    # Get the API key from the environment

import openai
openai.api_key = openai_api_key
- Using an Apify Actor
If you're using an Actor, then it's much simpler: all you need is the input schema (input_schema.json in the Actor directory).
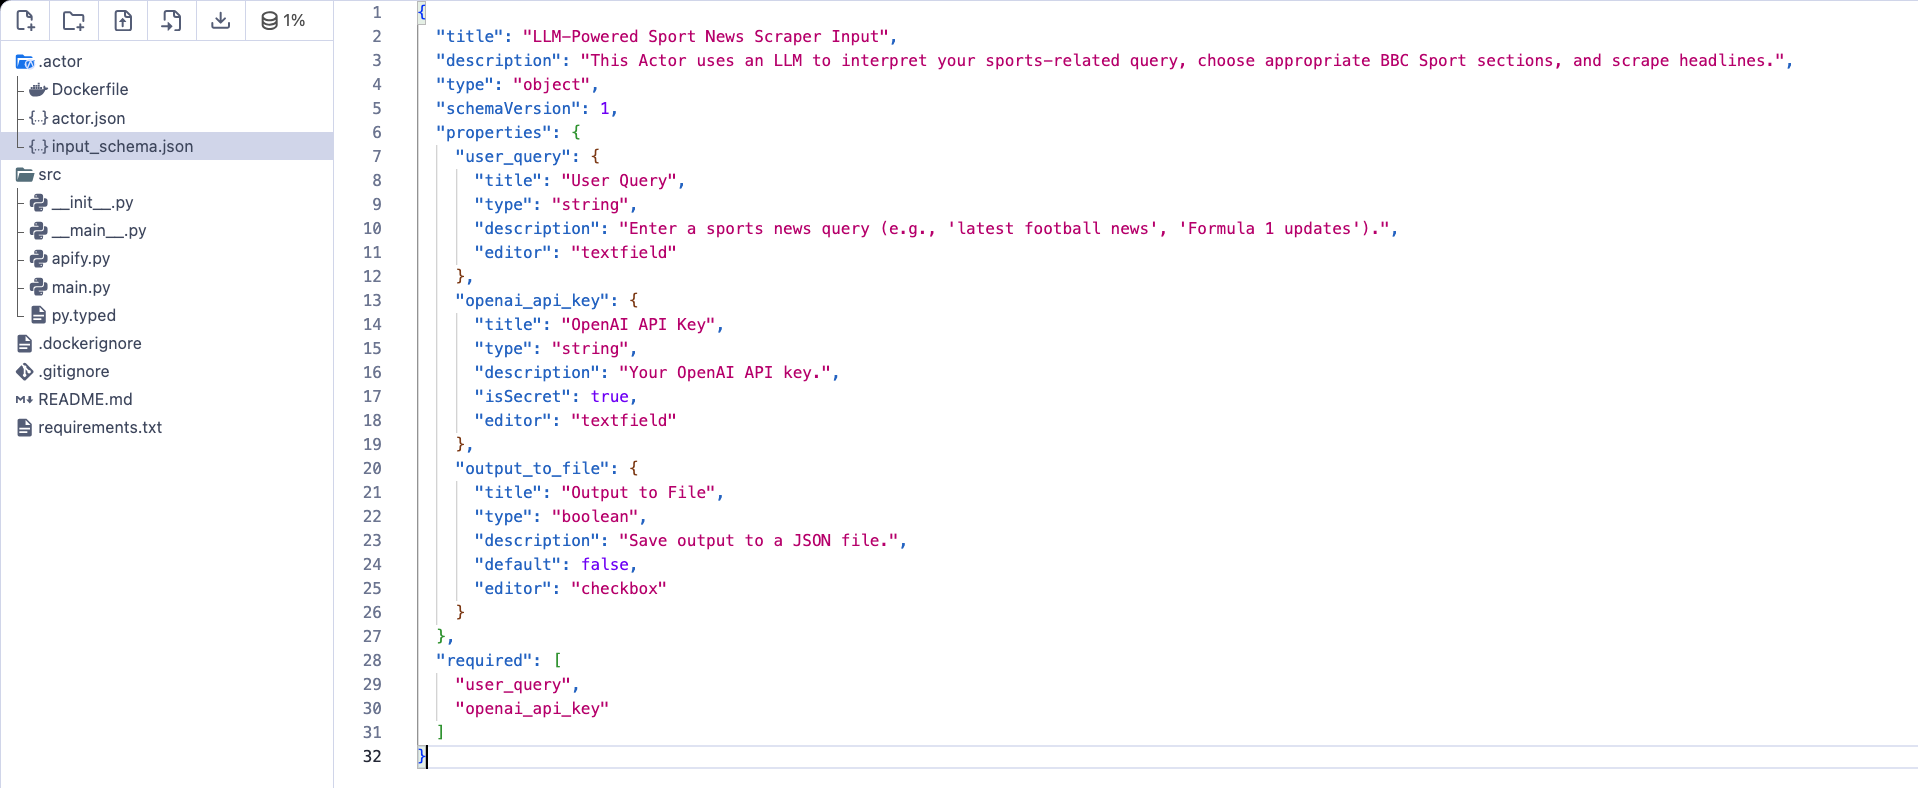
{
  "title": "LLM-Powered Sport News Scraper Input",
  "description": "This Actor uses an LLM to interpret your sports-related query, choose appropriate BBC Sport sections, and scrape headlines.",
  "type": "object",
  "schemaVersion": 1,
  "properties": {
    "user_query": {
      "title": "User Query",
      "type": "string",
      "description": "Enter a sports news query (e.g., 'latest football news', 'Formula 1 updates').",
      "editor": "textfield"
    },
    "openai_api_key": {
      "title": "OpenAI API Key",
      "type": "string",
      "description": "Your OpenAI API key.",
      "isSecret": true,
      "editor": "textfield"
    },
    "output_to_file": {
      "title": "Output to File",
      "type": "boolean",
      "description": "Save output to a JSON file.",
      "default": false,
      "editor": "checkbox"
    }
  },
  "required": [
    "user_query",
    "openai_api_key"
  ]
}
📌 OpenAI’s API is paid, so it's best to use basic models like GPT-3.5 or GPT-4o for testing. They're powerful enough for most tasks and quite affordable.
3. Setting up the LLM for scraping
Our setup is based on OpenAI and LangChain. Using the ChatOpenAI object, we use the LLM to pick up the sports section URLs from the BBC website.
from langchain_openai import ChatOpenAI
# 1. Determine relevant BBC Sport URLs using LLM

async def determine_relevant_urls(user_query: str, openai_api_key: str) -> list[str]:
    """Use OpenAI LLM to select relevant BBC Sport section URLs based on the user query."""
    llm = ChatOpenAI(
        model="gpt-3.5-turbo",
        temperature=0,
        openai_api_key=openai_api_key
    )
After initialization, we'll define a suitable prompt to pick up sports-related news. You can modify this prompt according to the specific requirements for your job.
from langchain.prompts import PromptTemplate
from langchain_core.output_parsers import StrOutputParser

    # Prompt instructs LLM to select relevant sport section URLs
    template = """
    You are a sports news assistant. Based on the user query below, choose the most relevant BBC Sport section URLs.
    Query: "{user_query}"

    Choose from these URLs (select ALL that apply, separated by new lines):
    - cricket:
    - football:
    - tennis:
    - formula 1:
    - golf:
    - rugby:
    - Athletics:
    - cycling:
    - general sports:

    Respond with only the URLs, one per line. If you choose multiple, separate them with new lines.
    """

    prompt = PromptTemplate(
        input_variables=["user_query"],
        template=template
    )
- Chaining pipeline execution
LangChain works on the chaining pipeline. The chain formats the user query into the template defined above, then feeds the prompt using the LLM model and StrOutputParser to convert the LLM output into a string format.
chain = prompt | llm | StrOutputParser()
Now, we can invoke the chain to process the URLs.
    try:
        urls = await chain.ainvoke({"user_query": user_query})
        urls = urls.strip()
Since there can be multiple URLs, we'll allow for that possibility.
        if "\\n" in urls:
            # Handle multiple URLs
            url_list = [url.strip() for url in urls.split("\\n") if url.strip().startswith("https://www.bbc.com/sport/") and url.strip() != "https://www.bbc.com/sport"]
            if not url_list:
                Actor.log.warning("No specific sport URLs returned by LLM.")
                return []
            return list(set(url_list))
        else:
            # Handle single sport label (e.g., "football")
            sport_name = urls.lower()
            if sport_name == "general sports":
                Actor.log.info("LLM selected general sports.")
                return ["https://www.bbc.com/sport"]
            # If it's a relative URL like "/sport/cricket", construct the full URL
            if not sport_name.startswith("https://"):
                return [f"https://www.bbc.com/sport/{sport_name}"]

            # If it's already a full URL (starts with https://), return it as is
            return [sport_name]

    except Exception as e:
        Actor.log.error(f"Error determining URLs: {e}")
        Actor.log.warning("LLM failed to provide URLs, skipping scraping.")
        return []
4. Scraping logic for extracting sports news headlines
Now that we've fetched the URLs, we'll use BeautifulSoup to retrieve the headlines.
async def scrape_sport_headlines_with_url(url: str, client: AsyncClient) -> list[dict]:
    """Scrape sport news headlines and URLs from a given BBC Sport URL, targeting the specified HTML structure."""
    try:
        Actor.log.info(f"Scraping URL: {url}")
        response = await client.get(url, follow_redirects=True)
        soup = BeautifulSoup(response.content, 'html.parser')
        headlines_data = []
        seen_urls = set()
        promo_links = soup.find_all('a', class_='ssrcss-sxweo-PromoLink exn3ah95', href=True)
        if promo_links:
            for link_tag in promo_links:
                headline_paragraph = link_tag.find('p', class_='ssrcss-1b1mki6-PromoHeadline exn3ah910')
                if headline_paragraph:
                    headline = headline_paragraph.find('span').get_text(strip=True) if headline_paragraph.find('span') else headline_paragraph.get_text(strip=True)
                    article_url = urljoin(url, link_tag['href'])
                    if article_url not in seen_urls:
                        seen_urls.add(article_url)
                        headlines_data.append({'headline': headline, 'url': article_url, 'source': url ,'scraped_at_readable': datetime.utcnow().strftime('%d %b %Y, %H:%M UTC')})
            return headlines_data
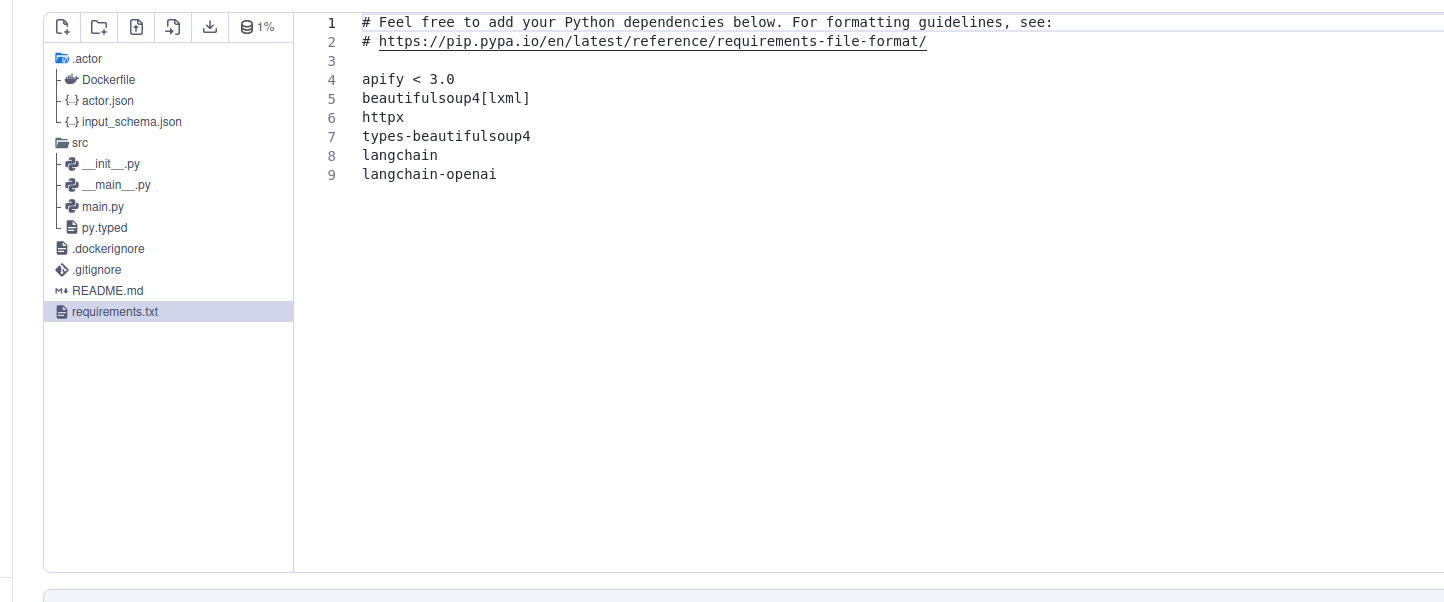
Complete code
The complete, tested code is available on GitHub as a single file. Before turning this into an Actor, all required libraries should be placed in the requirements.txt (copied below for reference).
apify < 3.0
beautifulsoup4[lxml]
httpx
types-beautifulsoup4
langchain
langchain-openai
Setting up an Apify Actor
You can now set up your LLM scraper as an Apify Actor. As we noted at the beginning, Actors are serverless (cloud) programs that run inside Docker containers. But what are the benefits of turning scrapers into Actors?
- They can run long jobs - Because Actors run on Apify servers, you can run extended tasks without worrying about disconnection.
- You can publish and monetize them - You can publish Actors on Apify Store so that those who need your solution can find them easily and pay to use them, which gives you passive income.
- You can integrate them with other tools - Actors integrate with many apps and libraries, so you can automate workflows effectively.
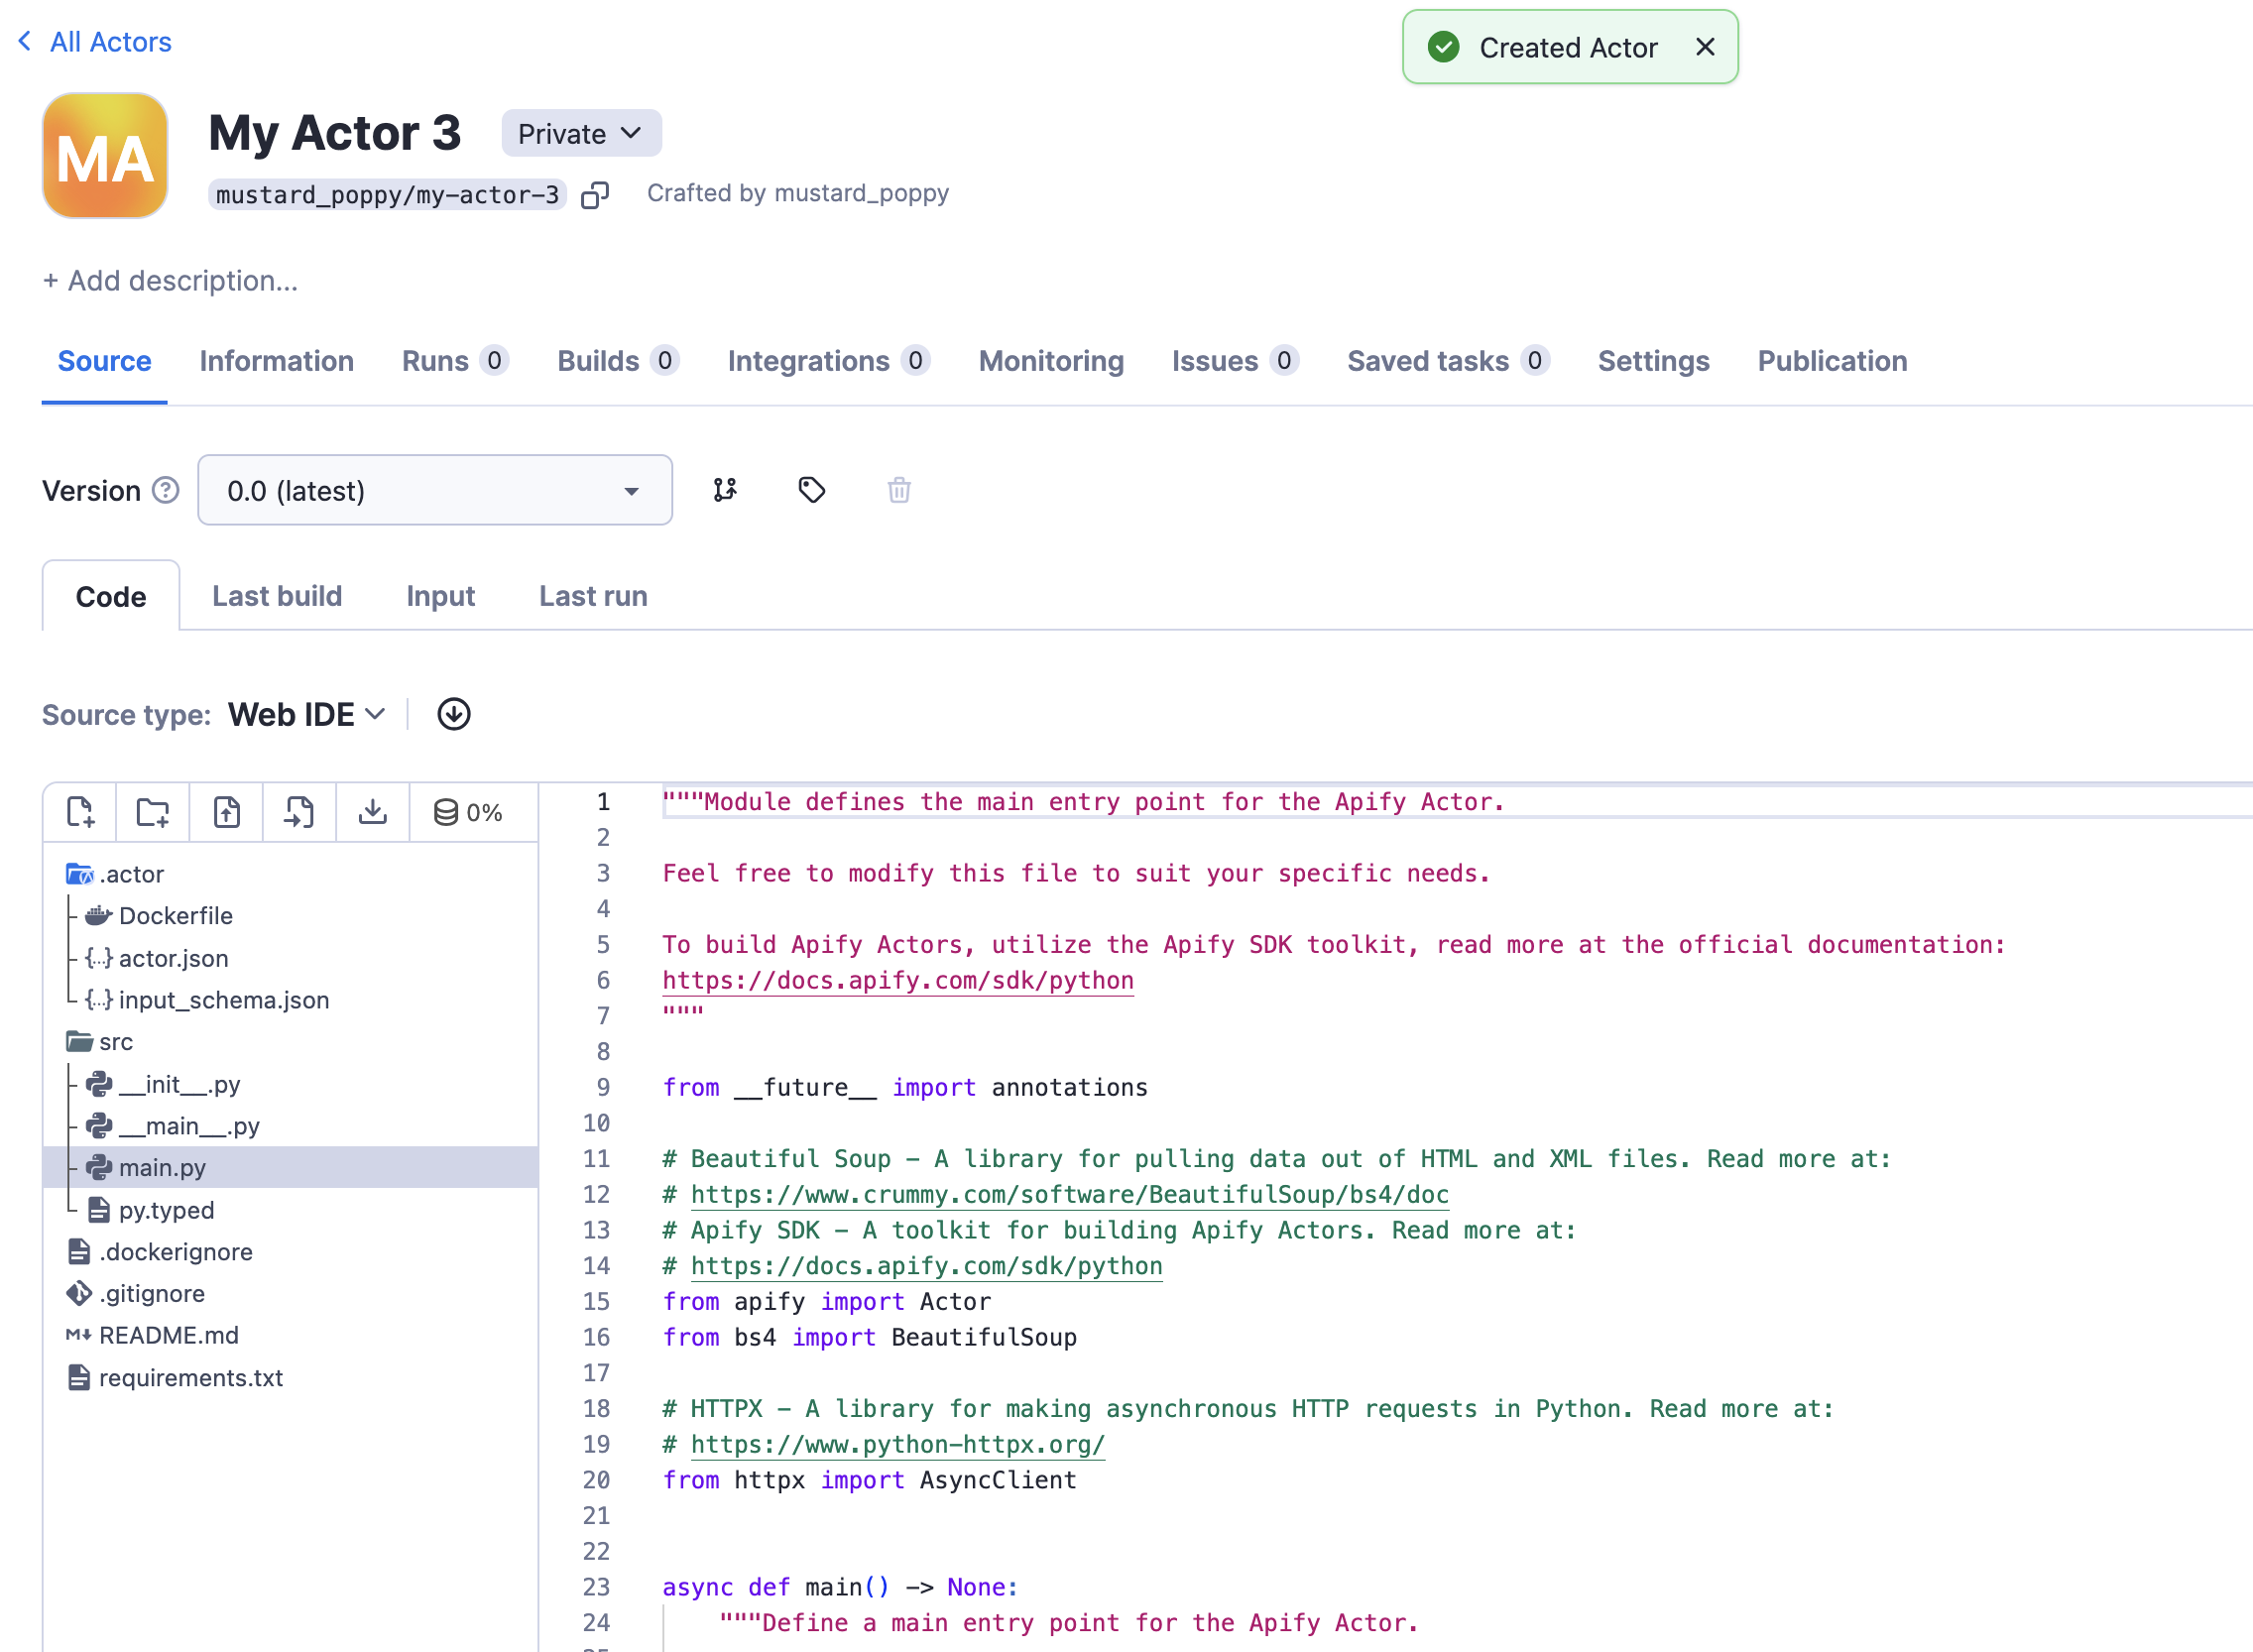
To make an Actor, go to Apify Actors templates (assuming you already have an Apify account). Here, we're using the basic web scraping template.
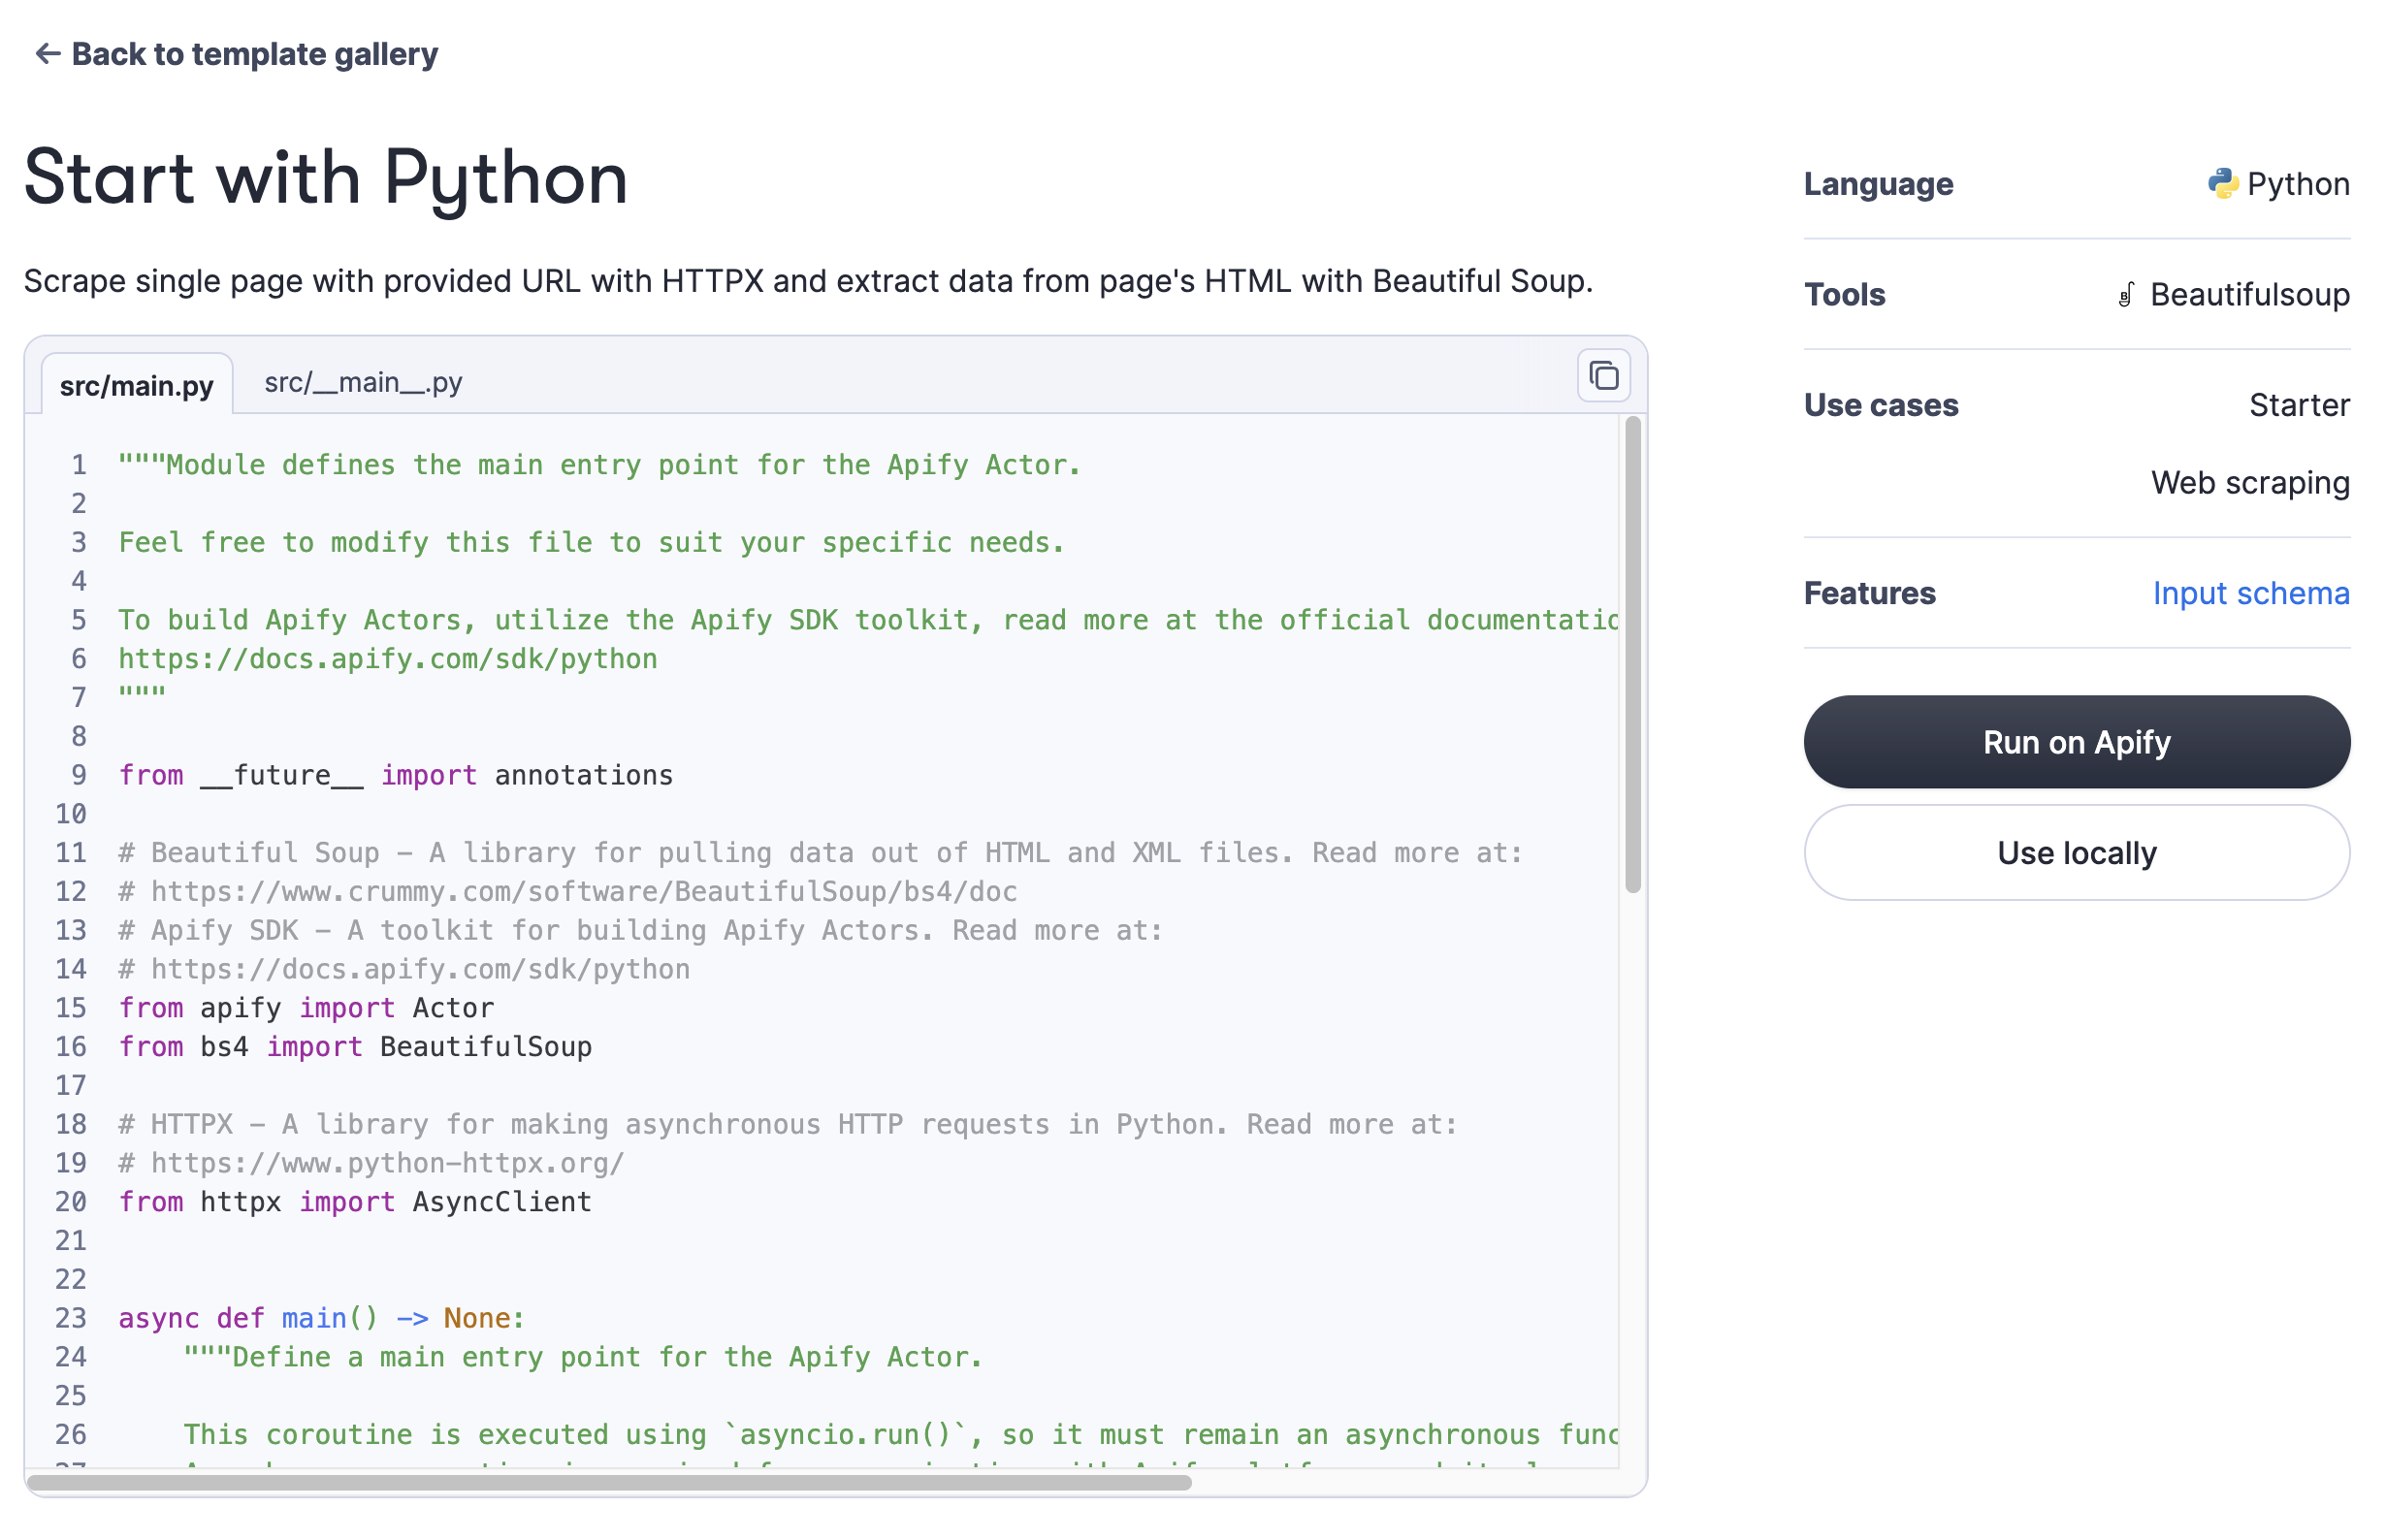
Clicking “Run on Apify” takes you to the respective Actor. You'll see some key files in the directory, like:
- Dockerfile
main.py
You can set up Docker by taking all the installations there, and main.py will be used for the code.
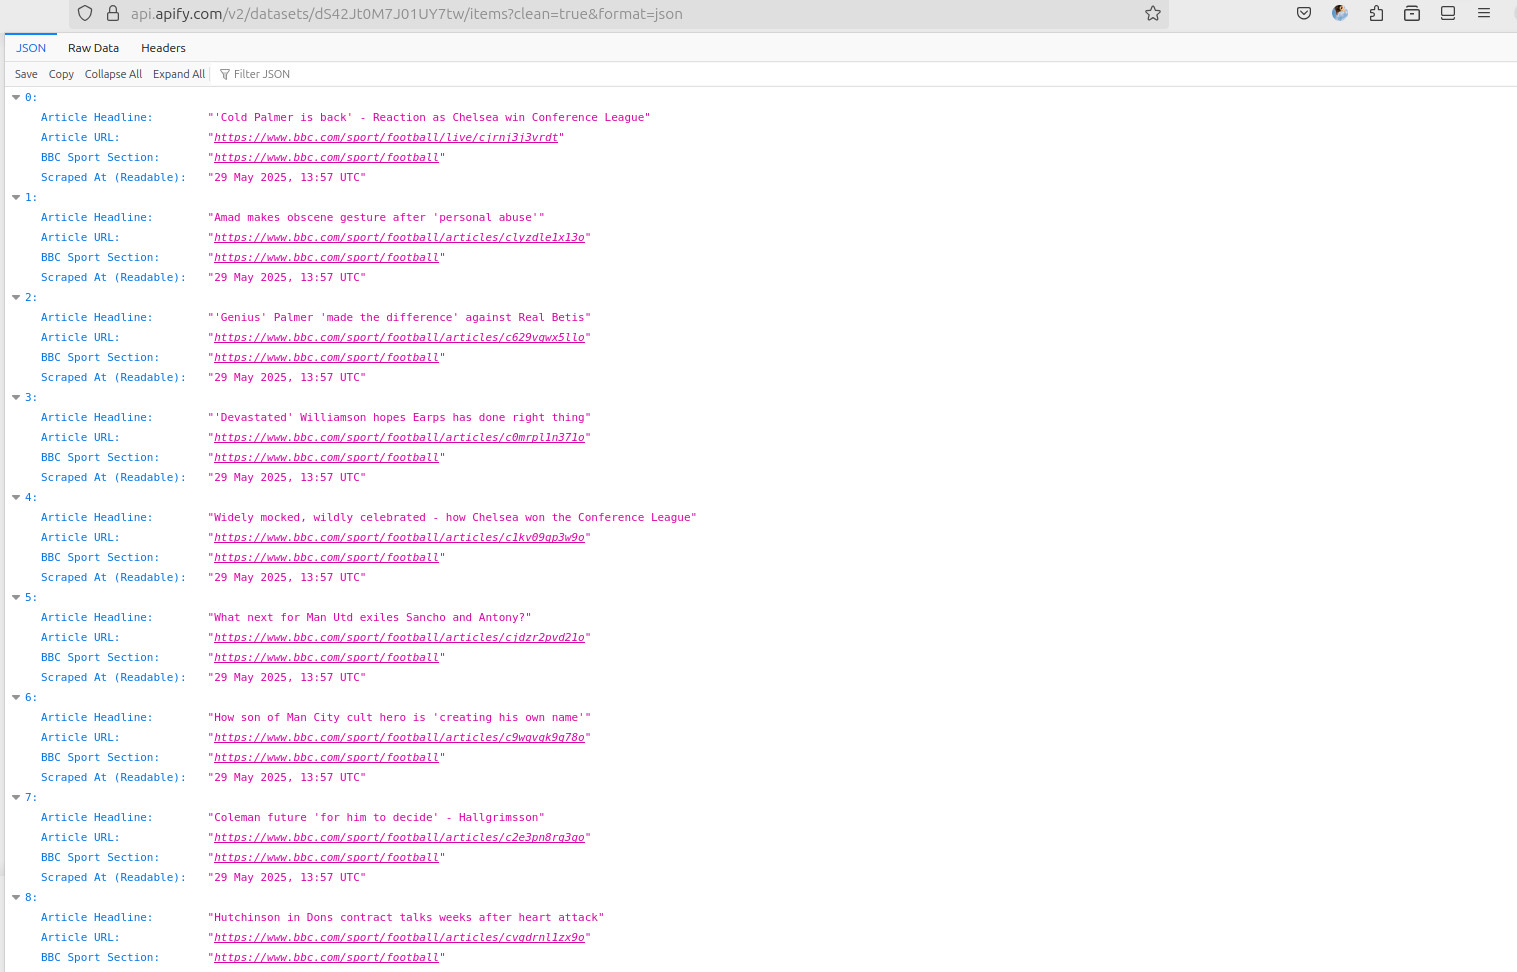
Output
The second screenshot below shows the output, so we know that it's working fine on Apify and fetching the respective headlines. As you can see in the first screenshot, the “Storage” tab displays the required output in all the common formats (JSON, CSV, XML, etc) without requiring any explicit coding.
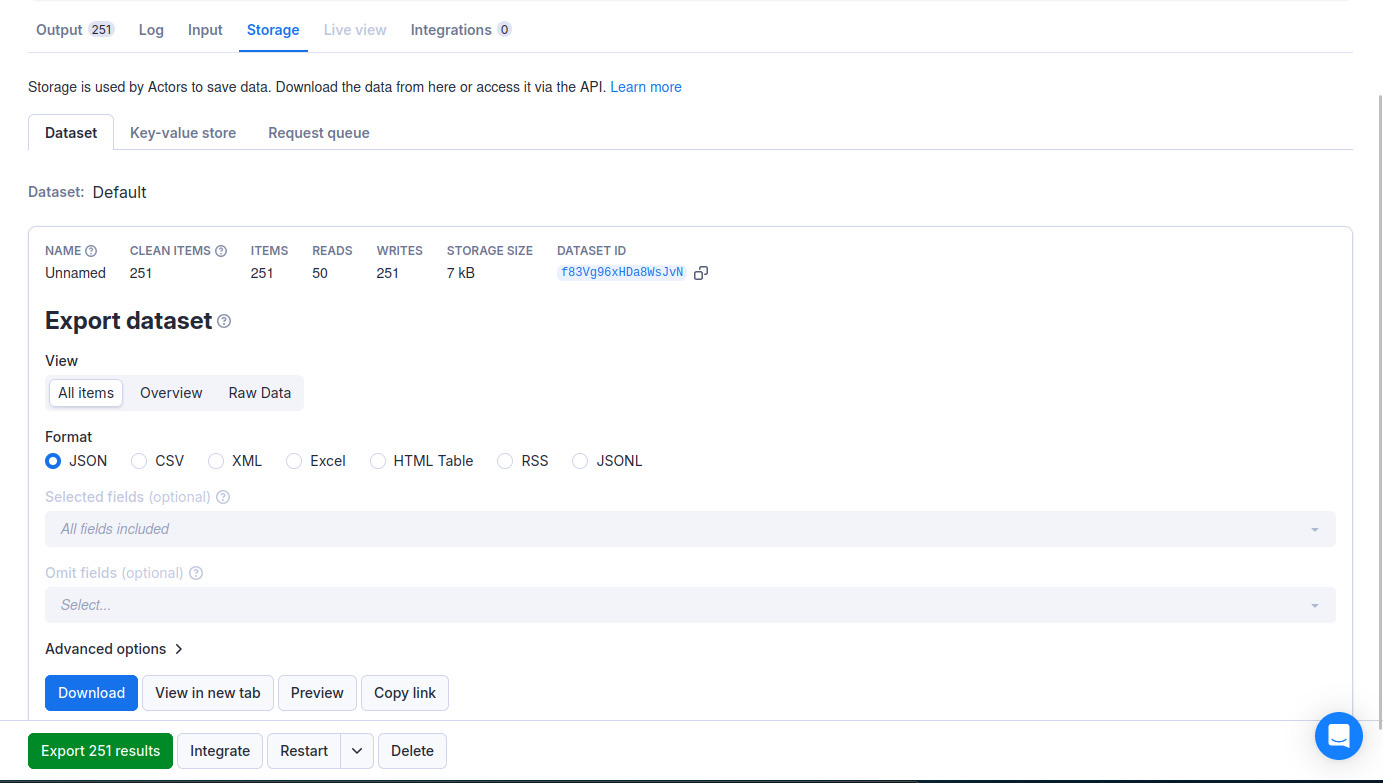
Here's the output in JSON.
Conclusion
We've demonstrated that it's not only possible but also useful to use LLMs for web scraping. This was just a simple example, but the applications extend far beyond. By creating an Actor, you can run your LLM scraper in the cloud in a serverless manner and can even monetize it by pushing it to Apify Store.