If you’ve built an API, you’ve already solved one hard problem. Now it’s time to turn it into revenue!
In this guide, you’ll learn exactly how to monetize your API on Apify and tap into its marketplace, where tens of thousands of monthly users are regularly seeking automation and data scraping solutions. Payment processing, usage tracking, scaling, and much more are all handled for you.
Instead of just explaining pricing models, you’ll also see how to take your API, wrap it as an Apify Actor, set pricing, and publish it. To skip straight to action, you can jump directly to the step-by-step walkthrough to start monetizing your API on Apify today (and reach new users as a result).
Let’s dive in!
API monetization pricing models and examples
There are several pricing models for API monetization, and most providers offer multiple options (e.g., freemium + pay-as-you-go + subscription or credits system). The idea is simple: the more choices users have, the better you can cater to different needs, which ultimately helps you maximize revenue.
For a quick comparison, refer to the summary table below:
| API monetization model | Description | Examples |
|---|---|---|
| Pay-as-you-go | Users pay based on actual API usage (e.g., per request or MB). Ideal for variable workloads. | OpenAI APIs, Gemini APIs, Apify APIs |
| Subscription-based | Users pay a recurring fee with tiered plans offering different limits or features. | Twilio Email APIs, Mailgun APIs, Apify APIs |
| Freemium | Basic access is free; advanced features or higher limits require payment. | Spotify APIs, GitHub APIs, Apify APIs |
| Quota-based | Users buy fixed API call or data quotas, with options to top up or upgrade. | Serper APIs, Tavily APIs |
| Pay-per-transaction | Each transaction (e.g., booking or payment) triggers a fee. | Stripe APIs, PayPal APIs, Apify APIs |
| Revenue sharing | The provider earns a percentage of revenue from API-driven sales. | Shopify APIs, eBay Partner Network APIs, Apify Actor APIs |
| Enterprise licensing | Enterprises pay for custom access, SLAs, and premium support. | Salesforce APIs, SAP APIs |
| Indirect monetization | The API enhances other paid products through integration or automation. | Slack API, Notion API |
| Data sharing | Providers sell or license anonymized datasets to third parties. | AWS Data Exchange APIs |
| Paid partner (Affiliate) | Partners earn from clicks or sales via integrated content. | Amazon Product Advertising APIs, Booking.com, Affiliate APIs |
Pay-as-you-go
In this model, users are charged based on actual API usage (e.g., per request, per results, per MB of data transferred, etc.). It’s highly flexible and ideal for fluctuating workloads, as users pay only for what they consume. However, it requires accurate tracking and cost prediction tools.
Examples: OpenAI APIs, Gemini APIs, Apify APIs, etc.
Subscription-based
Users pay a recurring fee — monthly or annually — for consistent API access. Available pricing plans are structured in tiers, each offering different limits, features, or performance levels. This model provides predictable revenue for providers and predictable costs for customers.
Examples: Twilio Emai APIs, Mailgun APIs, Apify APIs, etc.
Freemium
The API offers basic access for free, with paid tiers unlocking advanced features, higher limits, or premium support. This strategy encourages developers to try the API at no cost and upgrade as their needs grow.
Examples: Spotify APIs, GitHub APIs, Apify APIs, etc.
Quota-based
Users purchase a fixed quota of API calls or data transfer units (e.g., usually called “credits”). When the limit is reached, they can buy more or upgrade. This model ensures cost predictability and control while maintaining flexibility for scaling.
Examples: Serper APIs, Tavily APIs, etc.
Pay-per-transaction
Each transaction—such as a booking, order, or particular event—incurs a fee. This model directly aligns revenue with value delivered and works best for APIs that facilitate monetizable user actions.
Examples: Stripe APIs, PayPal APIs, Apify APIs, etc.
Revenue sharing
The API provider earns a percentage of the revenue generated through API usage by third parties. This creates a partnership dynamic where both sides benefit from growth.
Examples: Shopify APIs, eBay Partner Network APIs, Apify Actor APIs, etc.
Enterprise licensing
Large organizations pay for custom access, advanced features, and dedicated support. This model suits APIs providing mission-critical services or needing custom SLAs and scalability guarantees.
Examples: Salesforce APIs, SAP APIs, etc.
Indirect monetization
The API itself isn’t sold but enhances other paid products by enabling integrations, automation, or improved functionality—driving user retention and higher-value sales indirectly.
Examples: Slack API, Notion API, etc.
Data sharing
APIs that collect valuable data can generate revenue by sharing or licensing anonymized datasets to third parties—while remaining compliant with privacy laws.
Examples: AWS Data Exchange APIs, etc.
Paid partner (Affiliate)
Partners integrate your content or data, earning revenue from traffic, clicks, or purchases. Providers only pay for conversions or engagement, making it a performance-driven model.
Examples: Amazon Product Advertising APIs, Booking.com Affiliate APIs, etc.
Why monetize your API on Apify
Building an API is one thing, but making it public and monetizing it is another. You need to implement authentication, define and manage pricing models, handle rate limiting and error management, set up usage tracking and billing systems, and promote your API effectively. That’s a lot of moving parts.
That’s why it’s smart to rely on a third-party platform like Apify, which provides exposure, hosting, monitoring, and monetization tools all in one place. Apify takes care of the heavy lifting, overseeing billing, authentication, rate limiting, scaling, and hosting.
I was making something like $500 a month on other side projects, but now Apify is bringing in more than $2,000 from Apify Store
– Guillaume Lancrenon, CTO and CPO of getcockpit.io
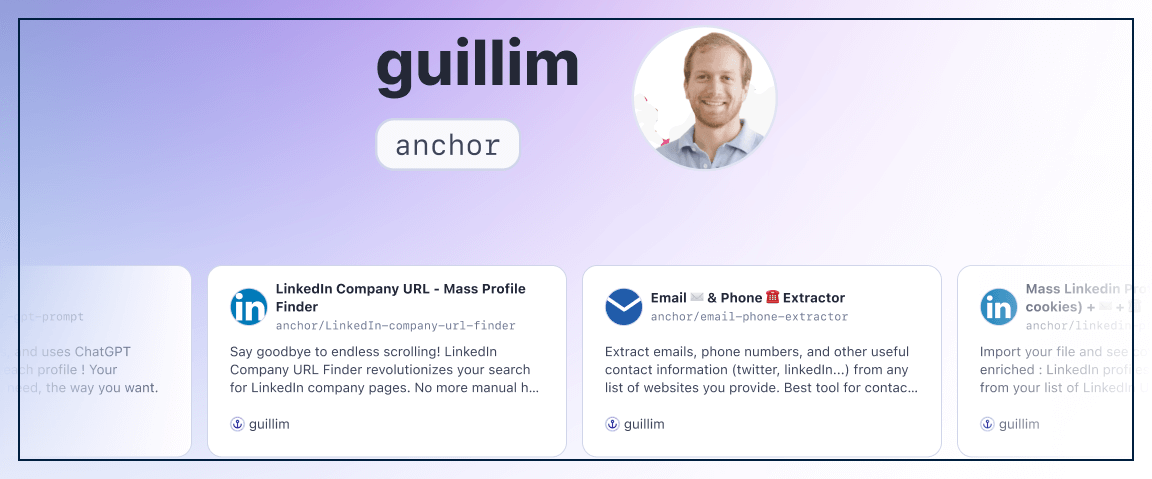
A huge benefit is that monetizing your API on Apify gives you instant access to a built-in marketplace with over 50,000 monthly active users actively searching for automation and data retrieval APIs. That’s because Apify Store, where your API will be listed, is deeply integrated with the platform itself.
Still not convinced? Many developers have already turned code into steady income streams. Some of them have even reached financial freedom thanks to the Apify API monetization program.
The results speak for themselves: between January and October 2024, monthly active users grew by 142%, and API calls jumped from 3.6 to 6.8 billion. With transparent metrics, community trust, and built-in reach, Apify is one of the smartest ways to turn your API into recurring revenue.
How to monetize your API on Apify
In the following step-by-step guide, you’ll see how easy it is to turn an idea into a monetized API using Apify. Specifically, you’ll be guided through every step of making your monetized API publicly available on Apify Store.
Follow the instructions below!
Prerequisites
The two main prerequisites for following this tutorial section are:
- An Apify account.
- A single-endpoint API you want to make public.
If you don’t have an Apify account yet, create one first. And if you don’t already have an API to publish, you can still follow this tutorial to understand how the monetization process works on Apify. Still, you just won’t be able to apply all the steps in practice.
Note: For simplicity, we’ll assume that the API you want to publish is an Expedia Scraper API that retrieves public data from Expedia and exposes it in a ready-to-use, structured JSON format. Keep in mind that this is just an example, and any other API will work.
Step #1: Set up your Apify account
Use your credentials to log in to Apify Console.
Note: You can monetize your APIs even on Apify’s free plan, so no subscription is required to access this feature!
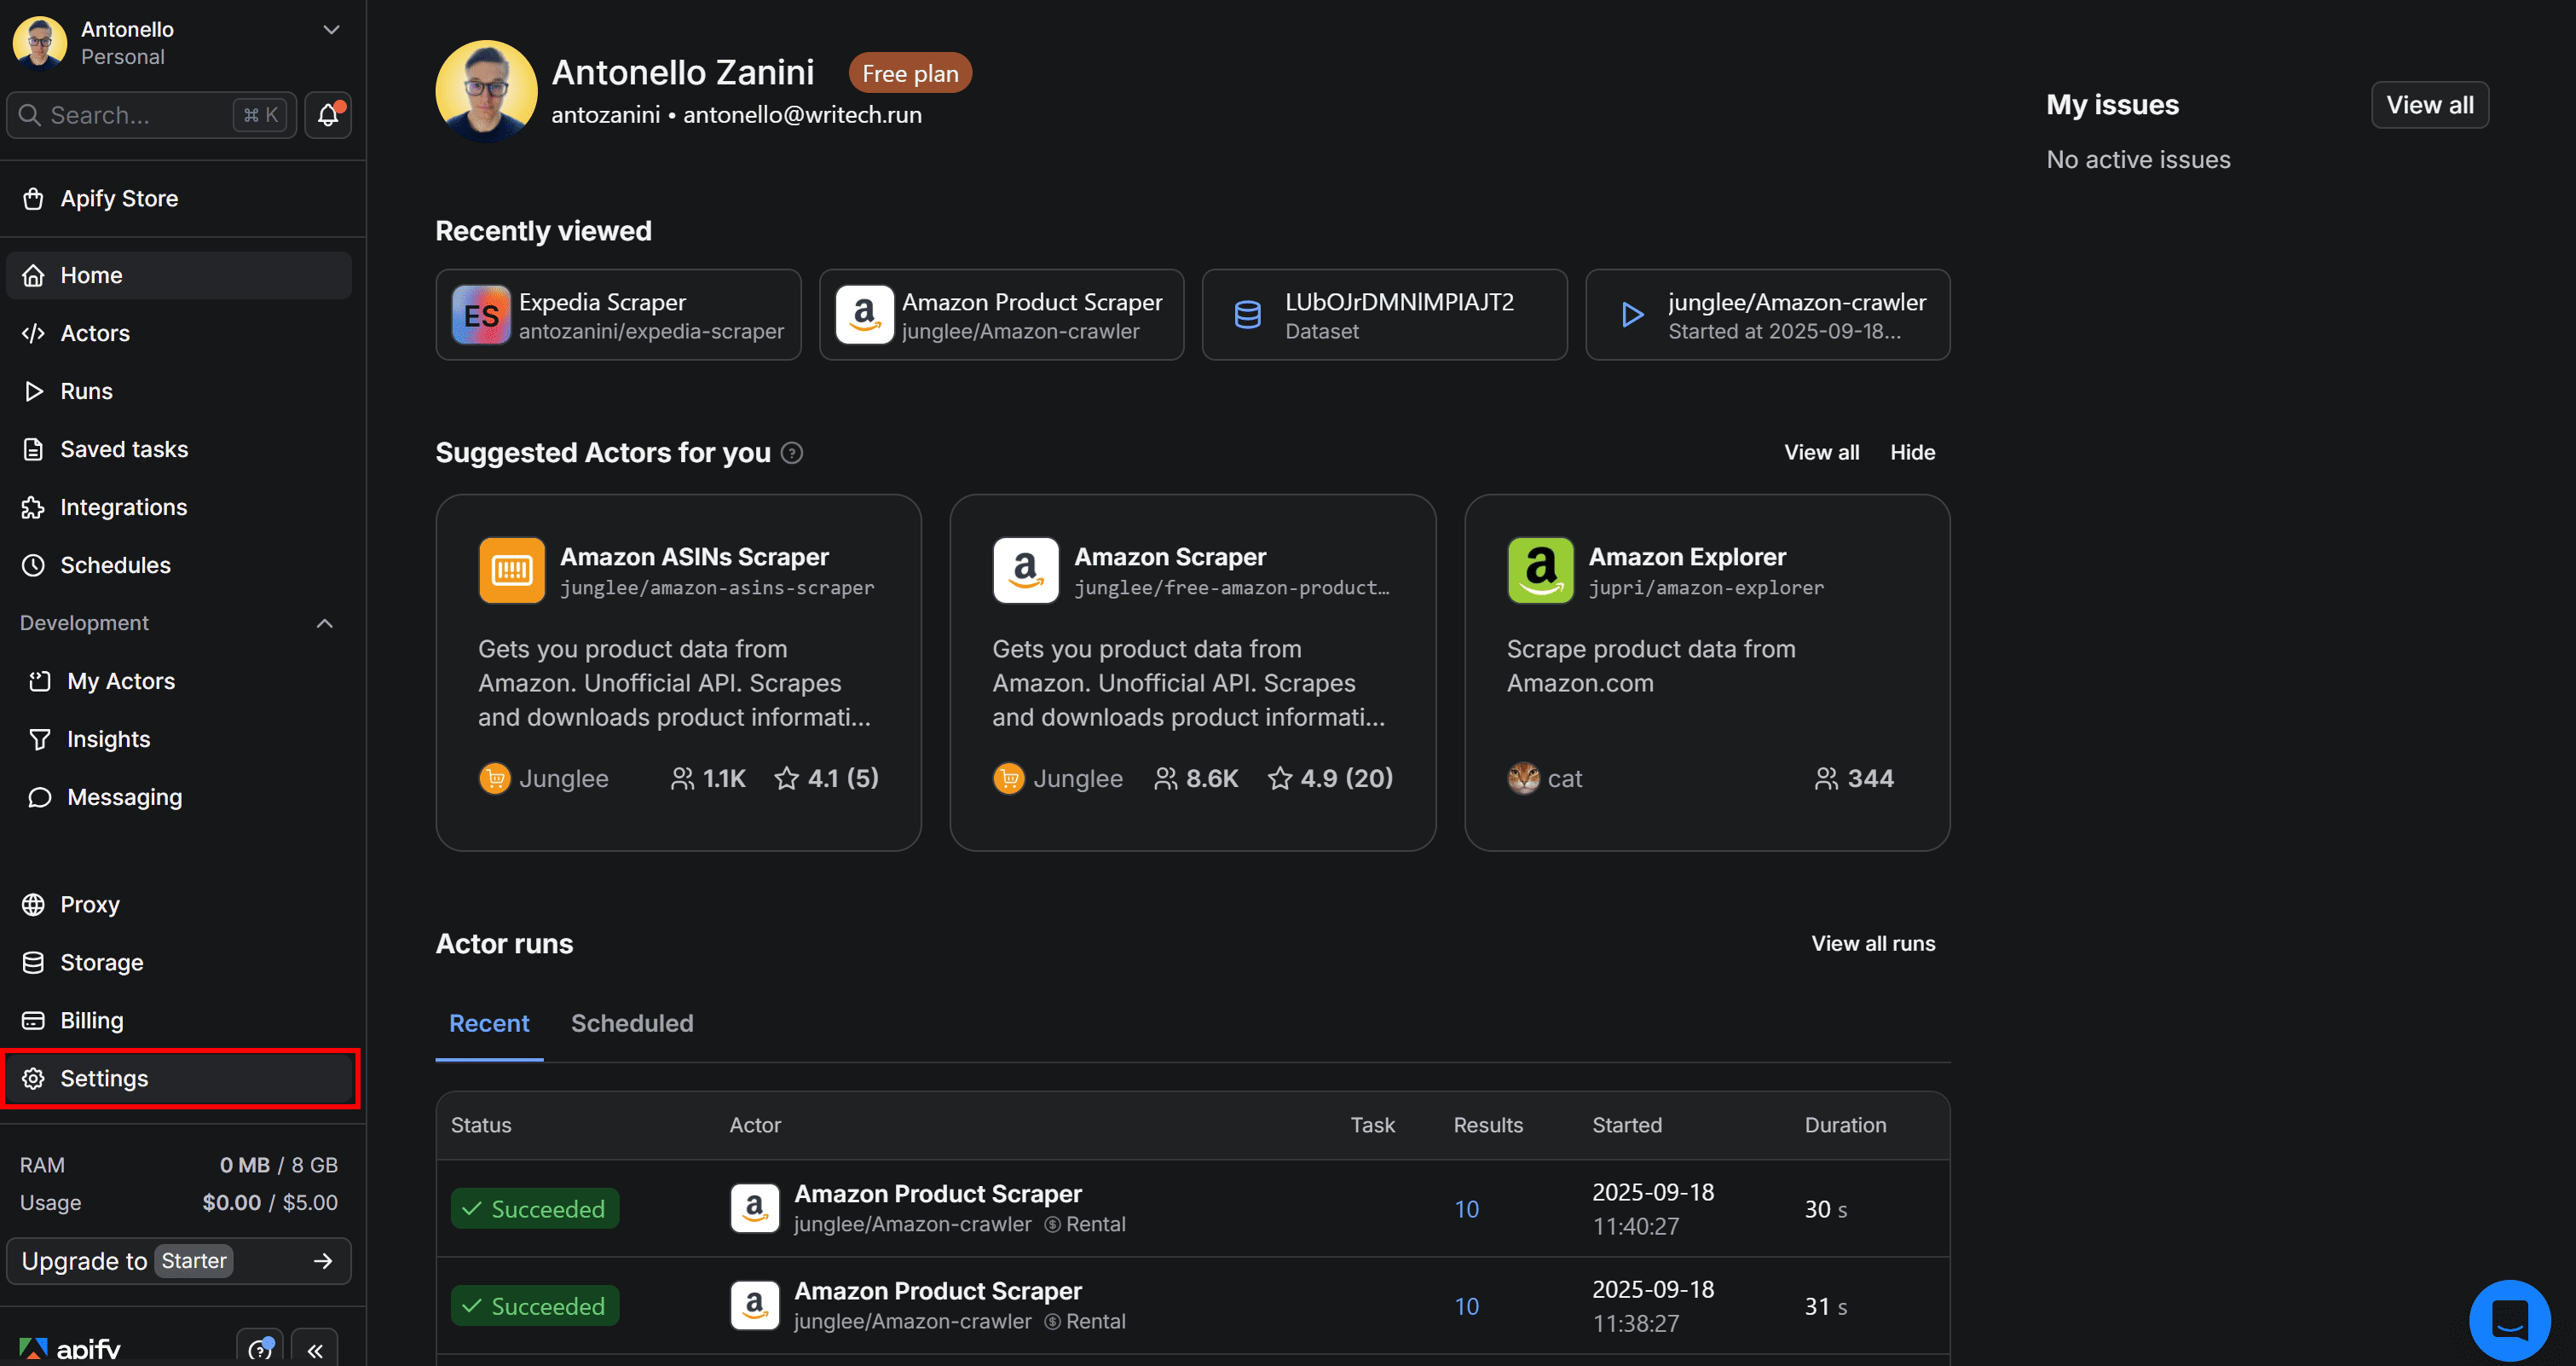
Before diving into API monetization in Apify, you must set your account to public. That’s the main prerequisite for monetizing APIs by publishing Actors on Apify Store. If your Apify account is already public, feel free to skip this step.
Start by clicking on the “Settings” option in the left-hand menu:
You’ll be redirected to the “Settings” page. In the “Account” tab, complete your profile by adding all the required information. Then, make sure to check the “Make profile publicly available” option:
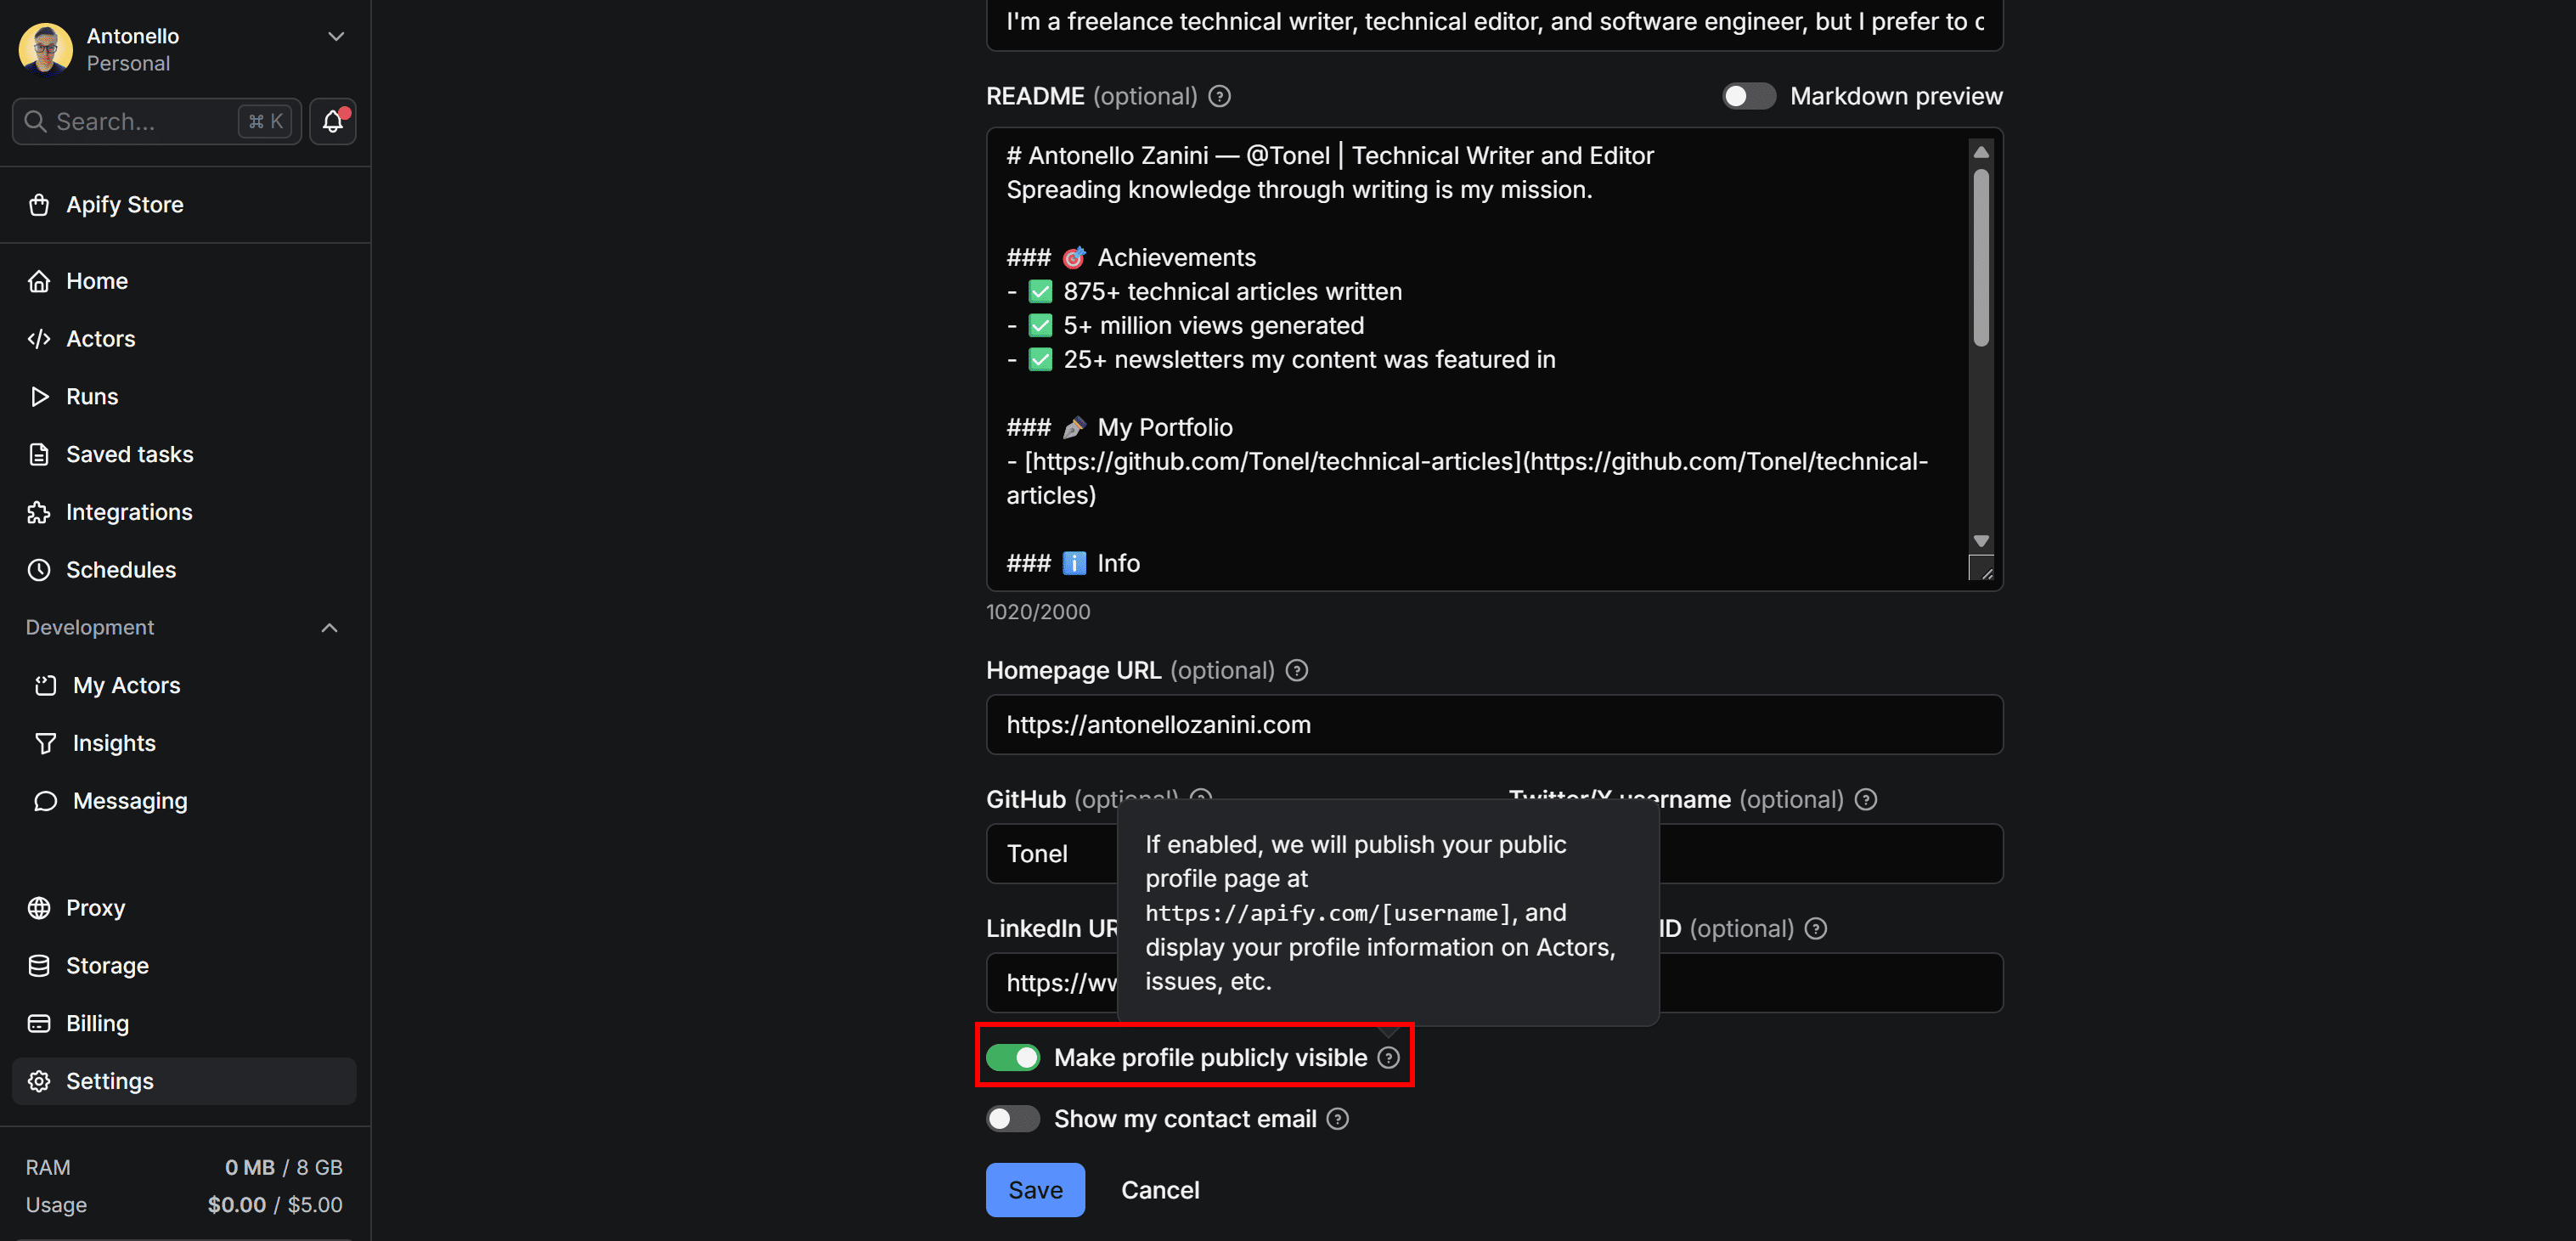
Finally, click the “Save” button. Your Apify account will become publicly available at https://apify.com/[username]. It may take a few minutes for the changes to appear on the Apify website, so please be patient.
You’re now ready to publish your Actors on Apify Store and monetize your APIs!
Step #2: Check Your API is ready for publication
There are countless types of APIs out there, each designed to handle different kinds of tasks. For instance, your API endpoint could aggregate data from multiple sources, scrape publicly available data from websites (one of the most common use cases for APIs on Apify Store), provide AI-powered data enrichment, analysis, or automation services, and more.
No matter what your API does or which technology it’s built with, you should make sure it’s:
- Easily accessible: The endpoint should be simple and intuitive to call.
- Well documented: Clearly define each input and output. (Tip: Consider using Swagger/OpenAPI specifications.)
- Reliable and stable: Verify it runs consistently and handles errors gracefully.
Remember: You don’t have to worry about scalability, authentication, rate limiting, proxy integration, and similar aspects, as Apify manages all of that for you. Find more details about this in the official Apify API documentation.
Again, for the sake of simplicity, we’ll assume your API is a scraper that retrieves public hotel booking data from Expedia.
Step #3: Turn Your API into an Apify Actor
Apify Store provides access to “Actors” rather than APIs directly. In the Apify ecosystem, an Actor is a program that automates tasks, such as web scraping, data processing, or other workflows, and runs on Apify’s infrastructure.
Keep in mind that Actors can be used directly on Apify Console via a no-code interface, called programmatically through Apify SDKs, or accessed as endpoints via Apify API. So, your users will have many options!
To publish your API on Apify, you first need to convert it into an Actor. This is a straightforward process and doesn’t take long. Our blog and YouTube channel are full of tutorials to guide you through building Actors.
For example, take a look at our article on scraping Expedia. This guide walks you through the entire process, from scratch to a fully functional Apify Actor for Expedia data. If you're instead looking for a guide that shows how to start with an existing API and convert it into an Actor, refer to our LinkedIn scraping guide.
Once you become familiar with Apify SDKs, libraries, and the overall stack, you’ll likely start building your ideas directly on Apify. Whether you’re creating an Actor from scratch or converting an existing API, reaching a ready-for-publication Actor generally takes just a few hours—especially if you’re developing in Python or JavaScript.
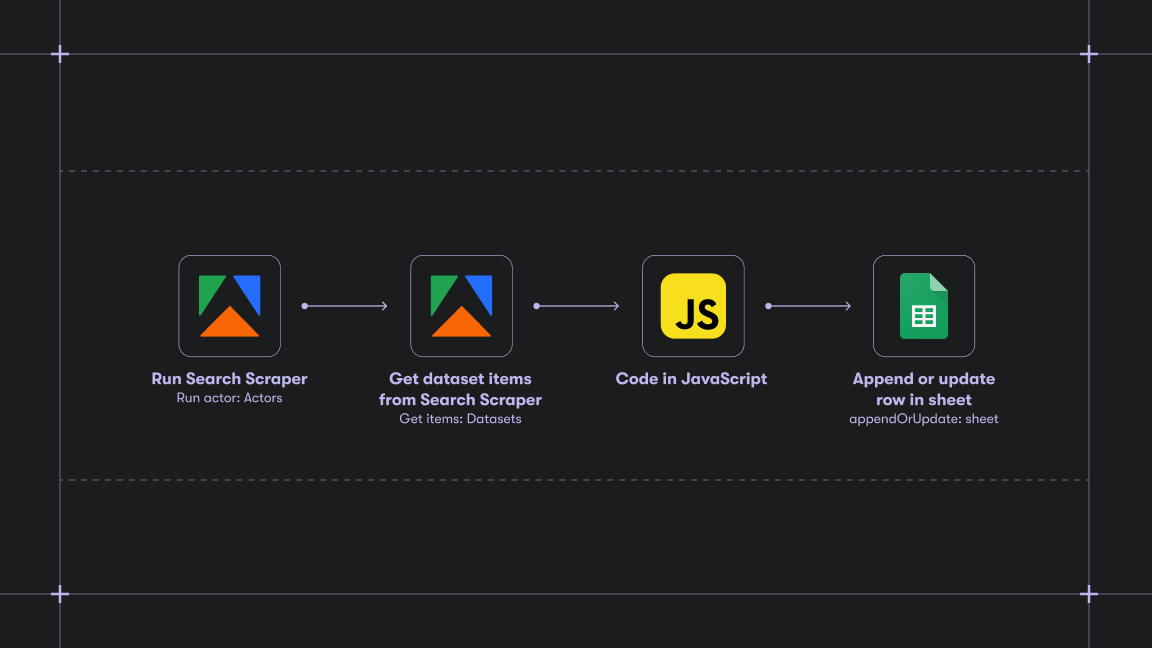
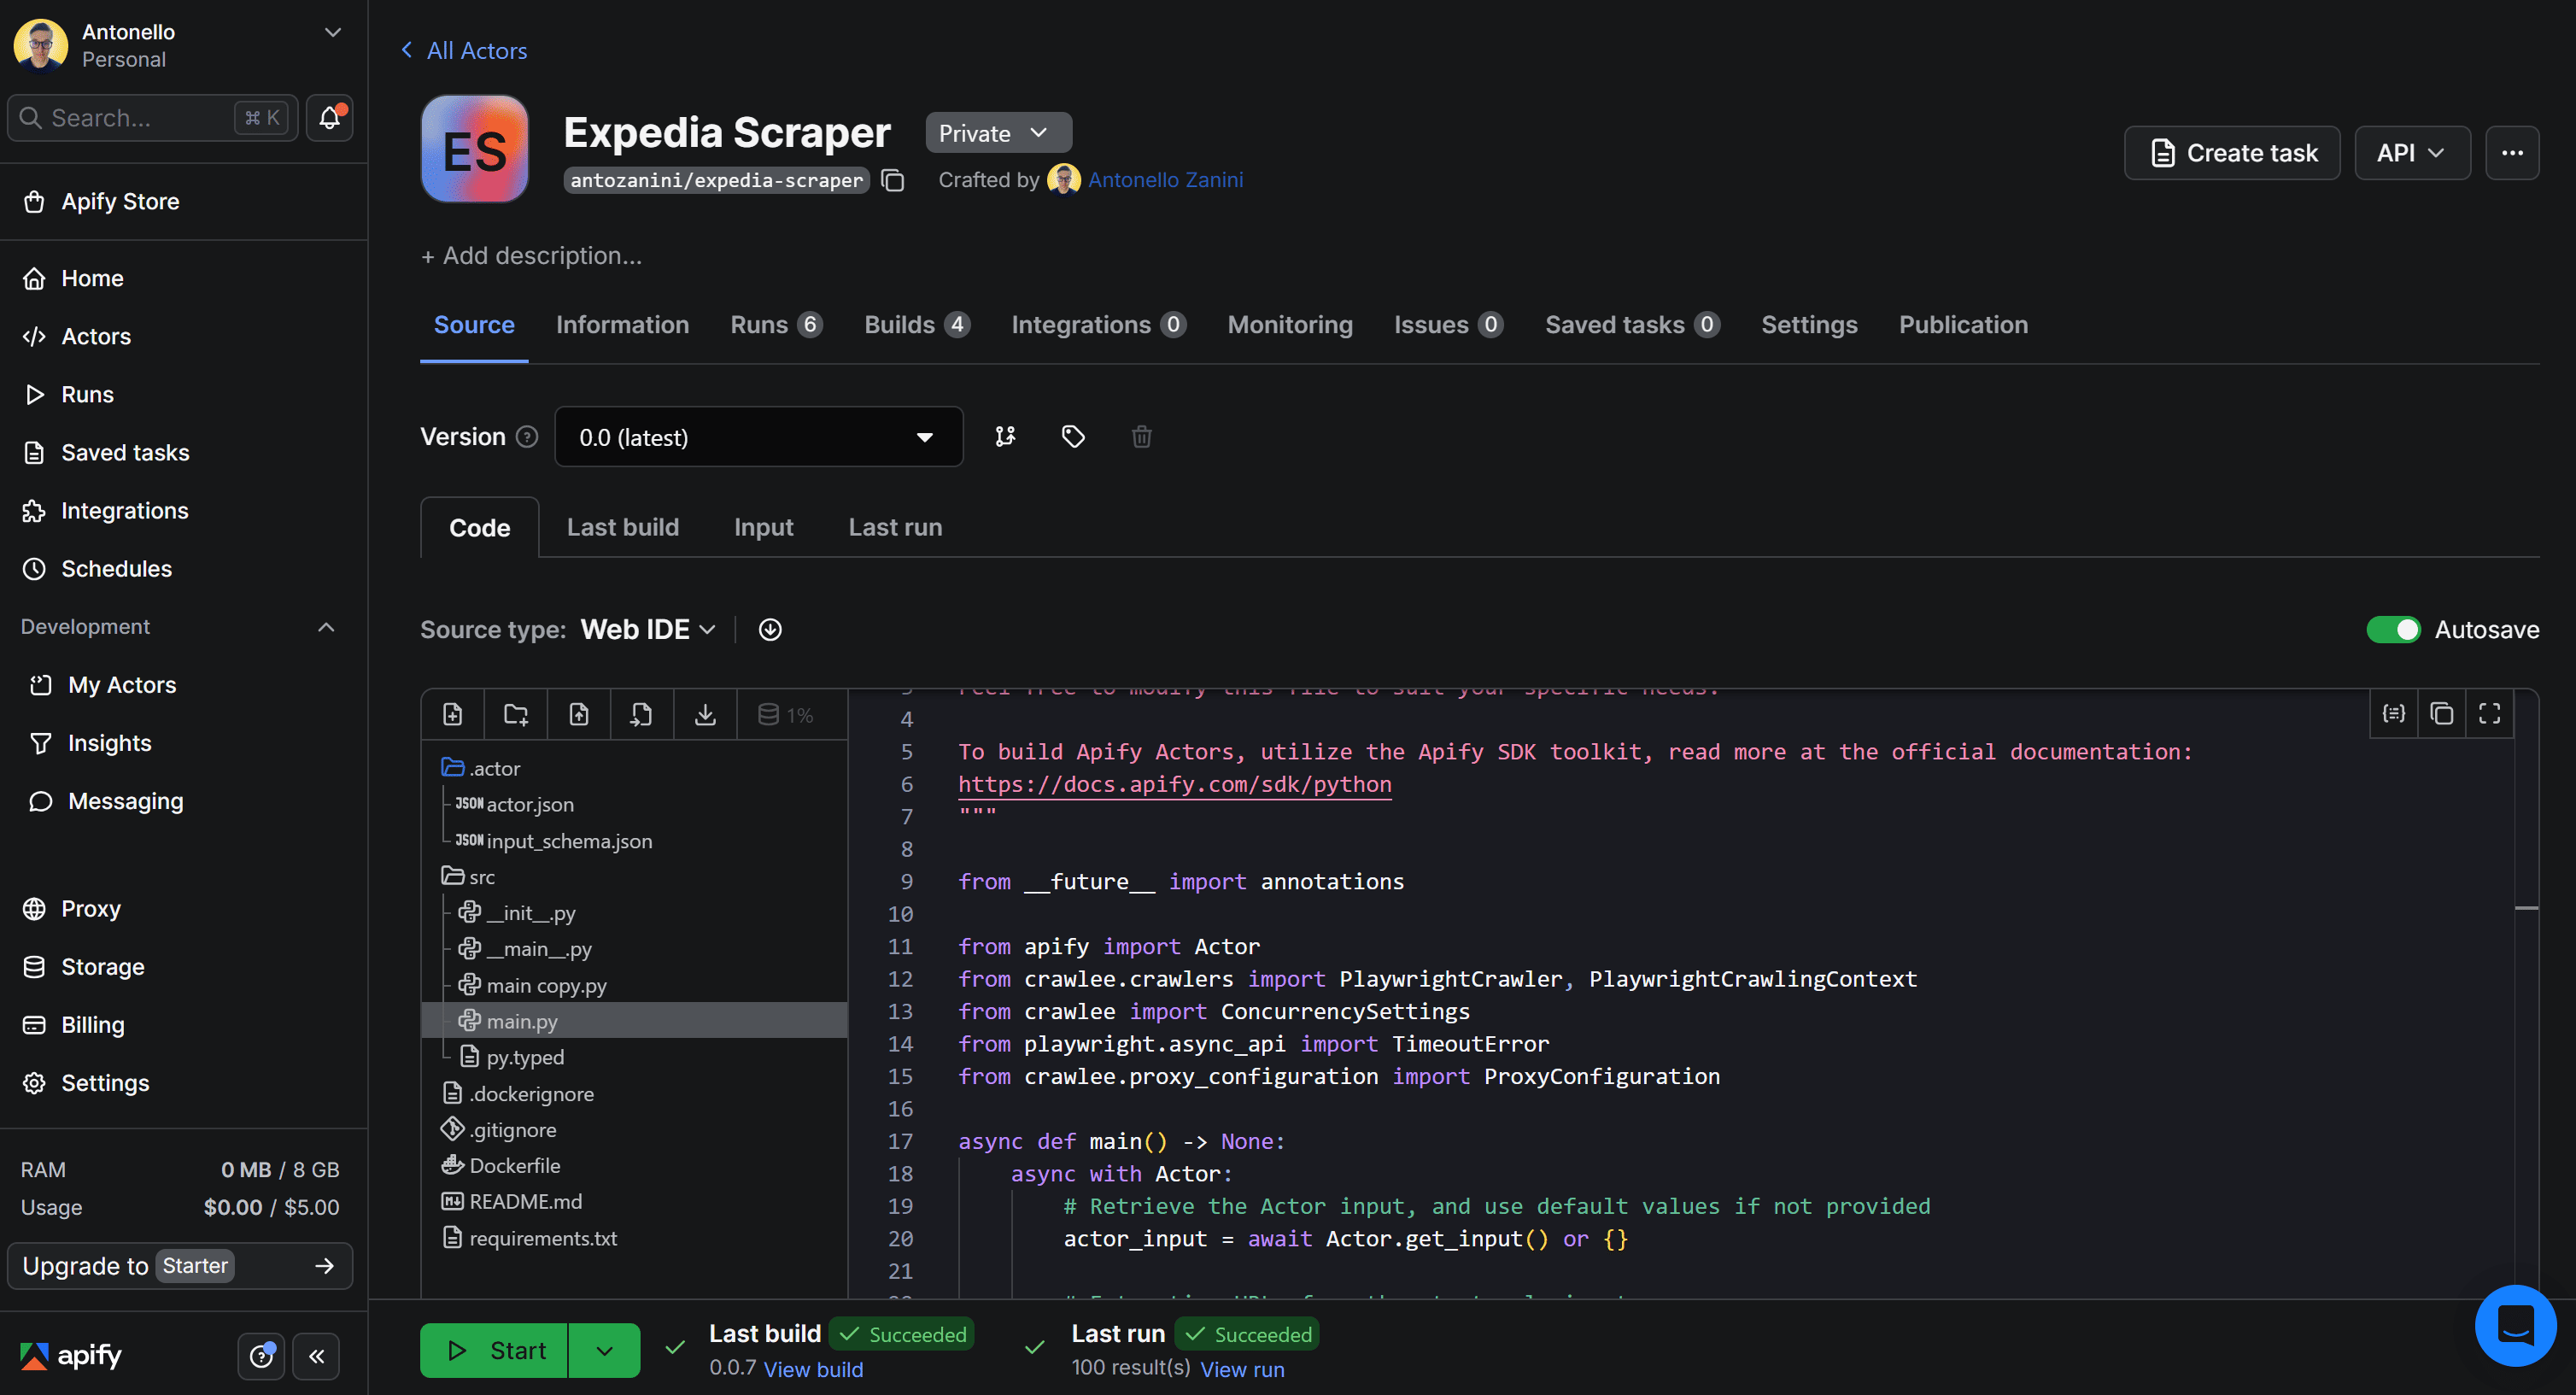
The result of this step will be an Actor available on Apify Console, ready to be published:
Step #4: Prepare your Actor for publication
To make your Apify Actor public, you must provide some essential information. After all, you want your users to easily understand and use your API.
Start by ensuring your Actor’s README.md file contains all the required information:
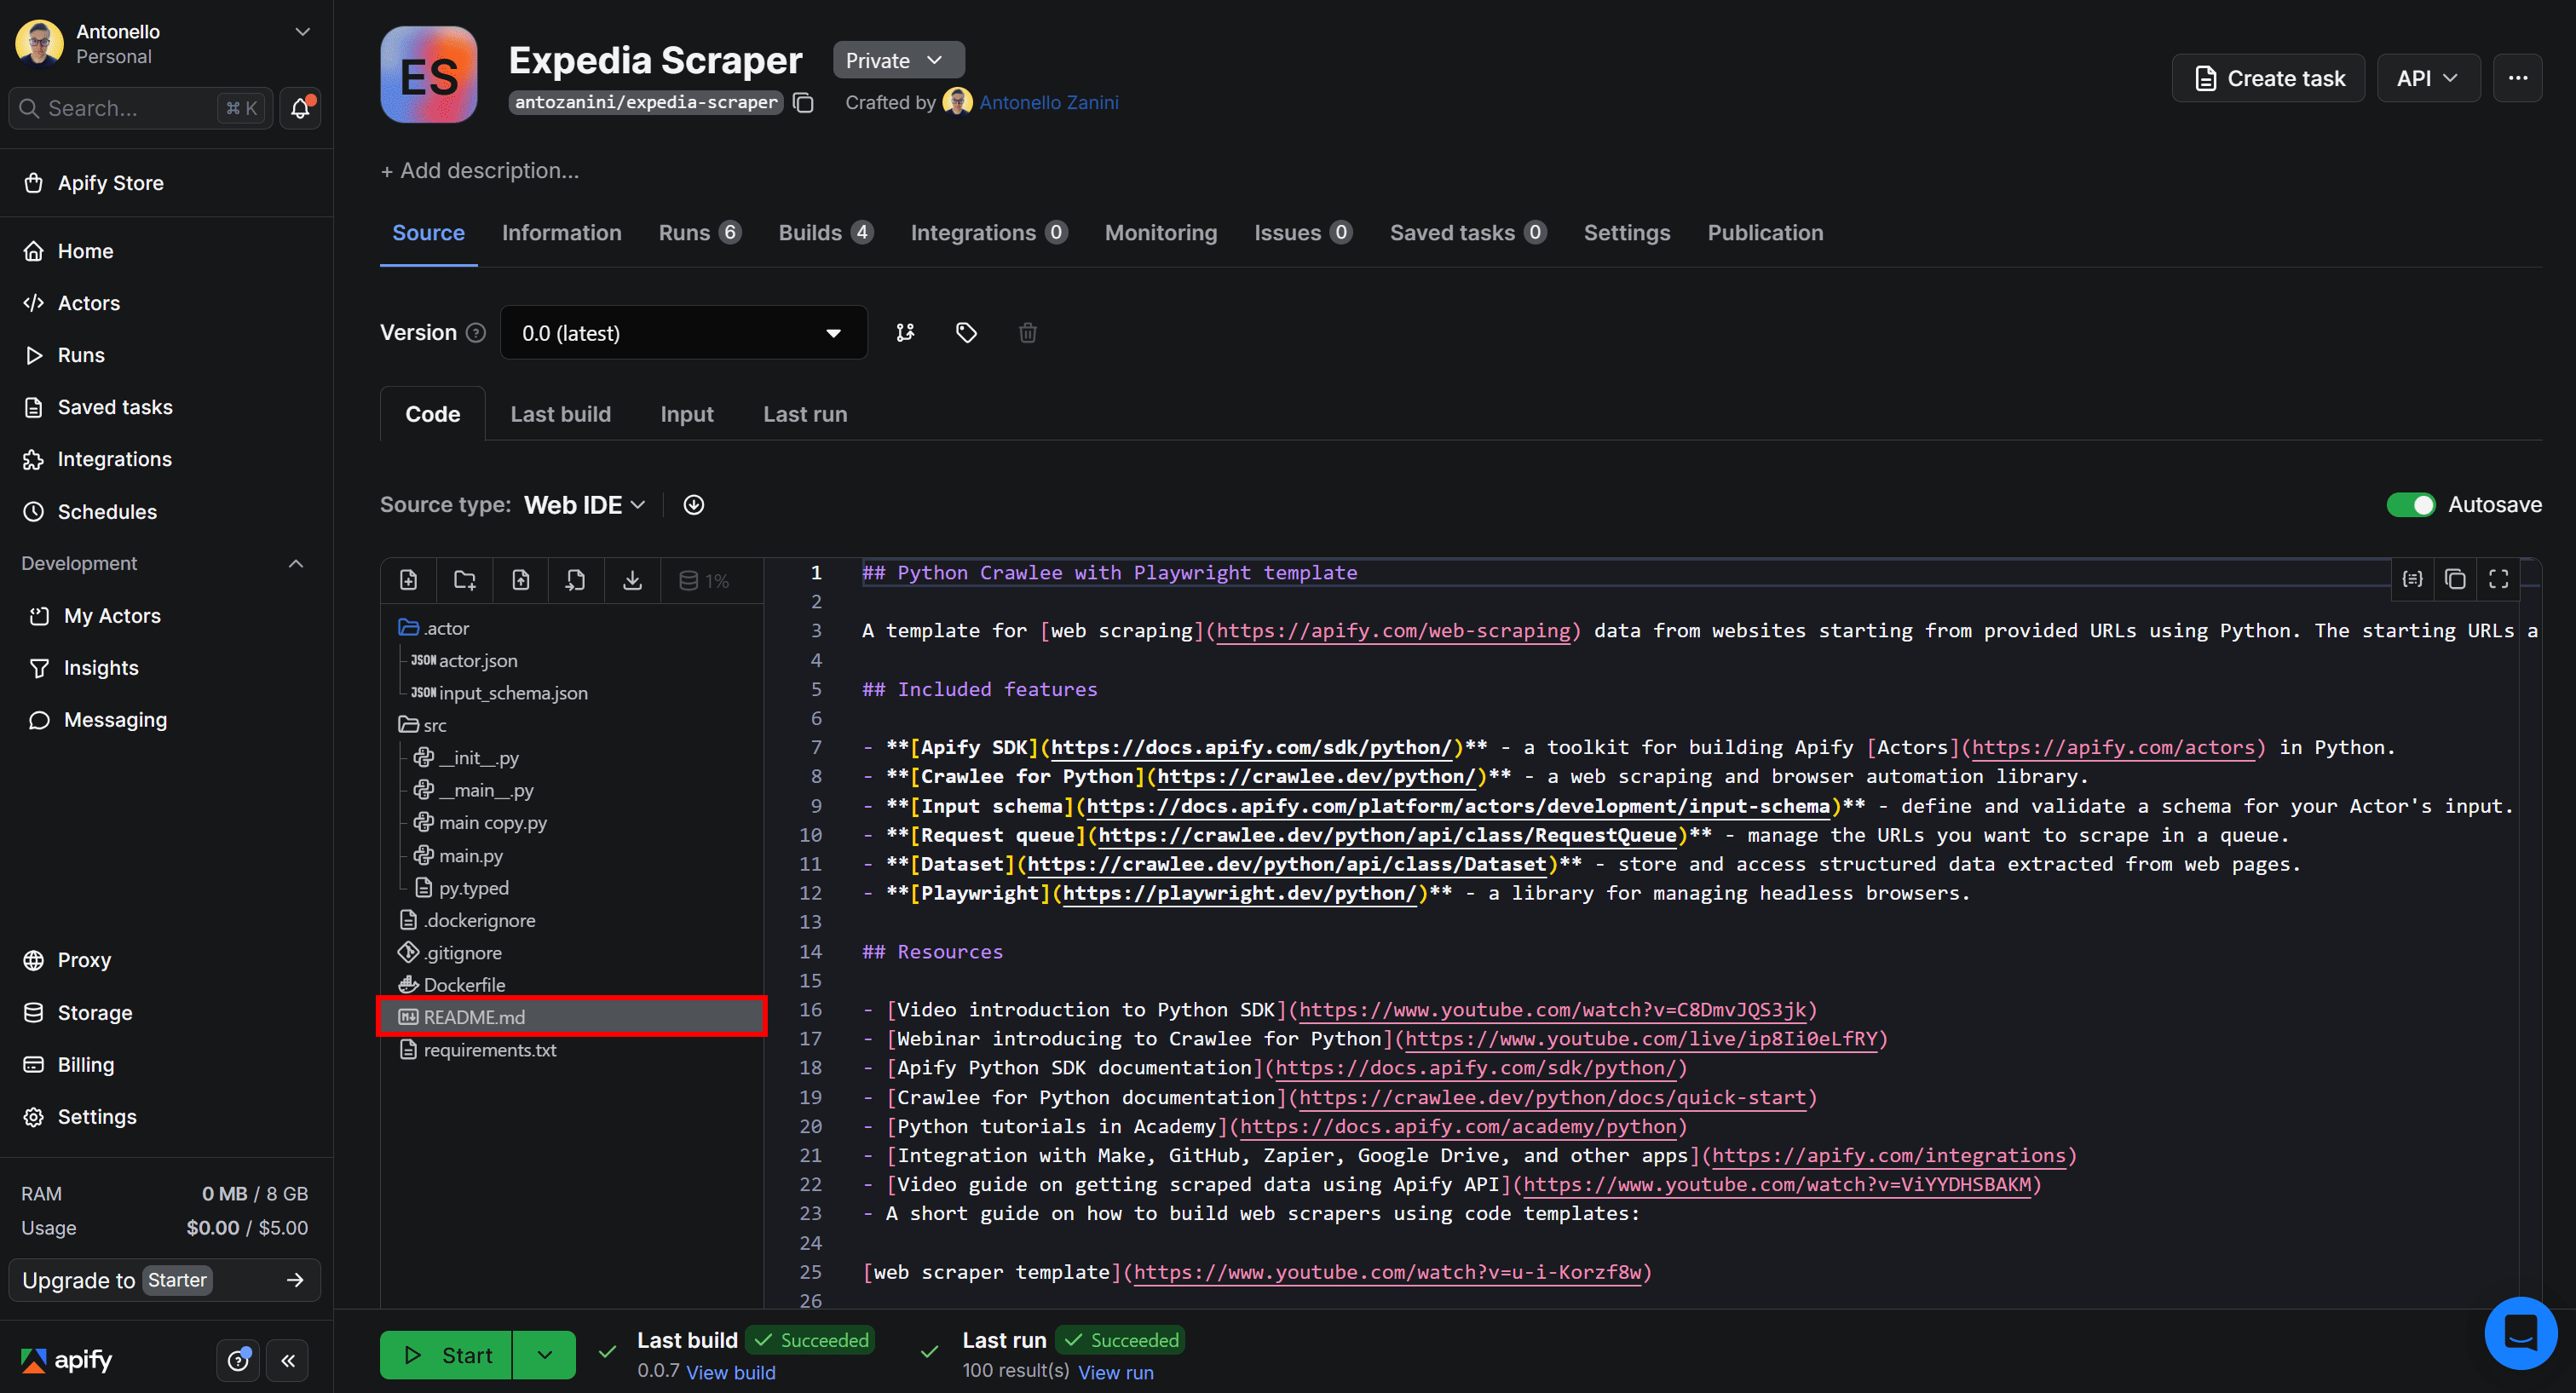
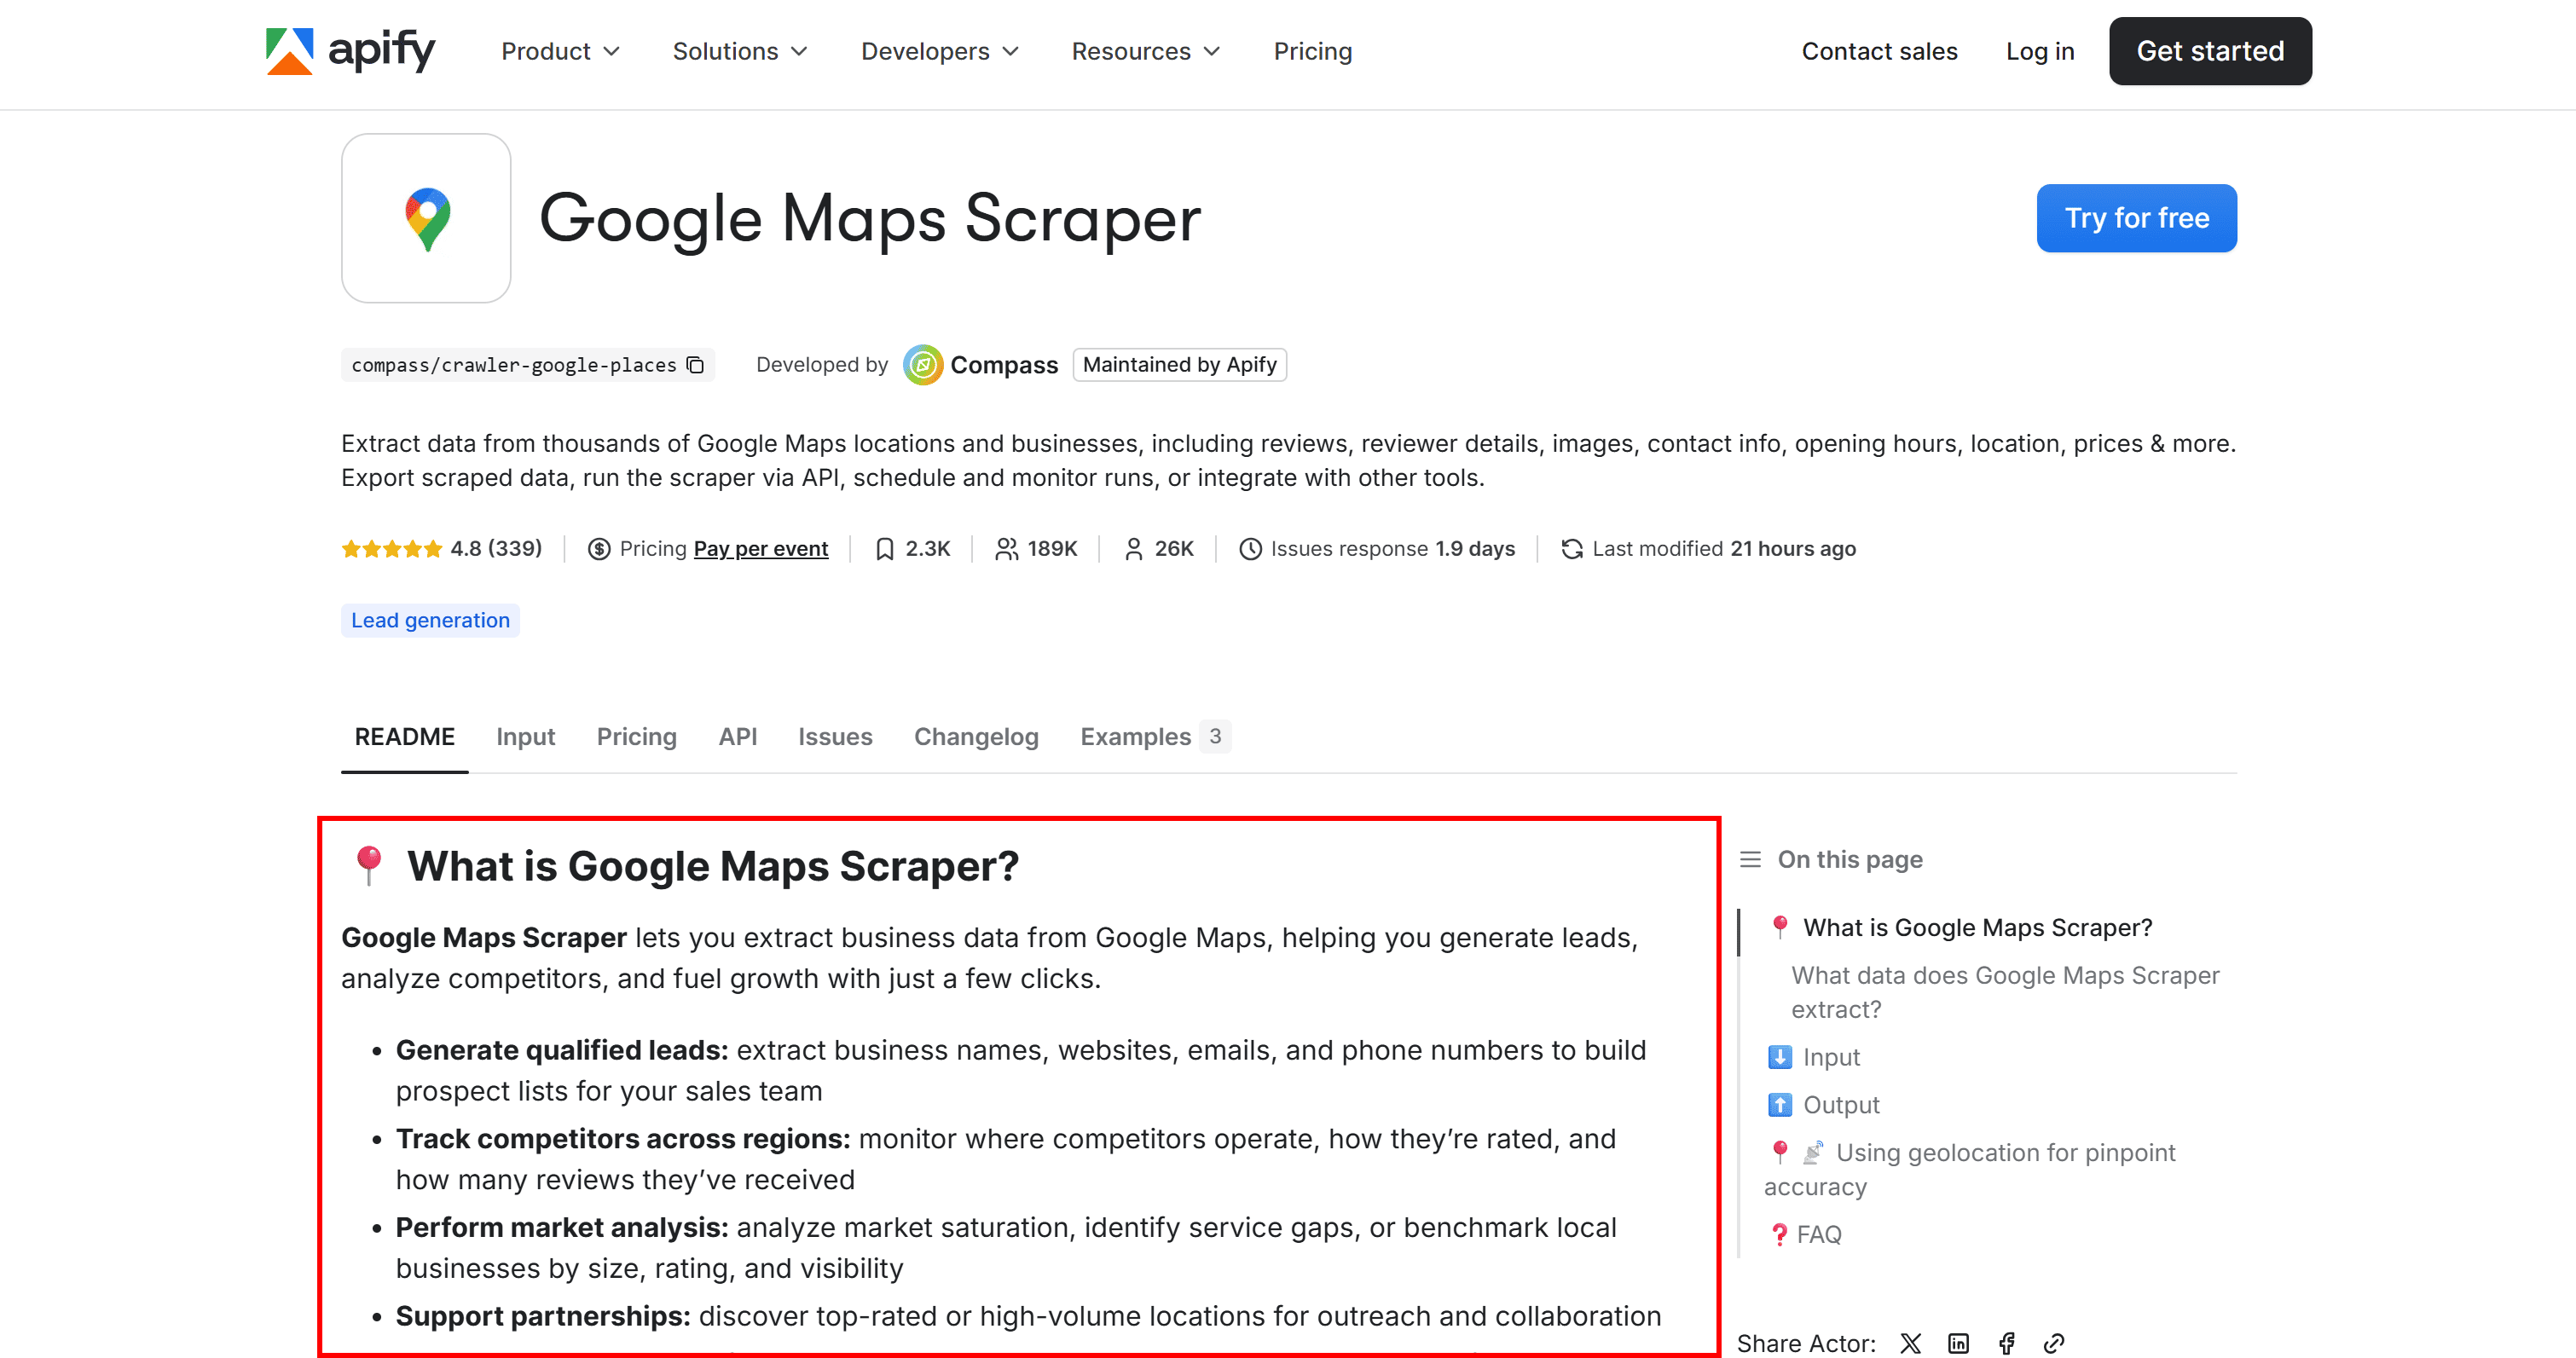
If you’re unsure what to include, visit Apify Store, look at existing Actors, and take inspiration from them. The README.md corresponds to the highlighted section in the image below:
In other words, the README.md file becomes the main content visible on your Actor’s public page. To help your monetized API reach more organic views, make sure this file is also optimized for SEO.Next, add the required publication information. On your Actor page in Apify Console, go to the “Publication” tab:
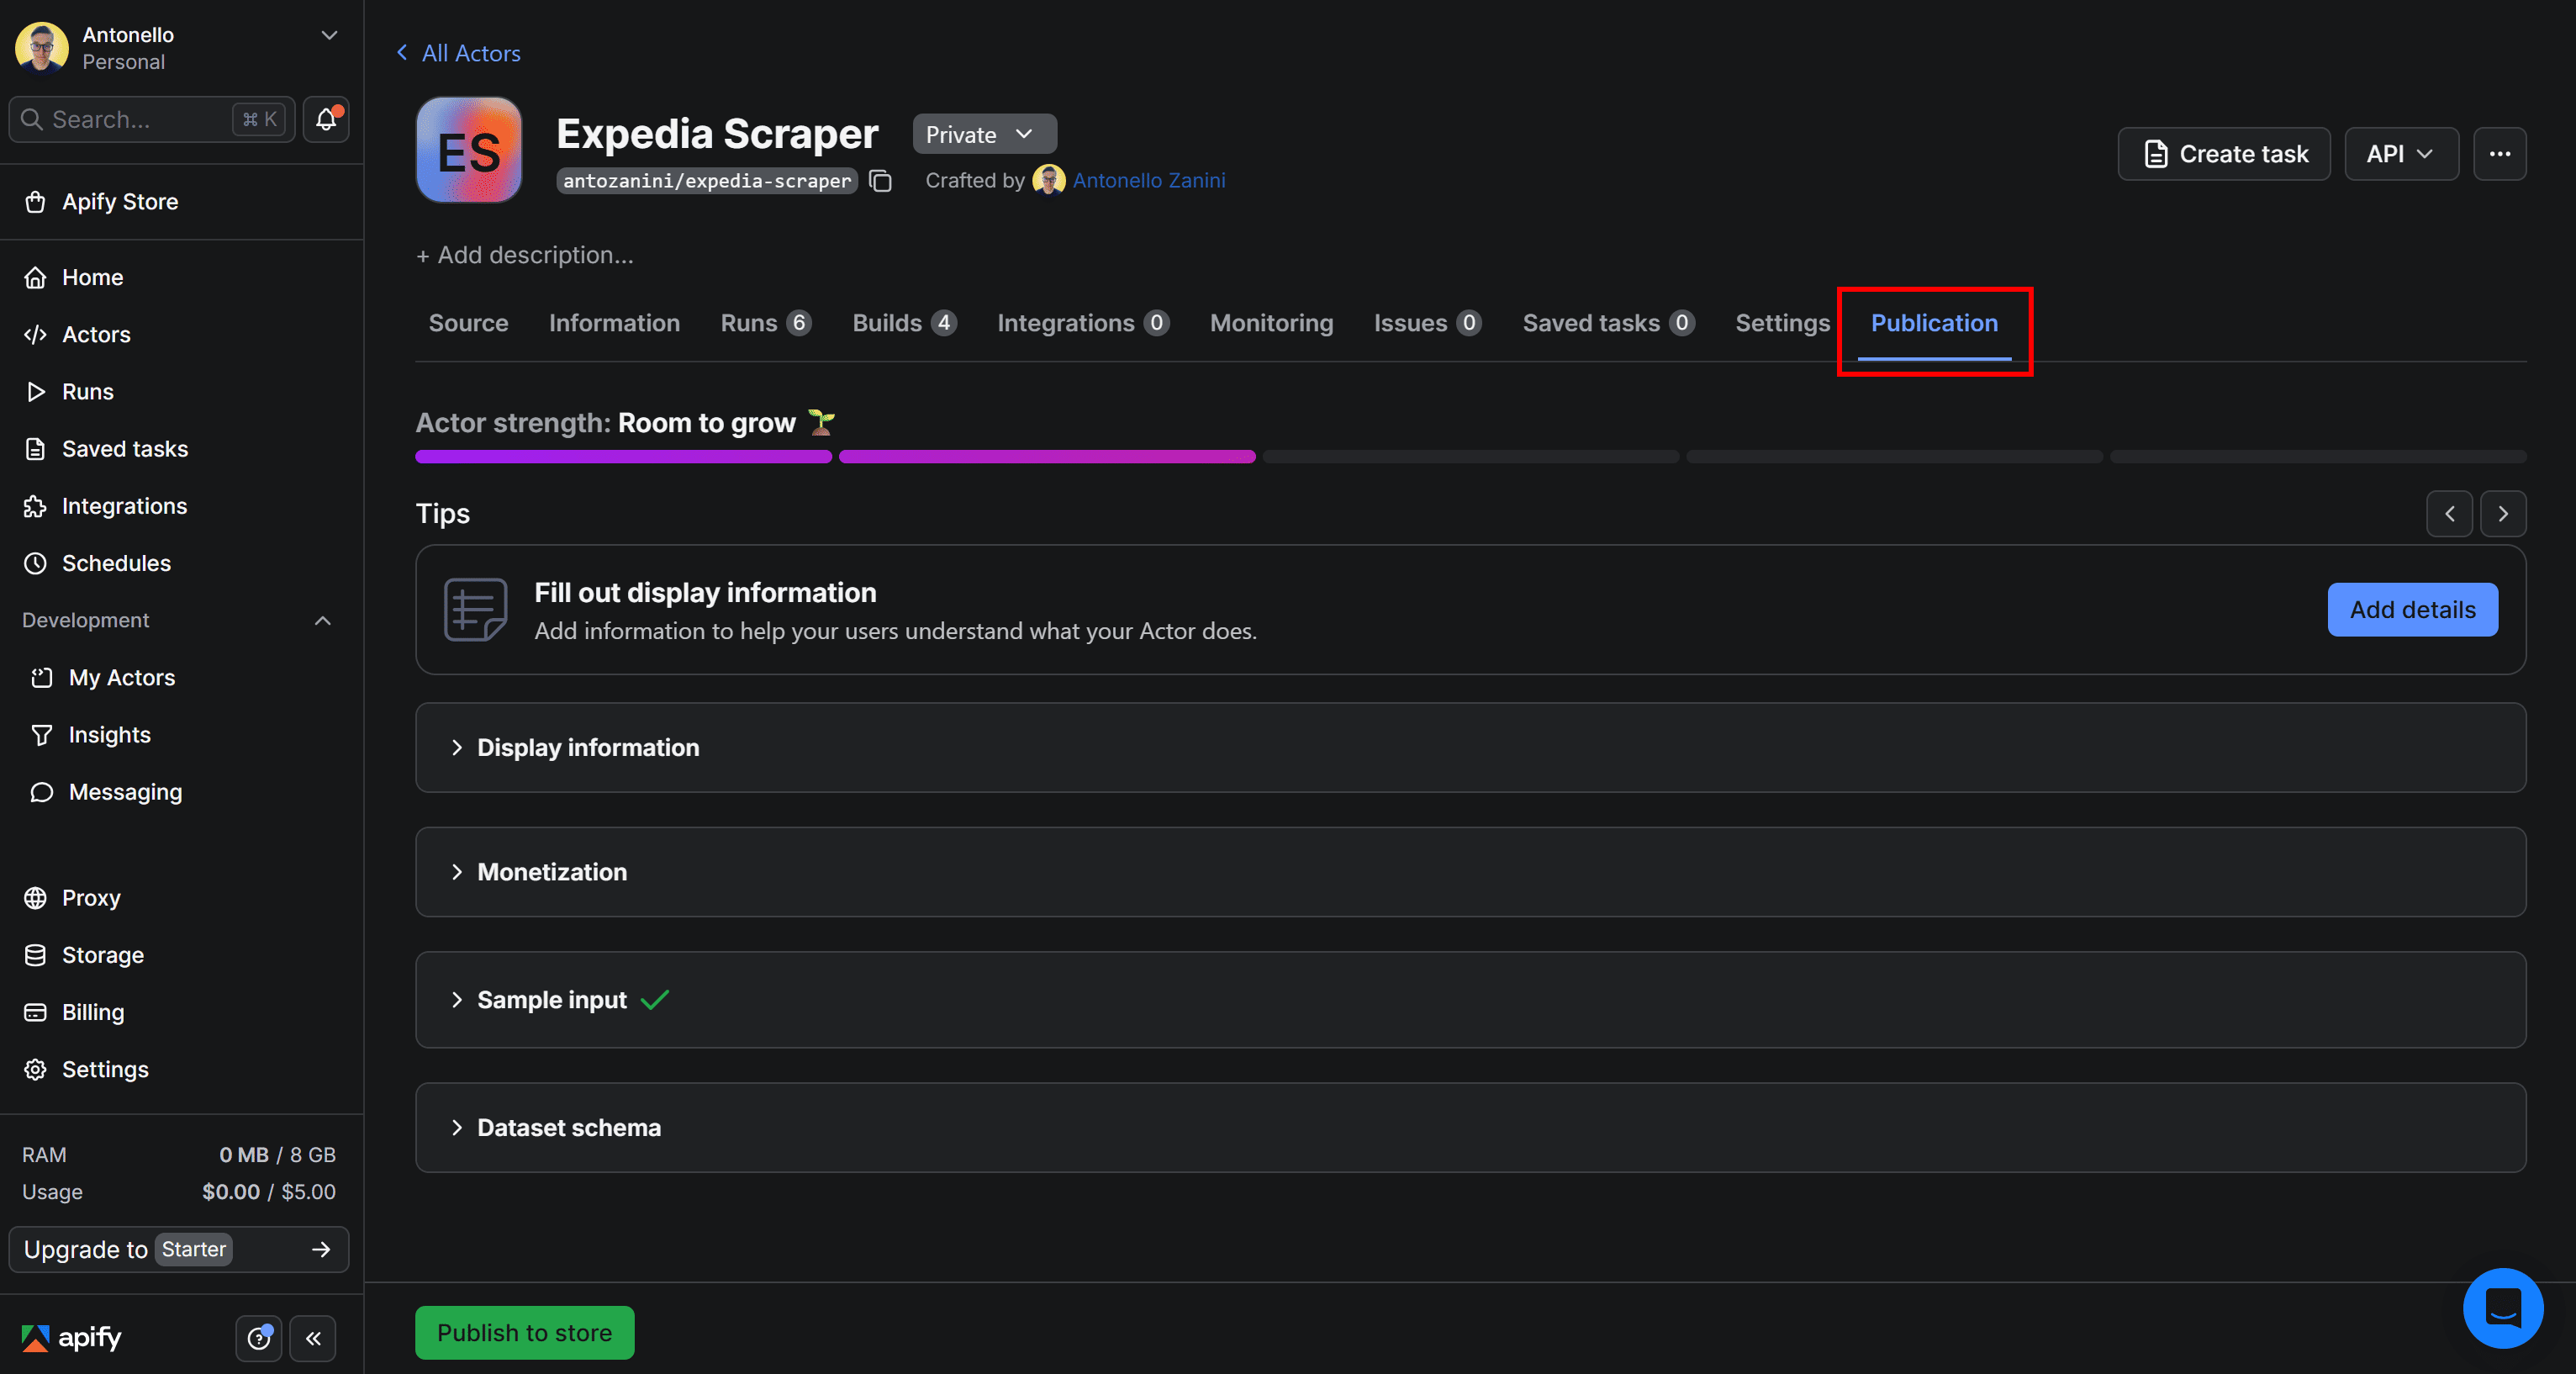
Here, you’ll find several dropdown fields to complete. Start by filling out the “Display Information” section and add all relevant details for your Actor (e.g., Icon, Actor name, Description, Categories, etc.):
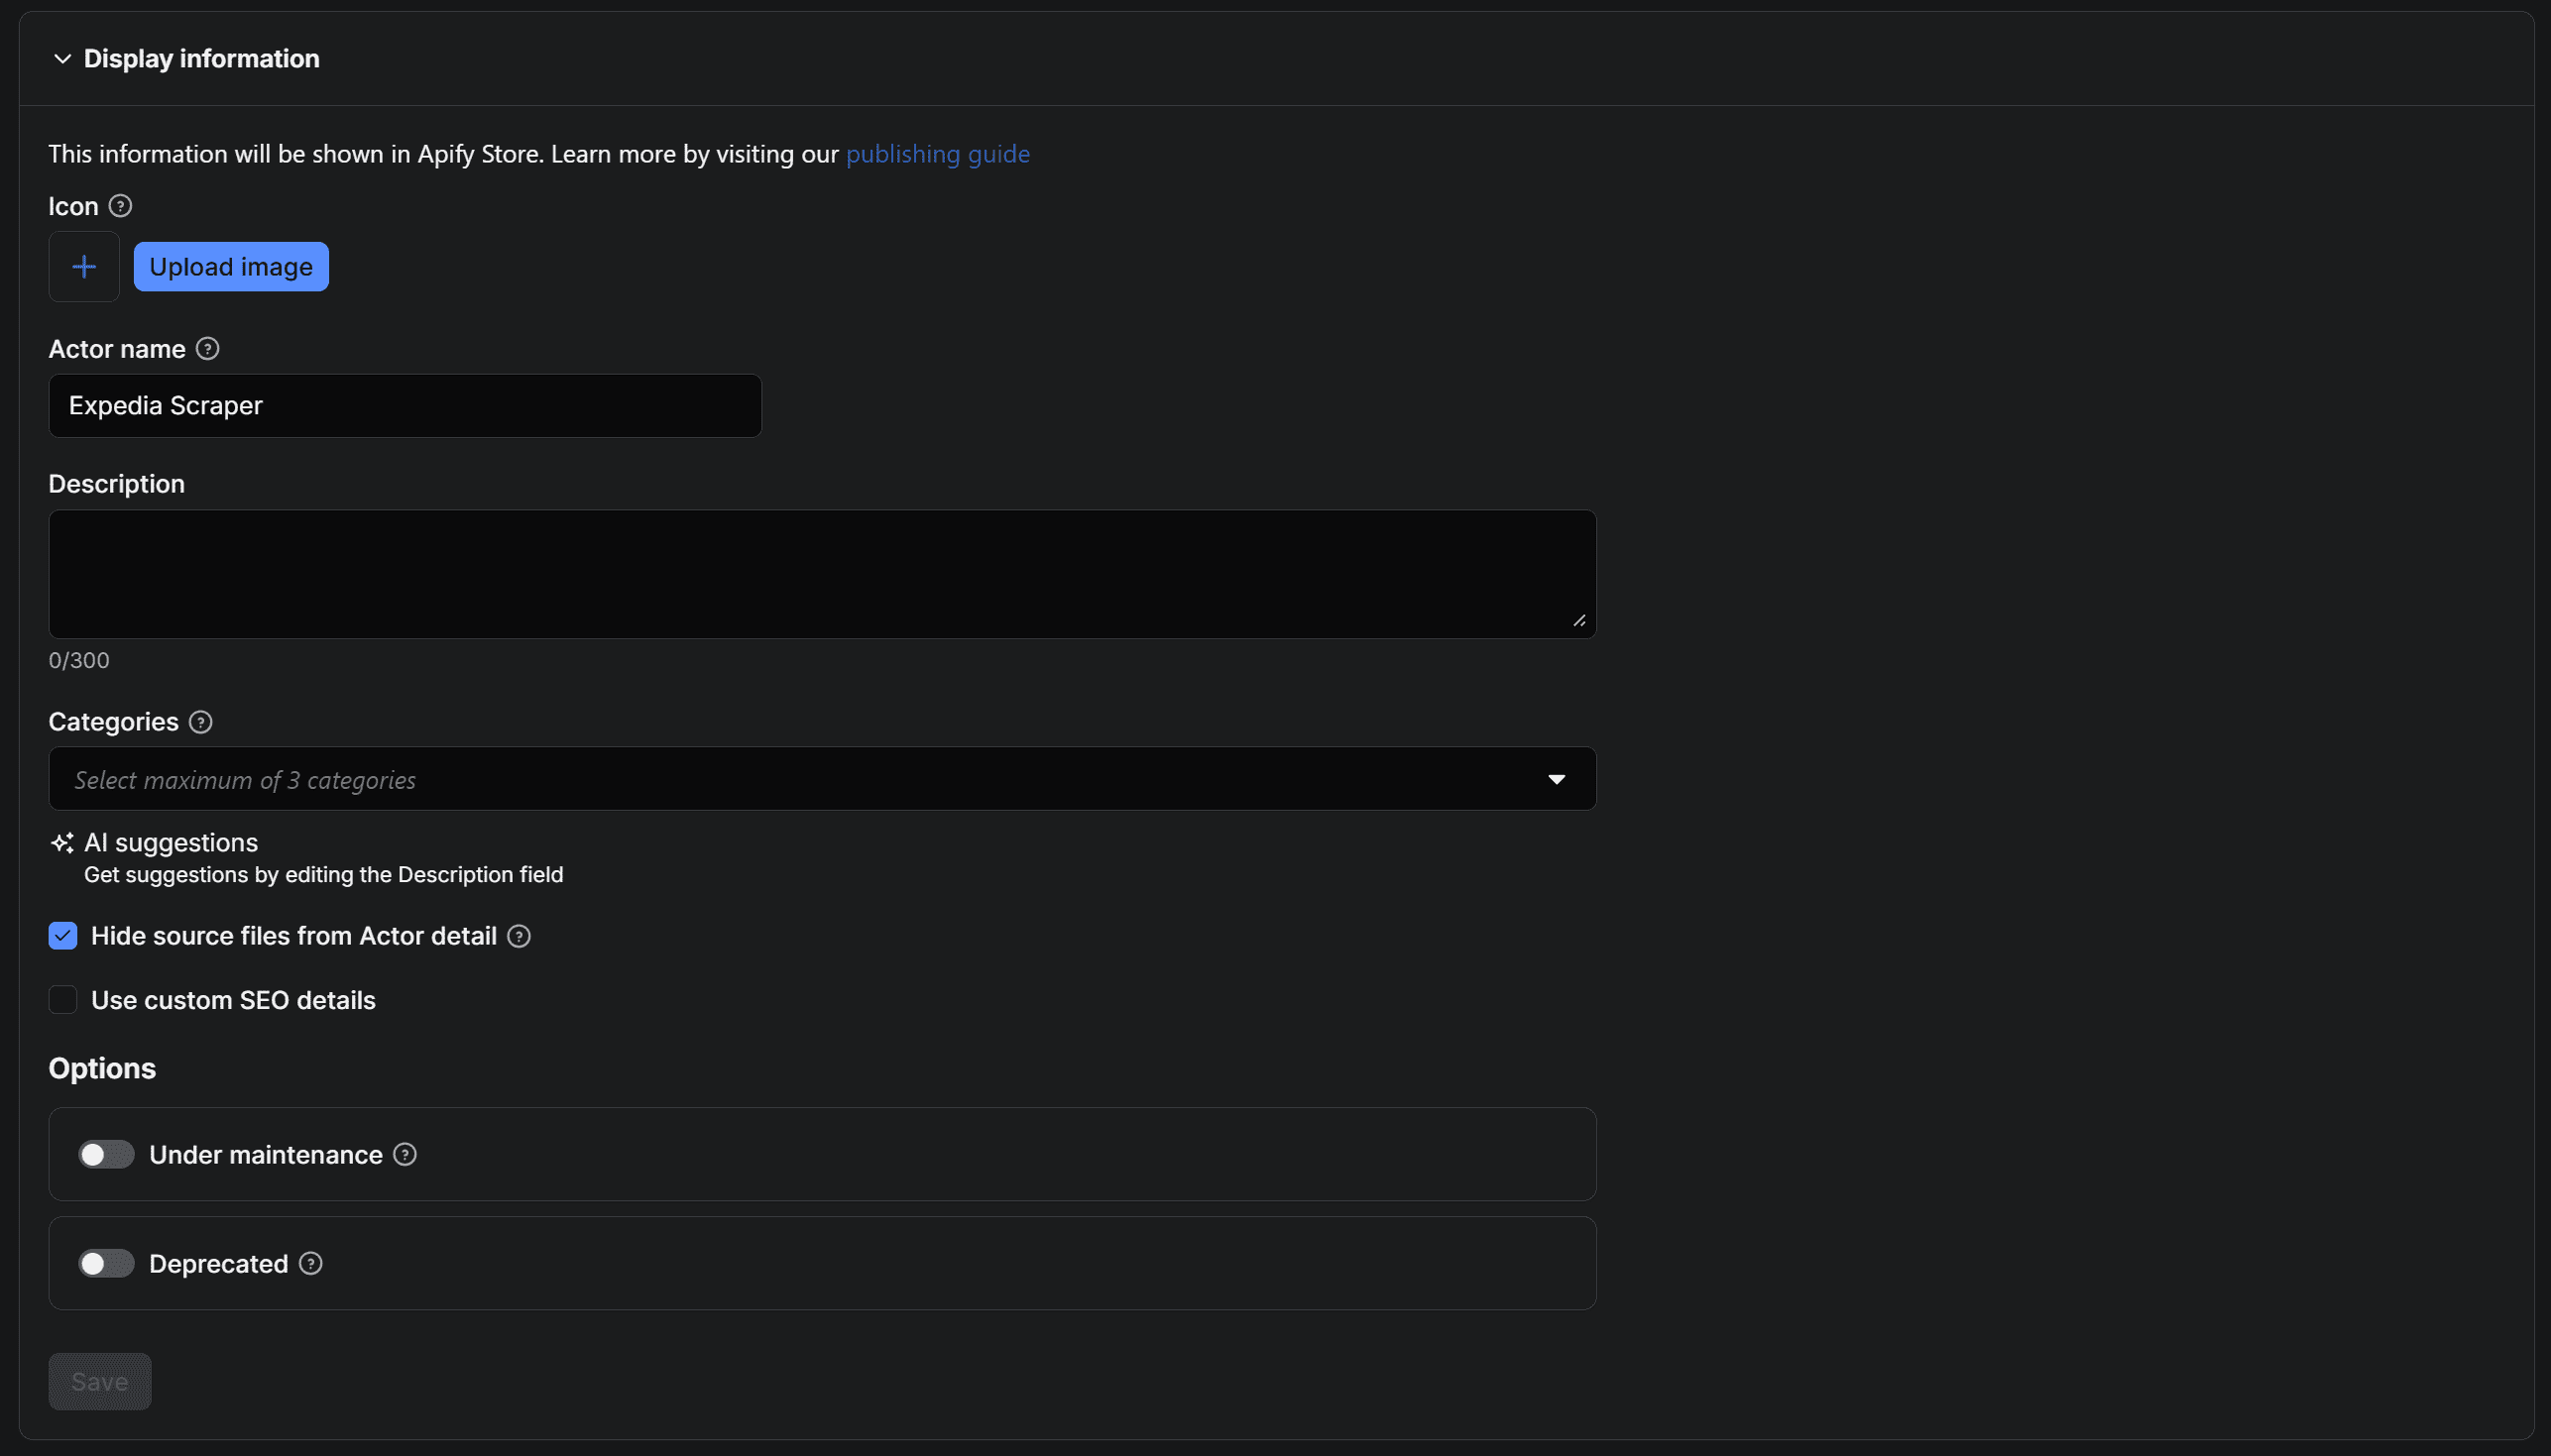
Once done, press “Save” to update this information. Similarly, check that your Actor comes with a sample input and exposes a Dataset schema. This will help users understand the input and output of your Actor. For now, ignore the “Monetization” dropdown, as you’ll handle that in the next step.
Step #5: Configure the pricing
The last step before publishing your Actor and making your API ready for purchase is configuring the monetization settings. Here, you’ll define how much your Actor will cost and how you will receive payments.
To start, if that’s the first time you're monetizing an Apify Actor, expand the “Monetization” dropdown and click the “Billing details and payment method setup here” link:

This will open a modal where you need to set the beneficiary and select the accepted payment methods:
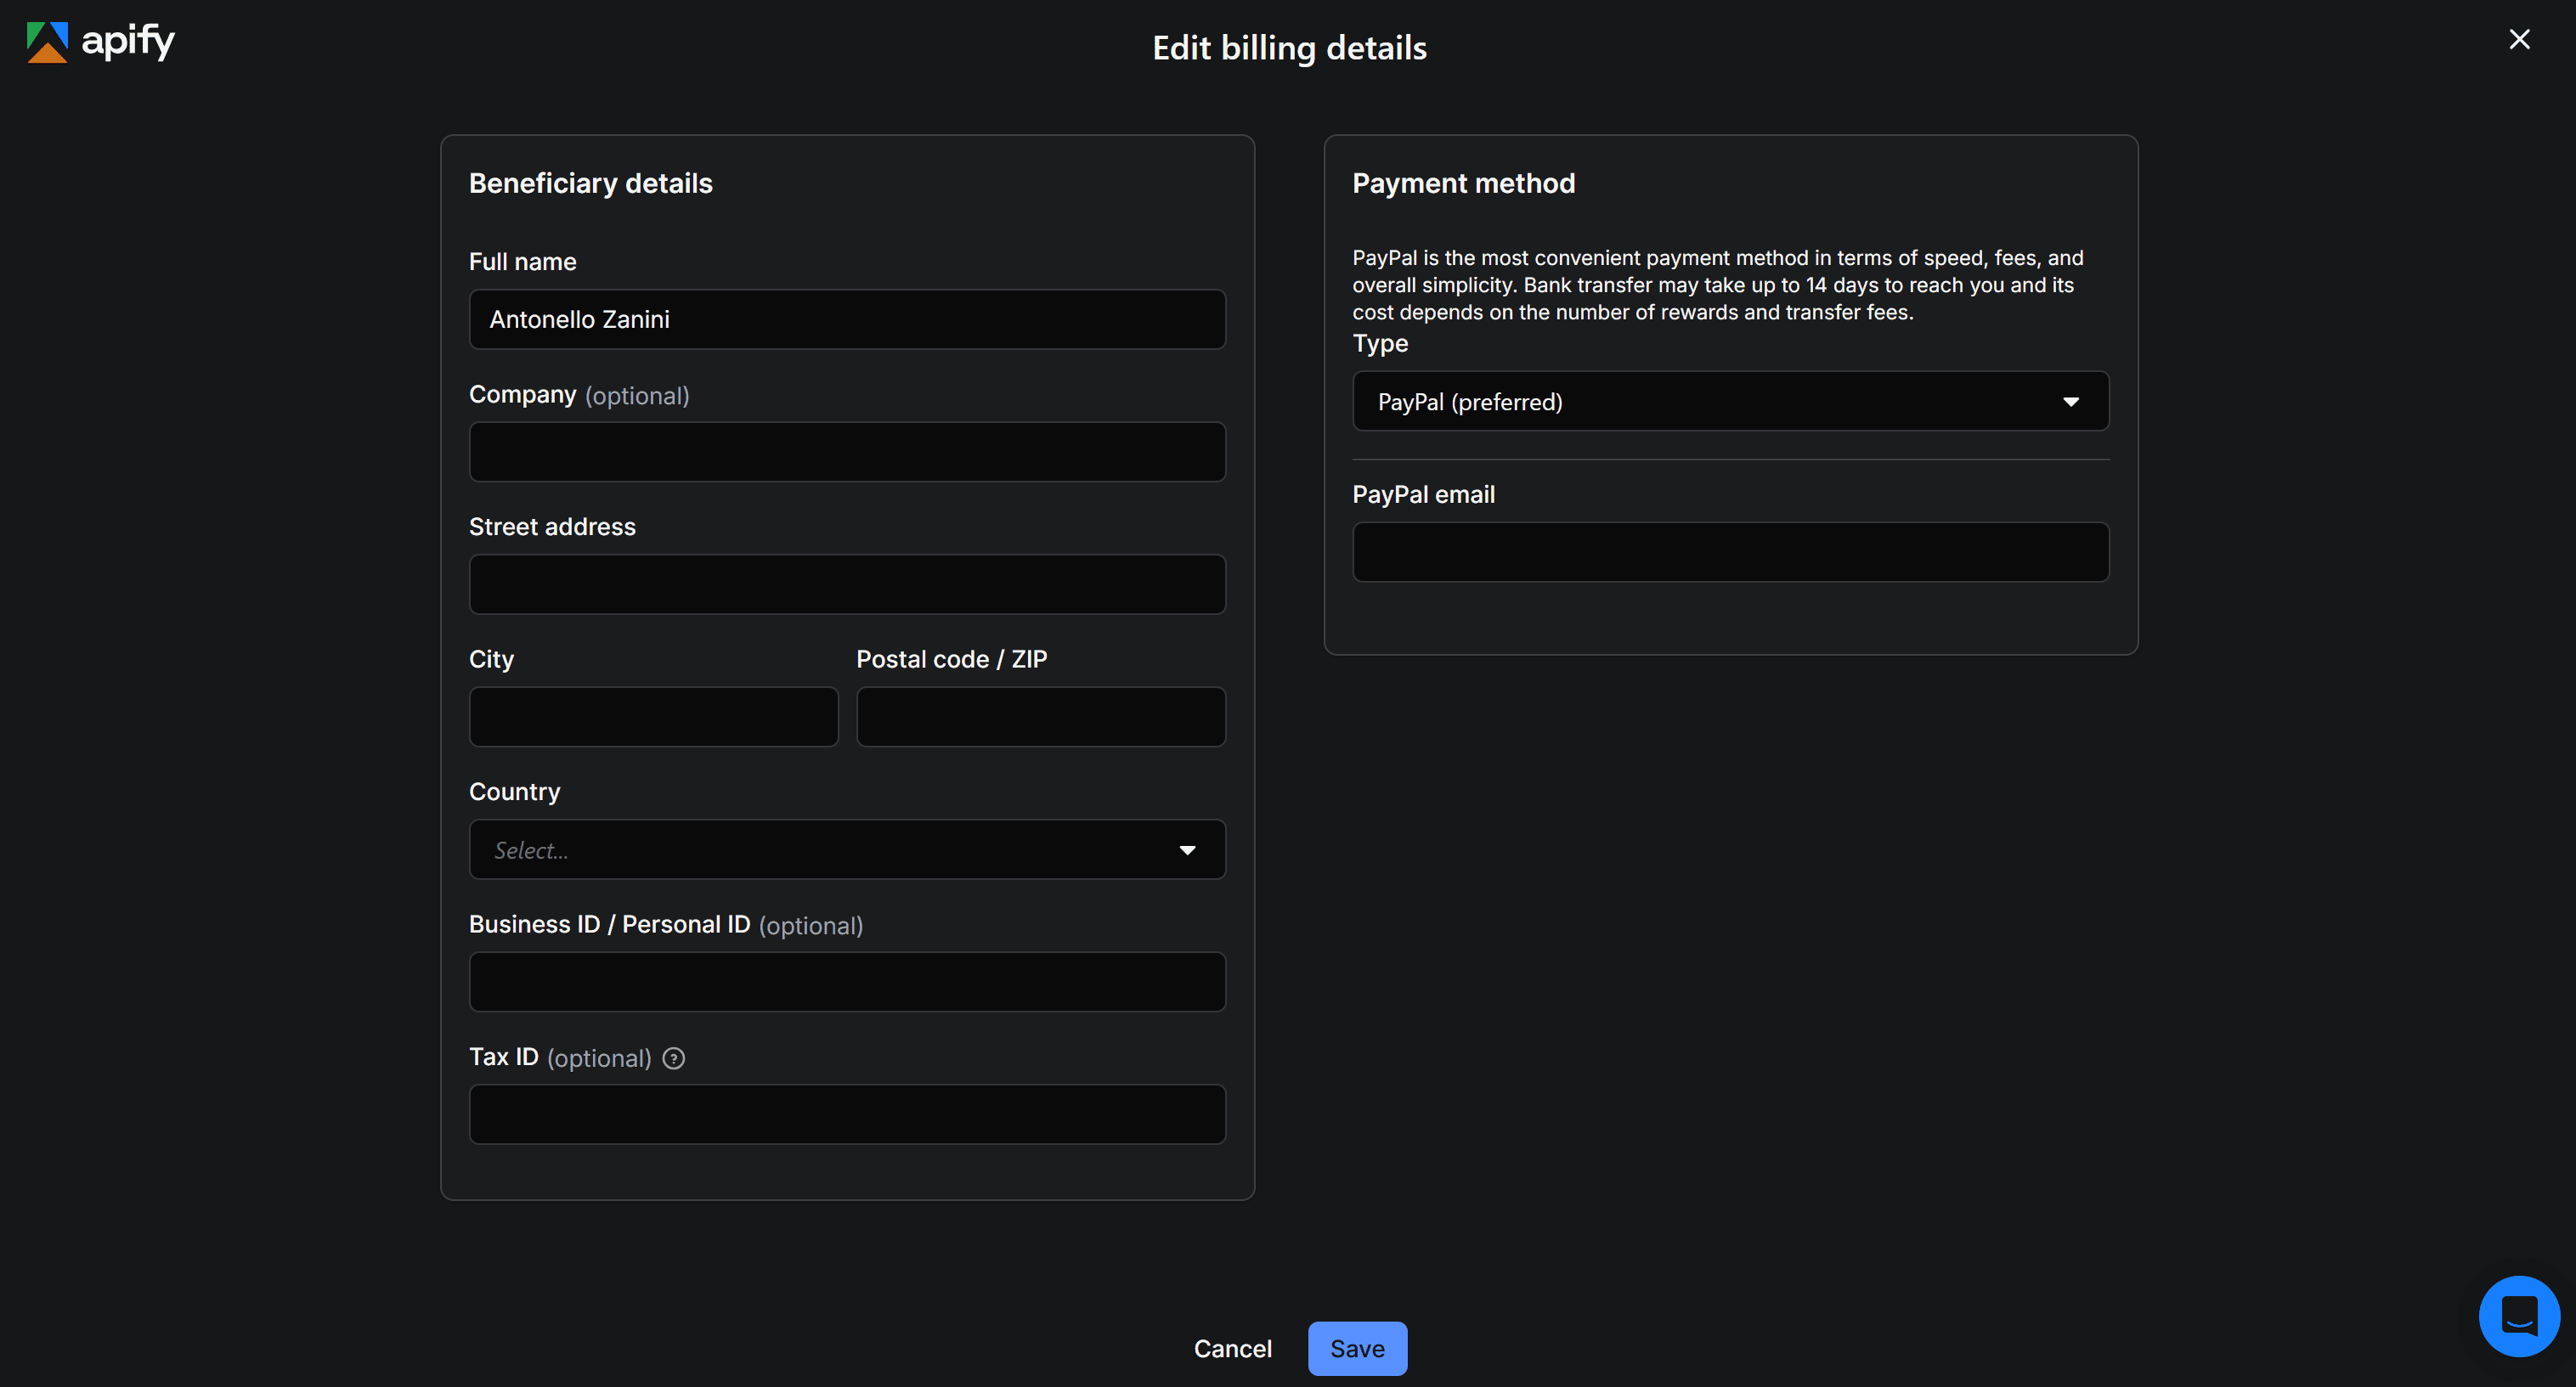
The available payment options include:
- PayPal
- Czech bank account
- United States bank account
- Generic bank account
Once selected your preferred option, click the “Save” button.
Next, define the monetization model by pressing the “Set up monetization” button:
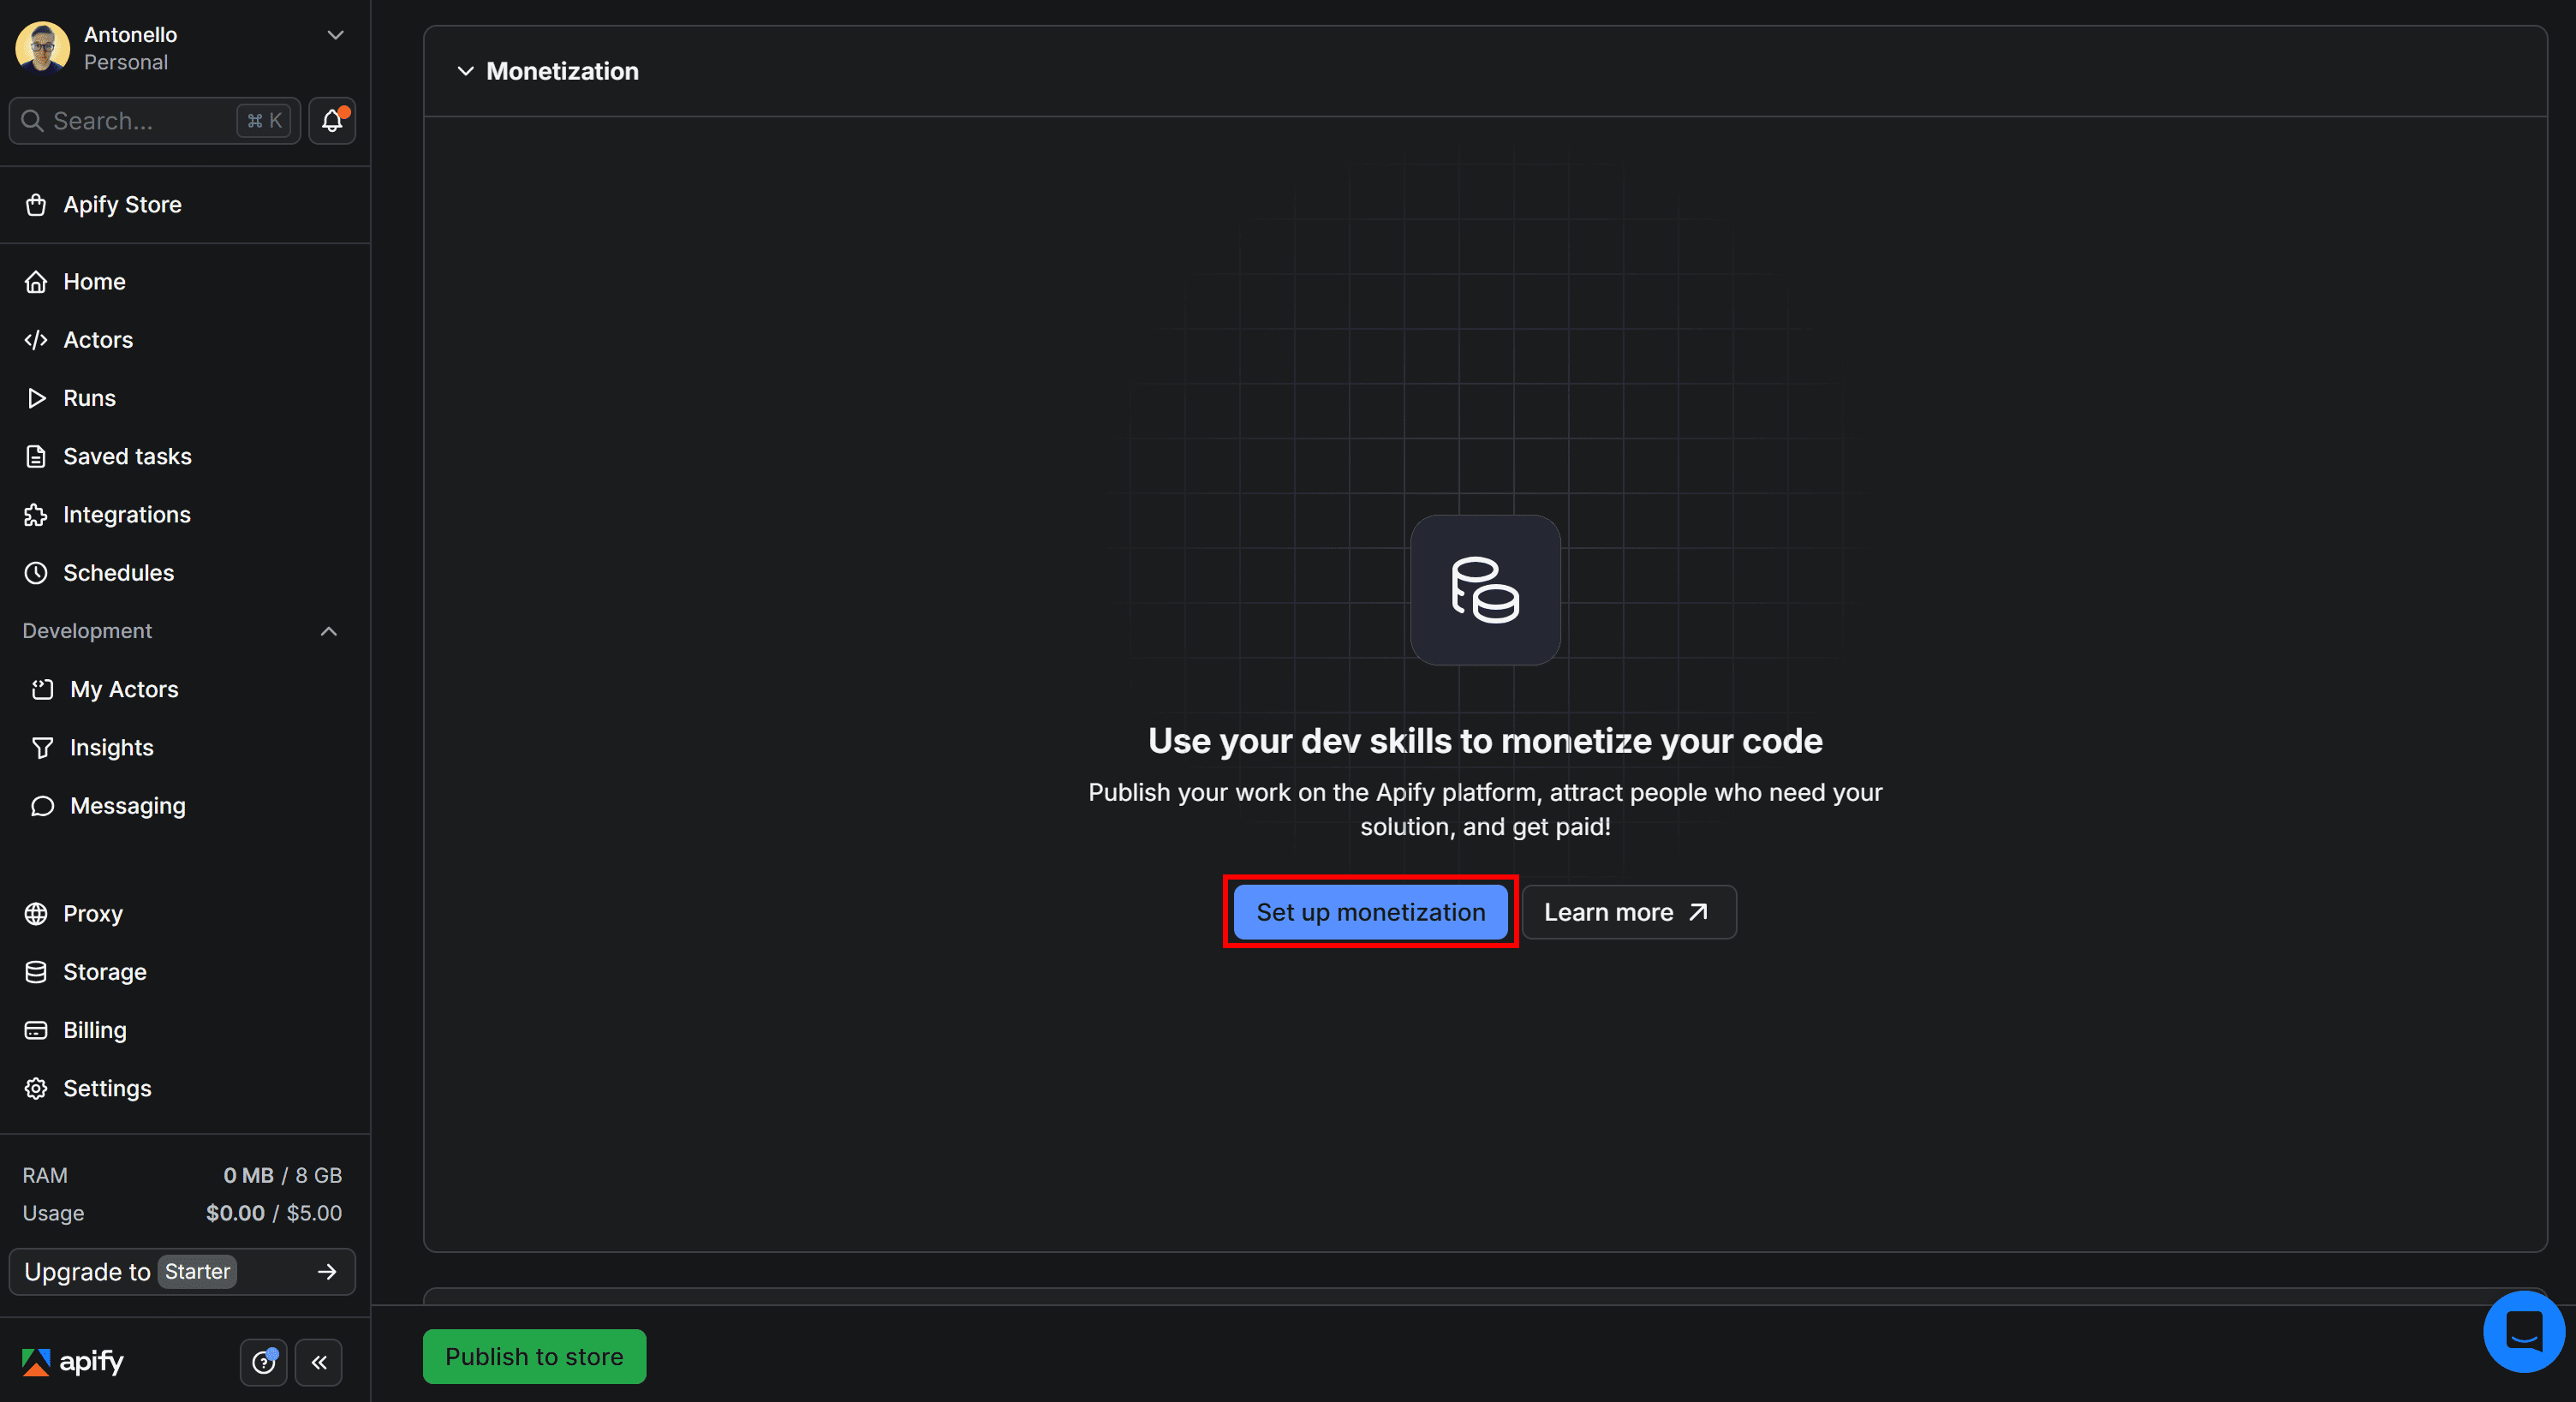
You’ll reach the “Set up monetization” wizard:
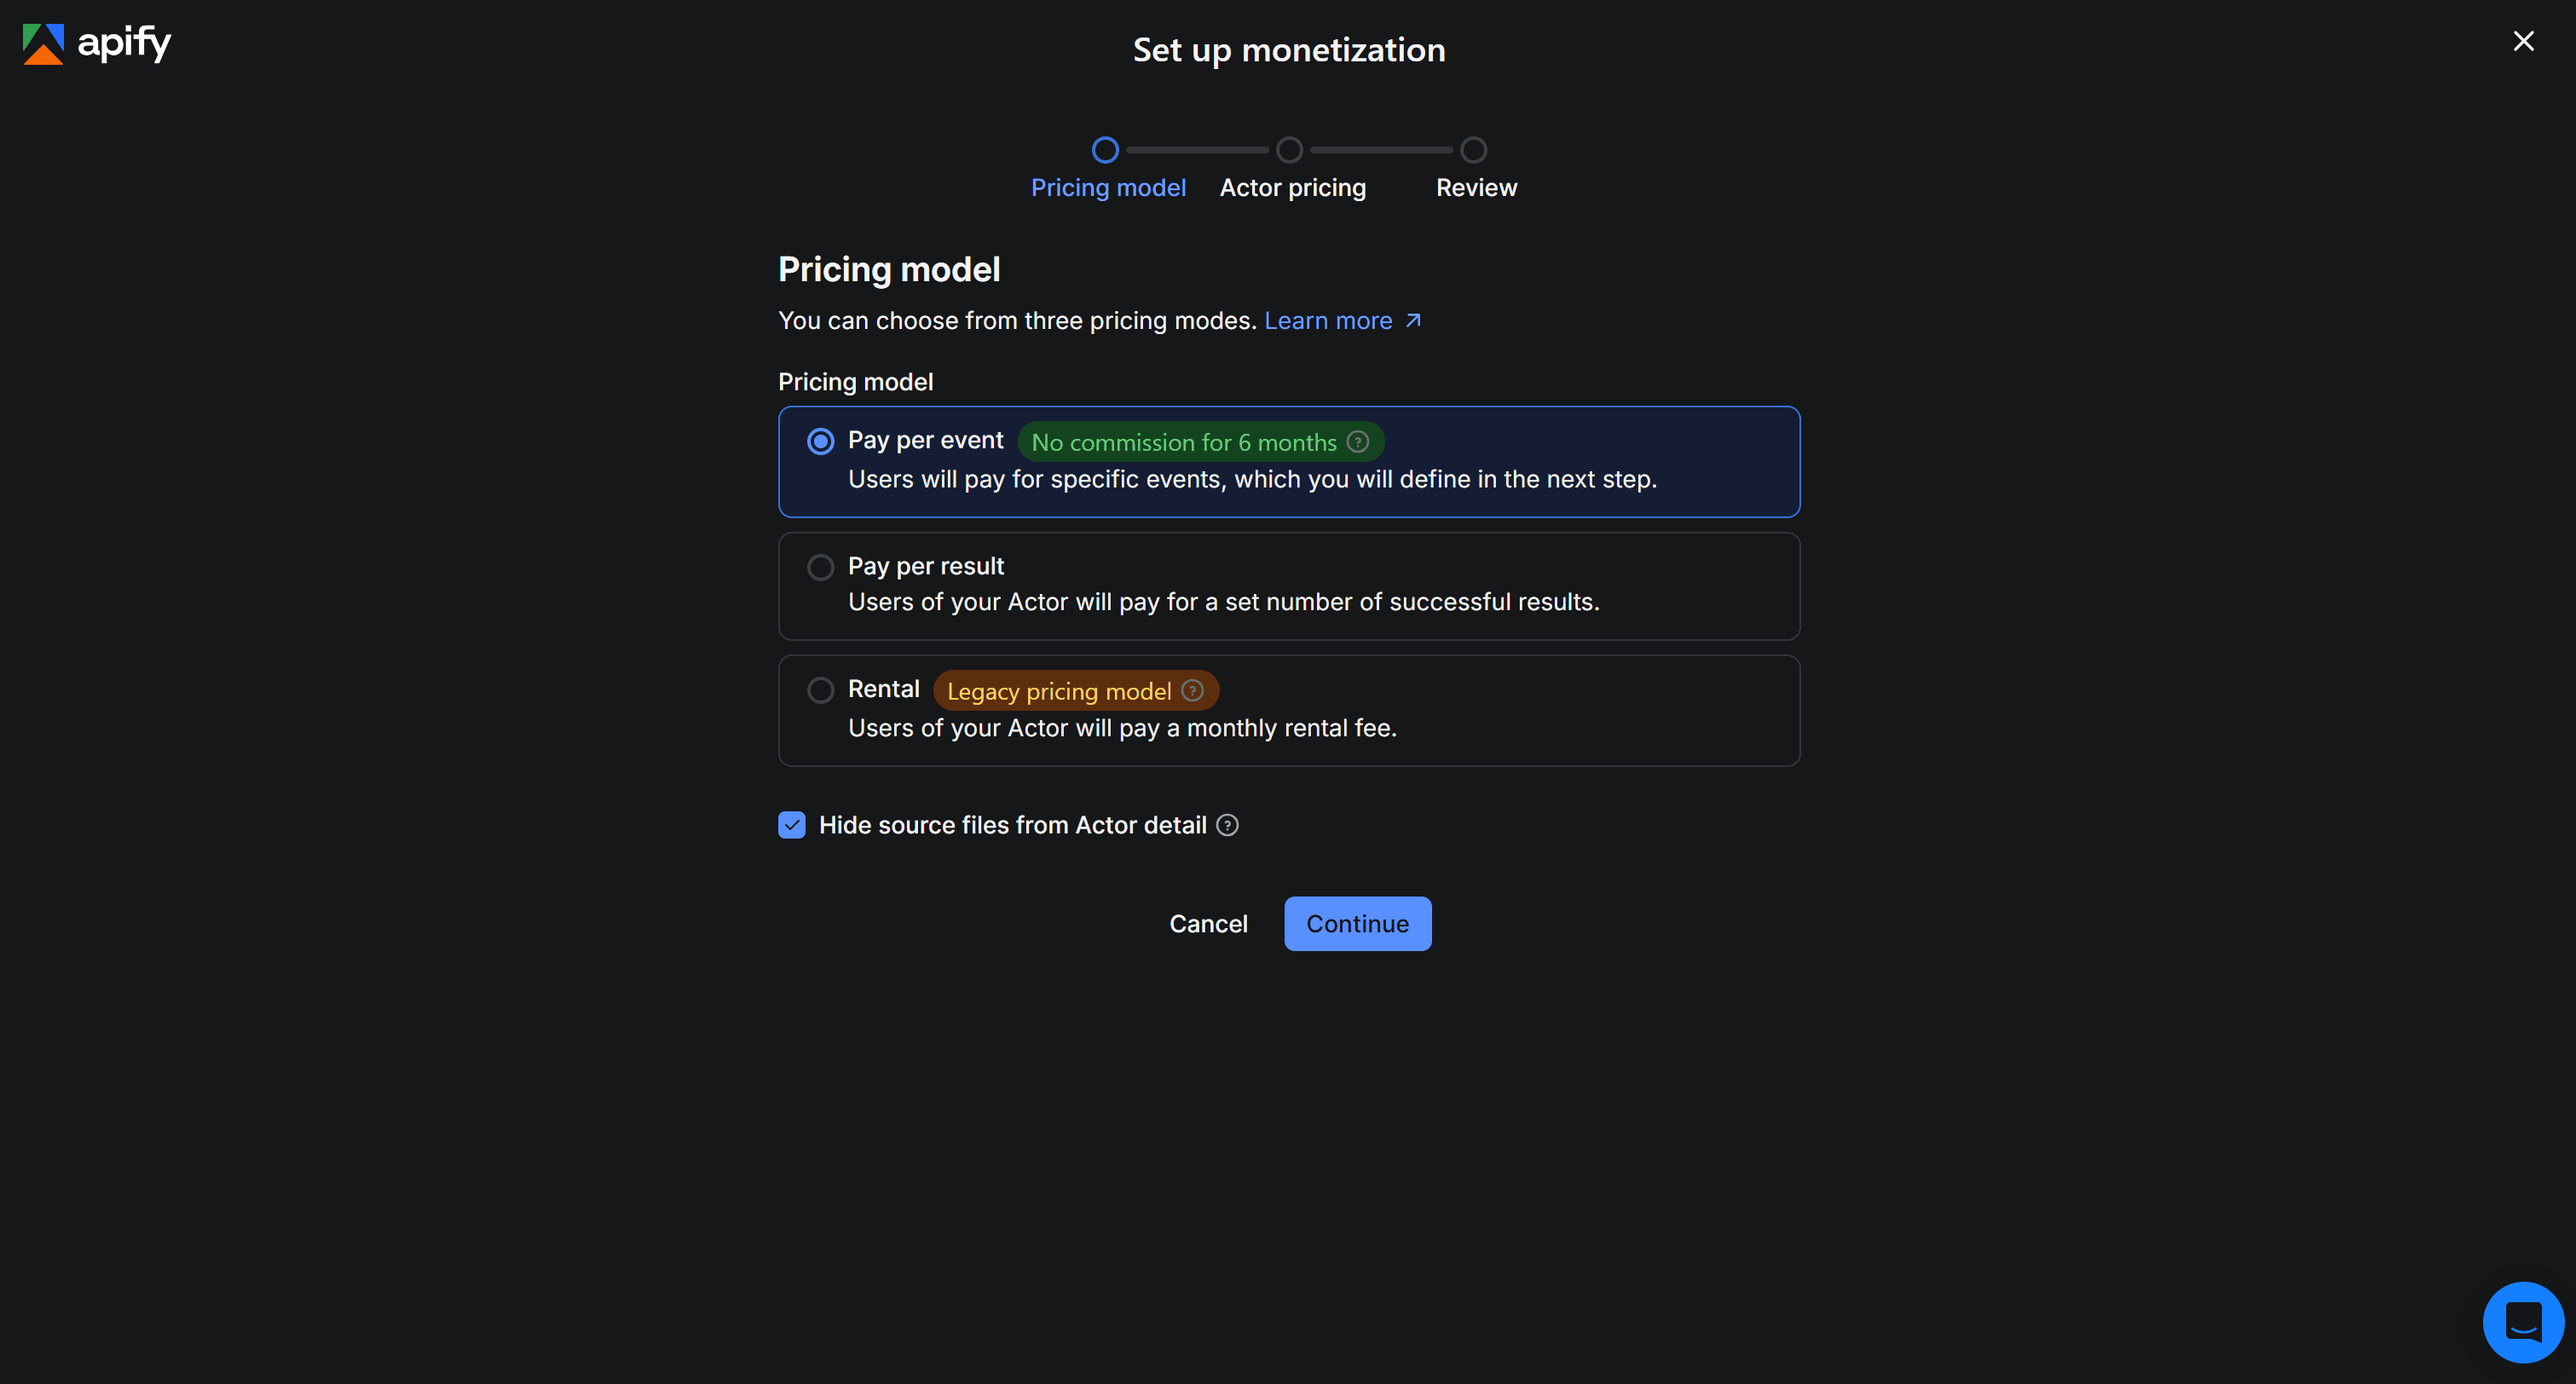
Notice that you can choose between three monetization models:
- Pay per event: Users pay based on specific events triggered by the Actor’s code (e.g., generating a single result or starting the Actor). Platform usage costs are not charged.
- Pay per result: Users pay based on the number of results produced by the Actor. Platform usage costs are not charged.
- Rental: Users pay for platform usage costs, and after a trial period, they pay a flat monthly fee to continue using the Actor.
If you’re unsure which option to choose, refer to the Apify Actor monetization documentation for a full explanation and comparison of the available models.
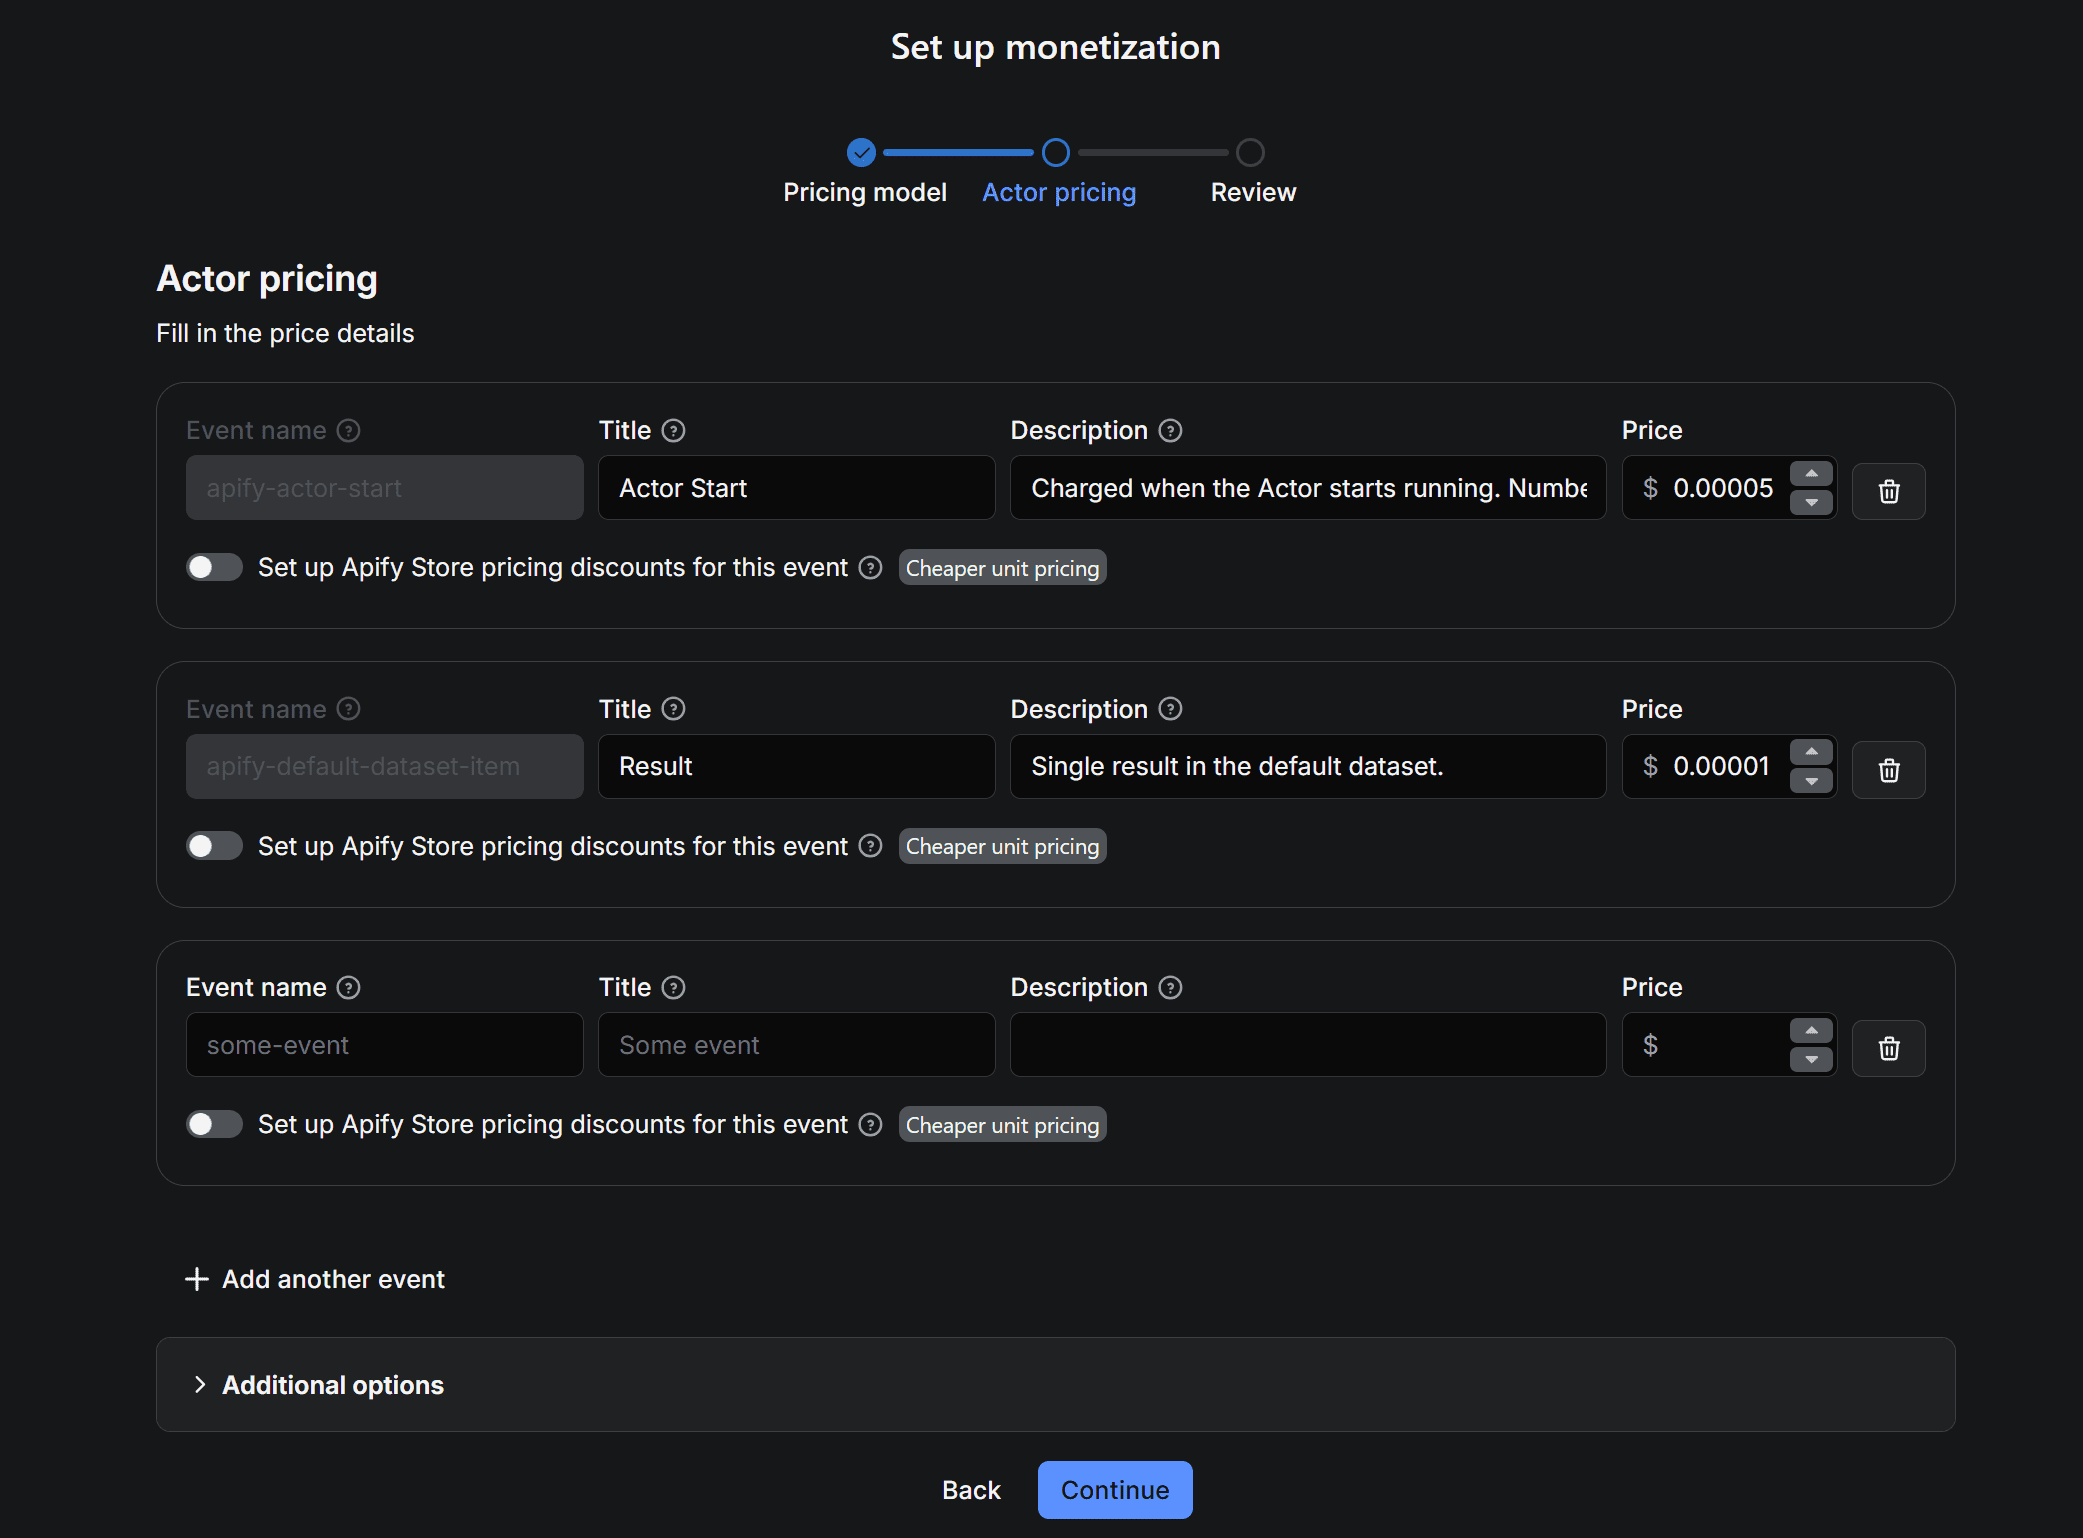
Assume you want to proceed with the “Pay per event” pricing model. Configure charges for events such as Actor start, results produced, and more:
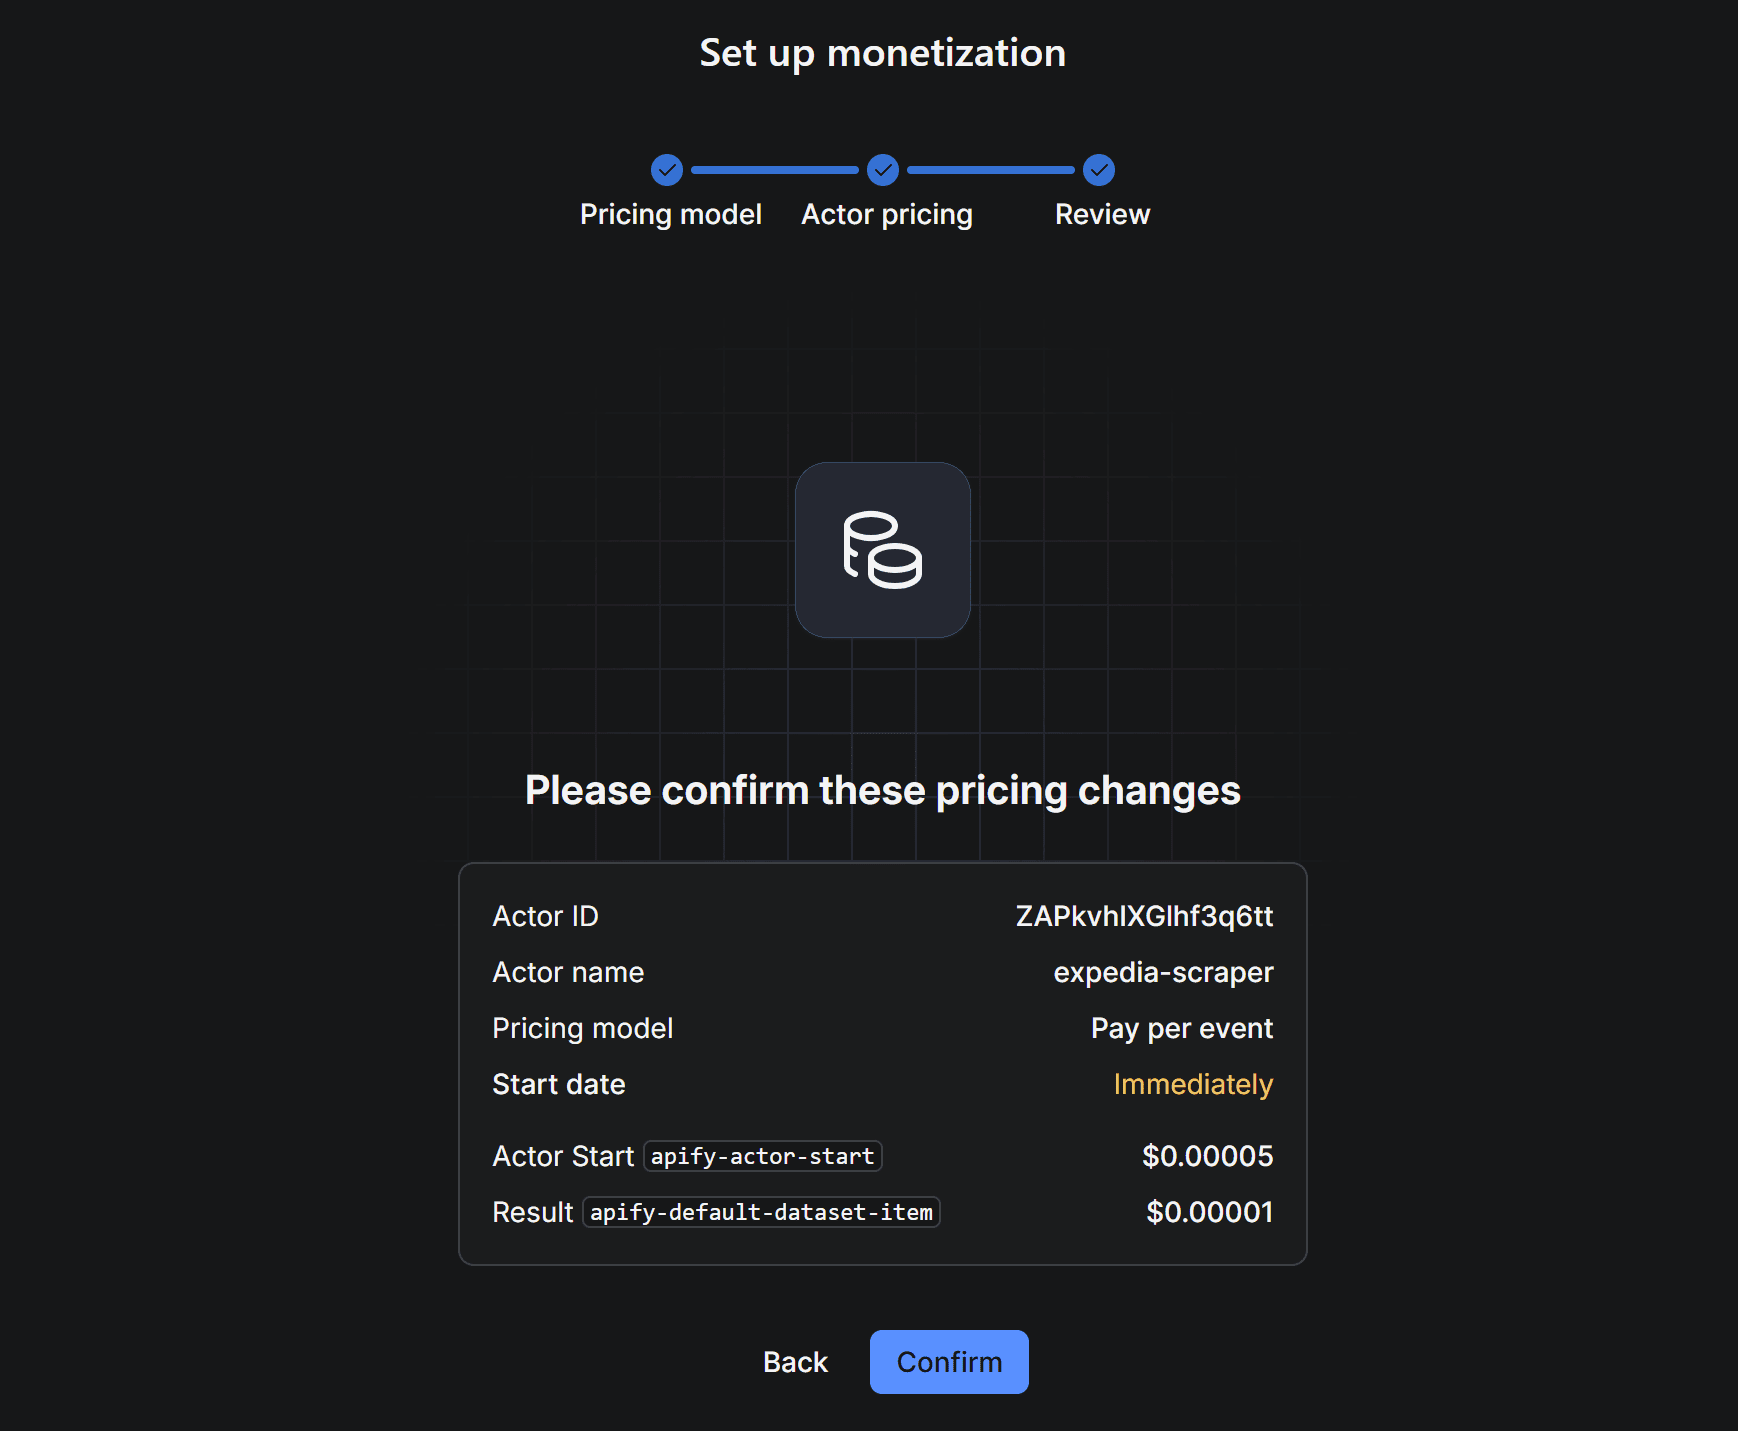
Once you’ve configured your pricing, click the “Continue” button, and you’ll see a summary like this:
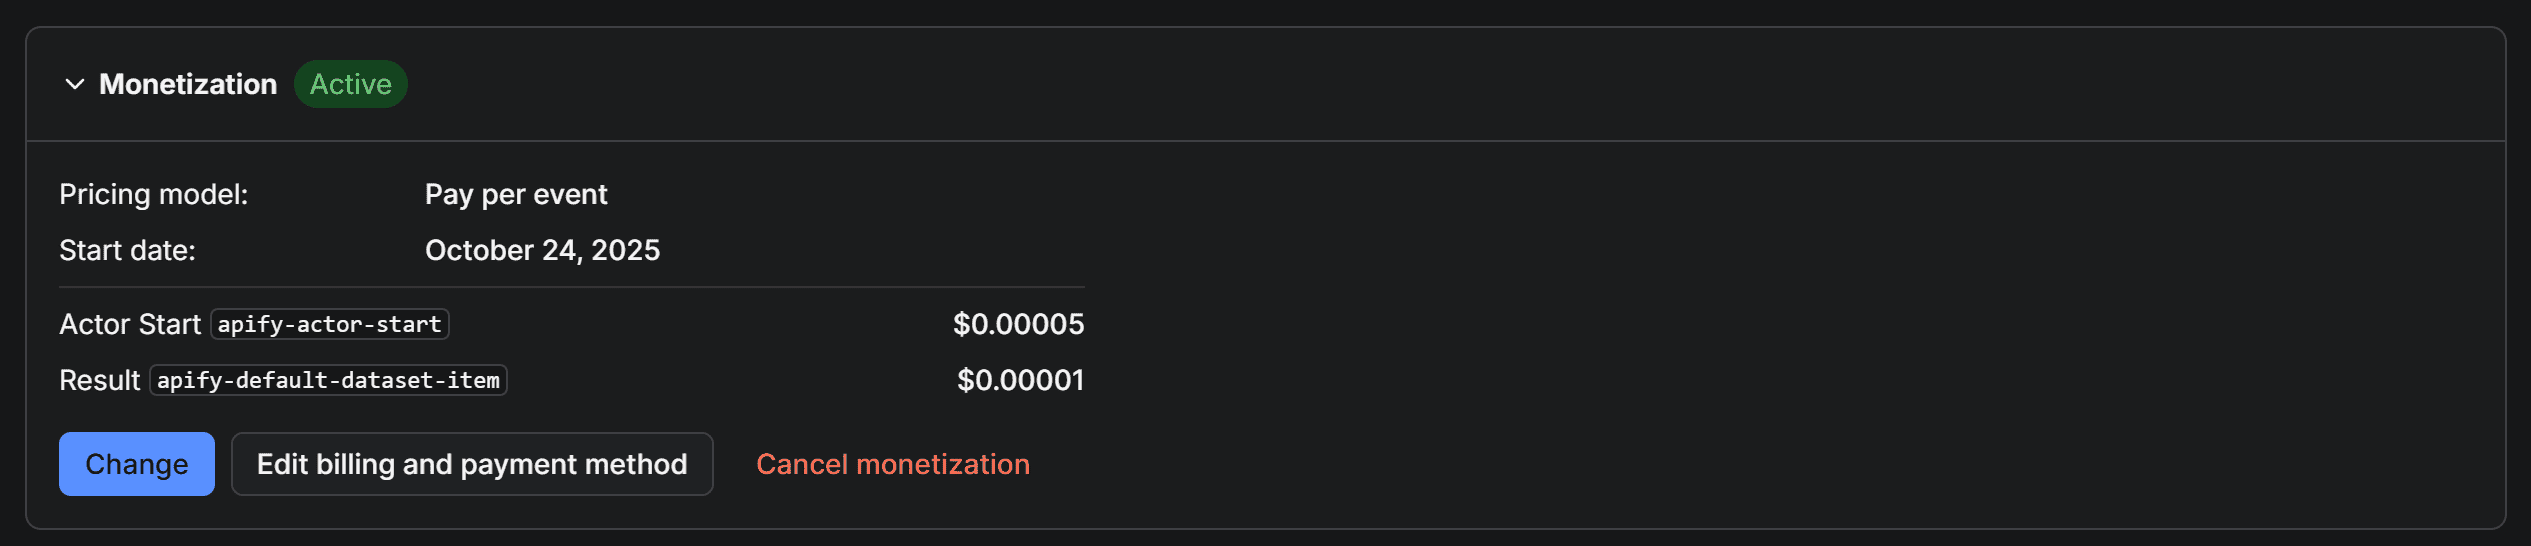
Press the “Confirm” button, and the “Monetization” dropdown will now display your configured details:
For more information, dig into how Actor monetization works.
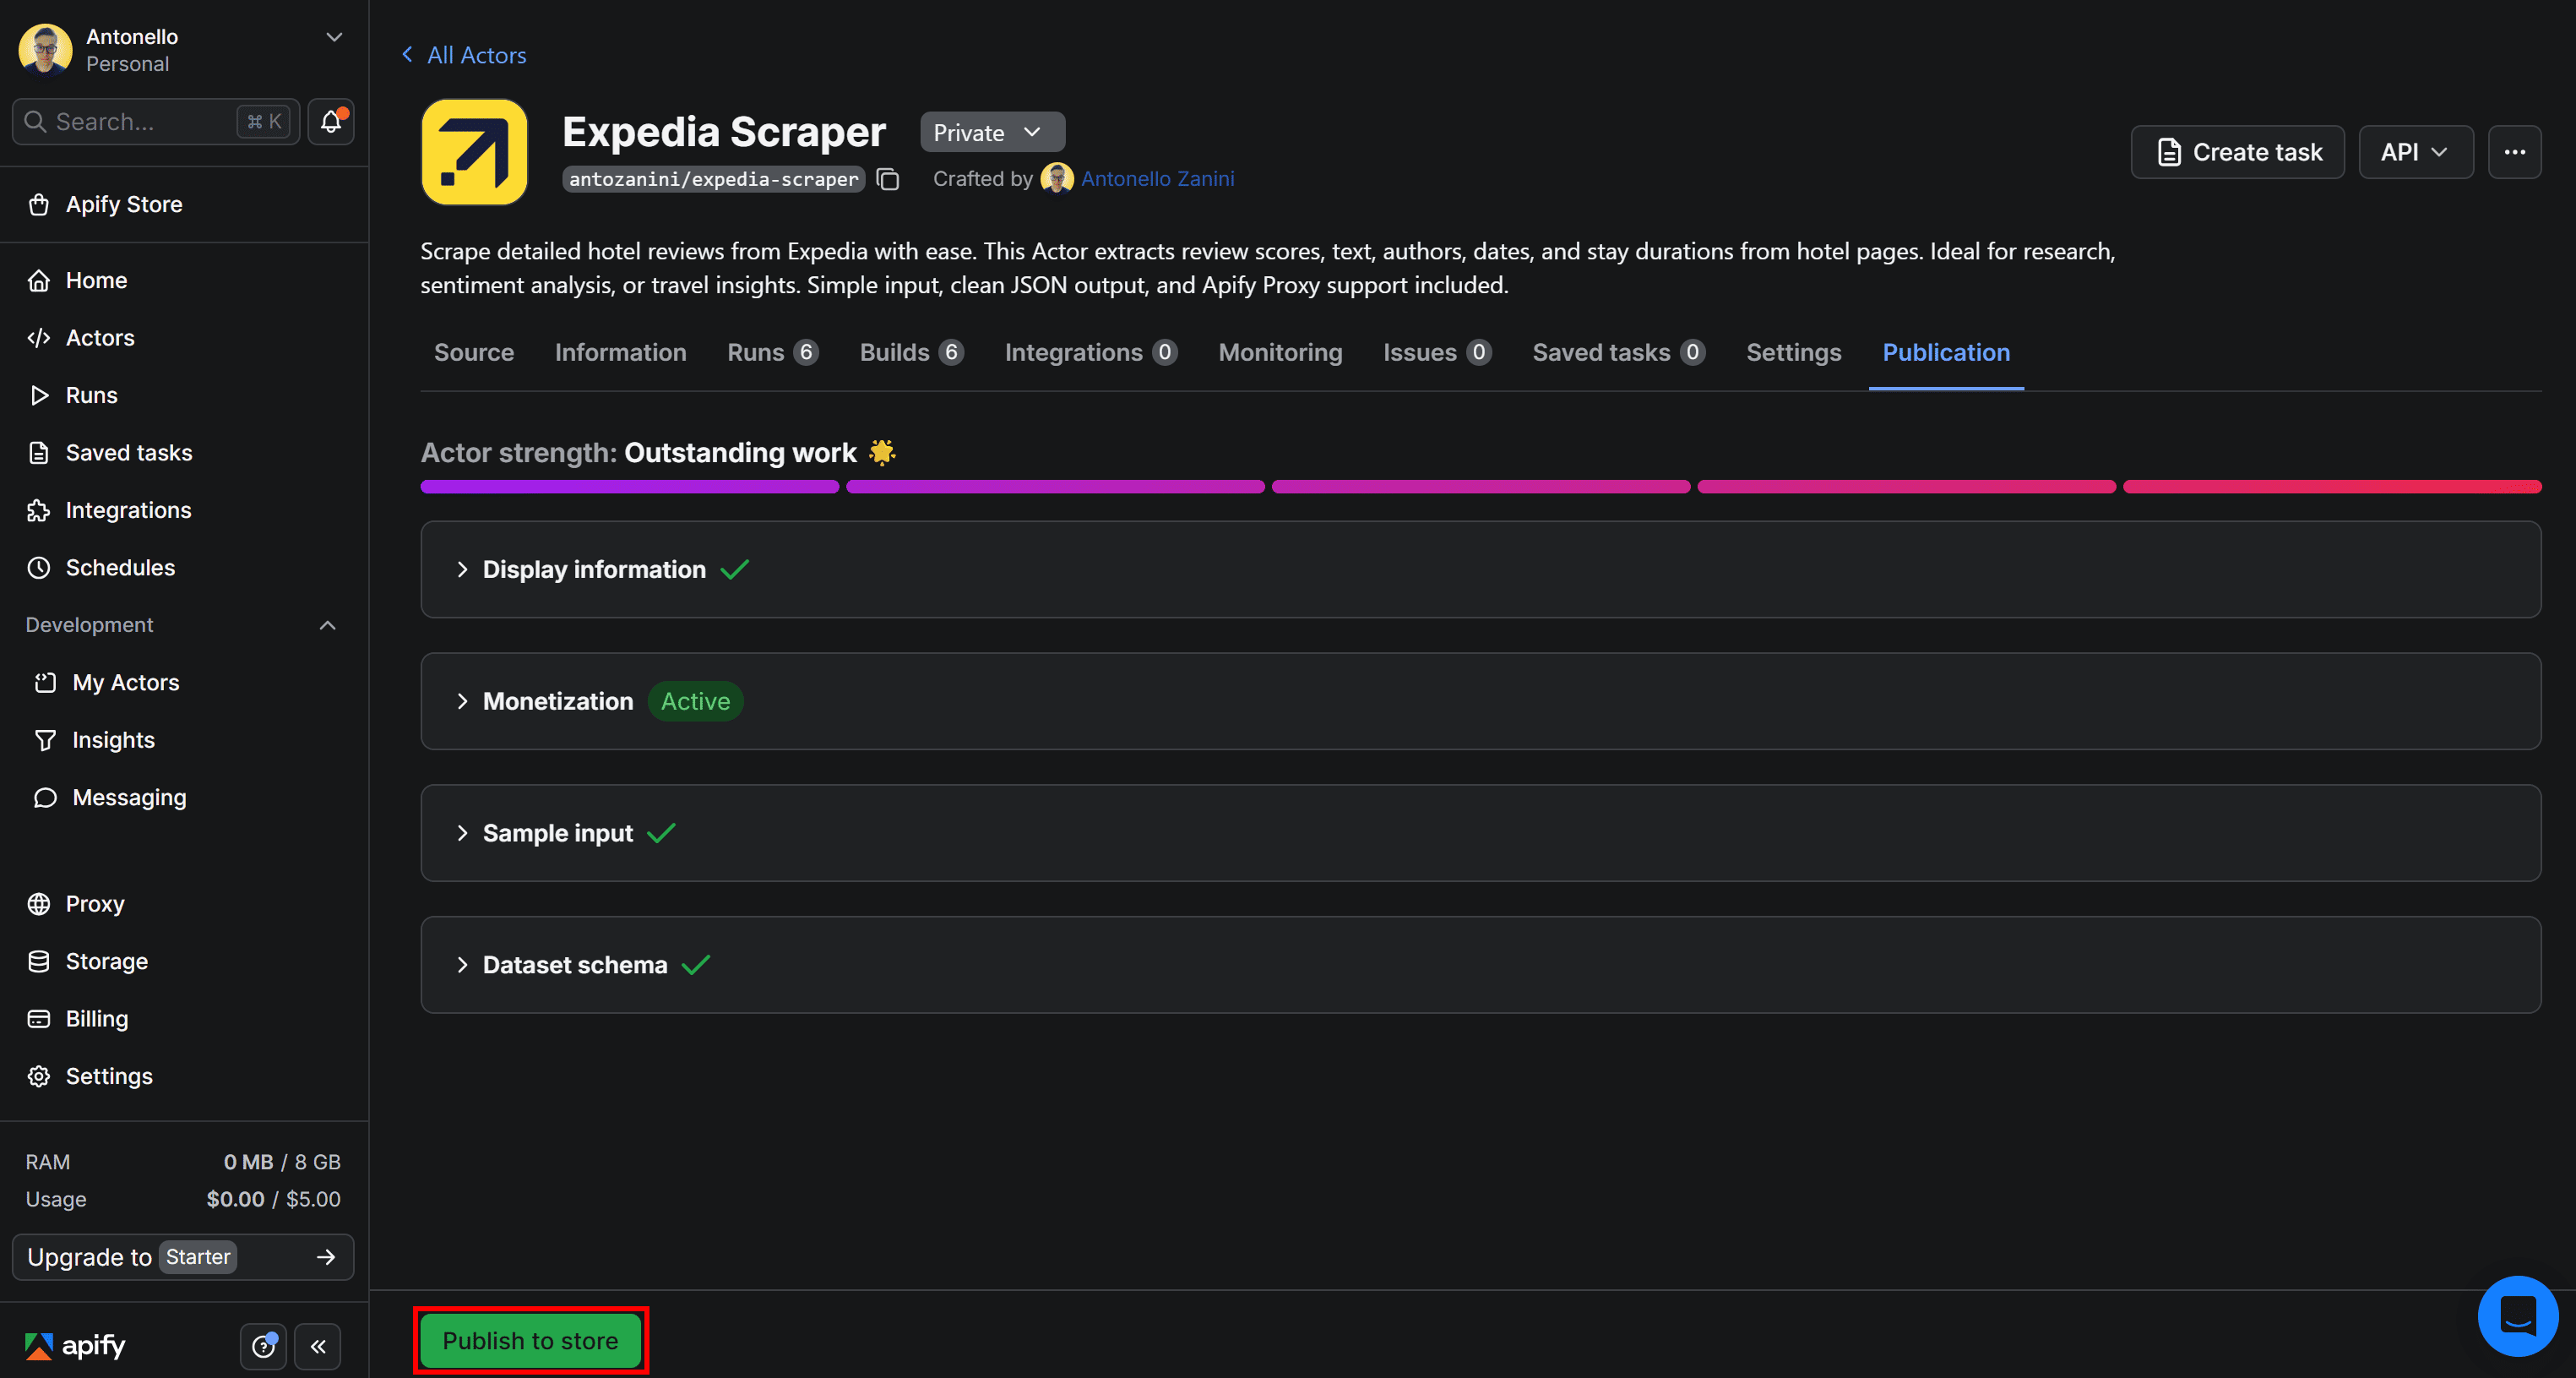
Step #6: Publish to Apify Store
To make your Actor available online on Apify Store, simply press the “Publish to Store” button in the “Publication” tab:
You will be prompted to agree to Apify Store's terms and conditions. After that, click “Publish Actor” again, and your Actor will go live on Apify Store:

Fantastic! Your Actor is now live, and users can call it via API—meaning you’ve successfully monetized your API.
Conclusion
In this blog post, you learned how API monetization works, the main pricing models, and the challenges involved in monetizing APIs. To simplify the process, you can wrap your API as an Actor and make it available on Apify Store, a marketplace with over 50k monthly users.

Frequently asked questions
What is API monetization?
API monetization is the process of generating revenue from your API by charging users for access, usage, premium features, or more. The idea is to turn your functionality or data exposed through an API endpoint into a source of revenue.
How much can I earn by monetizing my API?
Earnings vary by usage and popularity, but with Apify’s marketplace of 50k+ monthly active users, your API can reach a large audience, maximizing potential revenue. For instance, some devs manage to earn more than $2,000 per month by publishing their APIs as Actors on Apify Store.
What's the best pricing model for my API?
As usual, there’s no single best API pricing model. The right choice depends on your target audience. Select pay-per-use, subscription, freemium, quota-based, or other options to align costs with user behavior and maximize adoption.
Do I need to build my own billing system to monetize my API?
Not necessarily! Platforms like Apify handle billing, authentication, rate limiting, scaling, and even proxy integration, allowing you to monetize your API without building complex infrastructure.
What fees does Apify charge for API monetization?
Apify is fully transparent about its fees, with no hidden costs. As of this writing, it charges approximately 20% commission — a competitive rate for the marketplace. For the latest fees, see the Monetize your Actor page in the Apify documentation.
Can I monetize an existing API on Apify?
Yes! You just need to wrap your API as an Apify Actor and publish it by following the steps outlined in this guide.
How long does it take to start monetizing an API on Apify?
Typically, you can start monetizing APIs on Apify in just a few hours. This includes converting your API into an Actor (or building one from scratch), documenting it, setting pricing, and publishing on Apify Store.