Cursor IDE has become a favourite among developers who want AI-powered coding assistance. But what if you could give your AI coding assistant the ability to scrape websites, analyze competitors, and gather market intelligence without leaving your editor? Then use that data to create an interactive website or presentations with a few prompts?
That's exactly what happens when you connect Apify MCP servers to Cursor. In this guide, we'll show you how to set up the integration and build a complete e-commerce market research workflow from your IDE.
Prefer video? Follow the tutorial on YouTube
Why use MCP with Cursor IDE?
The Model Context Protocol (MCP) extends your AI assistant's capabilities beyond code suggestions. When you connect Apify MCP servers to Cursor, you unlock:
- Direct data access: Your AI assistant can fetch real-time data from websites, e-commerce platforms, and social media without you writing scraping code.
- Contextual automation: Need competitor pricing while analyzing your code? Ask Cursor to fetch it and incorporate the data directly into your analysis.
- Access to 10,000+ tools: Connect to Apify's extensive library of Actors—from TikTok scrapers to Amazon product extractors—all through natural language.
- Streamlined workflows: Combine multiple data sources in a single conversation, letting the AI orchestrate complex multi-step operations.
All of this with no context switching. You can stay in your development environment while your AI handles data gathering, API calls, and web scraping tasks.
Add Apify MCP Server to Cursor: Step-by-step guide
Let's walk through setting up the Apify MCP server in Cursor IDE. We'll configure it for e-commerce research, but you can customize the setup for any use case.
Prerequisites
Before you start, make sure you have:
- Cursor IDE installed. Download from cursor.com if you haven't already
- An Apify account - Sign up for free to get access to MCP servers
- An Apify API token - Get yours from the Integrations section in Apify Console
Step 1: Configure your MCP server
Go to mcp.apify.com to create your custom MCP server configuration.
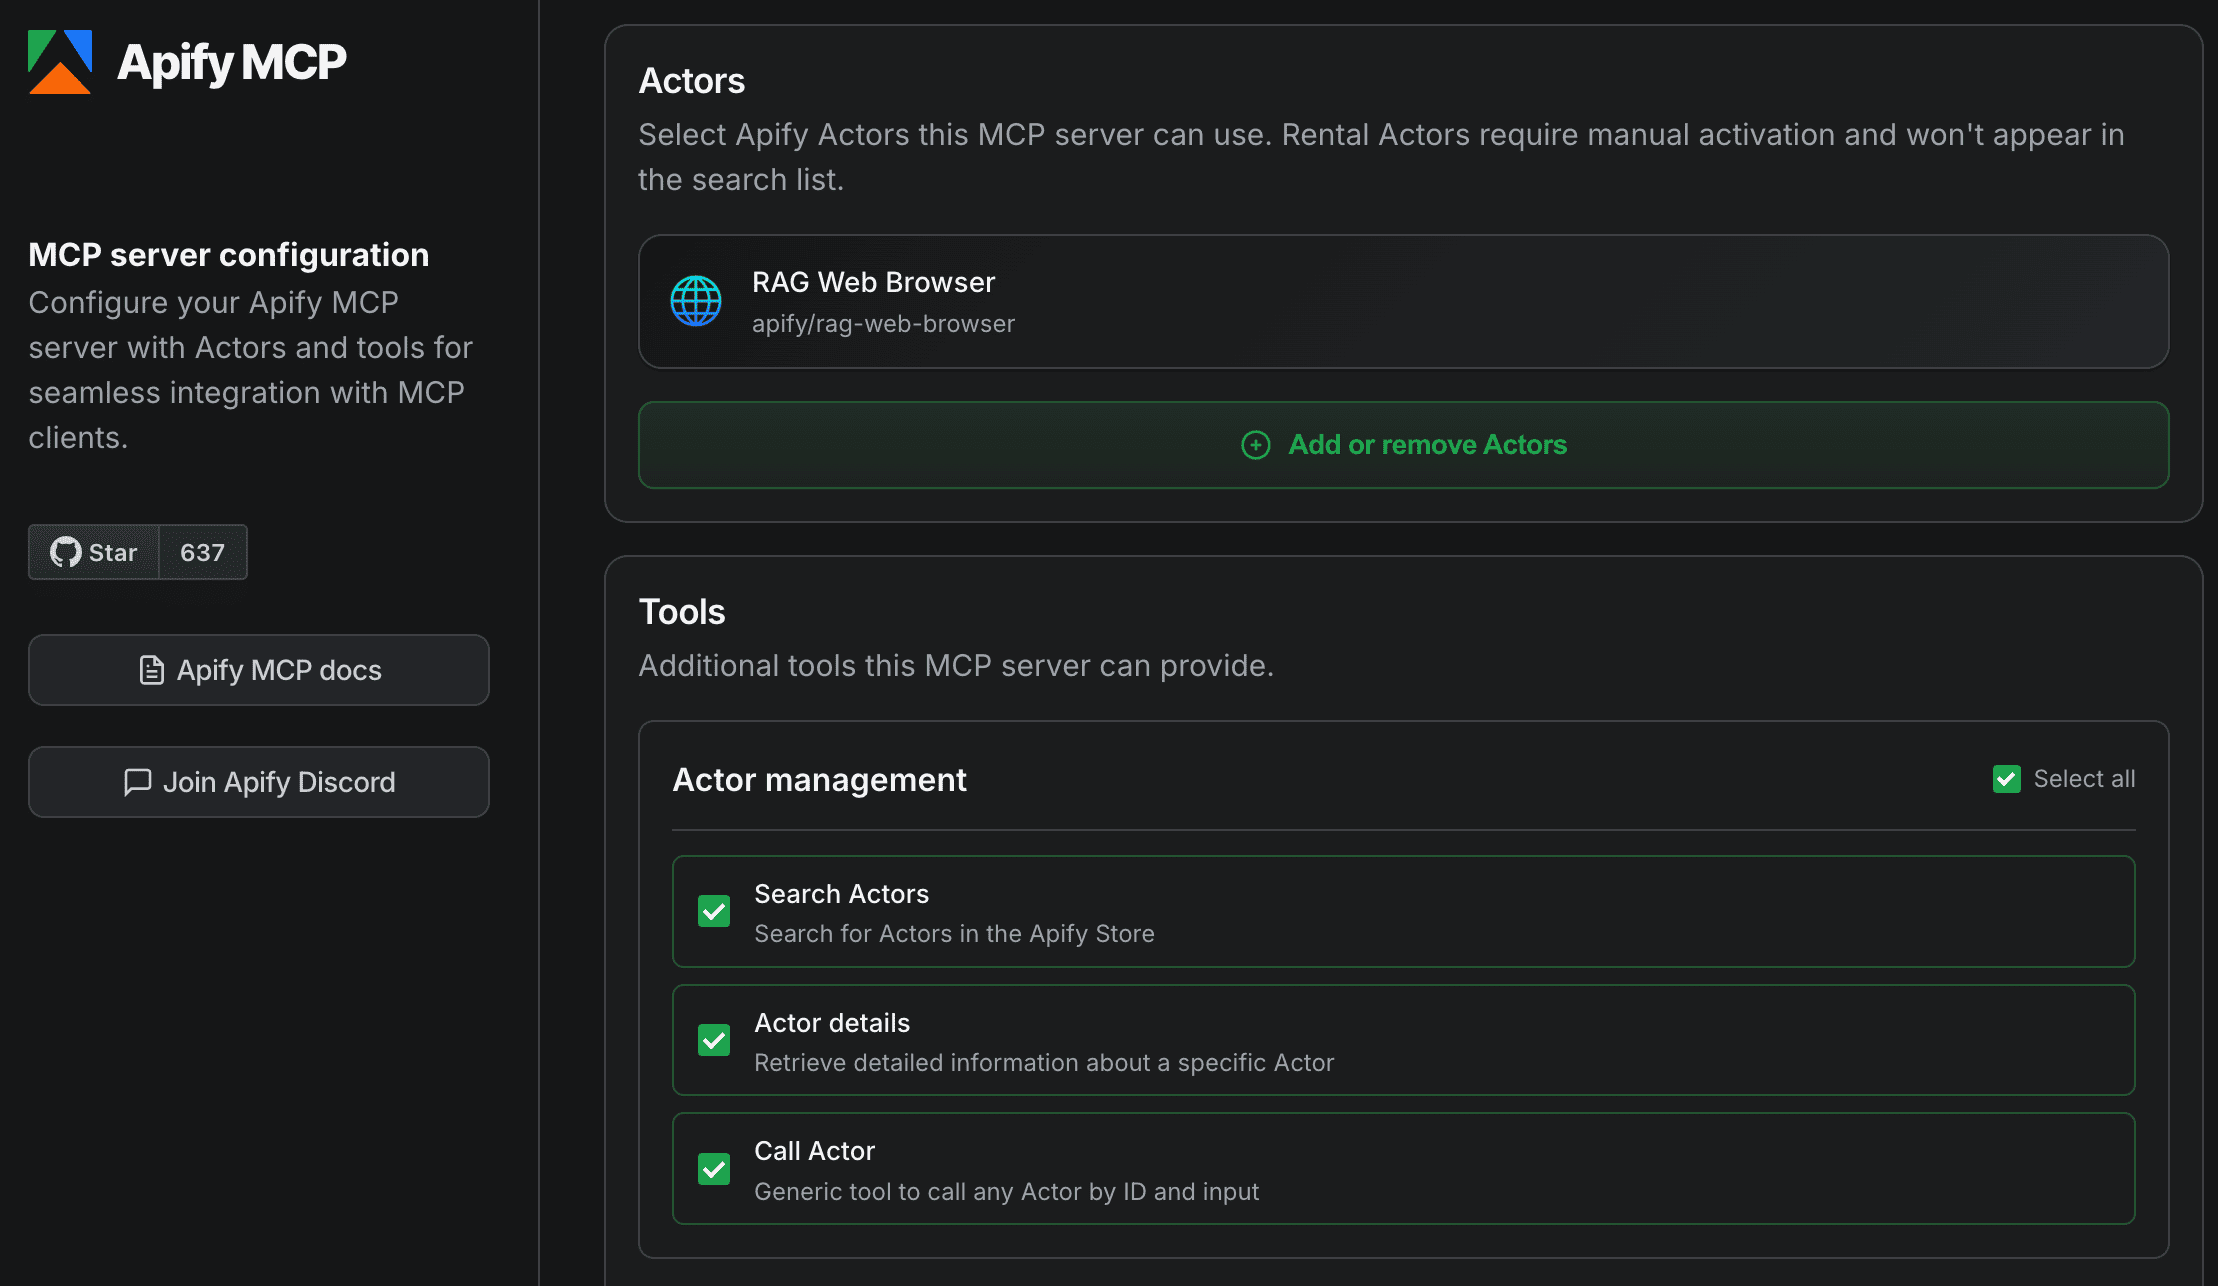
The configurator lets you select:
Actors - Choose which Apify scrapers and tools your MCP server can access:
- RAG Web Browser (included by default)
- TikTok Scraper for social media analysis and influencer discovery
- E-commerce Scraping Tool for competitor pricing and analysis
- Any of the 10,000+ Actors from Apify Store
Tools - Enable additional capabilities:
- Actor management: Search and call Actors dynamically
- Documentation: Access Apify docs for help
- Data storage: Retrieve datasets and key-value stores
- Actor runs: Monitor and manage your scraping jobs
Your configuration URL will look something like this:
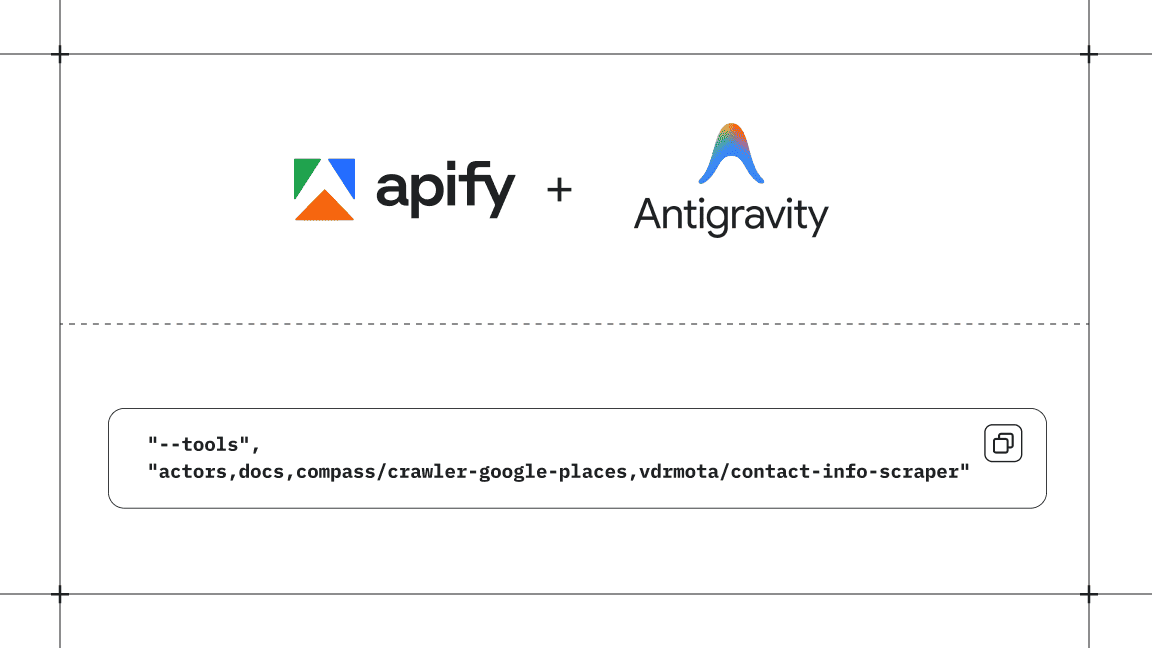
https://mcp.apify.com/?tools=actors,docs,apify/rag-web-browser,clockworks/tiktok-scraper,apify/e-commerce-scraping-tool
Step 2: Use one-click install for Cursor
The easiest way to add Apify MCP to Cursor is the one-click install button on mcp.apify.com.
- On mcp.apify.com, find the Integrations section
- Click the Cursor icon
- Click the Install button
- Cursor will open automatically with the configuration applied
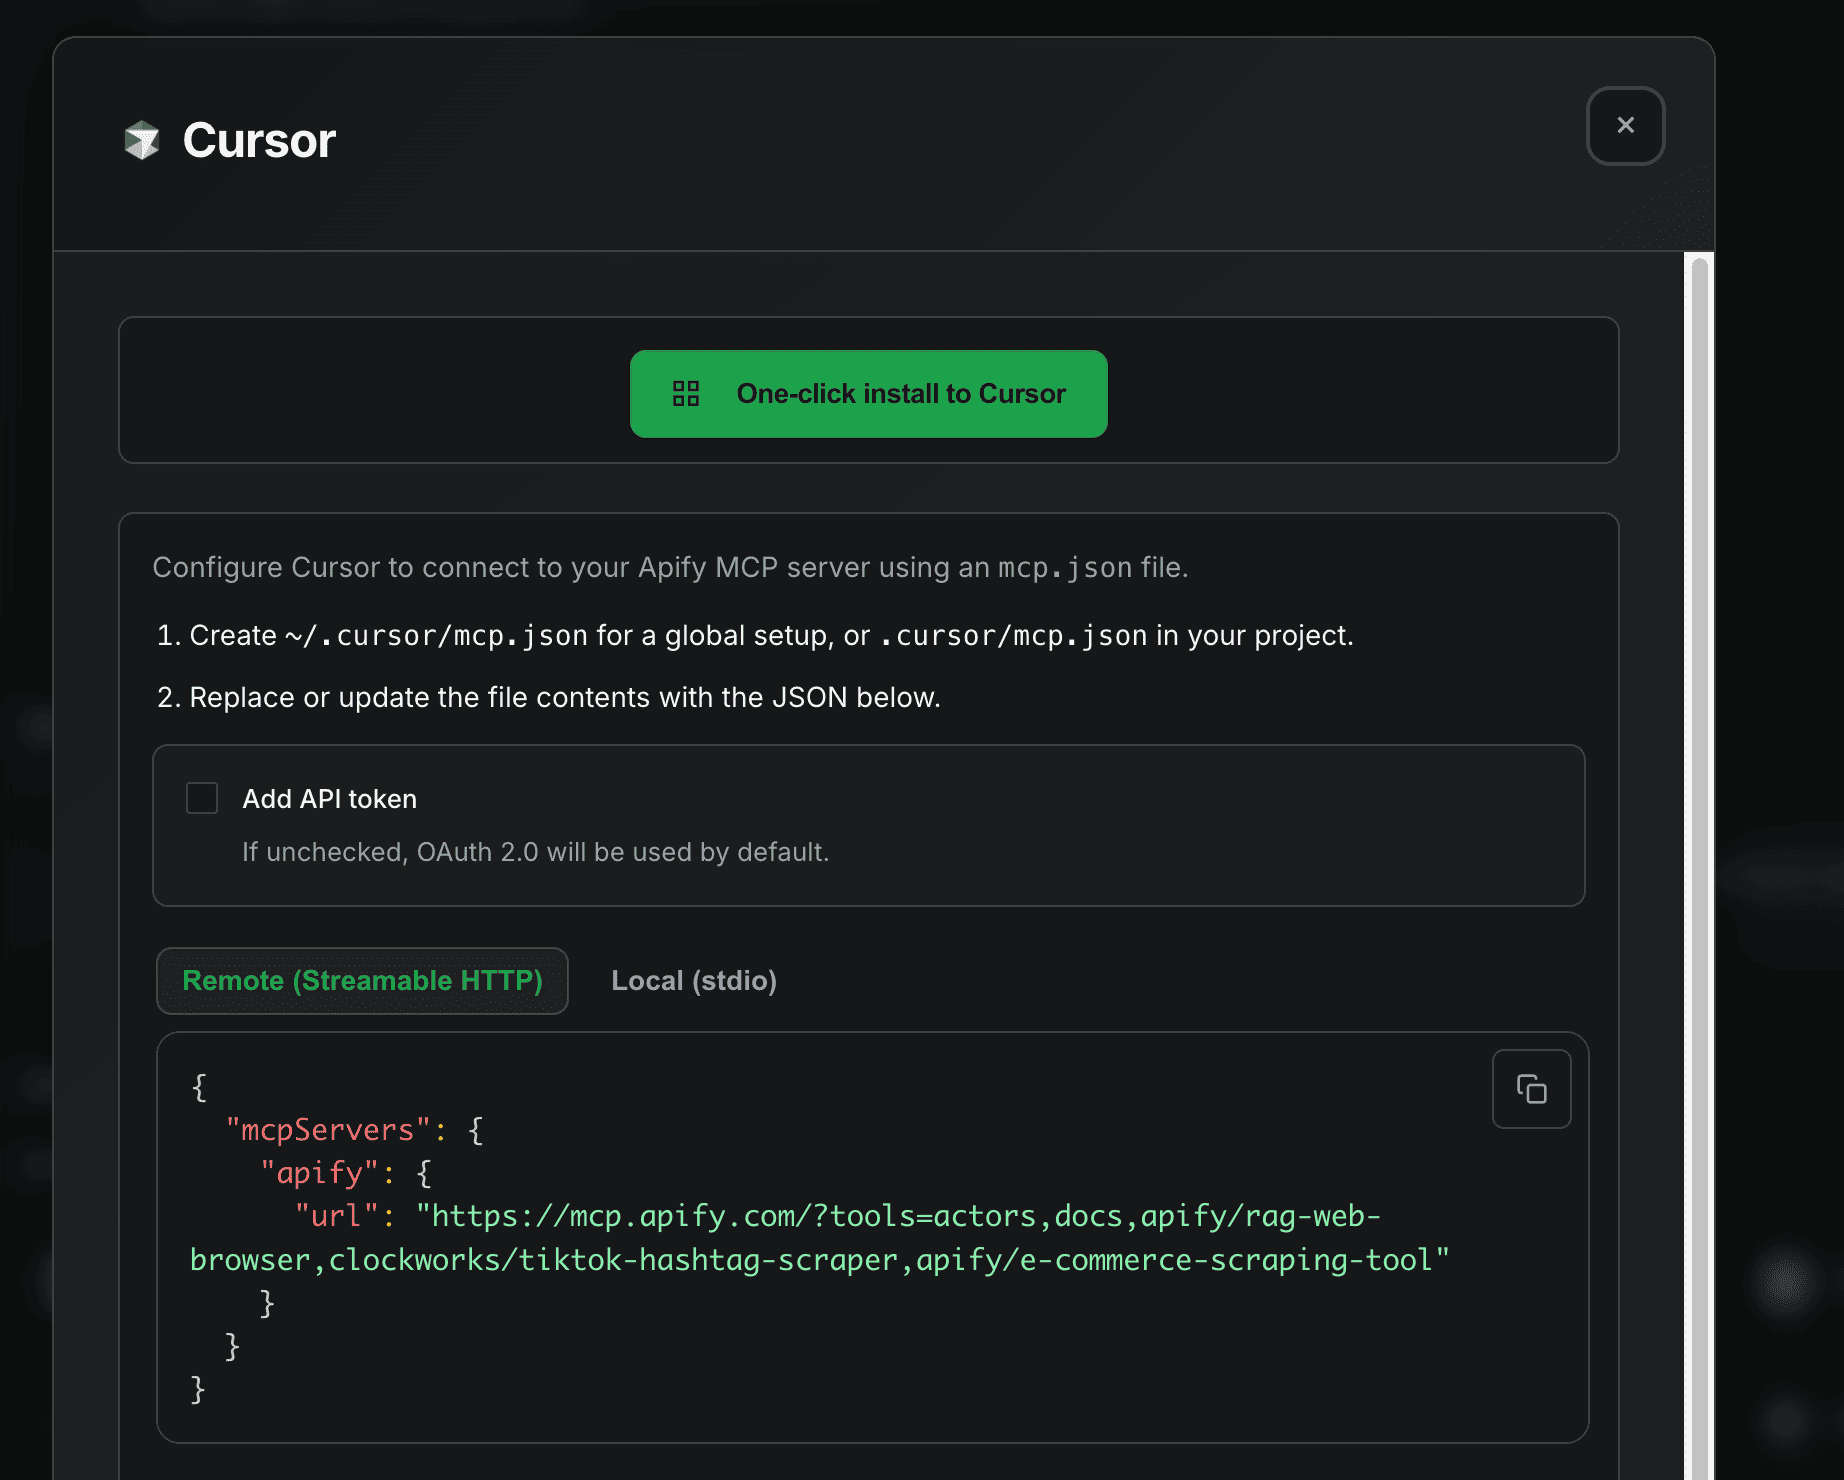
That's it! The one-click installer handles all the configuration for you.
Step 3: Verify the connection
After configuration, test that everything works:
- Open Cursor's AI chat (Cmd/Ctrl + L)
- Ask a simple question that uses the MCP server:
Can you search for TikTok scrapers on Apify and tell me which
one is best for analyzing UAE skincare content?
If configured correctly, Cursor will use the Apify MCP server to search the Actor store and provide recommendations.
Real-world use case: E-commerce competitor analysis
Now let's put the integration to work. Here's a complete workflow for analyzing competitors in the UAE skincare market.
Step 1: Discover market influencers
Start by asking Cursor to find relevant influencers:
Use the TikTok scraper to find the top skincare influencers in the UAE.
Search for hashtags like #uaeskincare, #luxuryskincare, and #dubaiskincareinfluencer.
Get me 30 videos per hashtag and extract the influencer profiles and engagement metrics.
Cursor will call the TikTok scraper via MCP and return data like:
| Influencer | Followers | Avg likes | Content focus |
|---|---|---|---|
| @dr.javeria.jia | 954,800 | 60,400 | Dermatology |
| @shyoom.uae | 1,100,000 | 18,100 | K-Beauty |
| @skincareuae | 64,100 | 6,608 | Product reviews |
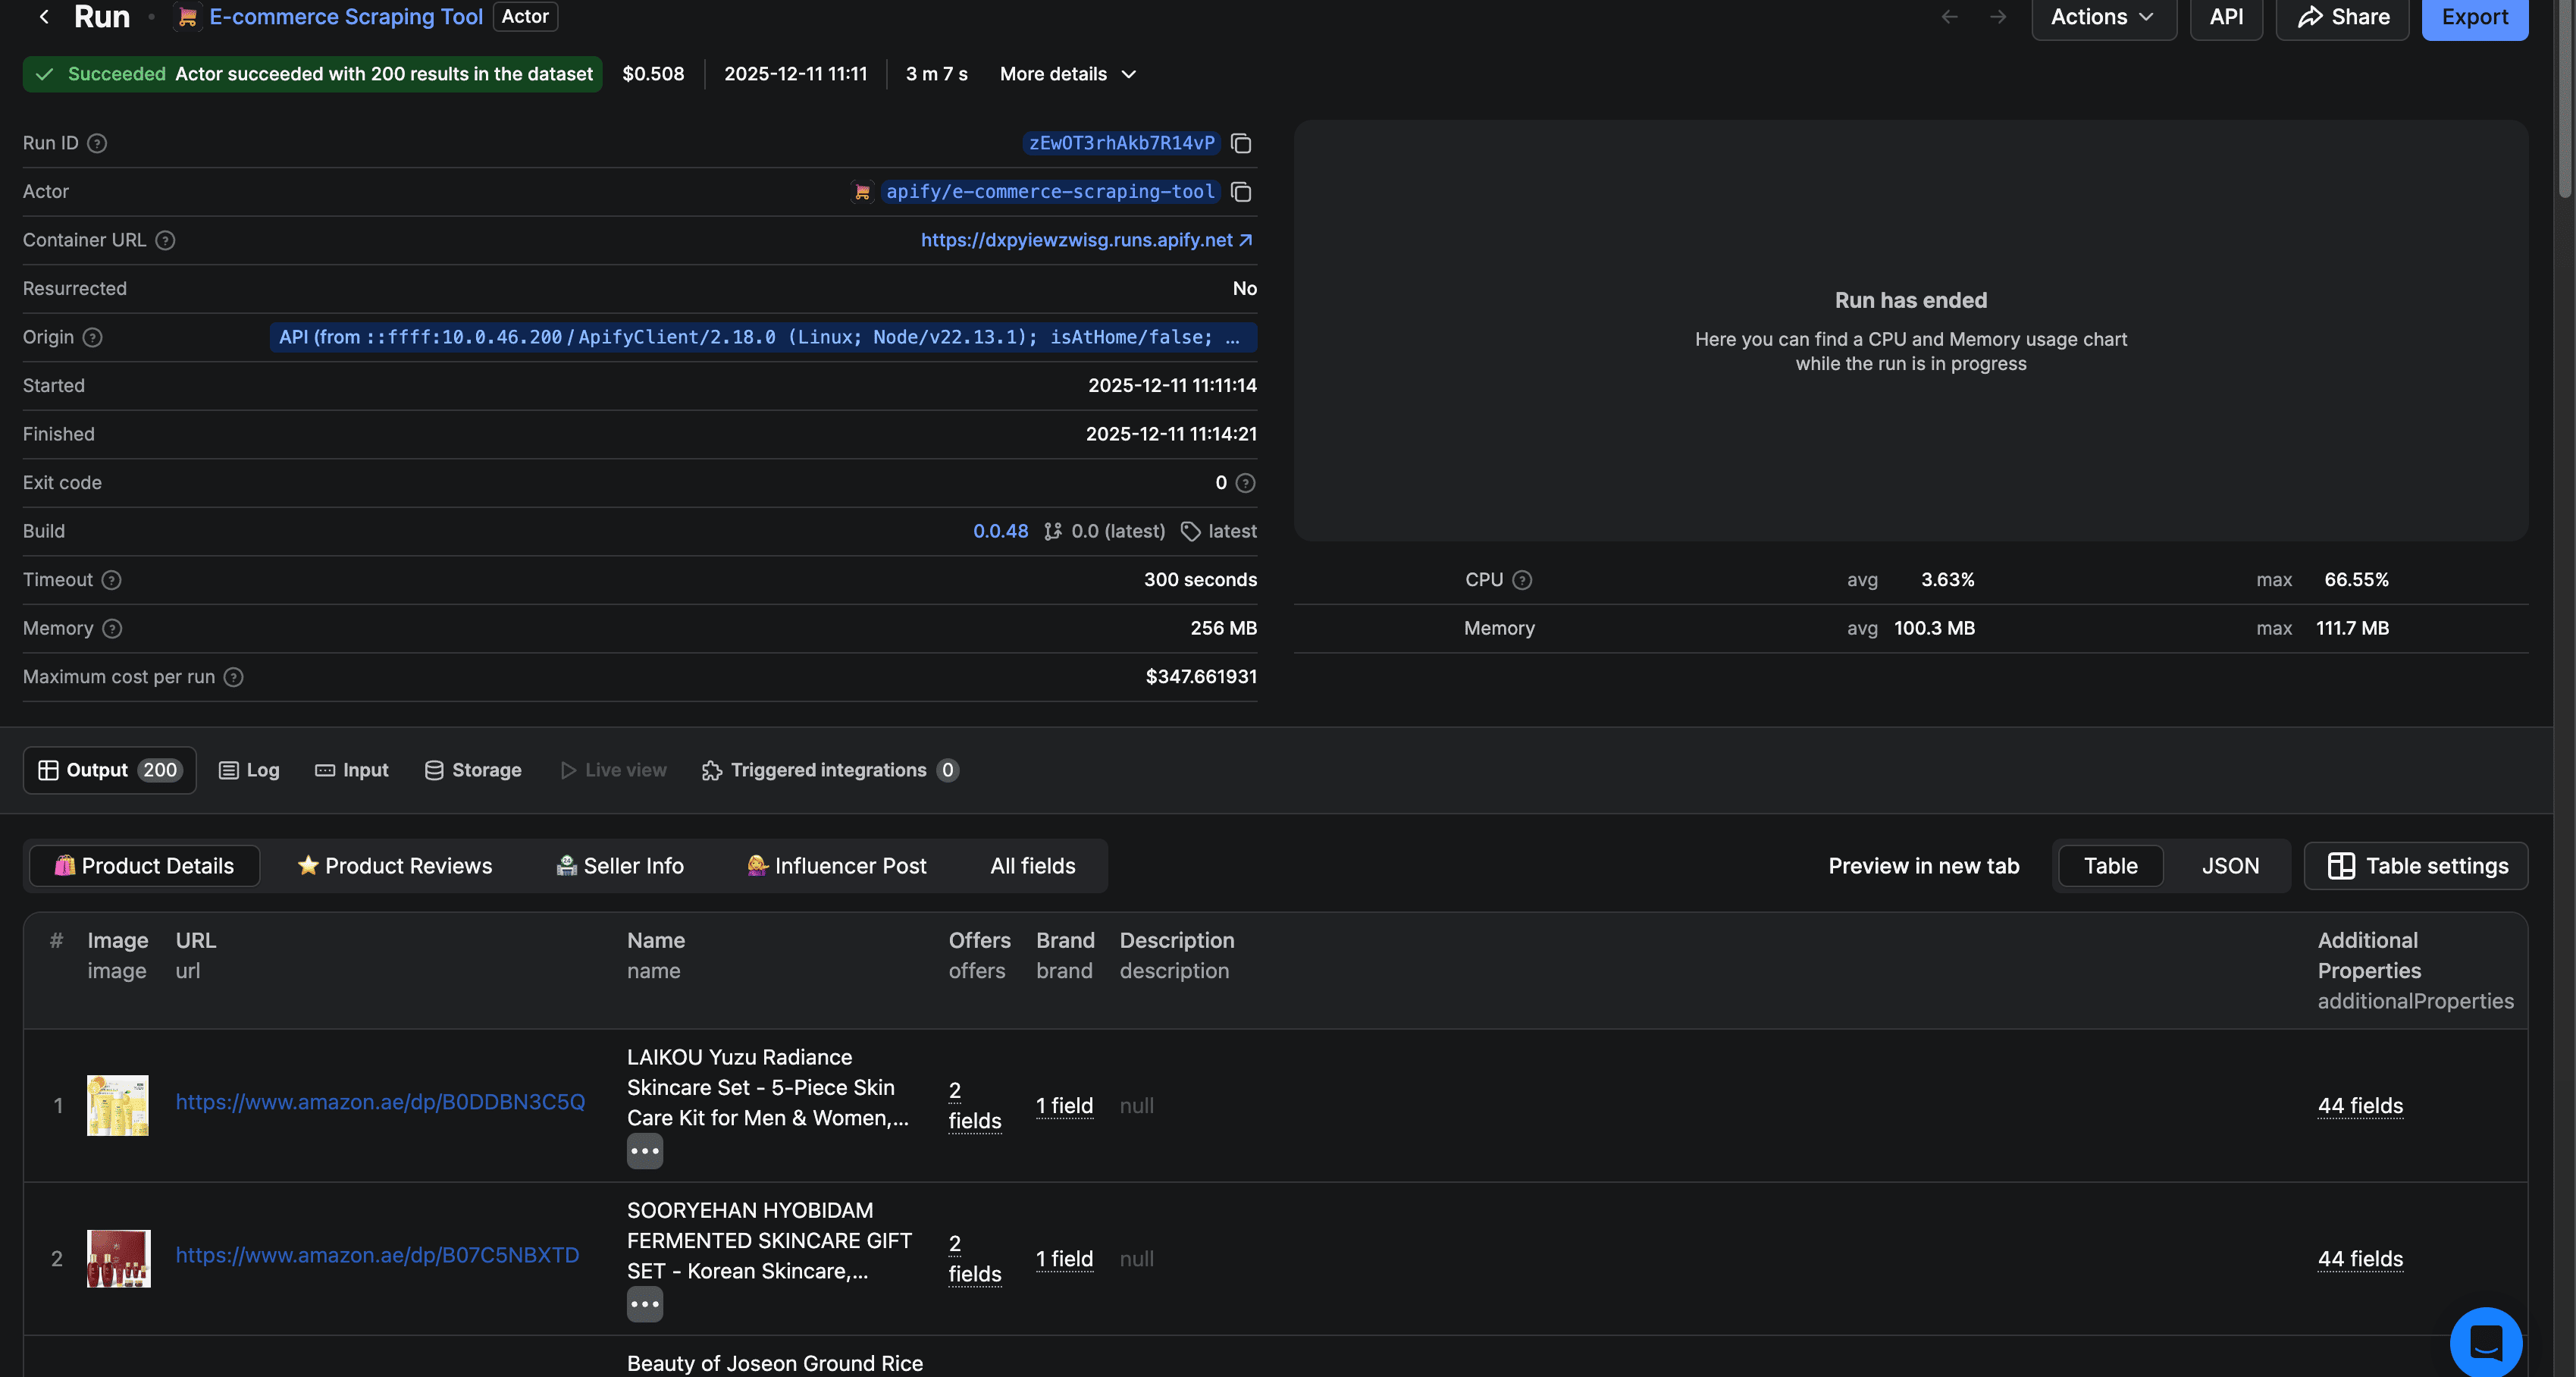
Step 2: Analyze competitor products
Next, gather pricing intelligence:
Now use the e-commerce scraper to find luxury skincare products on Amazon.ae.
Search for "luxury skincare" and "premium moisturizer".
Get me product names, prices, brands, and bestseller rankings.
The AI will extract structured data:
| Product | Brand | Price (AED) | Bestseller rank |
|---|---|---|---|
| Triple Collagen Serum | medicube | 36.69 | #13 |
| Fermented Skincare Gift Set | Sooryehan | 517.00 | N/A |
| Rice and Honey Glow Mask | Beauty of Joseon | 64.00 | #28 |
Step 3: Generate insights
Finally, ask for analysis:
Based on the TikTok influencer data and e-commerce product data you just collected:
1. What price range should a new luxury skincare brand target?
2. Which influencers would be best for partnerships?
3. What product categories have gaps in the market?
The AI synthesizes both datasets to provide actionable market insights without leaving Cursor.
What you can build with Apify and Cursor
The MCP integration opens up countless possibilities for developers:
- Price monitoring systems: Build automated competitor price tracking that runs from your IDE
- Lead generation tools: Scrape business directories and enrich data in real-time
- Content research: Analyze social media trends and viral content for marketing insights
- SEO analysis: Extract competitor keywords, backlinks, and ranking data
- Market research: Combine multiple data sources for comprehensive market analysis
- Product research: Compare features and pricing across e-commerce platforms
- Review analysis: Aggregate and analyze customer reviews from multiple sources
The key advantage is that these tools work contextually within your development workflow. The AI understands your project context and can apply scraped data directly to your code, documentation, or analysis.
Monitoring your MCP usage
All MCP server calls are logged in Apify Console:
- Runs tab: View all Actor executions triggered via MCP
- Datasets: Access the raw data collected by your scrapers
- Logs: Debug any issues with your MCP configuration
- Usage: Monitor API credits and costs
Tips for effective MCP usage
Start specific: Give clear, detailed prompts. Instead of "scrape Amazon", say "scrape the top 50 luxury skincare products on Amazon.ae including prices, ratings, and seller information."
Chain operations: Build complex workflows step by step. First scrape, then analyze, then export — let AI handle each stage.
Use the right tools: For single pages, use RAG Web Browser. For structured e-commerce data, use specialized scrapers. For social media, use platform-specific Actors.
Monitor costs: Some Actors charge per result or per run. Check pricing on Apify Store before running large jobs.
Save configurations: Keep your MCP server URL handy — you can customize it for different projects by adding or removing Actors.
Next steps
Now that you have Apify MCP connected to Cursor, here's how to go further:
- Explore Apify Store: Browse 10,000+ Actors for any data source you need
- Build custom Actors: Create your own scrapers using Crawlee and expose them via MCP
- Try other clients: Connect the same MCP server to Claude Desktop, VS Code, or ChatGPT
- Join the community: Get help and share ideas on the Apify Discord
- Read the docs: Deep dive into MCP configuration options
The combination of Cursor's AI coding capabilities and Apify's web scraping tools creates a powerful research and development environment. Whether you're building market intelligence dashboards, competitive analysis tools, or data-driven applications, MCP makes it possible to gather the data you need without leaving your IDE.
Ready to get started? Visit mcp.apify.com to configure your MCP server and click the Cursor install button to connect in seconds.