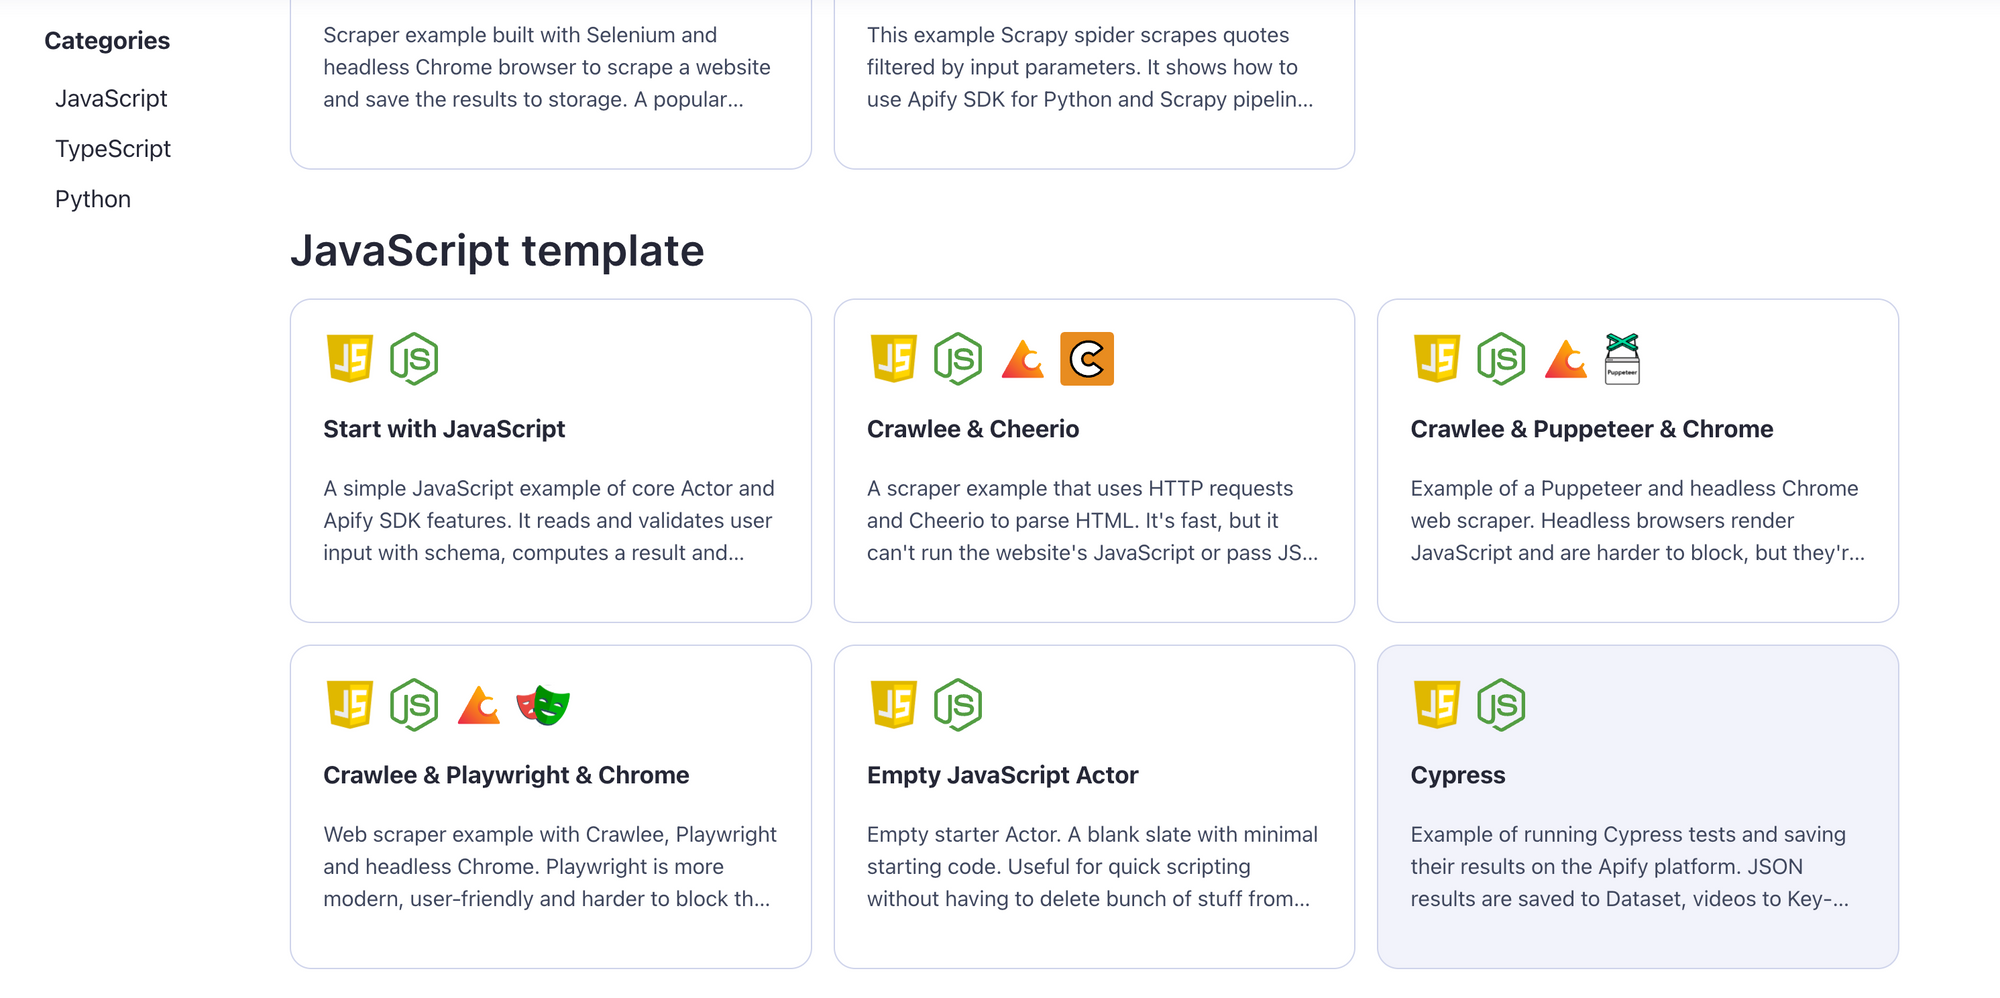
If you're already using Apify and have Cypress code that needs a home, you're in luck. We created Cypress Test Runner to make running Cypress tests on the Apify web scraping platform a breeze. Let's see how you can use it.
☁️ Cloud alternatives for testing
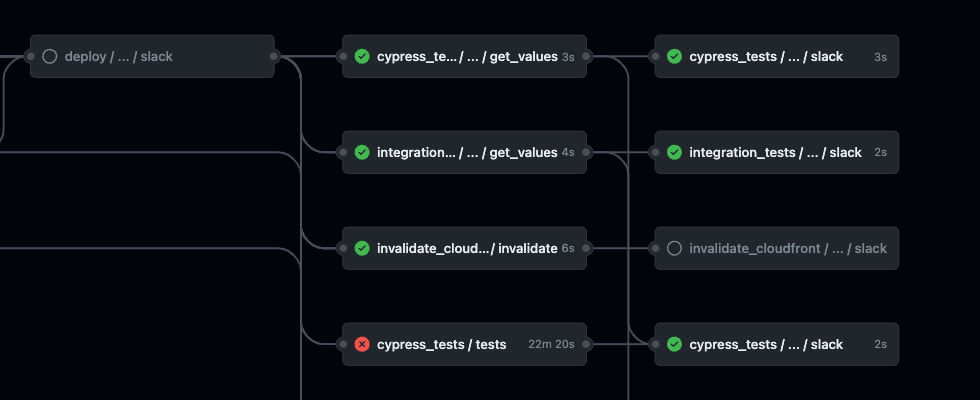
When it comes to running your Cypress tests in the cloud, there are a few options available:
- Cypress Cloud and its alternatives. Cypress Cloud provides a hosted solution for running your Cypress tests, allowing you to execute your tests on a remote infrastructure efficiently. There are also open-source alternatives for running Cypress tests and collecting test results.
- Run it in CI/CD pipelines. Integrating your Cypress tests into your CI/CD pipelines is another practical approach – tested and used by us here at Apify daily. By plugging your tests into your existing processes, such as to GitHub Actions, you can seamlessly incorporate testing into your development workflow.
🥾Guide on how to deploy and schedule Cypress tests in the cloud
If you want to set regular runs for your Cypress tests in the Apify cloud, follow these steps:
Step 1. Choose Cypress Test Runner

Head over to Apify Store and search for Cypress. You'll find the Cypress Test Runner 🔗. Click Try for free and sign in using your email to get started.
Step 2. Record or write your tests

Of course, you can add manually written tests as well. But by using the Cypress Test Recorder extension, you can make your test writing faster. Check out our guide 🔗 on how to record your tests using the Cypress Recorder Extension in Chrome.
Step 3. Export and paste your tests
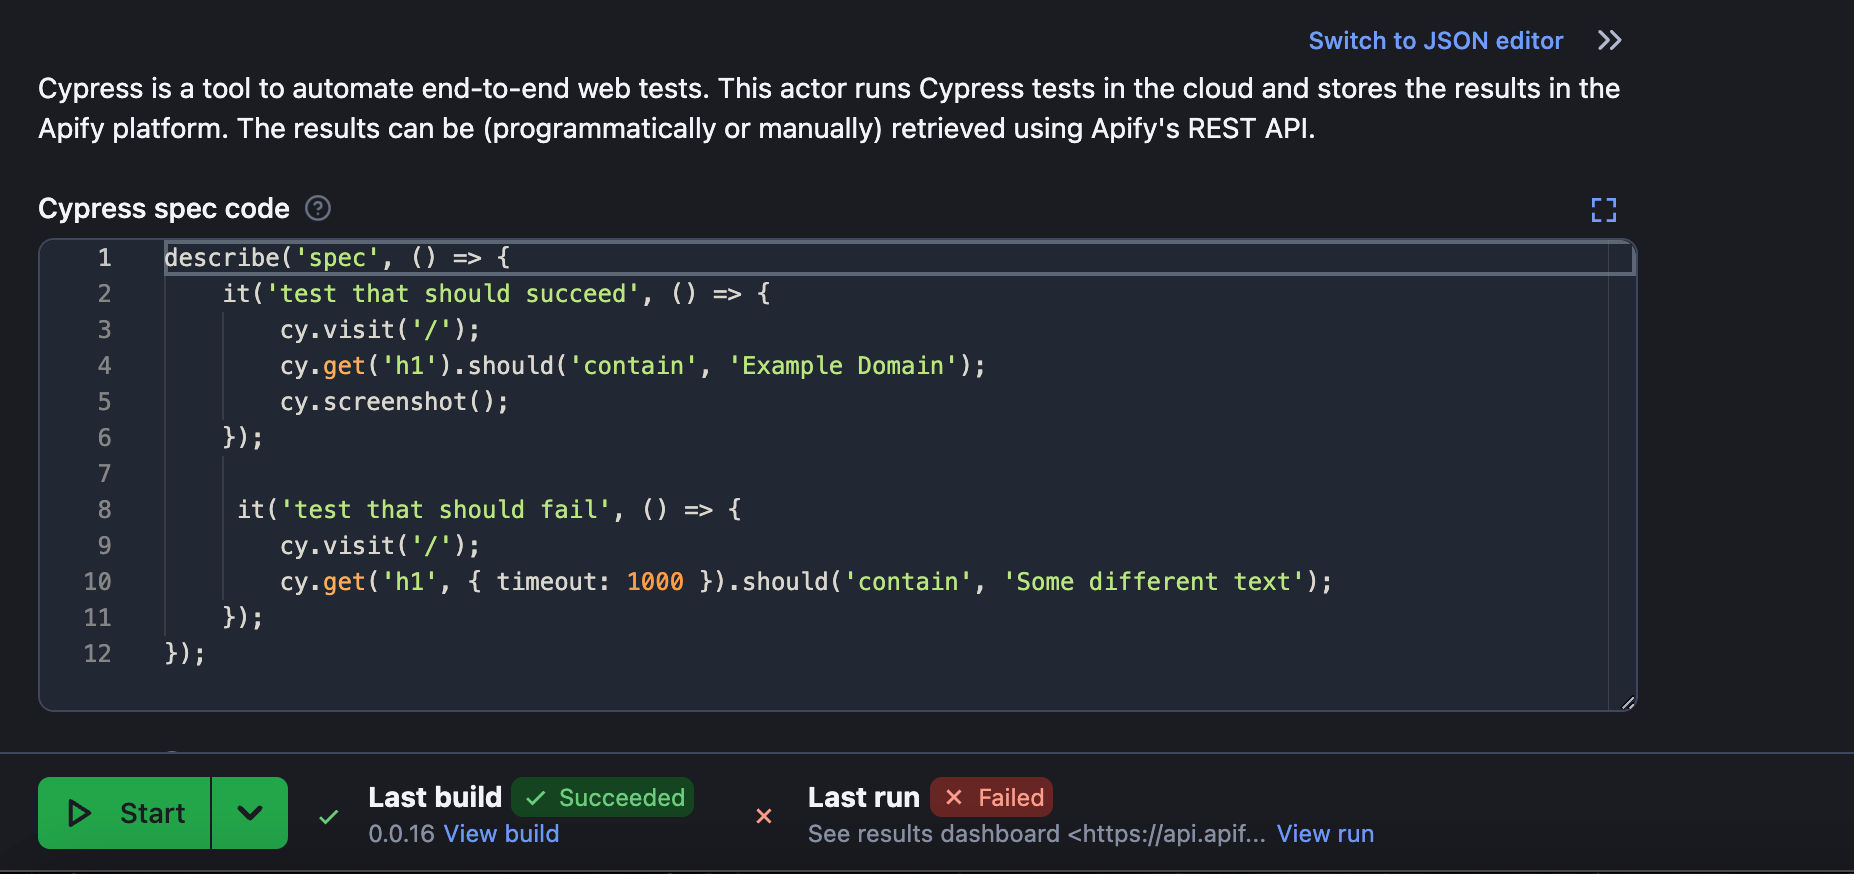
After recording your tests, export them from the Recorder and paste the test code into Cypress Test Runner. This step allows you to set up the runner with your specific tests for execution.
Step 4. Start the run
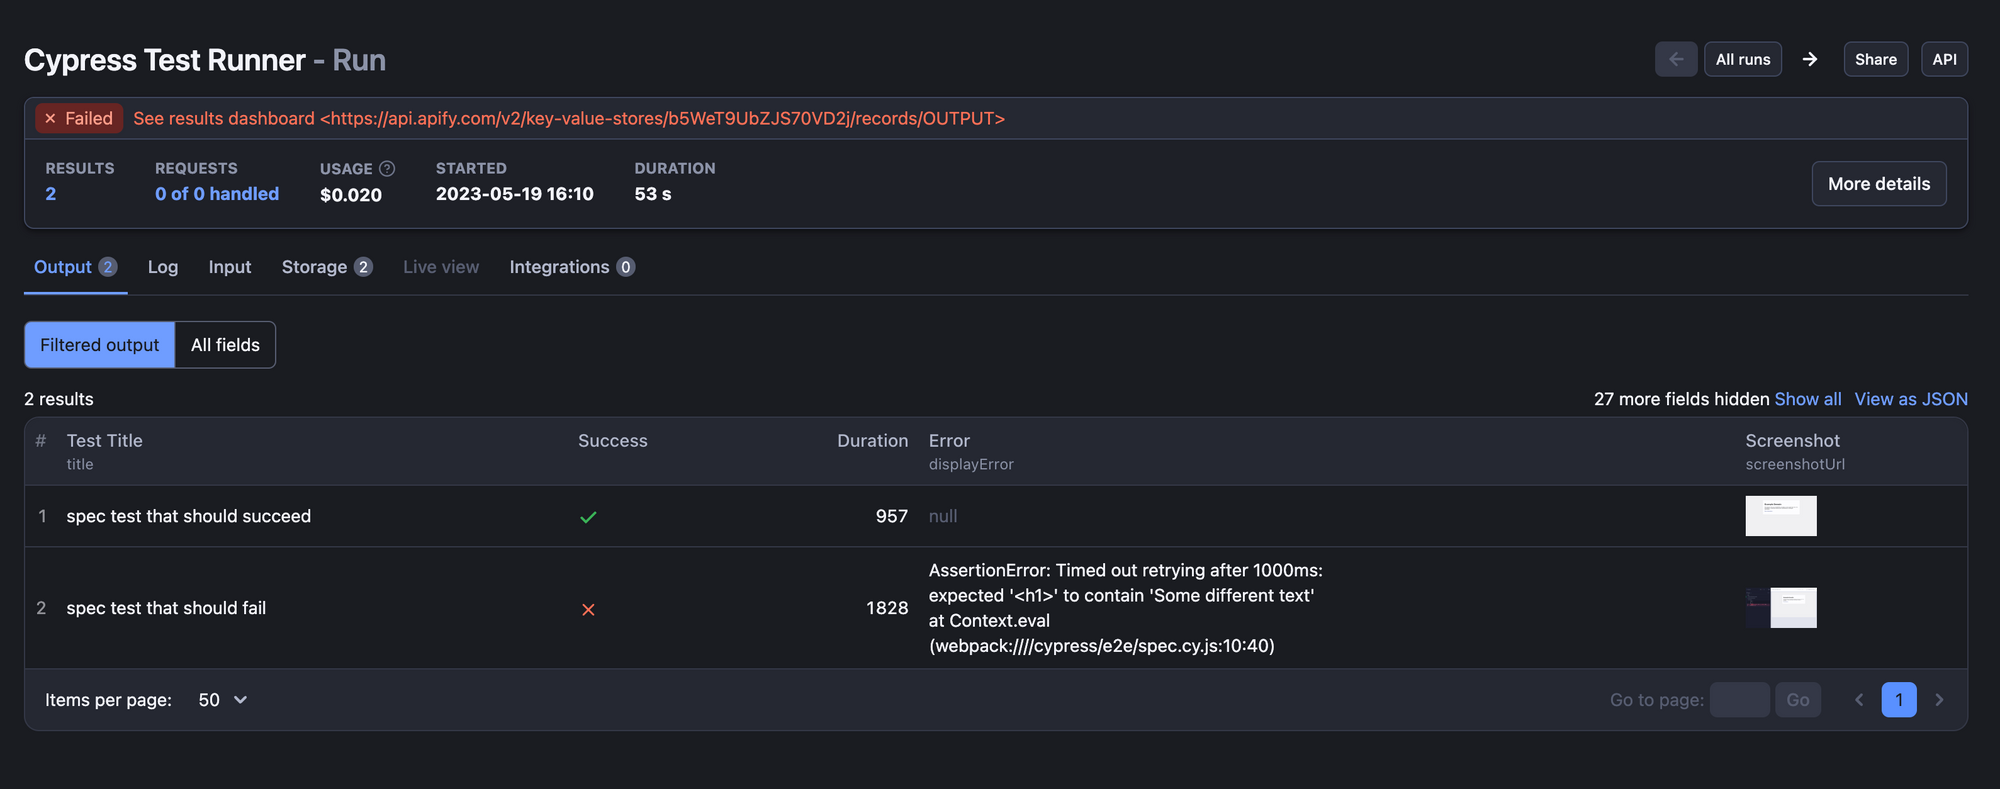
Now click on Start and wait for the run to complete the test. Once your tests are done running, you'll see the Status of the run change to ✅ Succeeded or ❌ Failed. If any of your Cypress tests fail, the whole run will be marked as Failed.
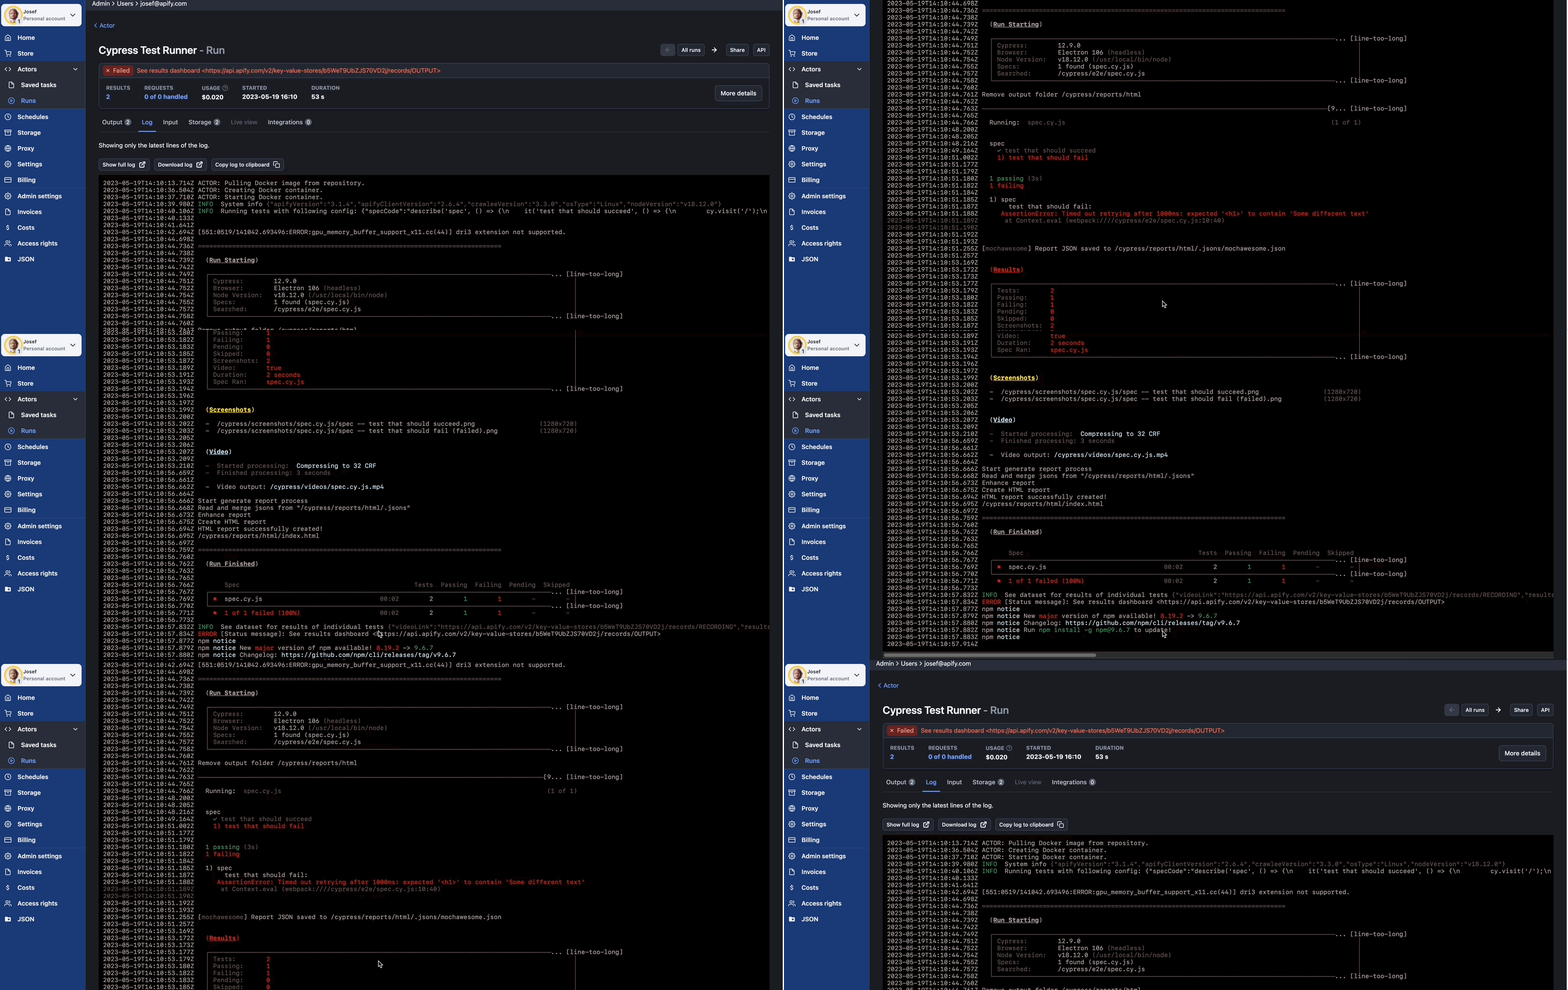
You can also check the full log of every test run.
Step 5. Check the dashboard
To see the test results, copy the dashboard link on the Run panel. The dashboard will provide valuable insights into your test runs, including detailed test results, metrics, and visual aids. You can use this information to analyze the performance and identify any issues or areas for improving your tests.
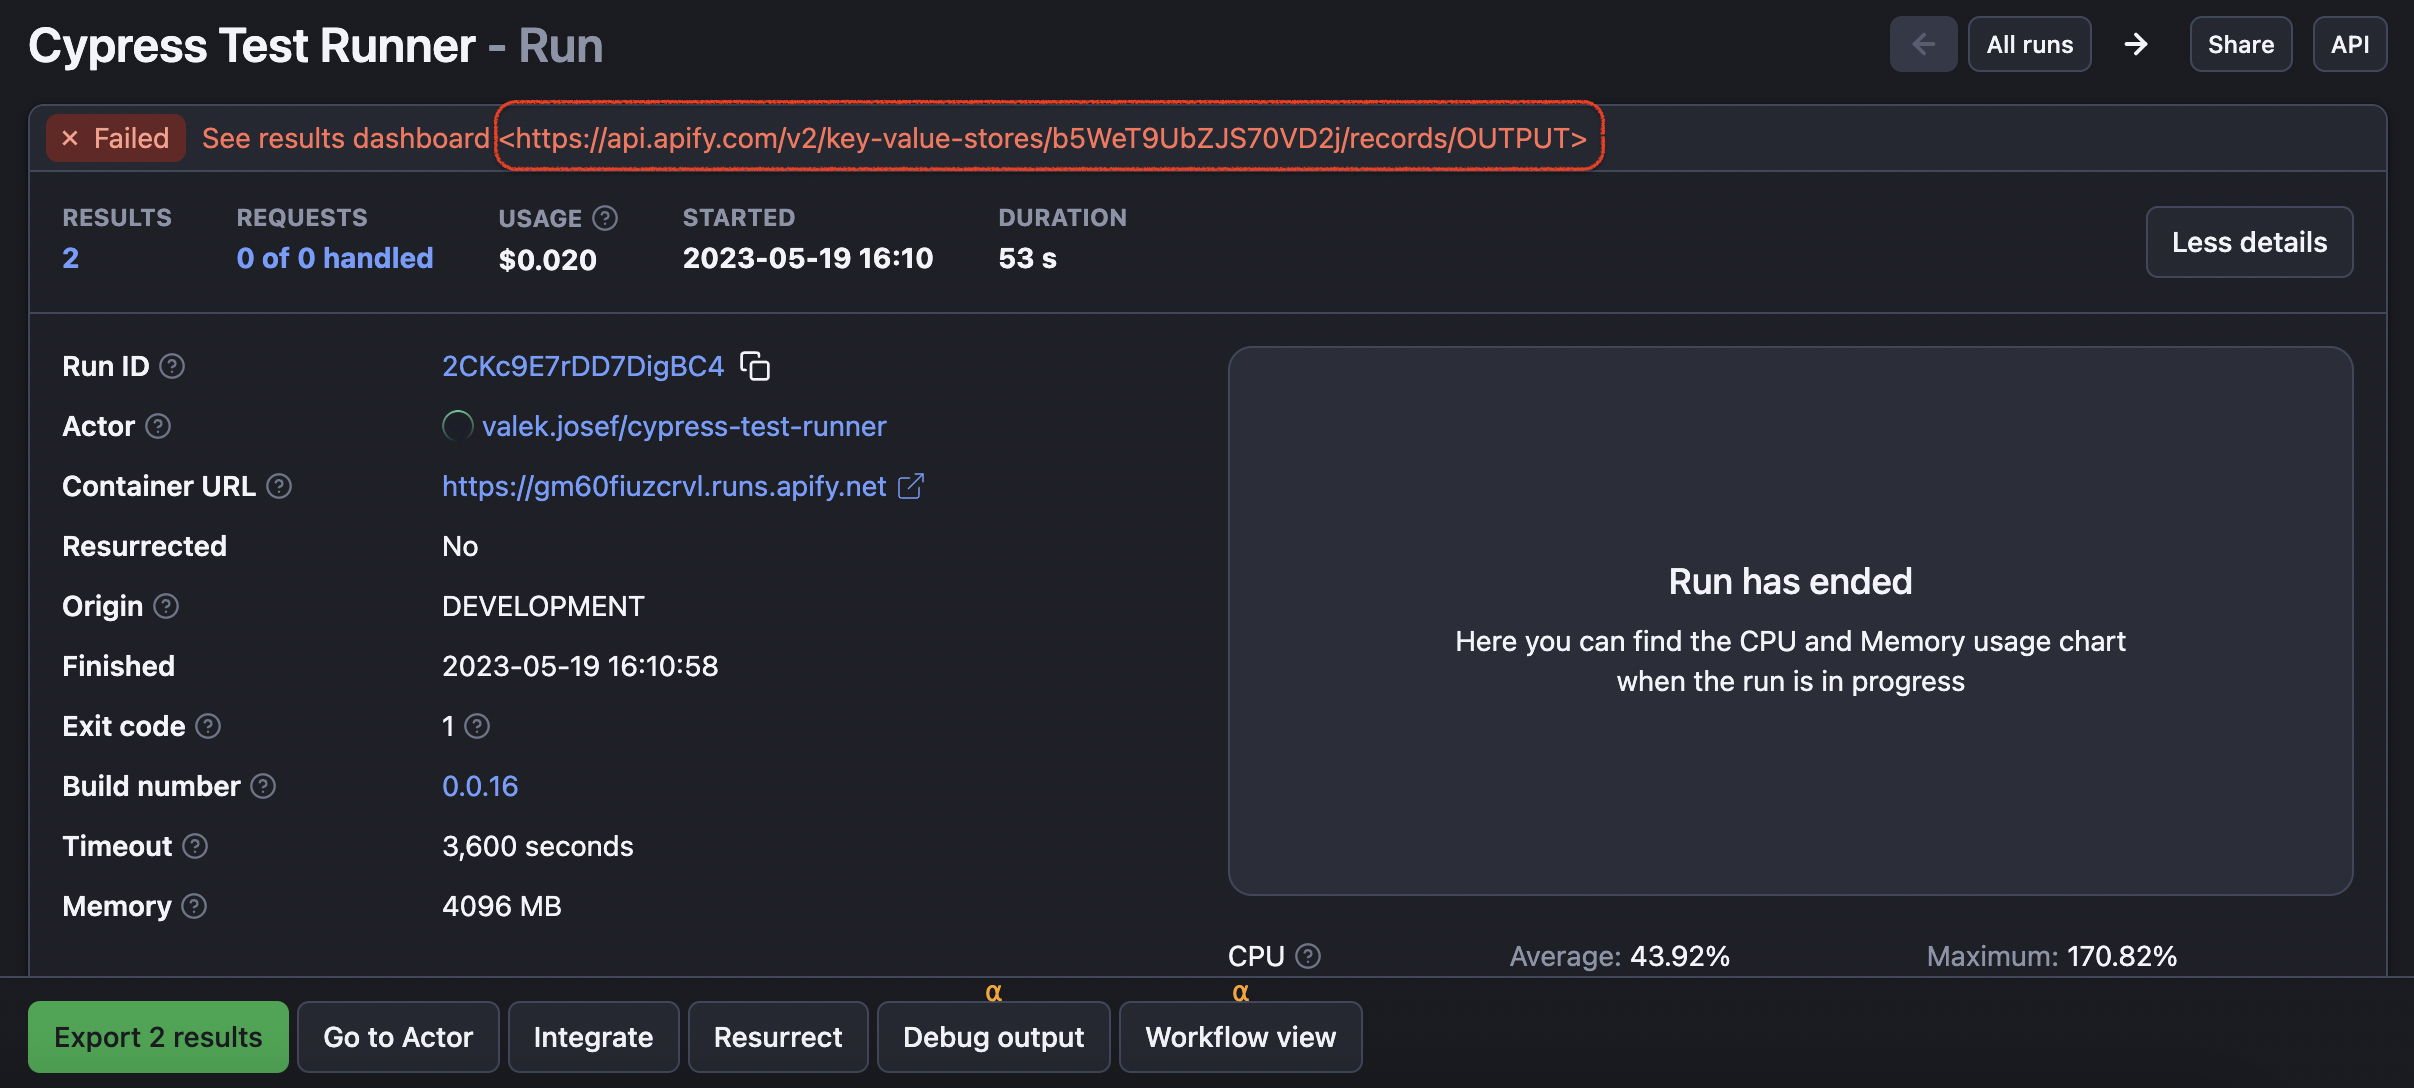
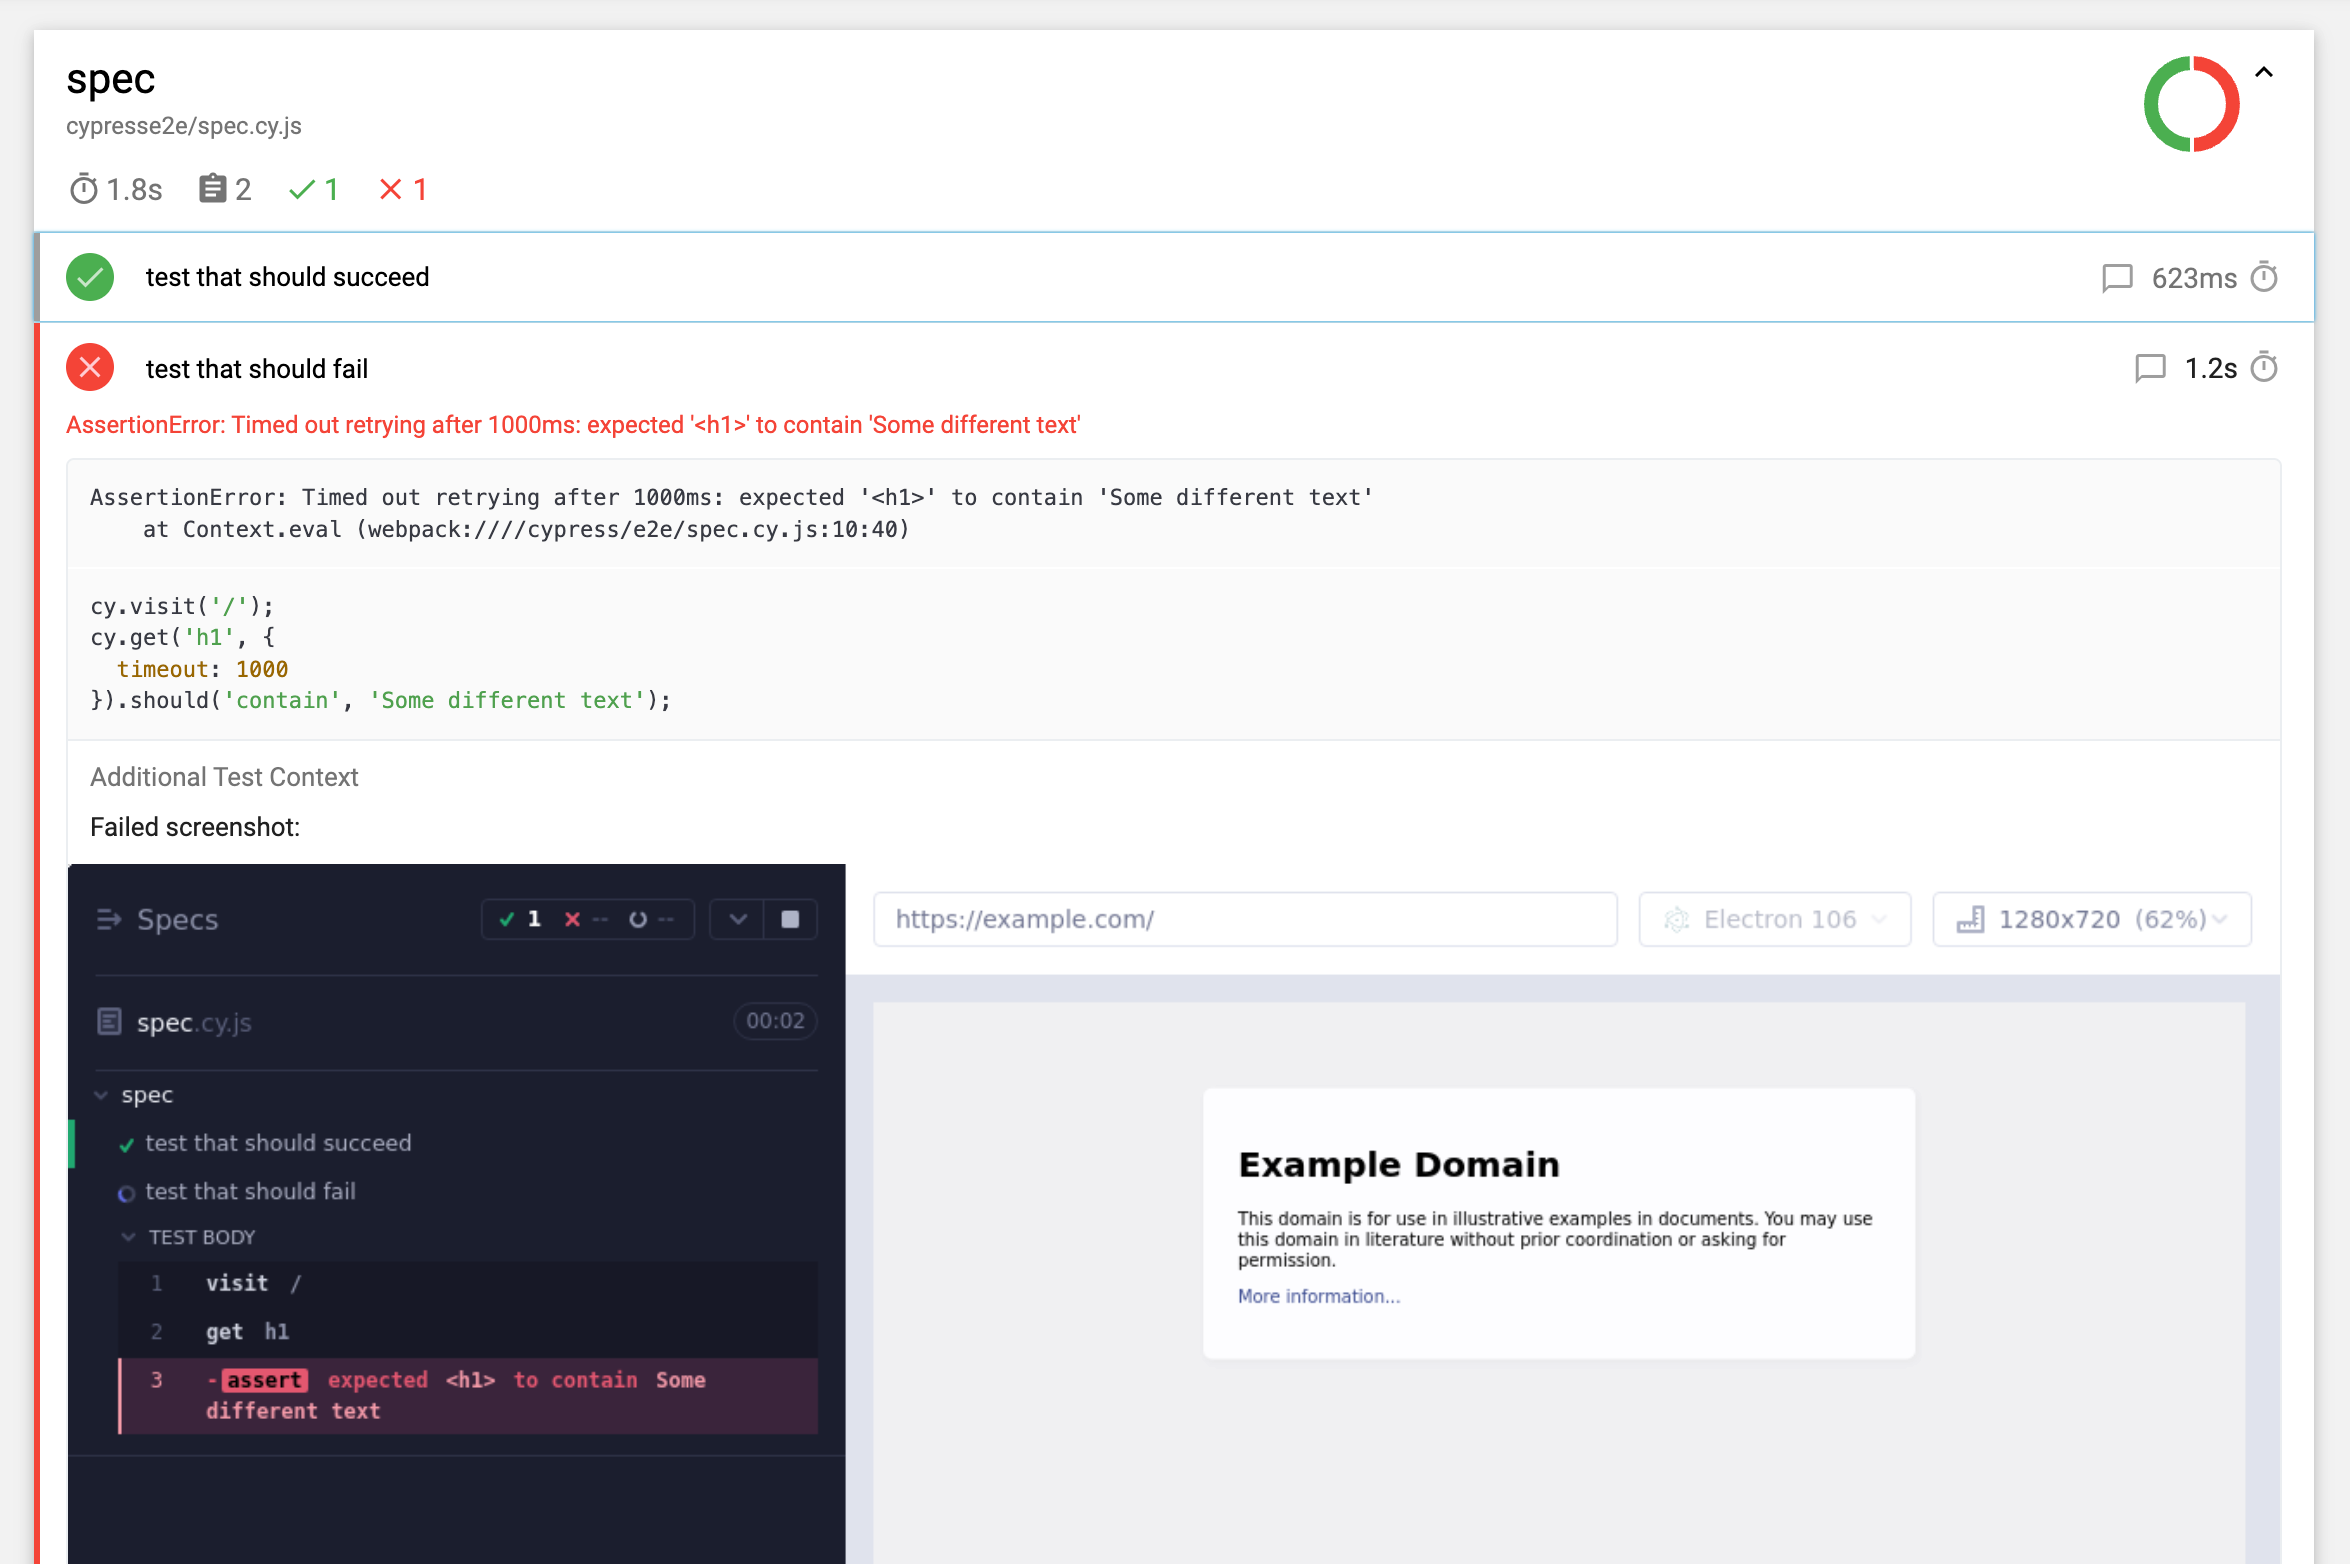
Step 5. Check the dashboard
Step 6. Save your run as a task
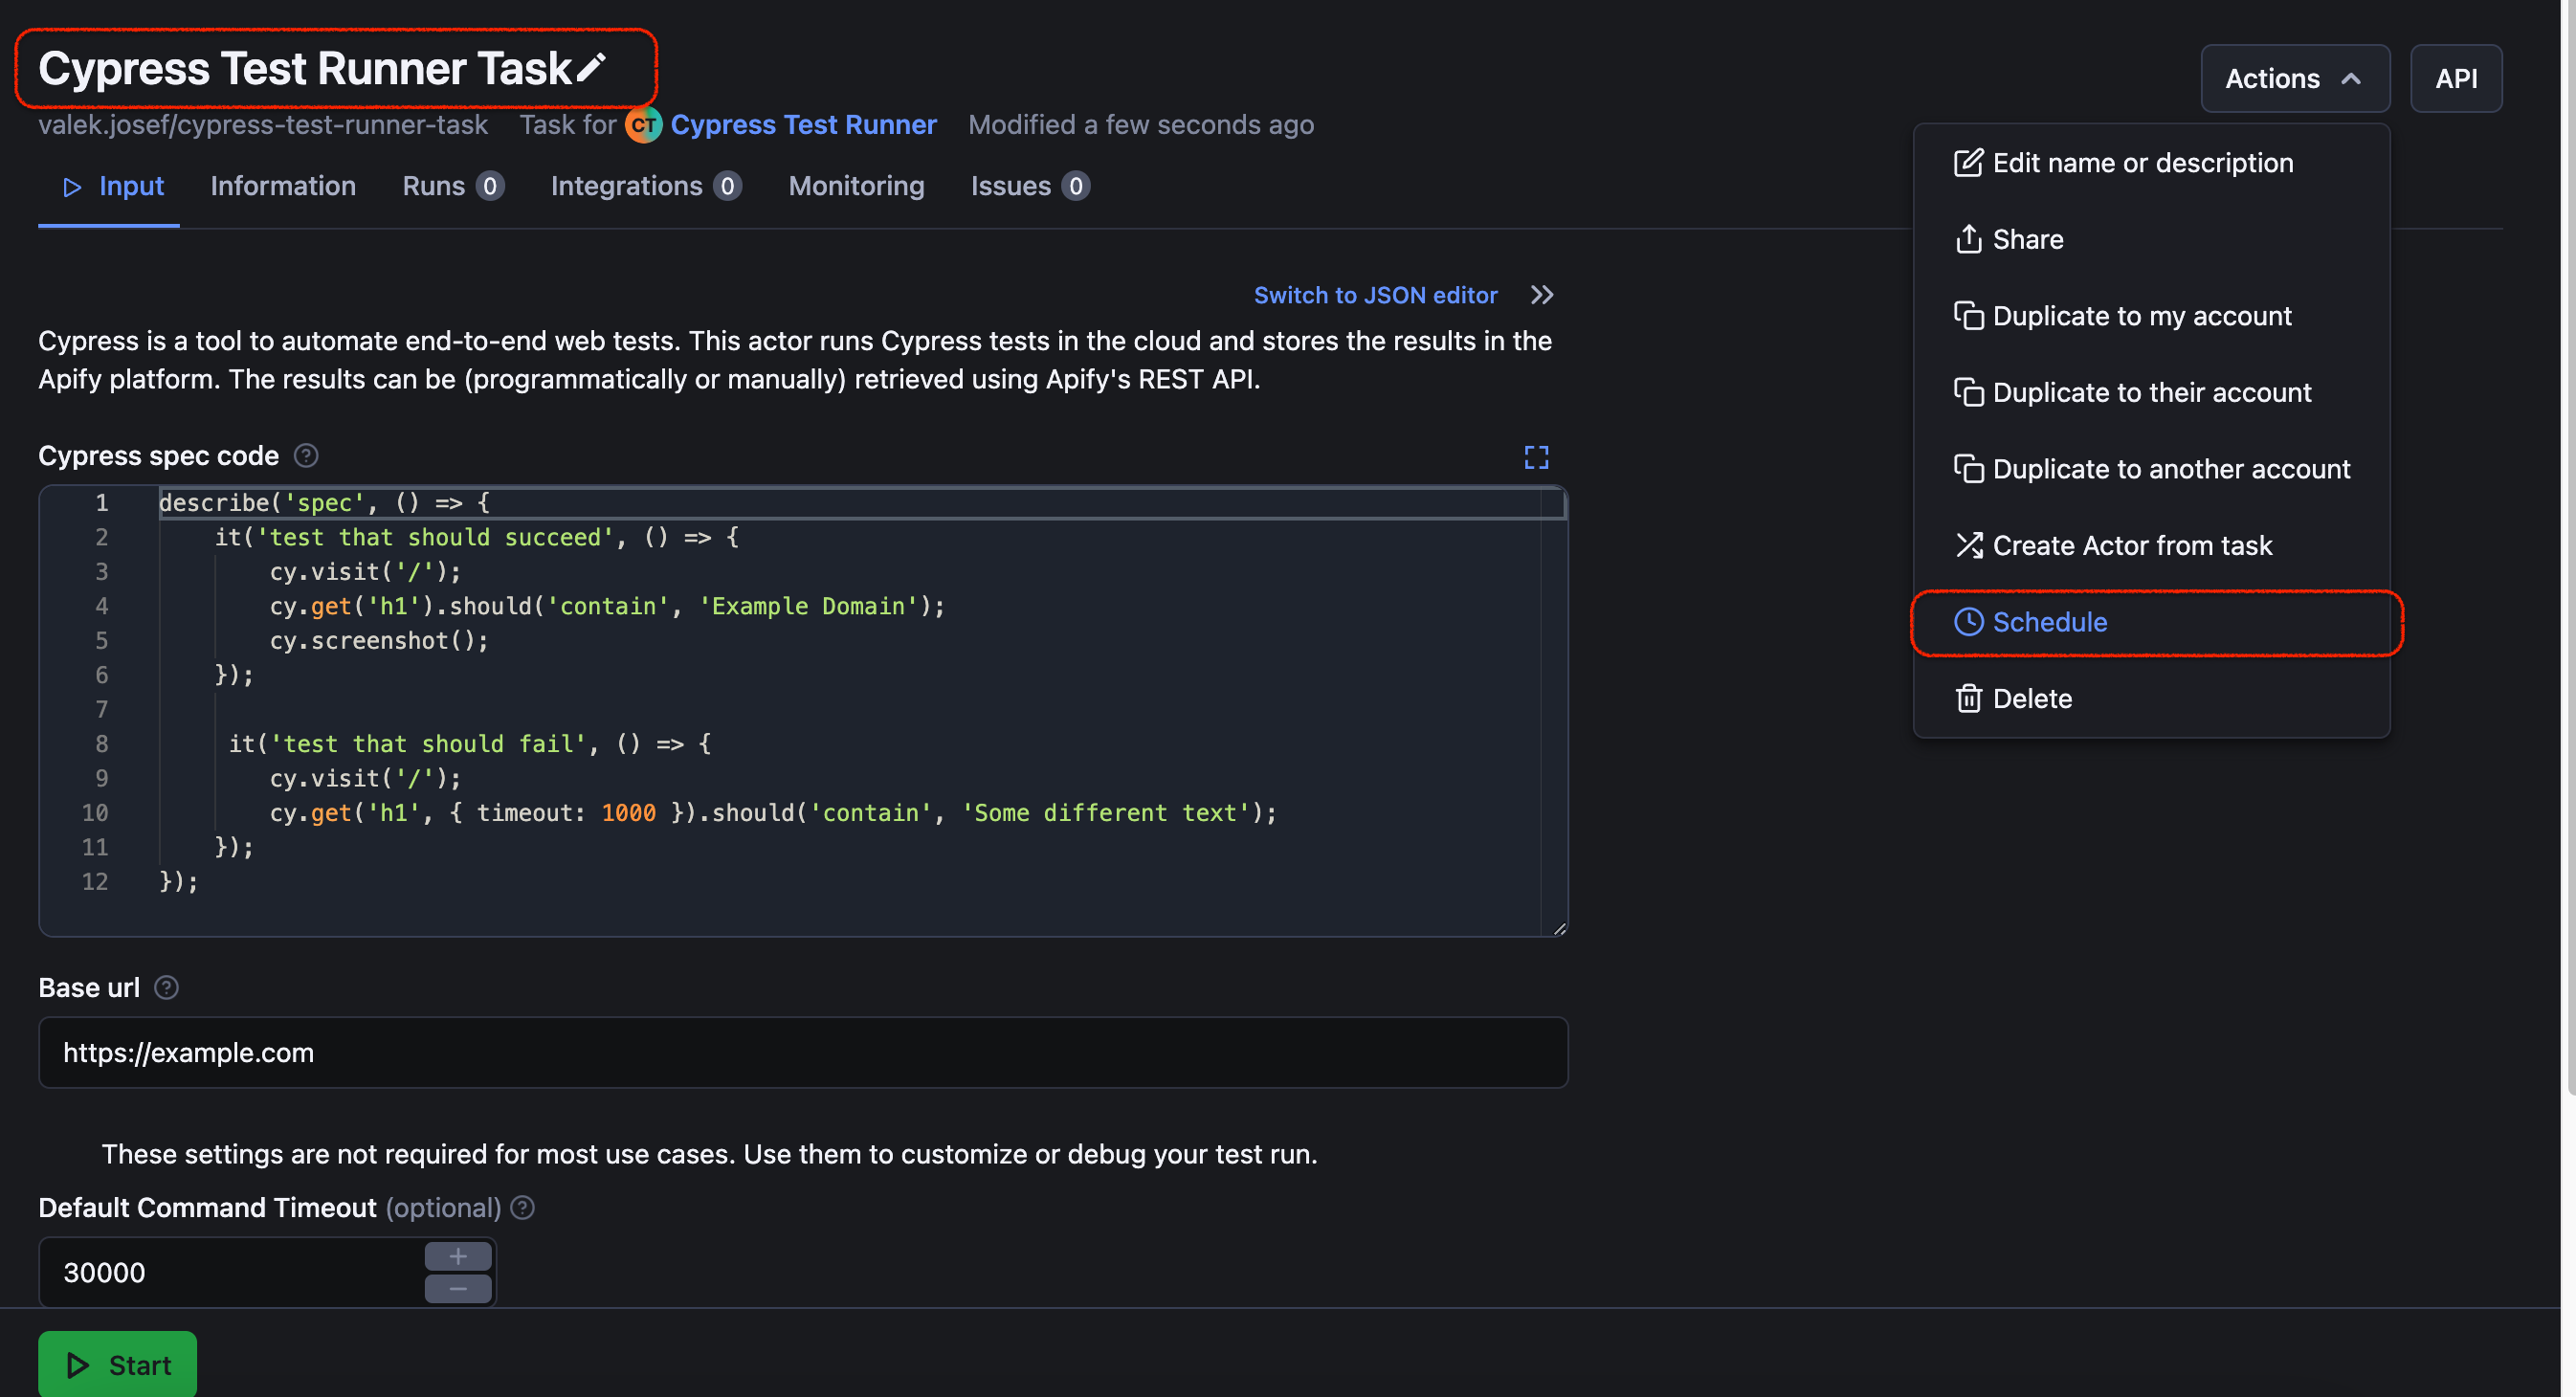
If you want to schedule your test to run regularly, you'll have to create a Task. To create a Task, simply head for the Input of your Run and click Save input to a new task.
Now name your task, tweak the Input if needed, and click Schedule.
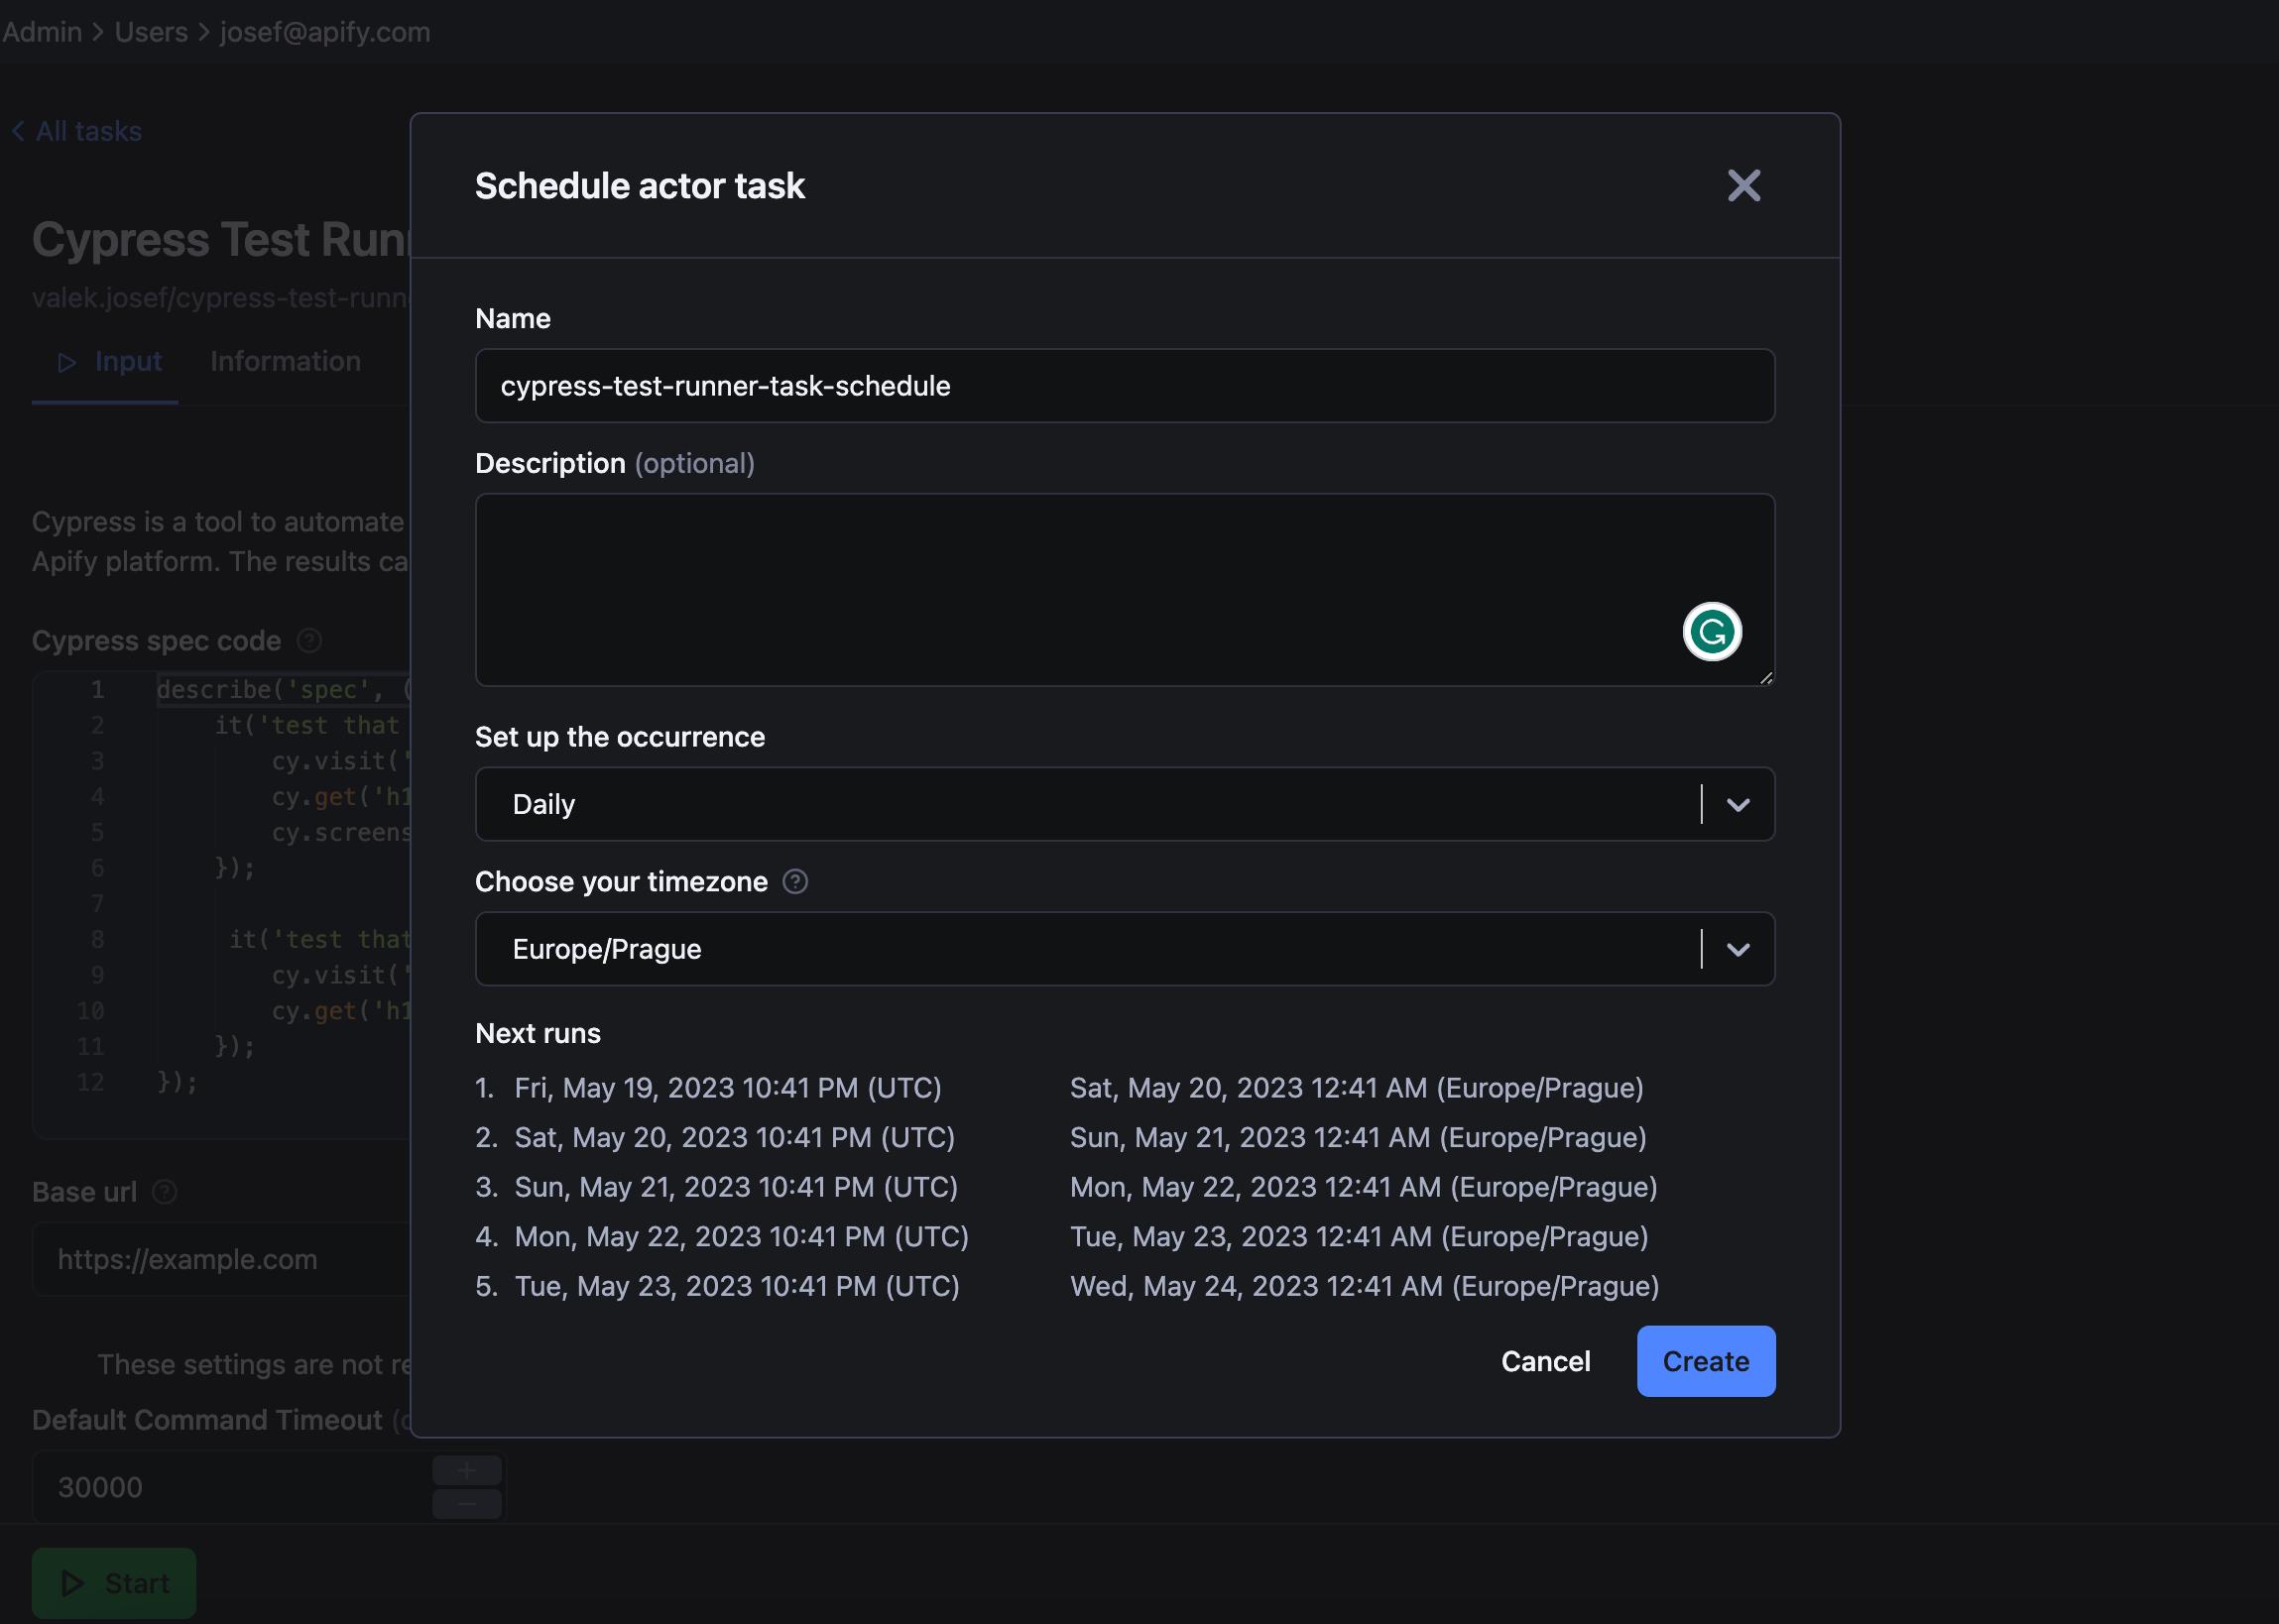
Step 7. Schedule your test to run hourly, daily, etc.
One last thing to do: choose how often you want the Cypress test to run (weekly, monthly, daily, hourly, custom time, or by cron expression). Don't forget to pick your time zone so the run happens exactly when you need it to.
Following these steps with Cypress Test Runner, you can effortlessly deploy and schedule your Cypress tests in the Apify cloud. Enjoy the benefits of running your tests remotely, gaining valuable insights, and improving the quality of your software.
📇 Template for Cypress Actors
If you prefer to build your Cypress Actor, we have a template available to help you get started. This template is the foundation for any container with Cypress tests (including the one this tutorial is about). It helps our users to create their own Cypress testing solutions faster. Try it and see if it helps you, too!
