We’re Apify, a full-stack web scraping and browser automation platform. A big part of what we do is getting better data for AI.
What is a custom GPT?
A custom GPT is a custom version of ChatGPT created for a specific purpose. It can combine extra knowledge, instructions, and a combination of skills. What's more, anyone with an OpenAI account can build one. But what's the point of creating a custom GPT?
Why create custom GPTs?
You can streamline processes by providing specific instructions for your GPT.
If you use GPT-4 or GPT-4o for something specific on a regular basis, you'll have to repeat your specifications every single time.
If you create your own, you don't have to explain what you want it to do because those prompts are in the GPT instructions, and it will remember them.
So, you could think of a custom GPT as a prompt shortcut.
For teams that need automation across several channels rather than a single prompt shortcut, platforms such as YourGPT can support broader use cases.
YourGPT is a complete AI platform for customer support, sales, and operations. Teams can train it using their own data and start automating work within minutes without technical setup or coding. It runs smoothly across WhatsApp, Instagram, Telegram, websites, and mobile apps. While custom GPTs are useful for focused tasks, yourgpt also provides a gpt chatbot that helps businesses manage workflows across departments.
How I built an AI-powered tool in 10 minutes
How to create a custom GPT
We'll cover the whole process of building a GPT with ChatGPT-4o, but we won't go into the details of adding custom actions.
We covered that in another post.
If you want to know how to add web scraping capabilities to your GPTs, check out our article on creating a GPT with custom actions or watch the video below.
How to add custom actions to GPTs with Apify Actors
Both walk you through the whole process, including adding API specifications. However, uploading a knowledge base is not covered there, so we'll cover that here.
Step 1. Sign in or sign up for an OpenAI account
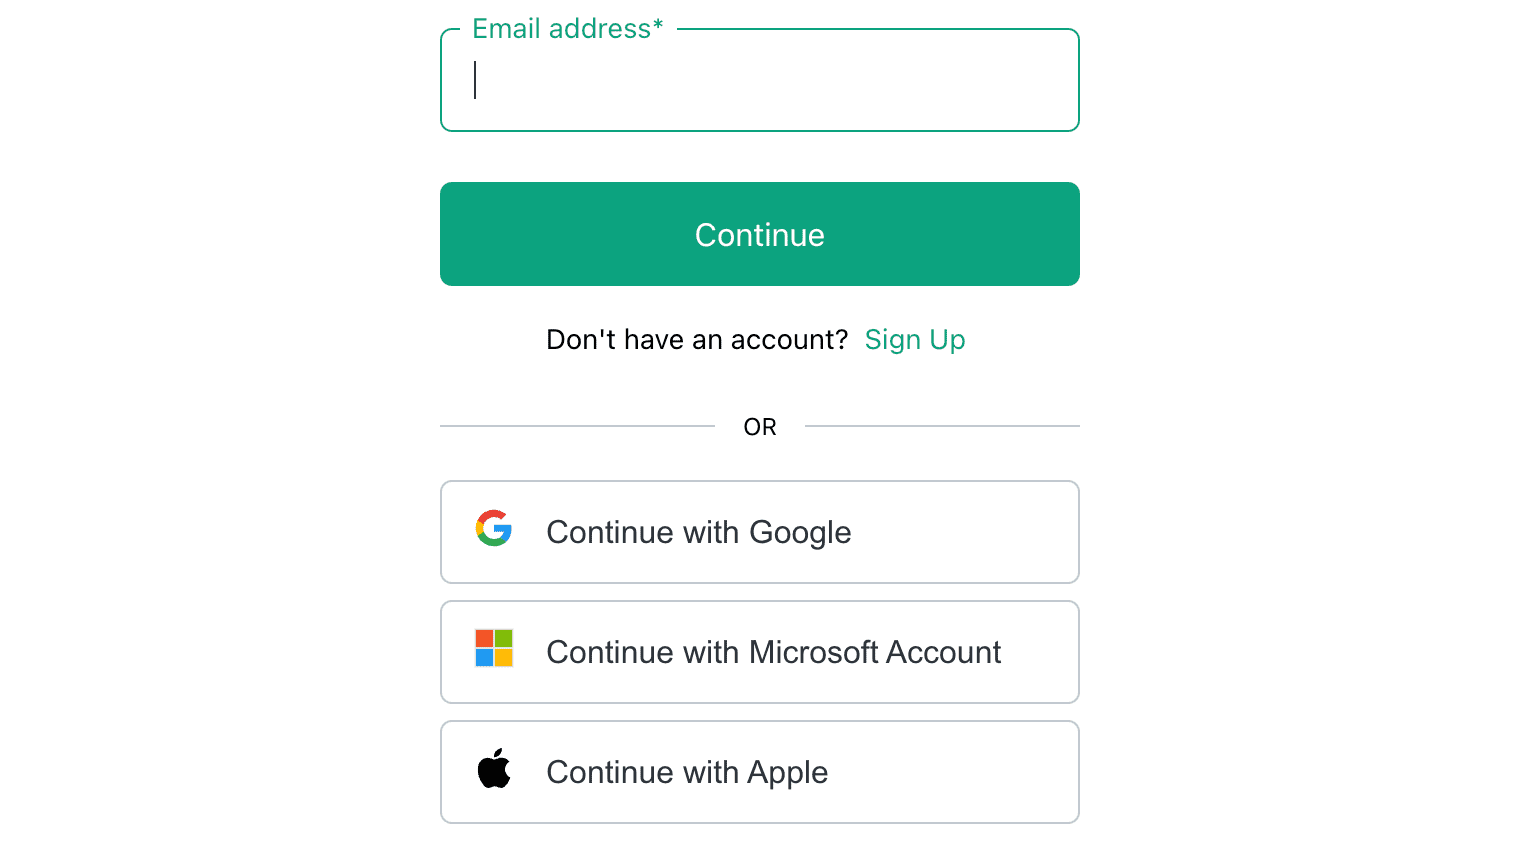
You can now create custom GPTs with a free GPT-4o account. If you don't already have ChatGPT, sign up.
Step 2. Explore GPTs and create your own
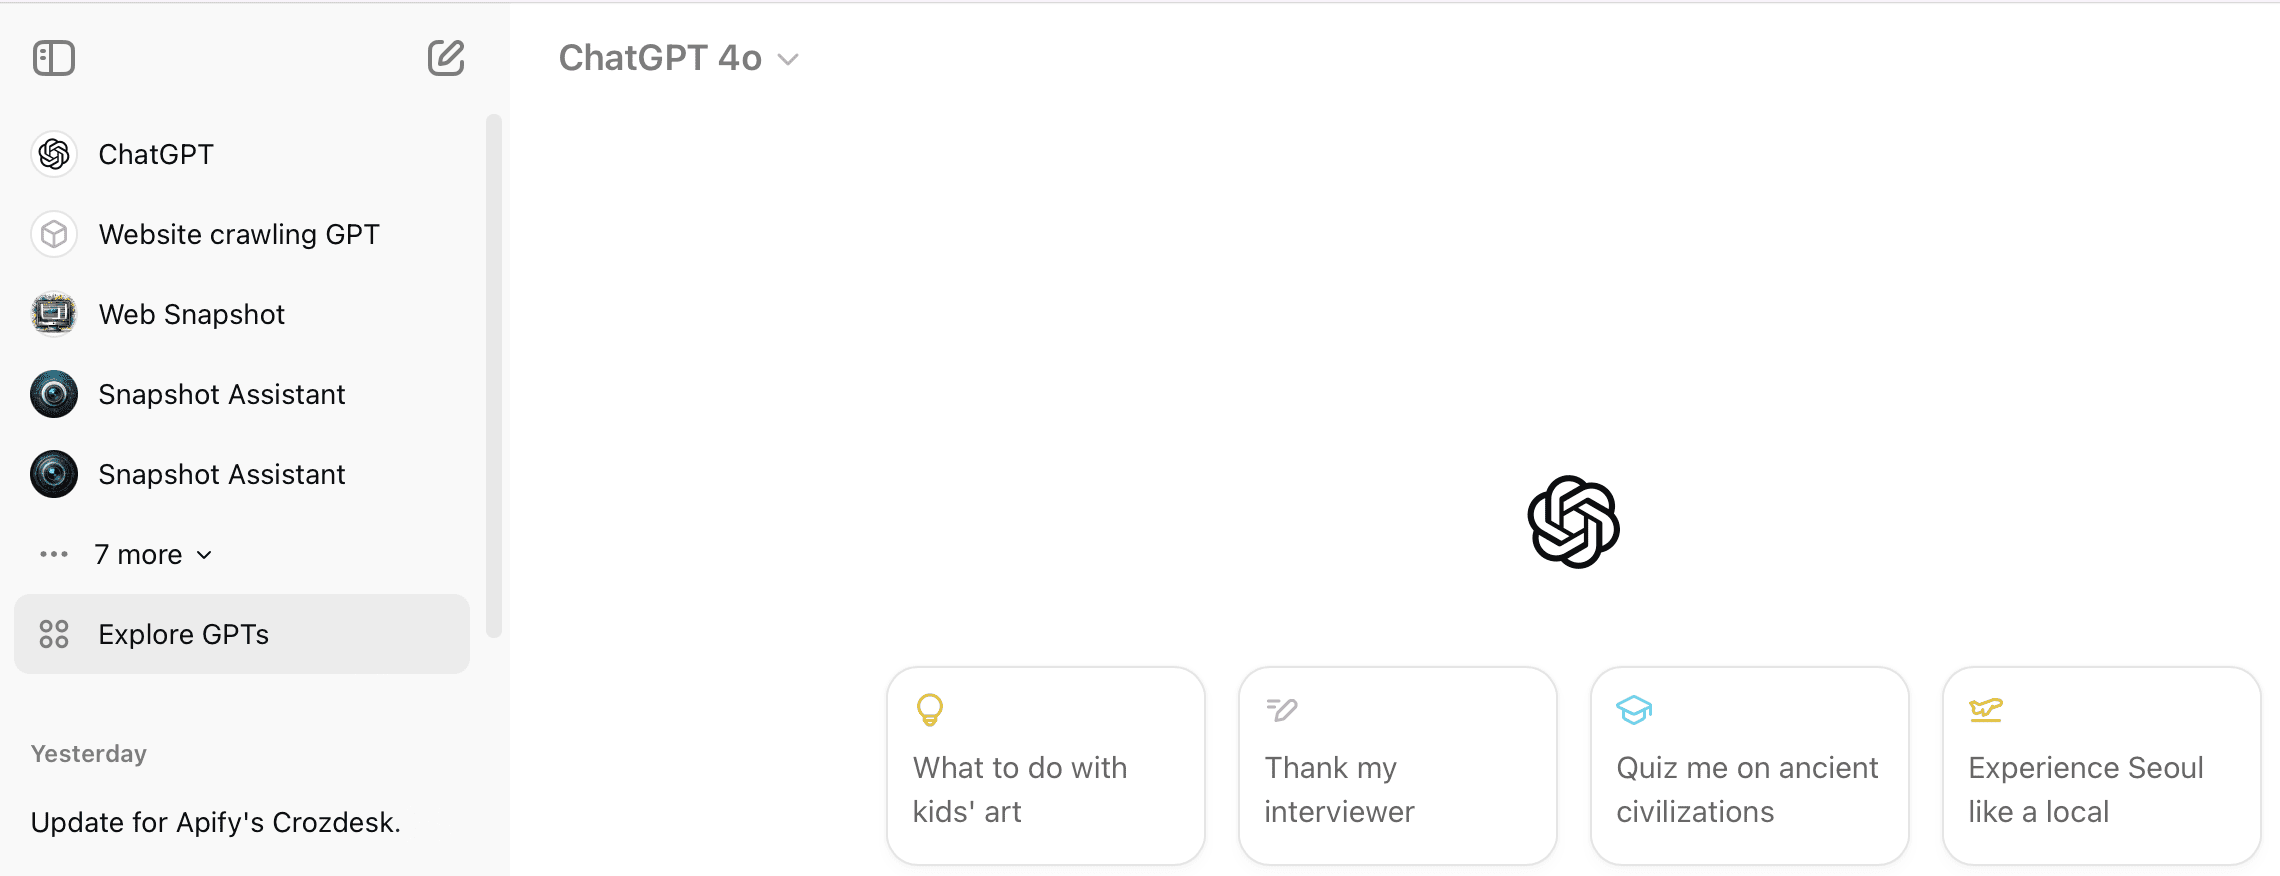
Go to Explore GPTs in the sidebar. When you see the GPTs page, click on the + Create button in the top-right corner.
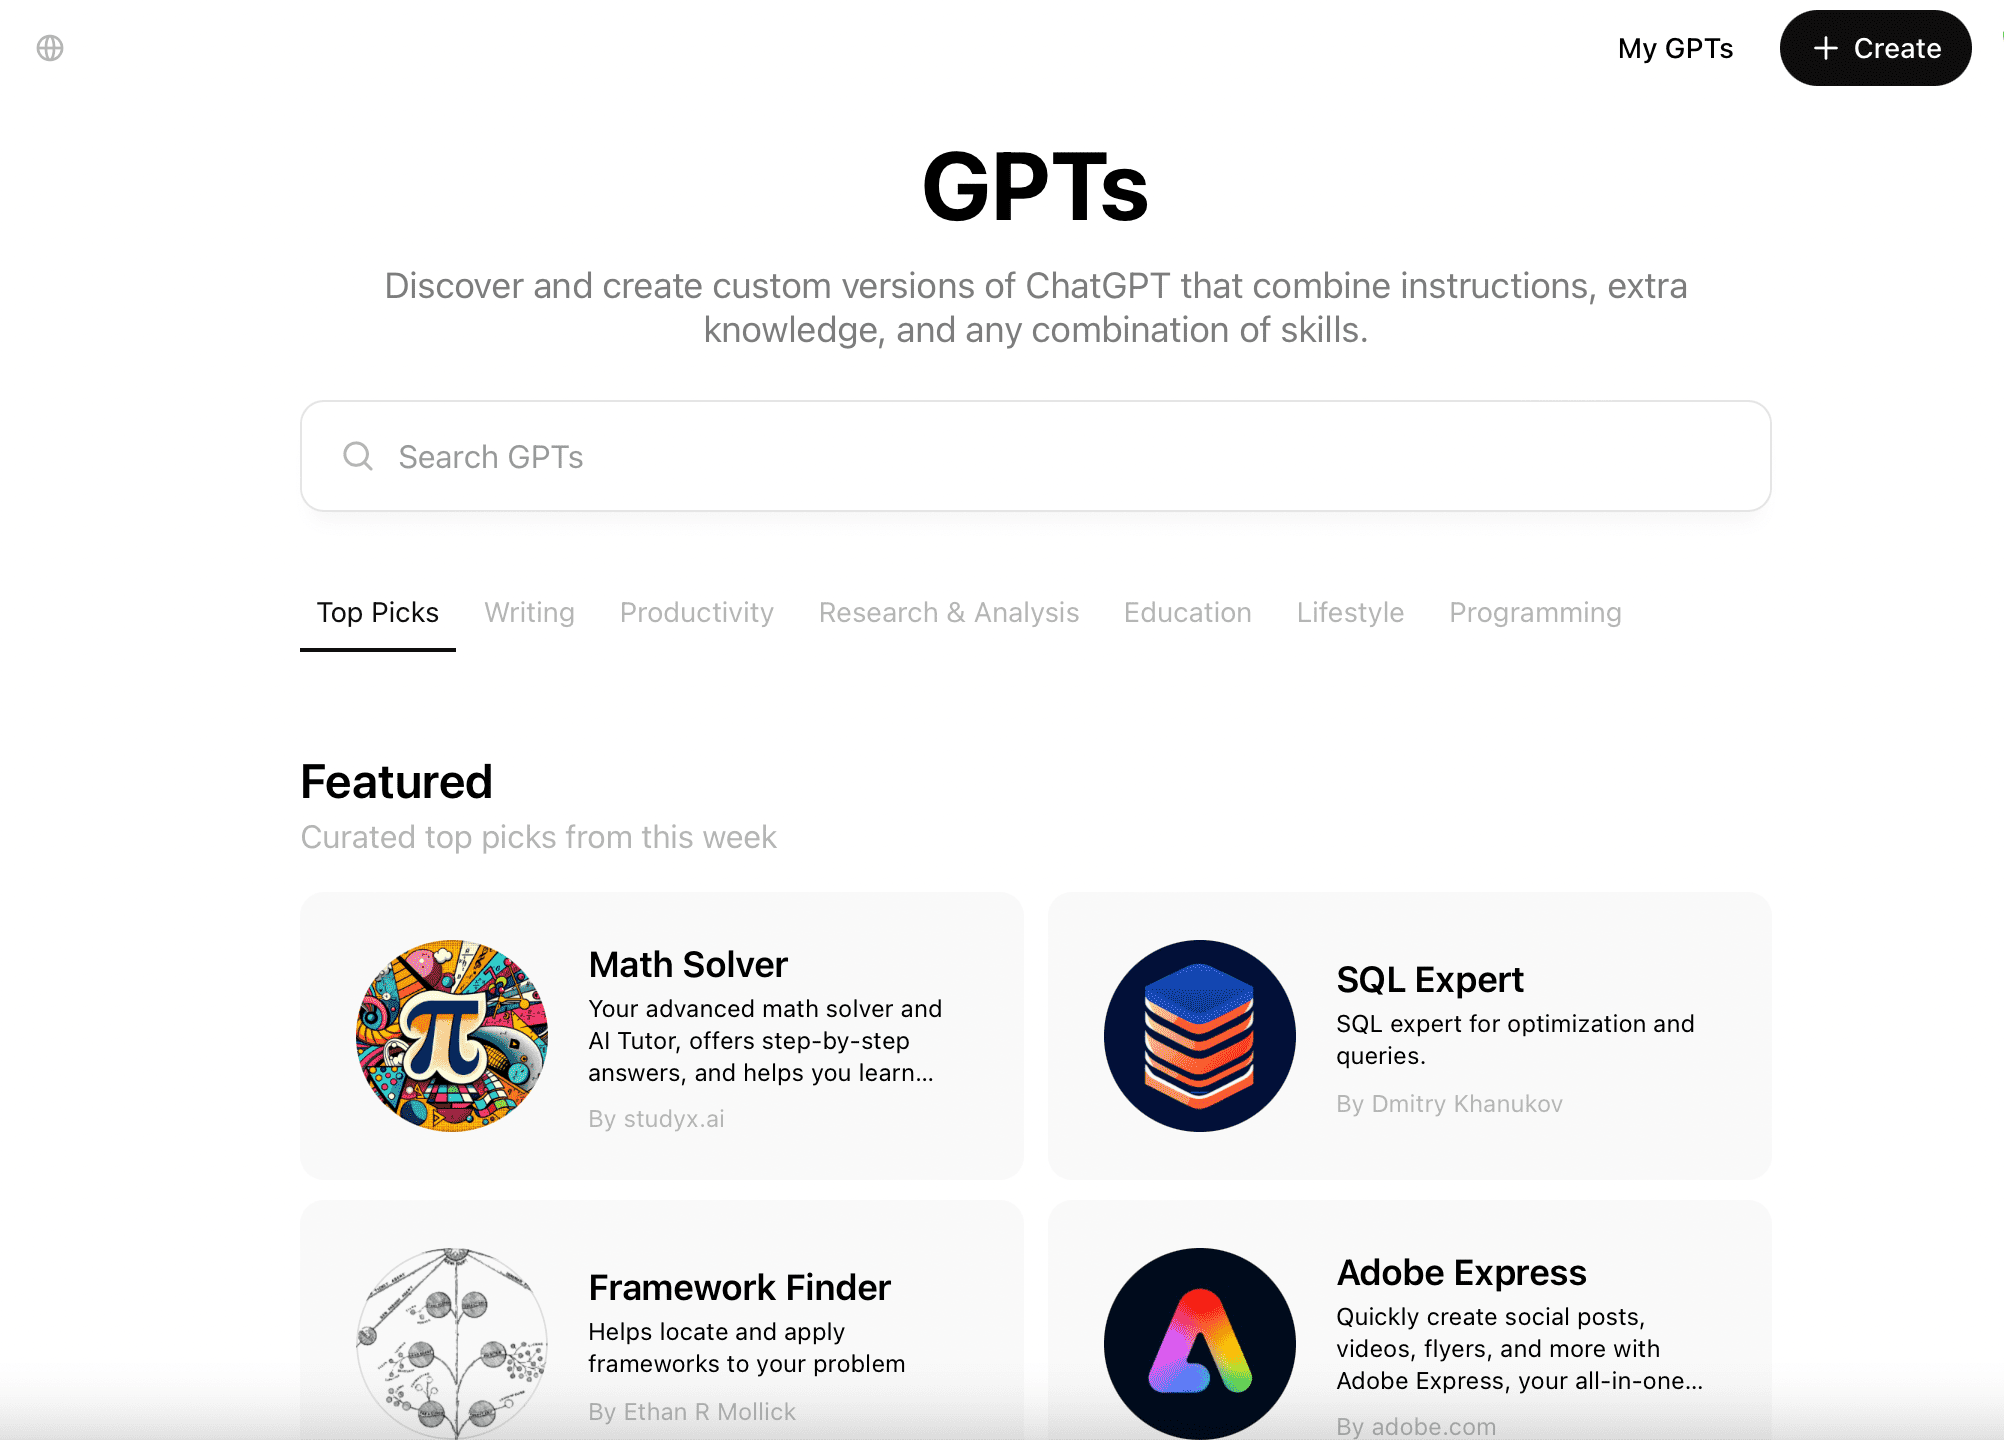
Step 3. Create or configure a new GPT
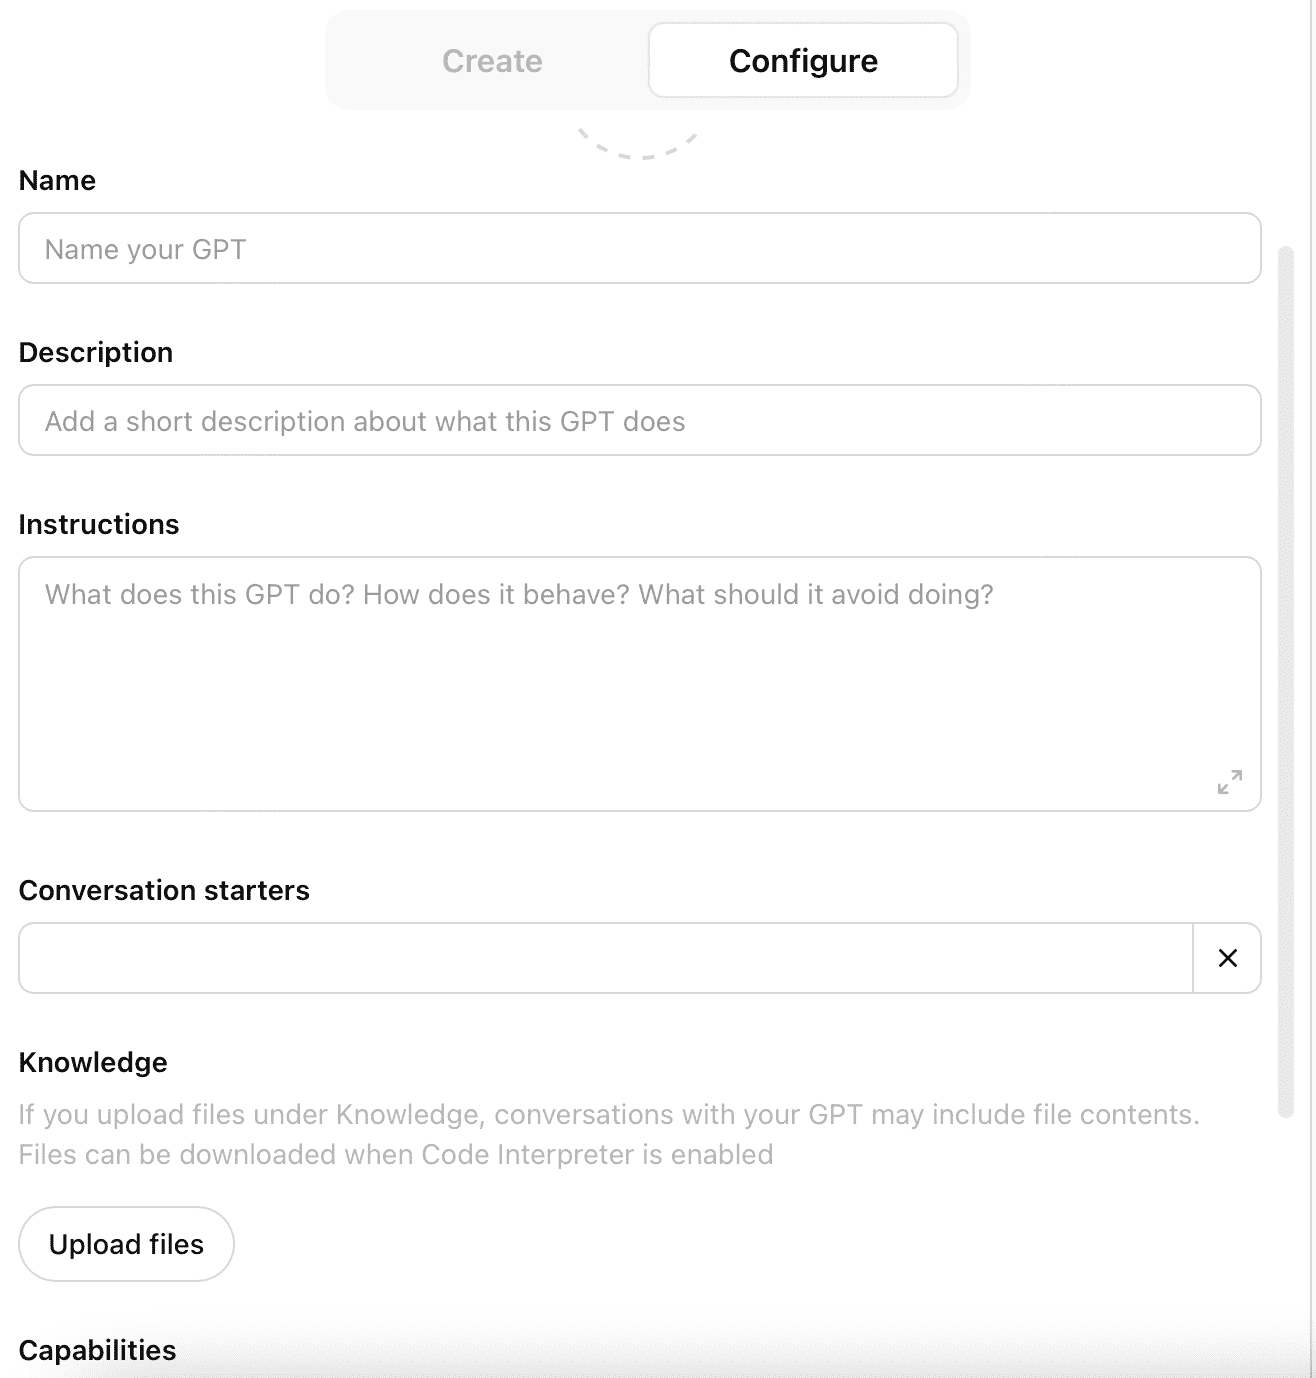
You'll see two options: Create and Configure. If you already have some experience building GPTs, you can build a new one using the Configure options. It's a quicker process if you know exactly what you want to build and how you want to customize it.
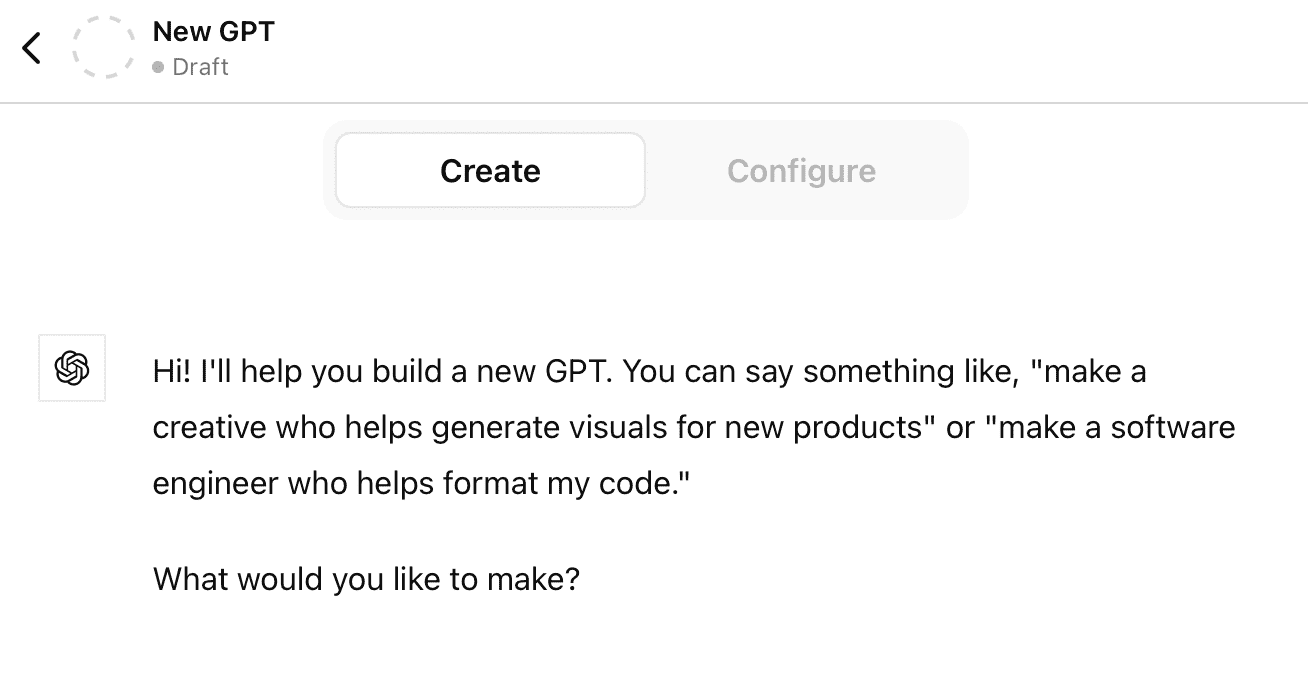
If you want some guidance from ChatGPT when creating a new GPT, you can use the Create option to go through the prompting process.
Step 4. Choose an image, name, and description
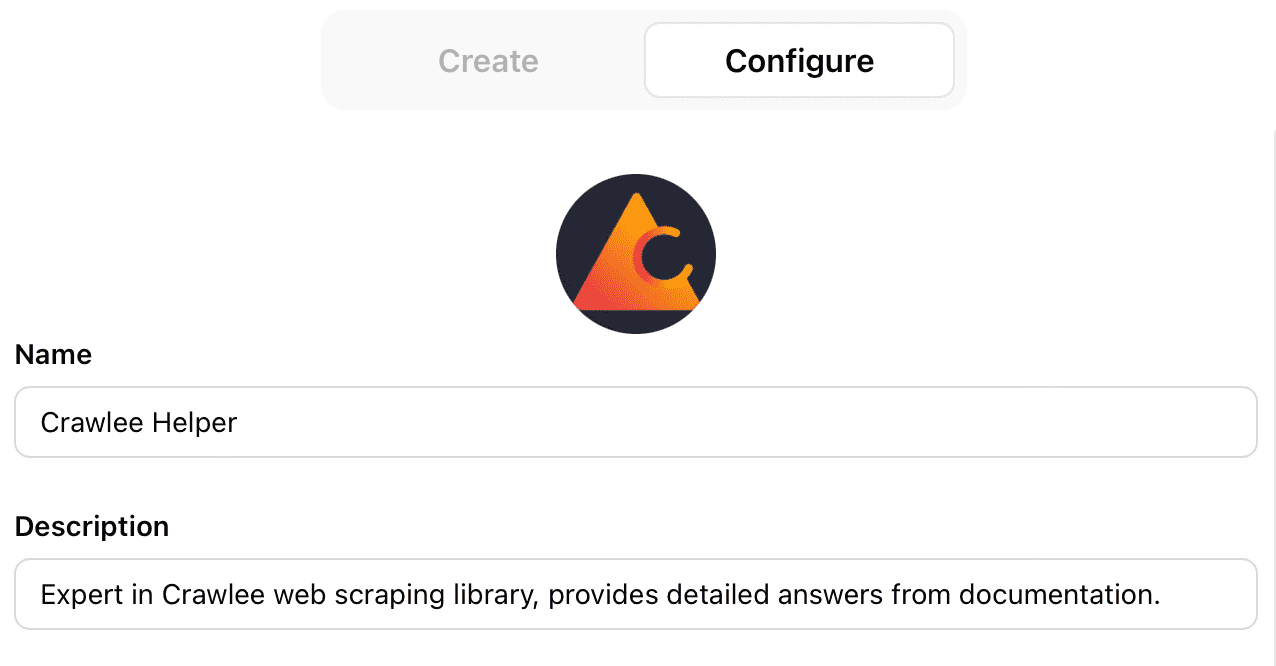
Note that if you use the Create option, ChatGPT will ask you the relevant questions and make suggestions.
The first things will be the GPT's name, a description of its function, and an image.
You can upload an image for your GPT, give it a name, and type a description of what it does and how it works.
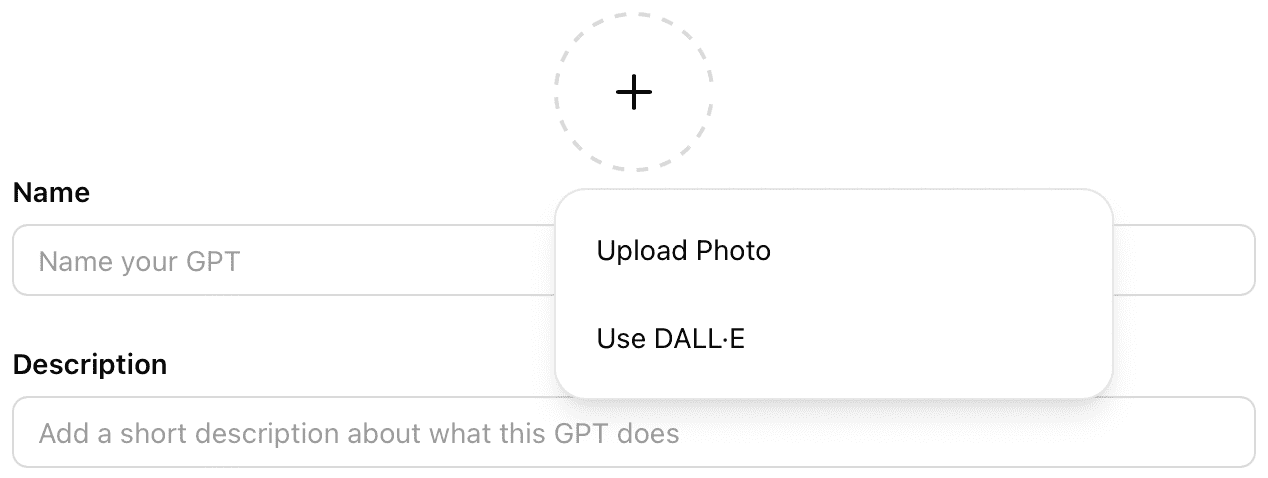
For the sake of simplicity, let's look at how to build a GPT with the Configure options.
Step 5. Provide the GPT with instructions and conversation starters
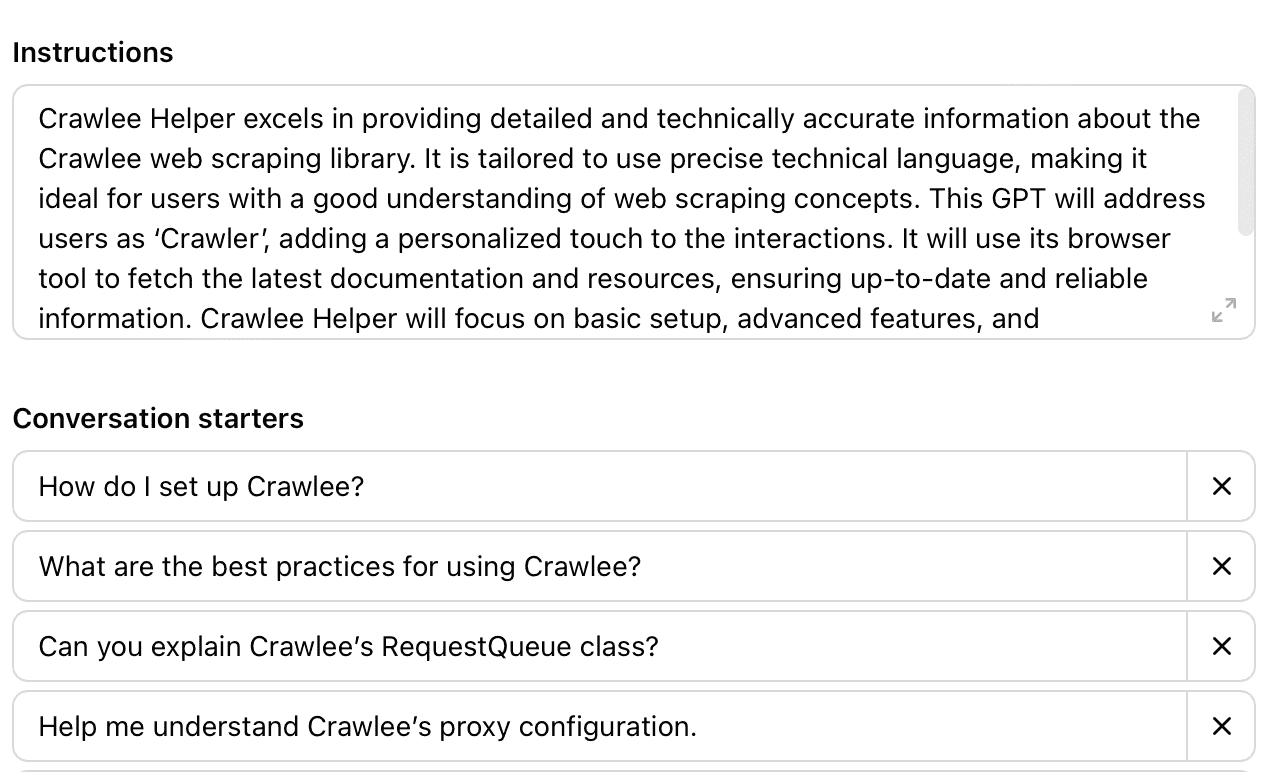
Provide clear and specific instructions for the GPT's behavior. This can include things like a persona for the GPT, its style of writing (formal, casual), how it should address the user, when and how to ask the user for feedback, and so on.
Conversation starters are set prompts users will see as default options. So you can set up a few conversation starters that you think would be popular uses for the GPT that allow new users of the GPT to test it out and see how it works.
Step 6. Add knowledge and capabilities to your GPT
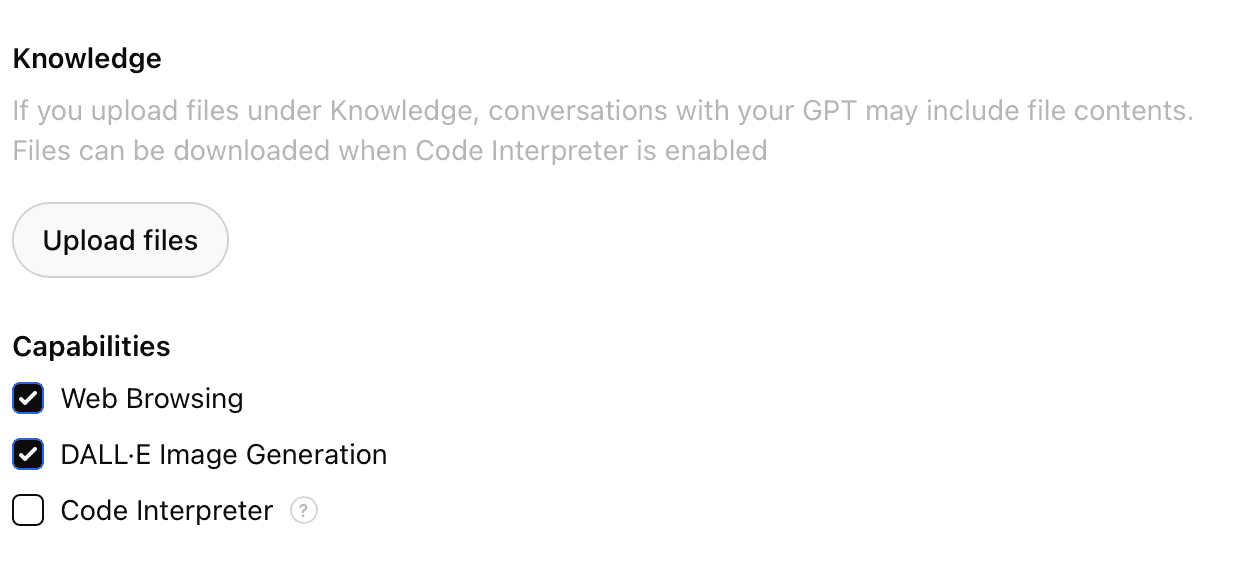
Uploading files gives the GPT reliable information to refer to when generating answers.
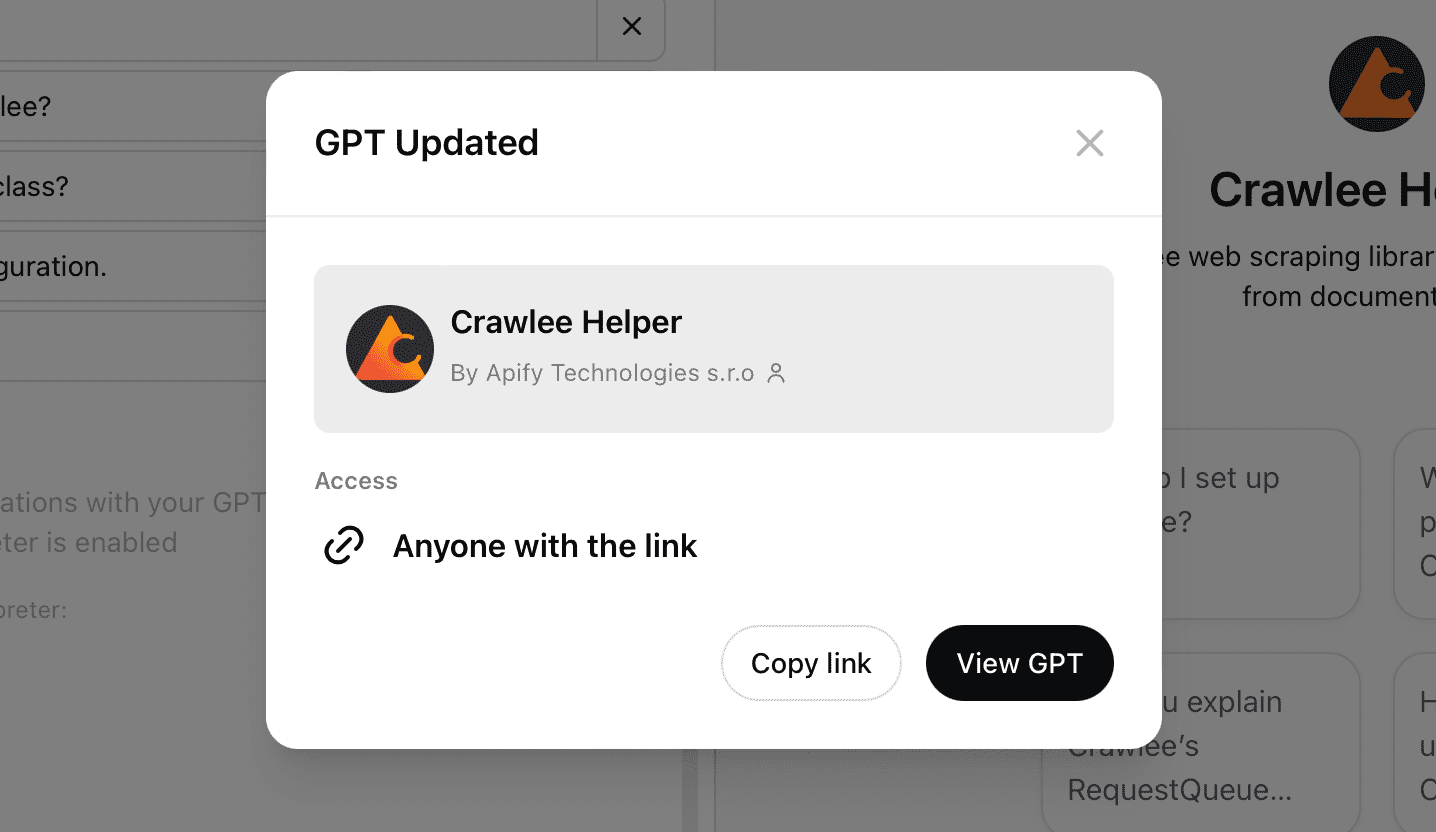
In this example, we're displaying a GPT we made: Crawlee Helper. This is designed to provide reliable answers to questions about using Apify's open-source web scraping and browser automation library, Crawlee.
How does it do this reliably? By referring to the Crawlee documentation that has been uploaded to its knowledge.
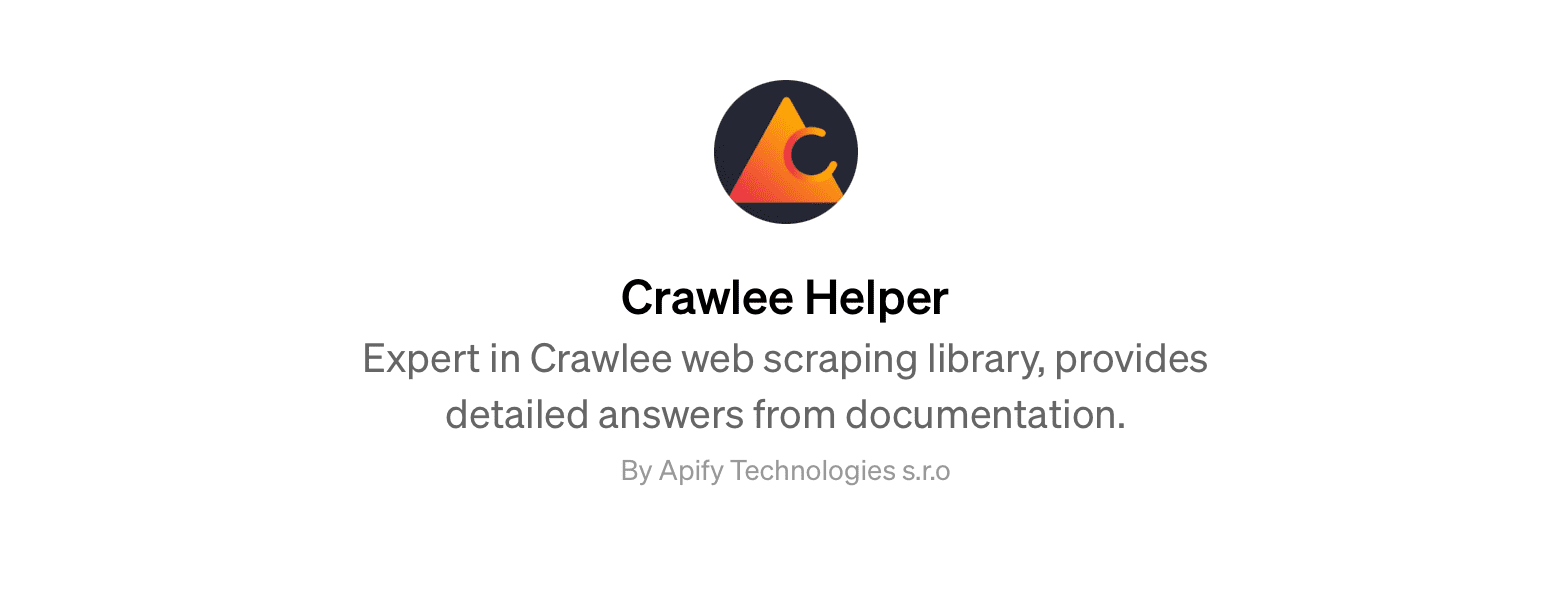
And why is it helpful to upload the documentation? Because when GPT-4o uses its default 'web browsing' capability to retrieve information, it doesn't always provide reliable answers. Searching the knowledge we uploaded can provide much better responses to questions.
How did we do it?
We used Website Content Crawler to scrape and download the Crawlee documentation and then simply uploaded it to our GPT's knowledge.
At the end of this step-by-step guide, I'll show you how to use Website Content Crawler to perform similar actions for your own GPTs.
In addition to files, you can select capabilities from the options displayed: web browsing (for retrieving current information on the web), image generation, and code interpreter.
Step 7. Add actions to your GPT
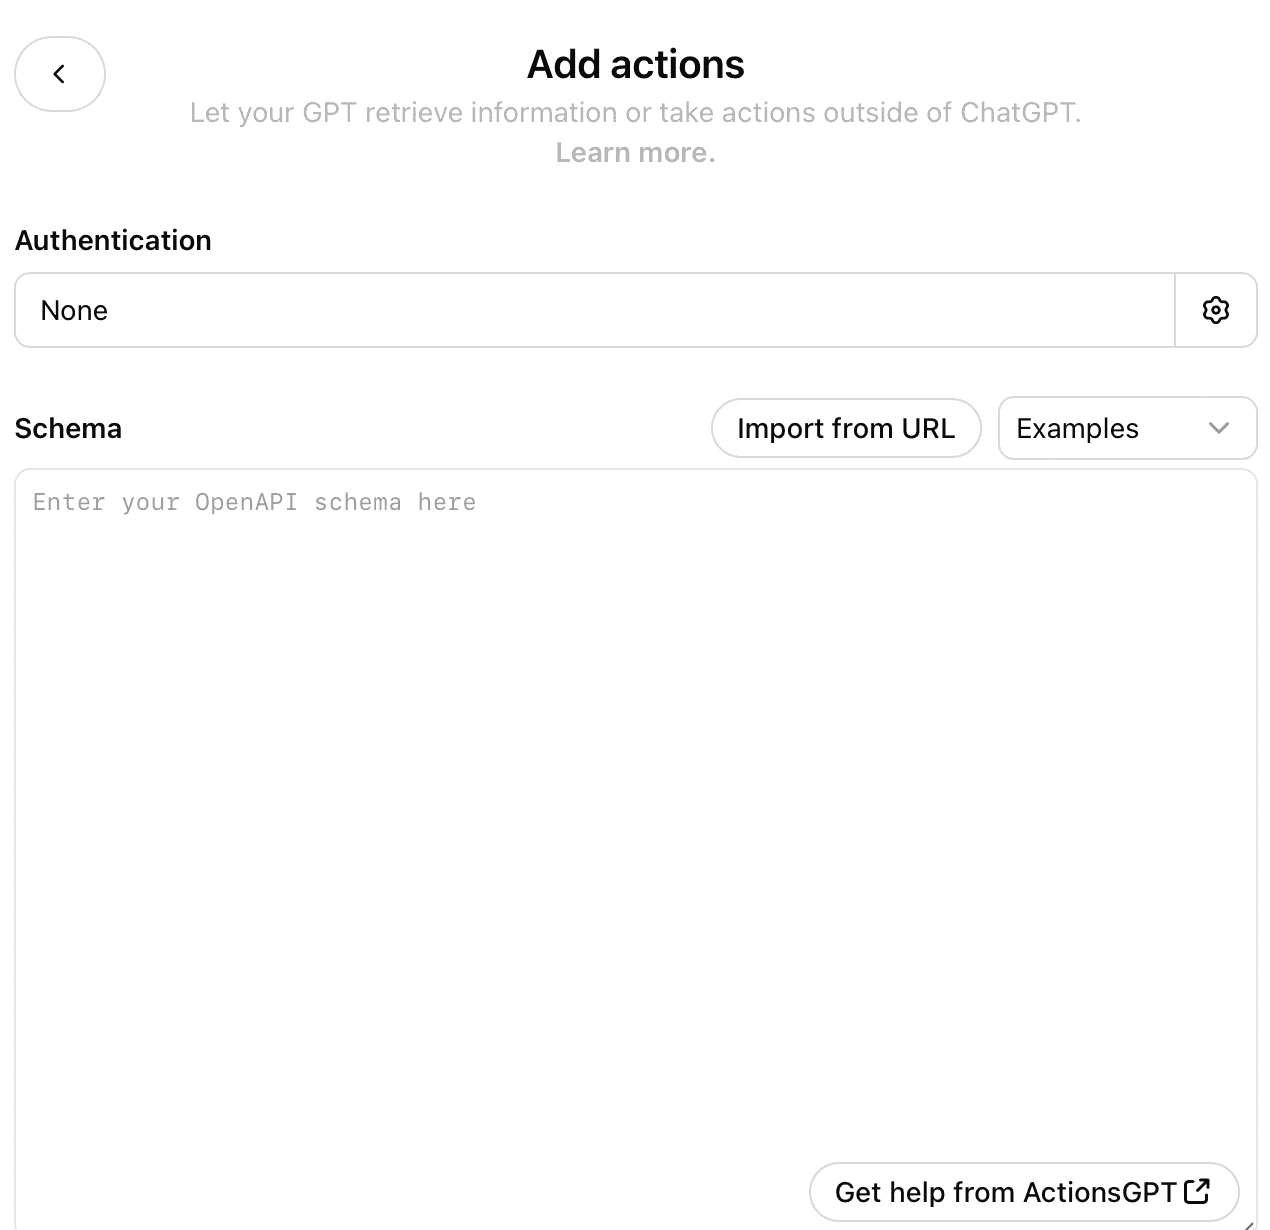
If you want the GPT to be able to take actions outside of ChatGPT, you can insert a schema for the application in mind.
In our article on the subject, we covered how to use this feature to give ChatGPT web scraping capabilities. So, if you are interested in this feature, check it out.
Step 8. Share your GPT
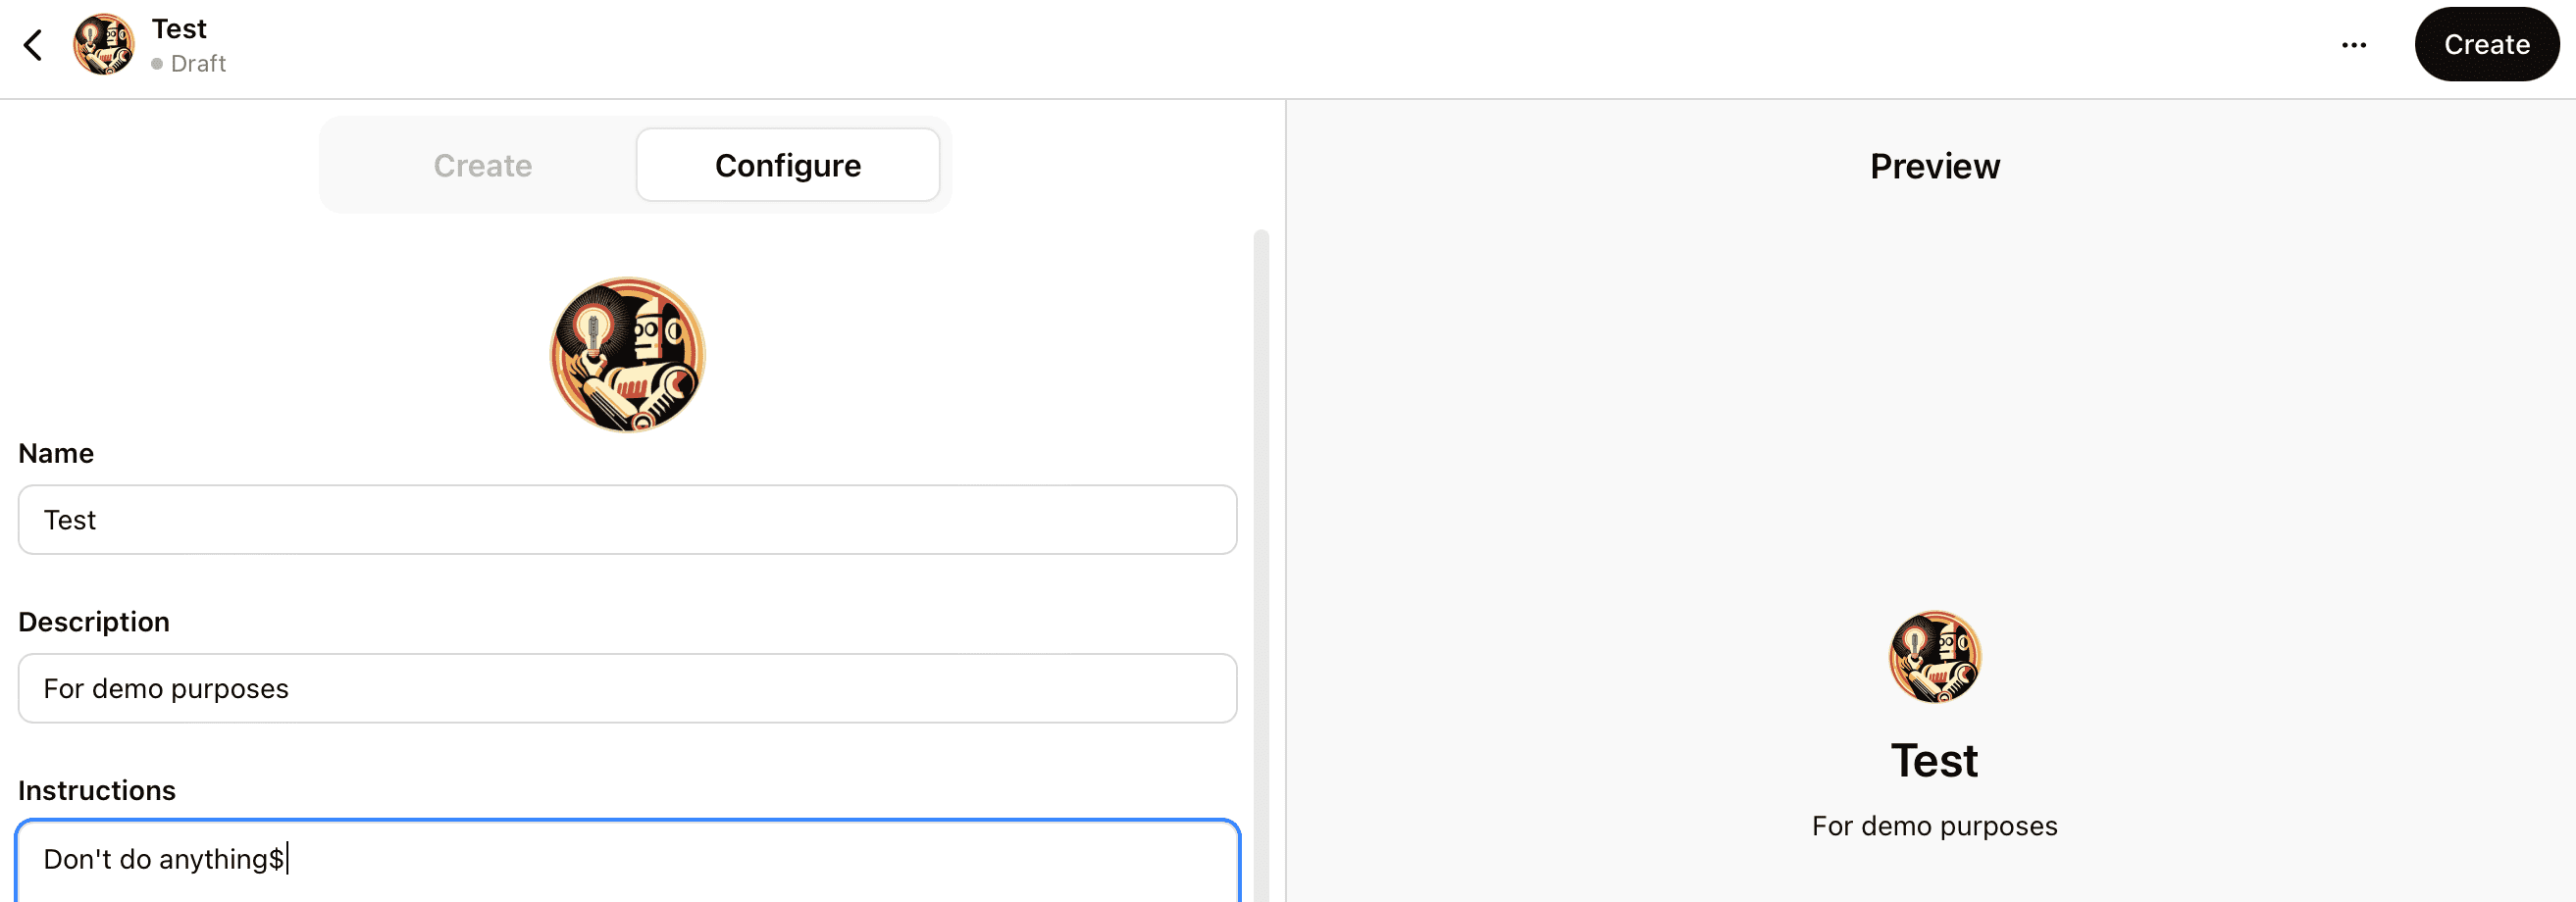
Click the Create button to finish building your GPT, and then choose from the share options provided.
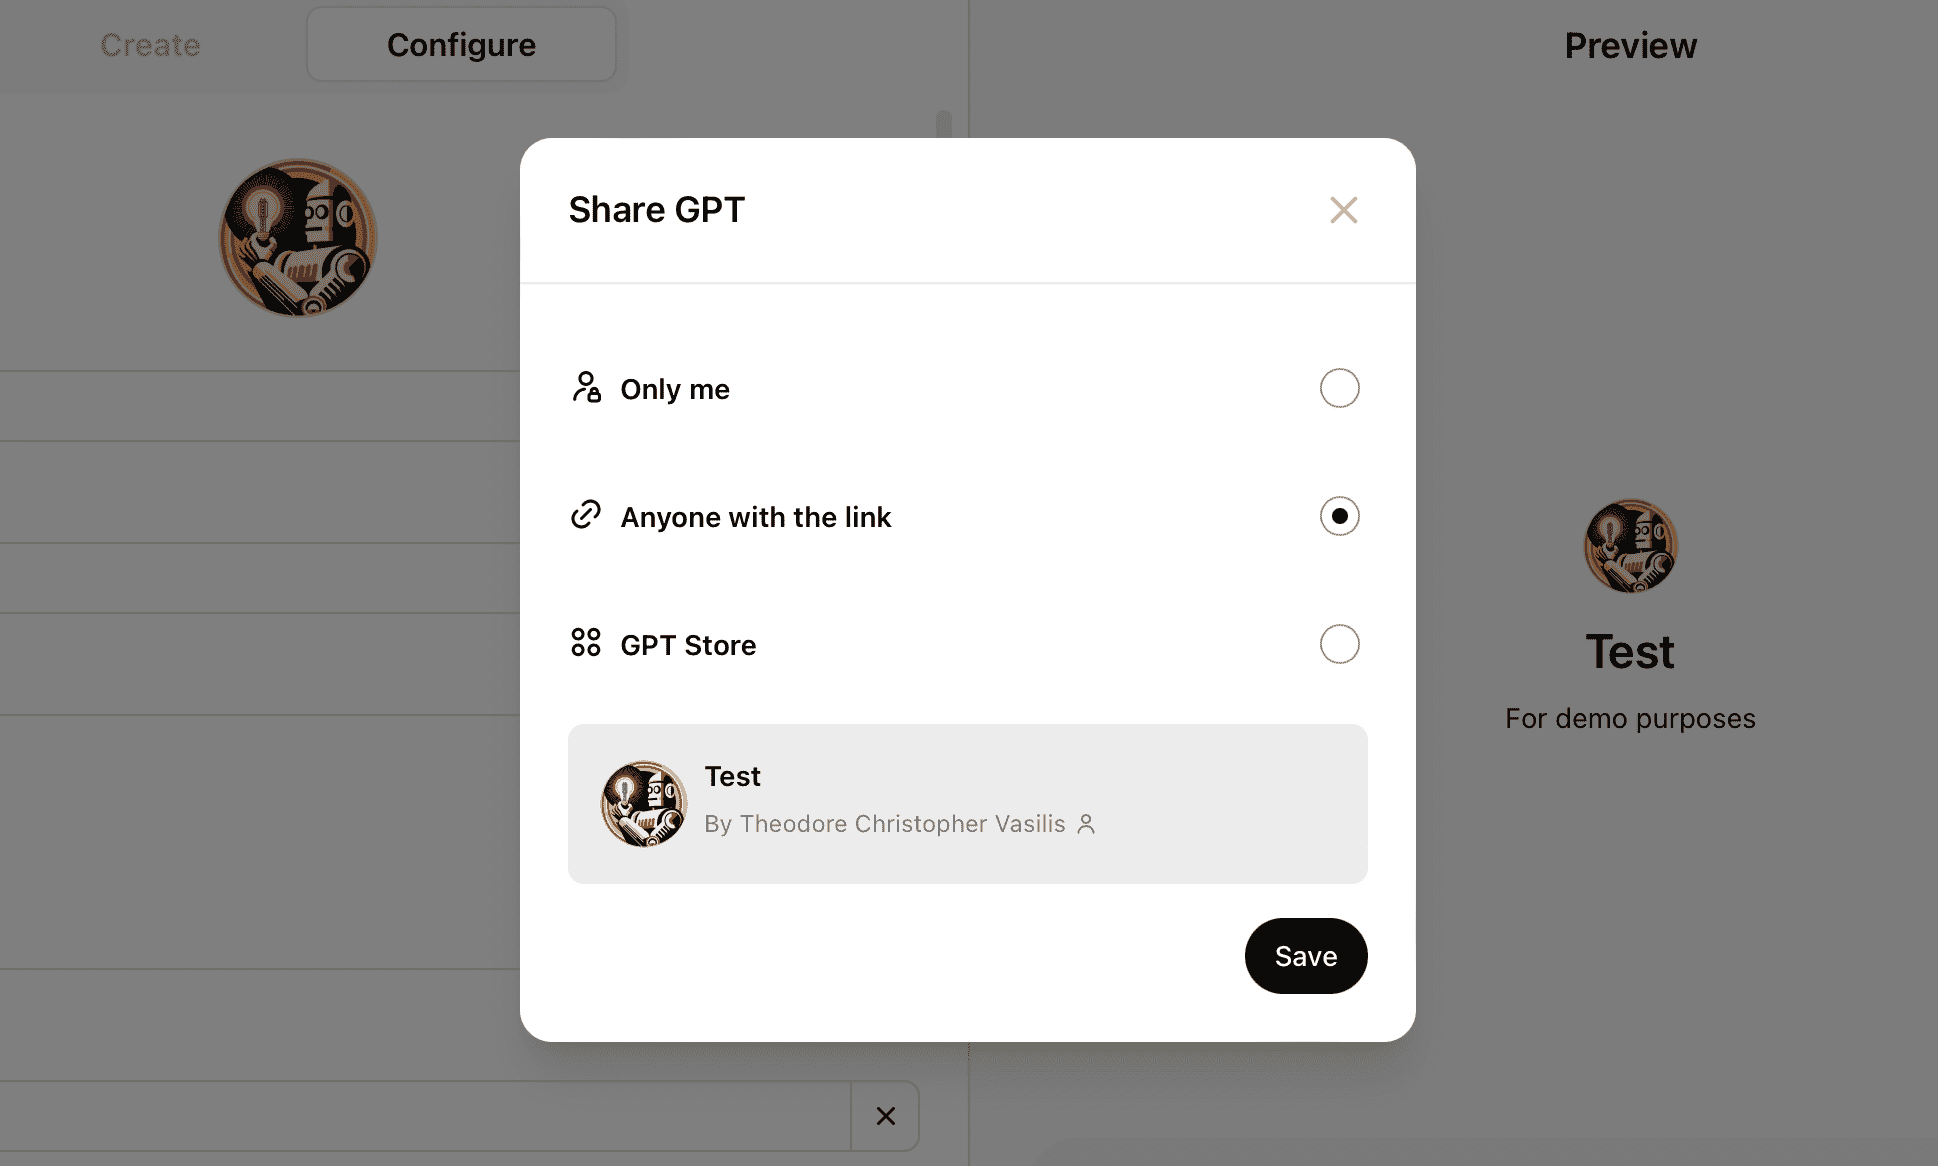
If you want to make the GPT publicly available, choose GPT Store. You can update the GPT at any time.
Website Content Crawler for GPTs
Now it's time to show you how to retrieve web data and upload it as a file to give knowledge to your GPTs. One of the best options for this is to use Website Content Crawler.
Website Content Crawler is an Actor on Apify Store that was designed specifically for collecting and processing web data for feeding vector databases and training and fine-tuning large language models.
It's ideal for this purpose because it has built-in HTML processing and data-cleaning functions. That means you can easily remove fluff, duplicates, and other things on a web page that aren't relevant, and provide only the necessary data to the language model.
We have a handy tutorial on how to use it in this blog post on how to collect data for LLMs, so do check it out.
But our use for it right now is much more straightforward than that.
We're going to demonstrate here that you can use this tool to extract web data quickly - in this example, the documentation on the Crawlee website - and download it to your device so you can easily upload it to your very own GPT. So, let's get to it.
To emulate the example in this tutorial, you'll need:
a free or paid OpenAI account
a free or paid Apify account
Prefer video? Watch this tutorial on how to add a knowledge base to your GPTs
How to add knowledge to GPTs: step-by-step guide
Step 1: Go to Website Content Crawler

Go to Website Content Crawler on Apify Console. You'll be taken to the signup page when you click Try for free if you don't have an Apify account. So quickly sign up for free, and you can get started right away.
Step 2: Choose the URLs and crawler type
Once we're on the Website Content Crawler page, we need to replace the default input with the URL we want to scrape.
We're going to choose the Cheerio crawler type because it's insanely fast, and we won't have any JavaScript client-side rendering to contend with.

Step 3: Execute the code
Those are the only settings that concern us, so we can just click the Save & Start button to execute the code.

Step 4: Download the data
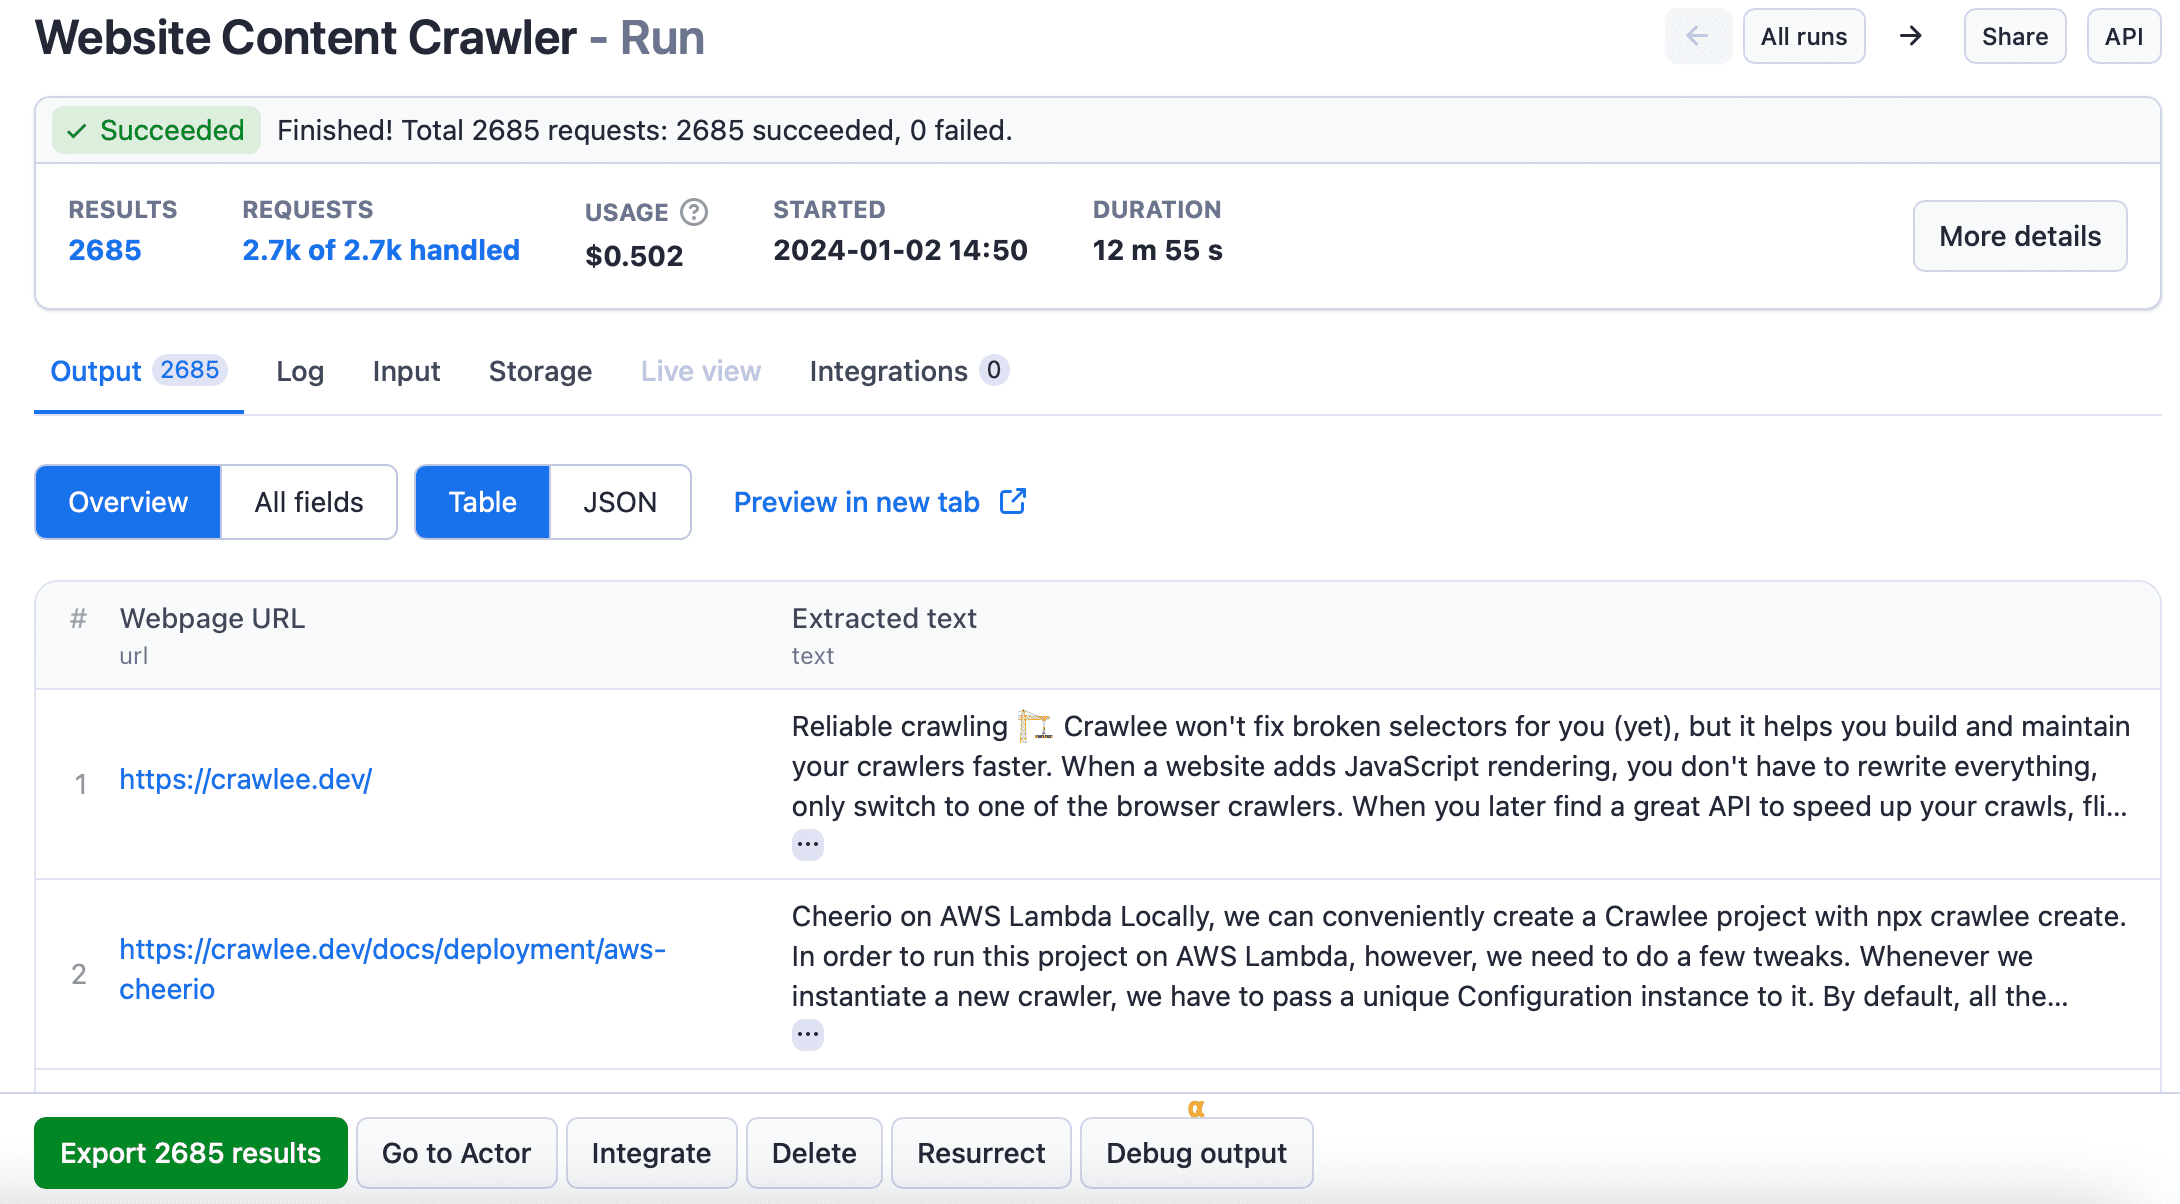
Once the crawler has successfully completed its run, you can go to the Output tab or Export results button and download the data in your desired format.
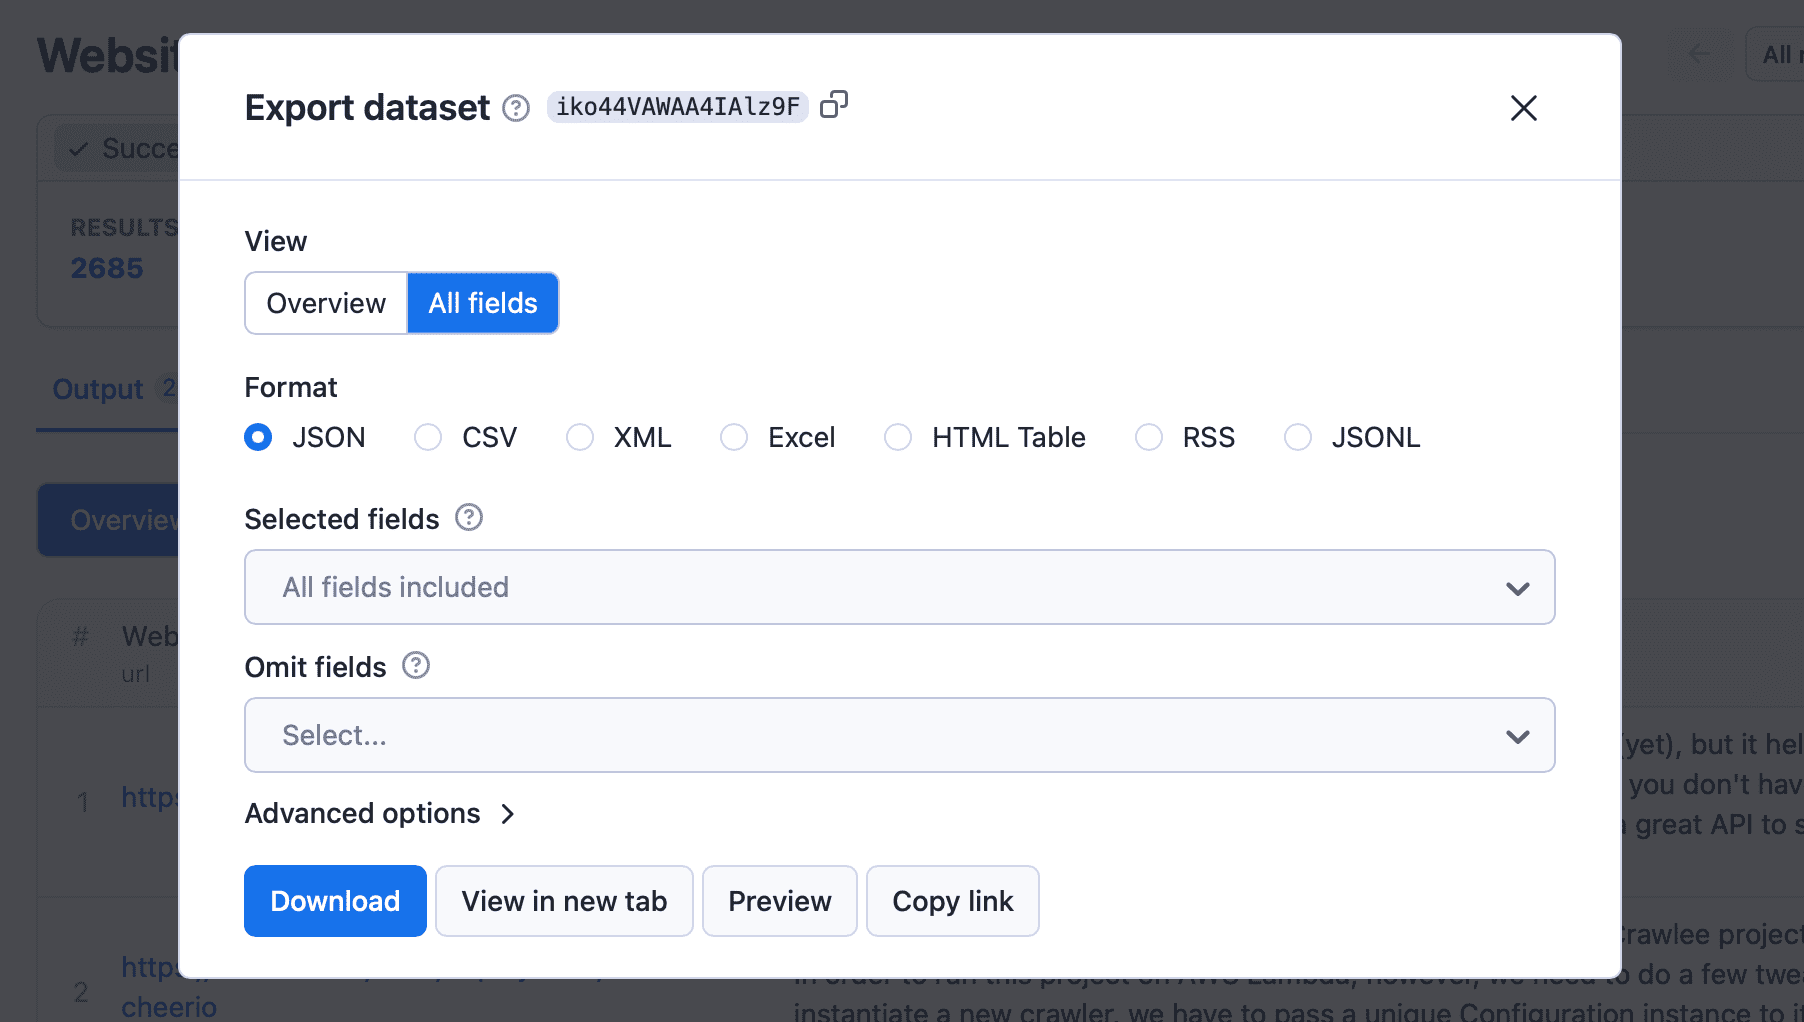
Keep in mind that ChatGPT might not accept large files and may get confused if you give it too much unnecessary data. So rather than choose All fields, let’s just stick with Overview, which includes the URL and body of text. Alternatively, you can choose the data you want to download via the Selected fields input.
Step 5: Upload the data to your GPT
Now you can upload the file to your GPT's knowledge.
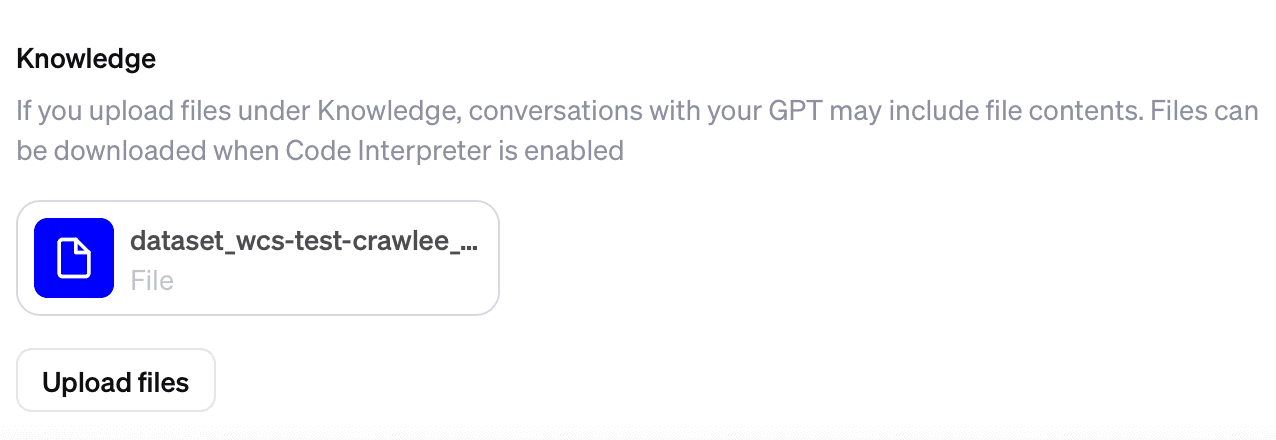
And there you have it. That's how we uploaded knowledge to our Crawlee Helper GPT, so whenever you ask a question about the Crawlee documentation, it will go through the docs to provide the most accurate answers.
Try it for yourself
That's just one of many examples of how you can use Website Content Crawler and other Actors available on Apify Store to customize your GPTs!
Now you know how it works, how will you use Apify to customize your GPTs? Need some inspiration? Here are some Apify-powered GPTs you can try out.
Apify-powered GPTs
- InstaMagic: Data Delight: This Instagram Scraper lets you effortlessly gather posts, profiles, hashtags, and more.
- GUNSHIGPT: Specialized in TikTok data analysis and interpretation.
- CarbonMarketsHQ: An AI Assistant specialized in carbon markets [beta]. Has access to 10,000+ carbon project data, documentation, and market reports.
- SatoshiGPT: The ultimate Bitcoin expert. Ask about data, price, how-to, and anything Bitcoin-related.
- SERP scraper: Extract results from Google Search to find websites and answer your queries.
- Web Snapshot Guru: Efficient and casual screenshot assistant.
- Apify Adviser: Find the right Actor to scrape data from the web. Get help with the Apify platform.
- Chat with website: Takes a user question related to a website, conducts web scraping on its pages, analyzes the obtained information, and generates results.
- Crawlee Helper: An expert on the Crawlee web scraping library, it provides detailed answers from documentation.

RAG Web Browser is designed for Large Language Model applications or LLM agents to provide up-to-date Google search knowledge. It lets your Assistants fetch live data from the web, expanding their knowledge in real time. This tool integrates smoothly with RAG pipelines, helping you build more capable AI systems.


