Ready to learn how to harness the power of Playwright and Brave for browser automation? From setting up the necessary dependencies to leveraging the unique features of Brave, by the end of this post, you'll be able to automate tasks using Brave browser.
We'll cover creating a simple automation script, deploying the script to the Apify platform (known for hosting web automation and web scraping solutions), and give you code snippets and instructions for configuring the Brave browser on macOS, Linux, and Windows. You'll also learn how to use Playwright features such as top-level awaits and import statements.
So, whether you're interested in accessing the dark web using the TOR network, automating crypto transactions, or leveraging anti-fingerprinting features, this post will provide you with the knowledge and tools needed to get started.

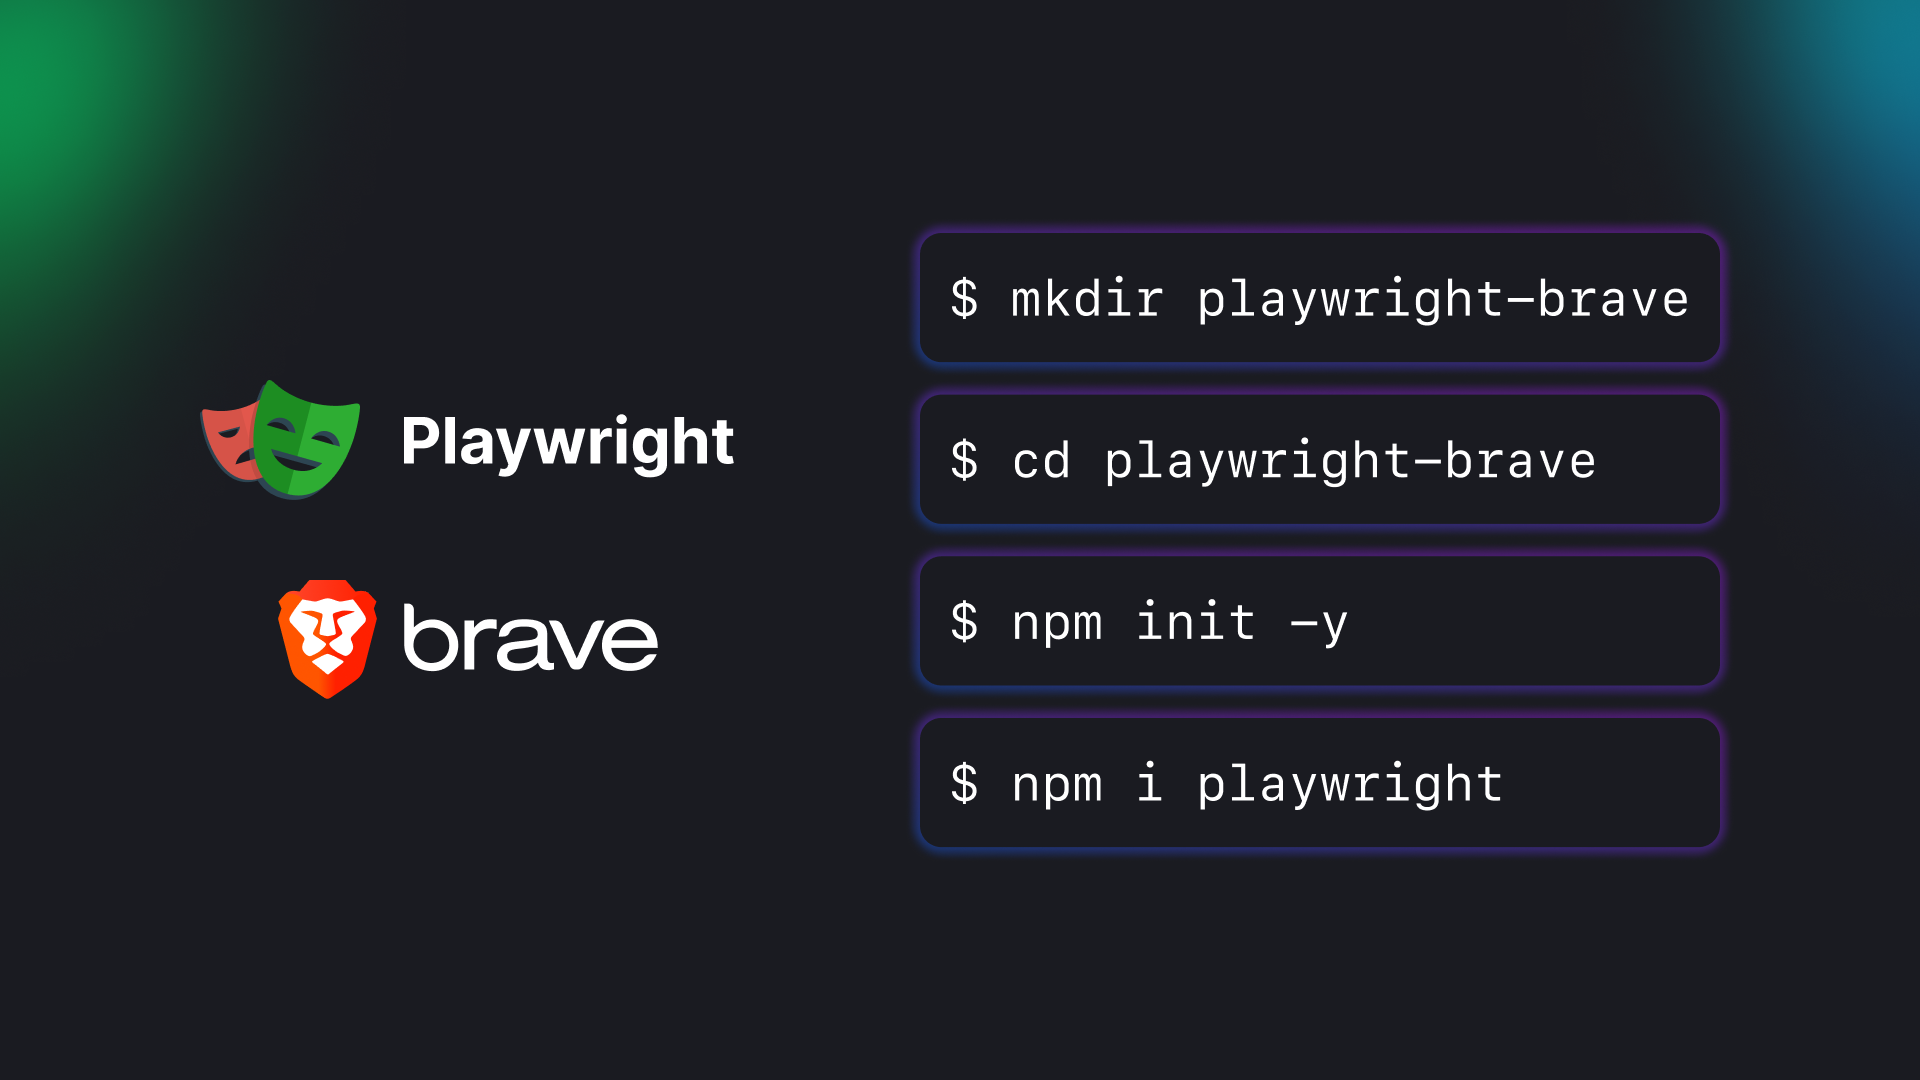
Let's get started! These instructions are for macOS, but the process is similar for Linux and Windows as well. To begin, we'll create an empty npm project and install Playwright. Here's the code to do that:
mkdir playwright-brave
cd playwright-brave
npm init -y
npm i playwright
This will create an empty folder, initialize npm, and install Playwright with the default browsers. If you need any help with installing Playwright, check out the Playwright documentation.
Now that we have Playwright installed let's create a simple automation script that visits apify.com and grabs the page title.
To start, add "type": "module" to your package.json file to use top-level awaits and import statements, which will simplify your code. Next, create an empty file named main.js that will hold our automation script. Then, add a start script to the package.json file to launch main.js by including "start": "node main.js".
Now, in the main.js file, we need to import the Playwright module, launch the Playwright browser with the Chromium driver and the executable path to the Brave browser. Once the browser is launched, we can navigate to apify.com, grab the title, and close the browser. One tricky part here is specifying the correct path to the Brave launcher, particularly on macOS.
import playwright from "playwright";
// Ubuntu path: '/usr/bin/brave-browser'
// Windows path: 'C:\Program Files\BraveSoftware\Brave-Browser\Application\brave.exe'
// MacOs path: '/Applications/Brave Browser.app/Contents/MacOS/Brave Browser'
const browser = await playwright.chromium.launch({
executablePath: "/usr/bin/brave-browser",
headless: false,
});
const page = await browser.newPage();
await page.goto("https://apify.com");
const title = await page.title();
console.log(title);
await browser.close();
Great job! You've successfully automated a simple task in the Brave browser.
Now let's take a look at how easily you can run this task in the cloud. You'll need an Apify account, if you don't have one, you can sign up for free.
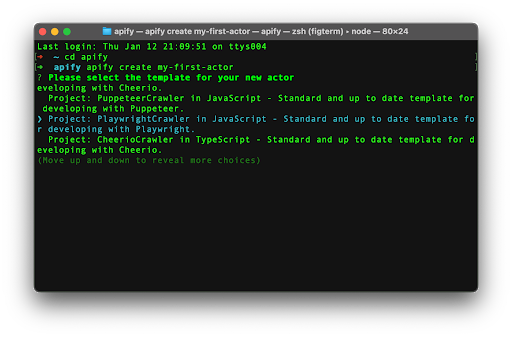
To deploy our project to the Apify platform, we'll need to install the Apify CLI globally. You can do this by running npm install apify-cli -g. The easiest way to create a new Apify project is to use a template, which will provide us with the necessary boilerplate for an Apify actor. You can think of an actor as a serverless cloud program. To create an actor from a template, we run apify create my-first-actor.

This command creates a new folder called my-first-actor with the project structure of an example Playwright crawler and installs the necessary dependencies. Now, we can delete the src/routes.js and the content of src/main.js.
To migrate our automation script to the my-first-actor project, we'll start by copying and pasting the script into main.js. Next, we'll add Actor.init() and Actor.exit() to connect to the Apify platform once the project is deployed. This will ensure that we have all the necessary Apify dependencies in our code.
import playwright from "playwright";
import { Actor } from "apify";
await Actor.init();
// Ubuntu path: '/usr/bin/brave-browser'
// Windows path: 'C:\Program Files\BraveSoftware\Brave-Browser\Application\brave.exe'
// MacOs path: '/Applications/Brave Browser.app/Contents/MacOS/Brave Browser'
const browser = await playwright.chromium.launch({
executablePath: "/usr/bin/brave-browser",
headless: false,
});
const page = await browser.newPage();
await page.goto("https://apify.com");
const title = await page.title();
console.log(title);
await browser.close();
await Actor.exit();
The final step is to install the Brave browser in our .actor/Dockerfile. We can do this by copying the installation instructions from the Brave website. However, to make this work, we'll need to install curl and then install the browser using root, and then change back to myuser.
FROM apify/actor-node-playwright-chrome:16
# Install the Brave browser
USER root
RUN apt-get update && apt-get install -y curl
RUN curl -fsSLo /usr/share/keyrings/brave-browser-archive-keyring.gpg https://brave-browser-apt-release.s3.brave.com/brave-browser-archive-keyring.gpg
RUN echo "deb [signed-by=/usr/share/keyrings/brave-browser-archive-keyring.gpg arch=amd64] https://brave-browser-apt-release.s3.brave.com/ stable main"| tee /etc/apt/sources.list.d/brave-browser-release.list
RUN apt-get update && apt-get install -y brave-browser
USER myuser
# Copy files and install dependencies.
COPY --chown=myuser package*.json ./
RUN npm --quiet set progress=false \
&& npm install --omit=dev --omit=optional \
&& echo "Installed NPM packages:" \
&& (npm list --omit=dev --all || true) \
&& echo "Node.js version:" \
&& node --version \
&& echo "NPM version:" \
&& npm --version \
&& rm -r ~/.npm
COPY --chown=myuser . ./
CMD ./start_xvfb_and_run_cmd.sh && npm start --silent
This is our ready-to-go Dockerfile. All that's left to do is authorize the CLI to access our Apify account. We can do this by running the apify login command. You'll be prompted to enter your Apify token, which can be found under the Settings > Integrations tab in Apify Console. Once we've authorized the CLI, we need to run apify push, and voila! Our actor has been deployed to the Apify platform.
Learn more about how to scrape the web with Playwright:


