Who doesn’t like a deal? No matter what you’re in the market for, online shopping has made it easier than ever to find the best price. So, understanding how and when your competitors set prices is increasingly important.
This guide will help you learn all about price monitoring - what it is, why it matters, and how to do it effectively. We'll cover the basics and show you how to use Apify's tools, and walk you through setting up your own system. With this guide, we’re confident you'll have a solid grasp of how to get started with price monitoring.
What is retailer price monitoring?
Retail price monitoring is the process of tracking the pricing changes of products or services offered by various retailers. Monitoring allows you to develop and adjust a dynamic pricing strategy to remain competitive or attract new customers.
A typical price monitoring system saves time and resources and usually involves the following steps:
- Collect pricing information from various sources (like e-commerce websites).
- Analyze data to spot trends, patterns, and changes in pricing strategies.
- Display the analyzed data in user-friendly dashboards or automated reports.
- Act on the data you collect to build a solid pricing strategy.
Why invest time and effort in setting up price monitoring for your business?
Prices change in a blink. Your competitors might suddenly offer a discount or gradually raise prices over time. With monitoring, you can see these changes and adapt. But price monitoring isn't just about reacting to the market, it’s a proactive way to strengthen your business strategies, helping you build a pricing strategy by:
- Understanding market trends
- Finding the best times for sales
- Spotting better deals from suppliers
Plus, if you have an order management system in your eCommerce, this can ensure you don’t overprice or underprice the products you deliver.
Advantages and use cases of retailer price monitoring
Competitive edge: Understand your competitors' strategies to stay ahead.
Market trend identification: Spot industry-wide pricing trends to be a market leader.
Profit maximization: Fine-tune your prices to hit that sweet spot between competitiveness and profitability.
Better pricing decisions: With price monitoring, you're equipped with data to back up your pricing choices.
Customer satisfaction: Fair pricing keeps customers loyal. Price monitoring helps you stay in line with the market, so you’re not overcharging.
Dynamic pricing: Utilize dynamic pricing strategies. Adjust your prices automatically based on the market.
Supplier negotiation: Accurate market data can help you get a leg up when dealing with your suppliers.
Regulatory compliance: In some industries, price monitoring can keep you legally compliant.
How to scrape e-commerce data
E-commerce Scraping Tool is one of the thousands of scrapers available on Apify Store - the world's largest marketplace of web data collection tools. You can use it via the UI or programmatically through the API. The UI is the fastest way to start, so that's what we'll show here.
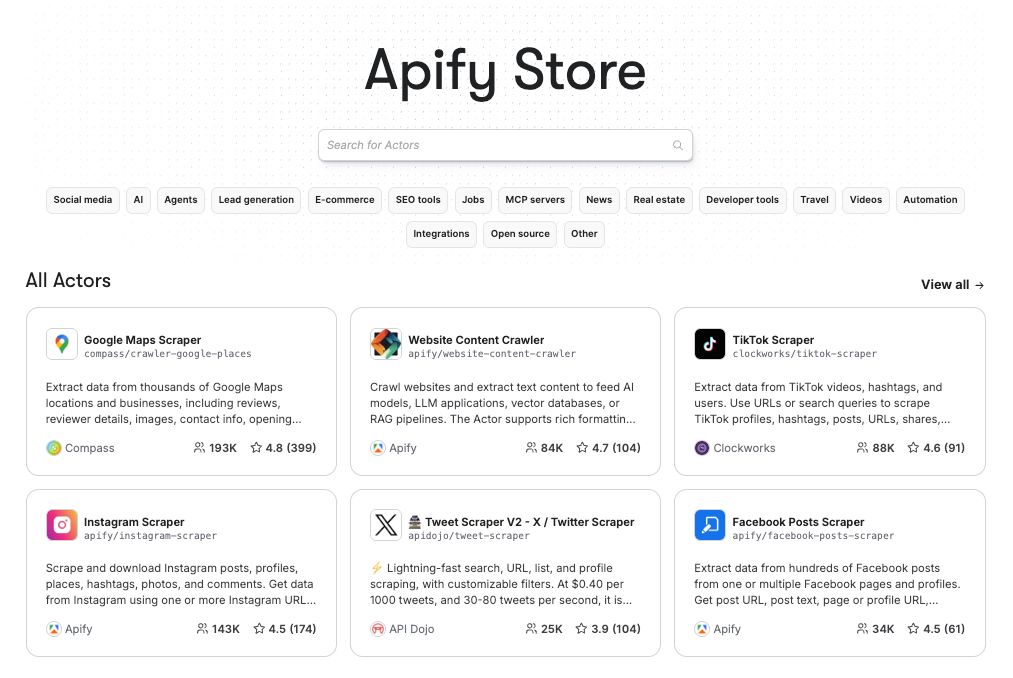
Step 1. Go to E-commerce Scraping Tool on Apify Store
You can find the tool by typing "E-commerce Scraping Tool" in the search bar or browsing the e-commerce category. But let's make things quick: click here to try it for free.
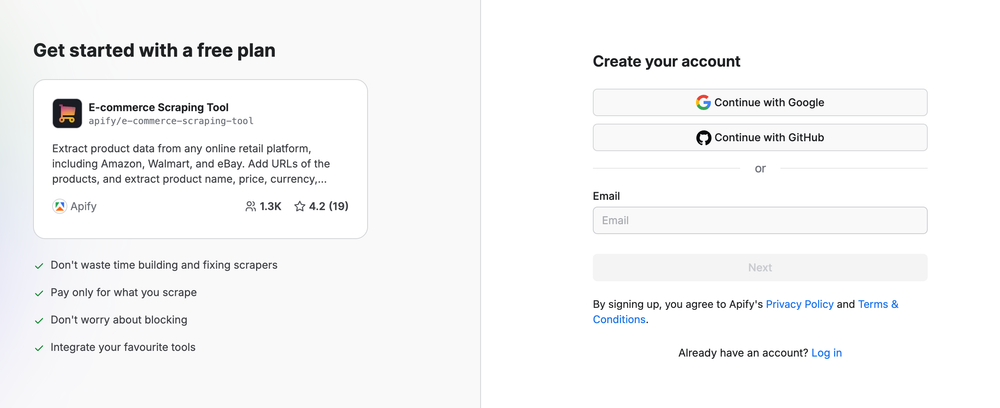
If you're logged in to your Apify account, you'll be taken to Apify Console - your dashboard for configuring scrapers. Otherwise, you'll be prompted to sign in or sign up first, which you can do easily with your email or GitHub account and without a credit card.
Step 2. Choose your input type and configure the run
Once you're logged in, you can configure the tool in Apify Console.
The tool supports three input methods:
| Input type | What it is | When to use it |
|---|---|---|
| Product detail URLs | URLs pointing directly to a single product page | Monitor known products, track specific items for price changes |
| Category listing URLs | Search results or category pages with multiple products | Discover many products, monitor whole categories |
| Keyword search | Search marketplaces by keywords | Fast product research - no need to gather URLs first |
For this example, we'll use product detail URLs to compare prices of the Sony WH-1000XM5 headphones across three major retailers: Amazon, Walmart, and Target.

Under "Product detail URLs," click "Add" and paste your first URL. We'll use these Sony noise cancelling headphones as an example:
https://www.amazon.com/Sony-WH-1000XM5-Canceling-Headphones-Hands-Free/dp/B09XS7JWHHClick "Add" again and paste the second URL:
https://www.walmart.com/ip/Sony-WH-1000XM5-The-Best-Wireless-Noise-Canceling-Headphones-Black-International-Version/8107061528Click "Add" one more time for the third URL:
https://www.target.com/p/sony-wh-1000xm5-bluetooth-wireless-noise-canceling-headphones-black/-/A-86314264
Configure basic settings:
- Scrape mode: Leave on "Auto" - this handles different site structures automatically
- AI summary options: Skip these for basic price monitoring - the standard product data is what matters
Optional: Adjust run settings
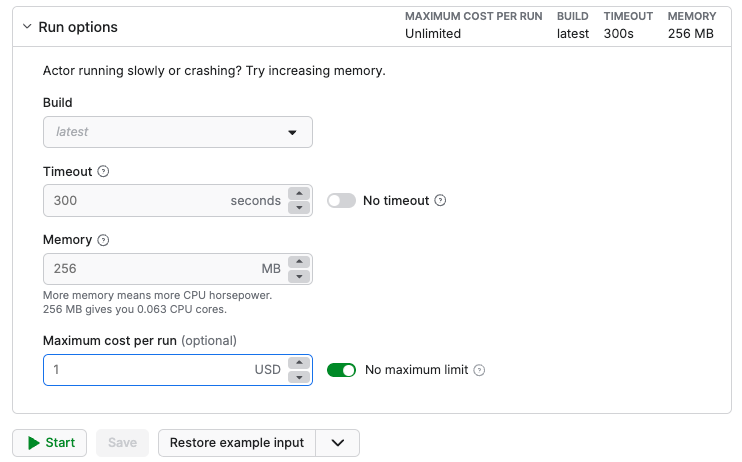
To avoid timeout errors when scraping multiple products, you can adjust the Run options at the bottom of the page. Increase the Actor timeout if needed, or enable the "No timeout" toggle for larger runs.
Step 3. Save, run, and export your data
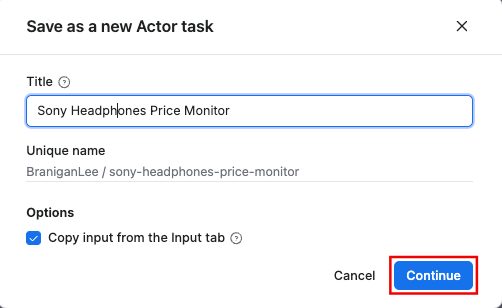
Before running, save your configuration as a task so you can easily run it again and schedule it later.

Give your task a name like "Sony Headphones Price Monitor." And click continue.
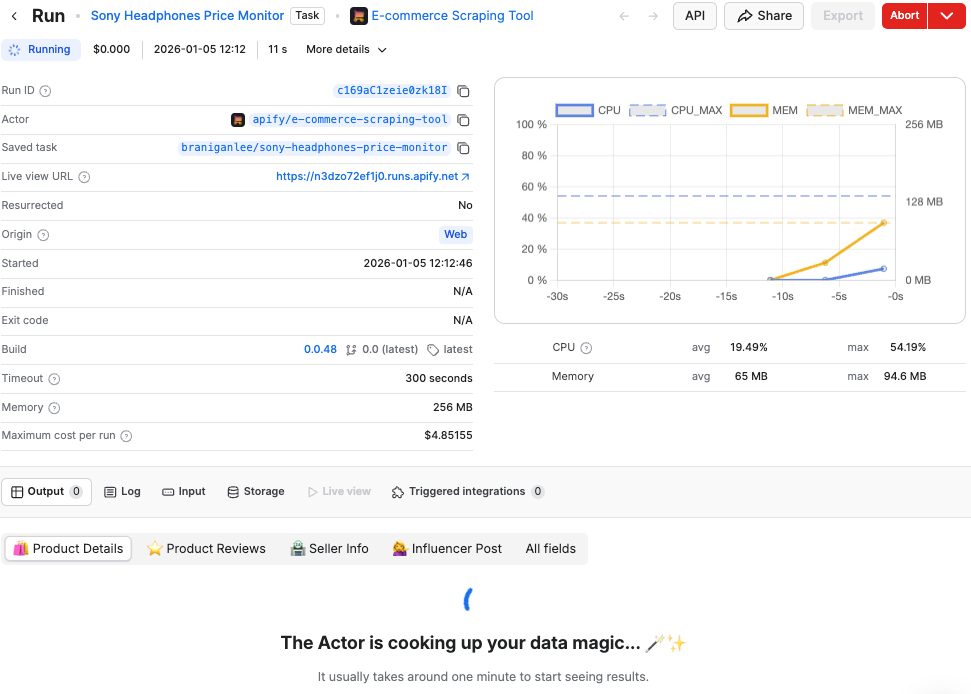
Now click "Start" to run your saved task. The tool will visit each retailer, extract the product information, and organize it into a dataset. The run typically takes 1-2 minutes.

While the Actor is fetching your results you can watch the run.
View your results:
When the run finishes, click the "Output" tab. You'll see a table displaying:
- Product name from each retailer
- Current price and currency
- Brand information
- Image URLs
- Product URLs
Switch between "Table" and "JSON" views to see the data in different formats.

Export your data:
Click the "Export" button to choose from multiple data export options:
- CSV - Opens directly in Excel and Google Sheets
- JSON - For integrations and APIs
- Excel - Pre-formatted spreadsheet
- XML or HTML - For specific use cases

Step 4. Schedule automatic runs
To track prices over time, set up a schedule for automatic runs:
- Go to "Saved tasks" in the left sidebar
- Find your task and click the three dots menu
- Select "Schedule"
- Choose "Daily" and set your preferred time
- Click "Enable"

The tool will now run automatically and track price changes over time. You can view historical data by checking past runs in your task's run history.
That's it! You've set up a system to track product data and prices across multiple retailers. As you get comfortable with the system, you can add more URLs to monitor additional products, track different retailers, and adjust the run interval based on how frequently you need fresh data.
What data can you extract?
With the E-commerce Scraping Tool, you can extract:
| Data field | Description |
|---|---|
| Product name | Exact title as it appears on the site |
| Price and currency | Current pricing with proper currency formatting |
| Product IDs | SKU, MPN, GTIN, EAN, UPC, ISBN for matching across sites |
| Brand | Manufacturer or brand name |
| Images | Direct URLs to product photos |
| Product URL | Link back to the original listing |
| Description | Product details (when available) |
| Variants | Different sizes, colors, or options (where available) |
You can also add custom data extraction using the AI summary options if you need additional fields.
Additional feature: Scrape reviews
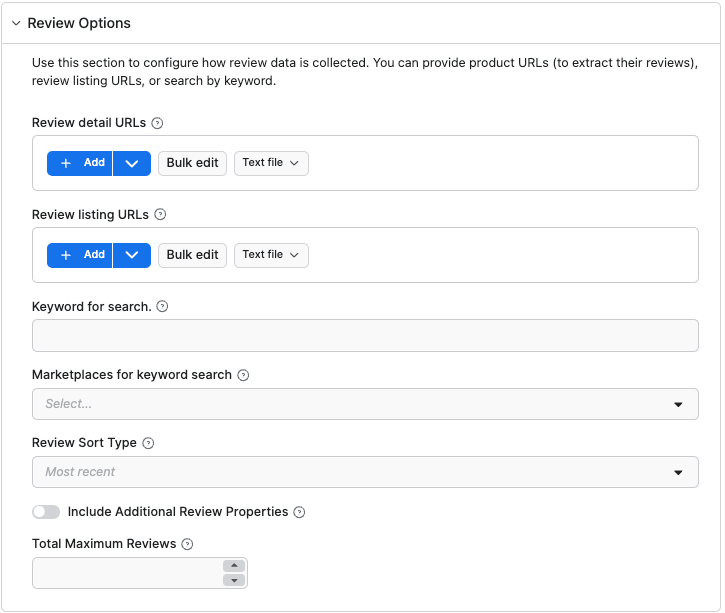
The E-commerce Scraping Tool can also scrape product reviews instead of product details. To do this, add your URLs to the "Review Options" section. The tool will collect review text, rating, reviewer's name, and review URL - useful for sentiment analysis and competitor research.
How much does it cost?
E-commerce Scraping Tool uses Apify's pay-per-event pricing model. You pay for:
- Actor start (per run)
- Product details scraped (for each product)
- Optional: Residential proxy use (per product)
- Optional: Browser rendering (per product)
- Optional: AI summary
The free plan gives you $5 in platform credits to start - enough to scrape several hundred products. Personal plans begin at $49/month and include significantly more credits.
Higher subscription plans unlock lower Actor costs through volume discounts. For example, the Business plan offers a 65% discount on Actor costs.
Example: Scraping 100 products
With a Business plan (65% discount):
- Actor start = $0.0007
- Product details = 100 × ($1.00 / 1,000) = $0.10
- Total ≈ $0.10
Even with proxies and browser rendering enabled, costs remain very low relative to data volume. Check the pricing page for detailed breakdowns.
Integrate with your workflow
If you want to automate, scale, or integrate scraping into your existing workflow, you can run E-commerce Scraping Tool programmatically with the Apify API.
Integration options:
- API - Python, JavaScript, or REST endpoints
- Webhooks - Get notified when scrapes finish
- Apps - Connect with Zapier, Make, n8n, or Google Sheets
- MCP - Use with AI assistants like Claude
Check out Apify Integrations to find your favorites.
Start scraping e-commerce data
E-commerce data scraping helps you understand competitors, research products, track pricing, and make informed business decisions. The E-commerce Scraping Tool offers a flexible solution that works across almost any online retailer and transforms data into actionable insights.
You can extract product data from multiple sites in a single run, schedule automatic updates, and export to the format you need. Start with a few products, verify the data quality, and scale up as needed.
Ready to try it? Launch the E-commerce Scraping Tool and run your first scrape.
You can learn more in this video on E-Commerce Scraping Tool:


