You've built an Apify Actor that solves real problems. You know that the distribution and marketing of your software is equally as important, but right now, it's only discoverable within the Apify ecosystem. What if you could automatically promote it to another community of 500,000 automation builders?
This guide will teach you how to convert your Actor into an n8n node, test it locally, publish it to npm, and promote it to maximize reach. We’ve built a CLI tool to make this conversion simple and under 60 minutes, without any prior knowledge of n8n node rules and publishing processes.
Follow the guide on YouTube
Why n8n?
n8n is an open-source workflow automation platform with an ecosystem of over 1,000 different services and APIs. Think of it as a more technical and flexible alternative to Zapier. Developers and technical teams use n8n to build sophisticated automation workflows without writing custom integration code.
Key facts about n8n:
- 500K+ active users building automations across marketing, sales, operations, and data pipelines
- Open-source and self-hosted, making it popular with privacy-conscious teams and enterprises
- Extensible through community nodes, allowing developers like you to publish custom integrations
- Strong developer community that actively searches for new nodes to solve specific automation challenges
Why Actors work perfectly as n8n nodes
Apify Actors are serverless cloud programs that perform specific automation tasks: web scraping, data extraction, API integrations, and more. Their architecture makes them ideal candidates for n8n integration:
- Well-defined input schemas convert directly to n8n parameters
- On-demand API execution matches exactly how n8n nodes work
- Structured data output flows seamlessly into workflows
- All complex logic stays on Apify - your node just triggers it
By converting your Actor into an n8n node, you're creating a bridge between two automation ecosystems without duplicating any work. Your Actor stays on the Apify platform, runs on Apify infrastructure, and users still consume Apify compute credits - but now they discover and use it more easily through n8n's interface.
Prerequisites
Before you start, make sure you have:
- Node.js installed on your machine
- An existing Apify Actor with a working input schema
- An npm account for publishing
- Basic command-line familiarity
How to publish your Actor as an n8n node
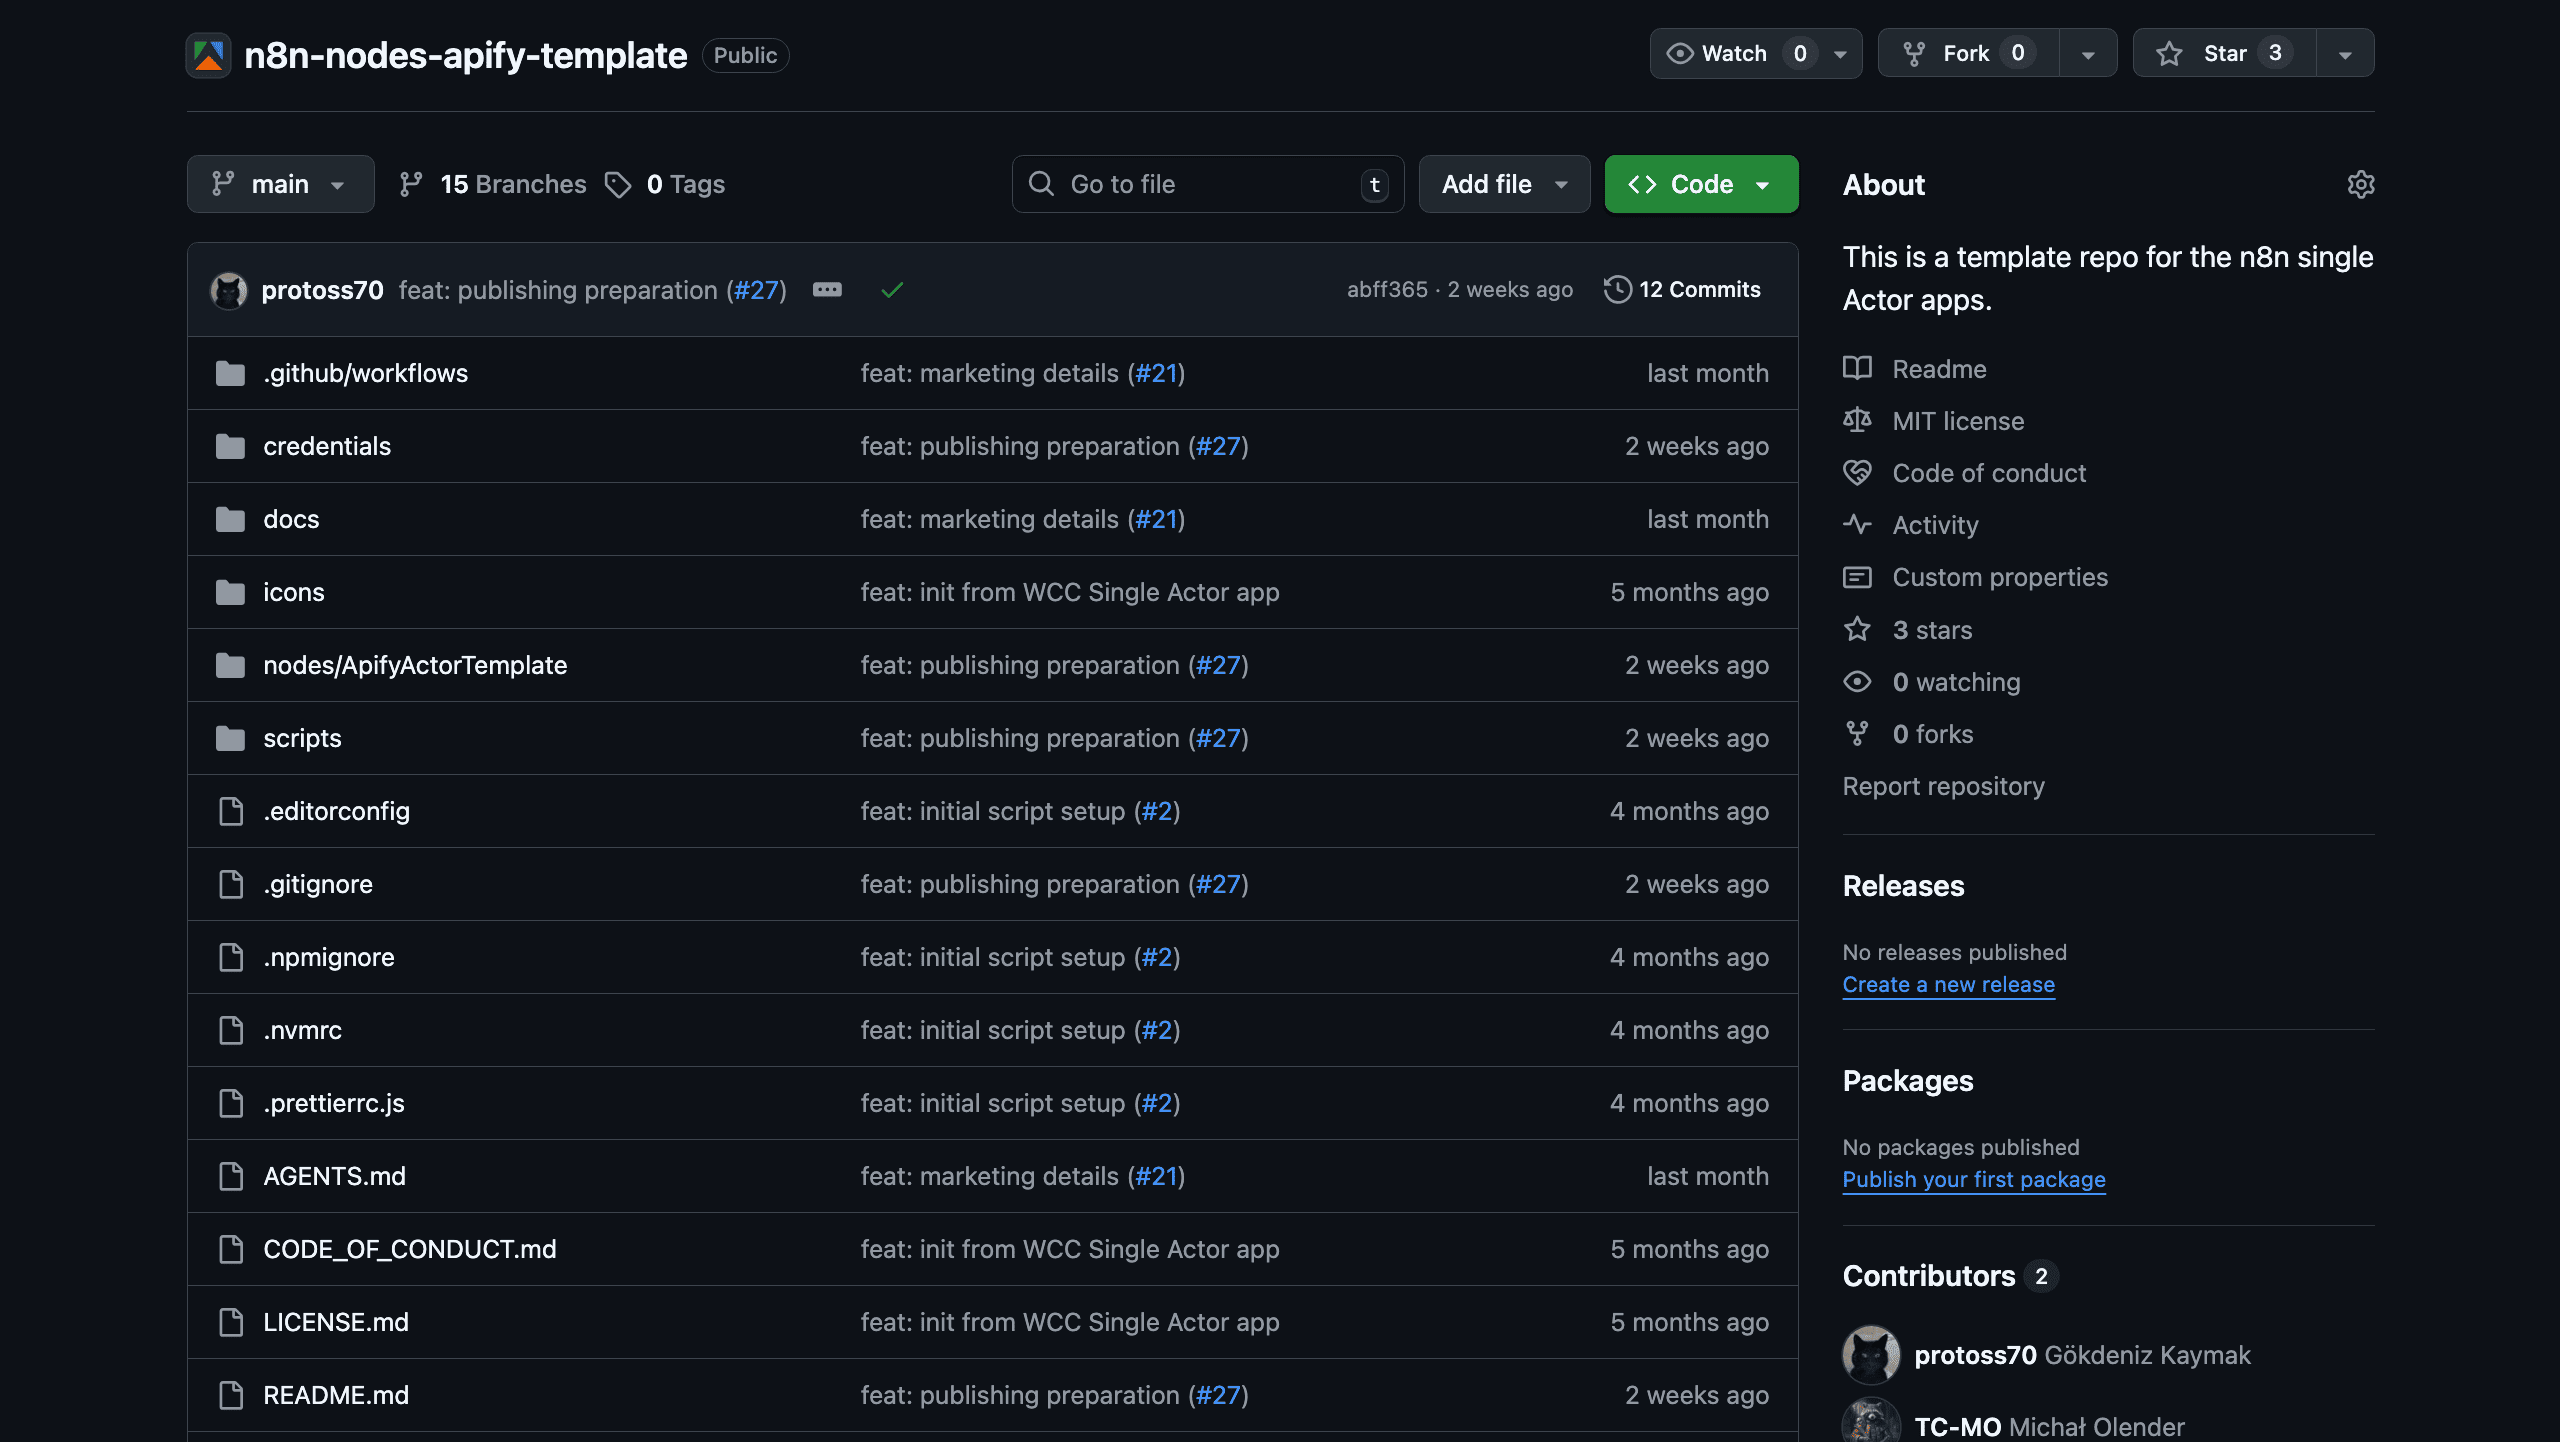
1. Clone the template repository
Start by cloning or using the n8n-nodes-apify-template repository:
git clone https://github.com/apify/n8n-nodes-apify-template.git
cd n8n-nodes-apify-template
npm install
This template includes everything you need to generate an n8n node from your Actor.
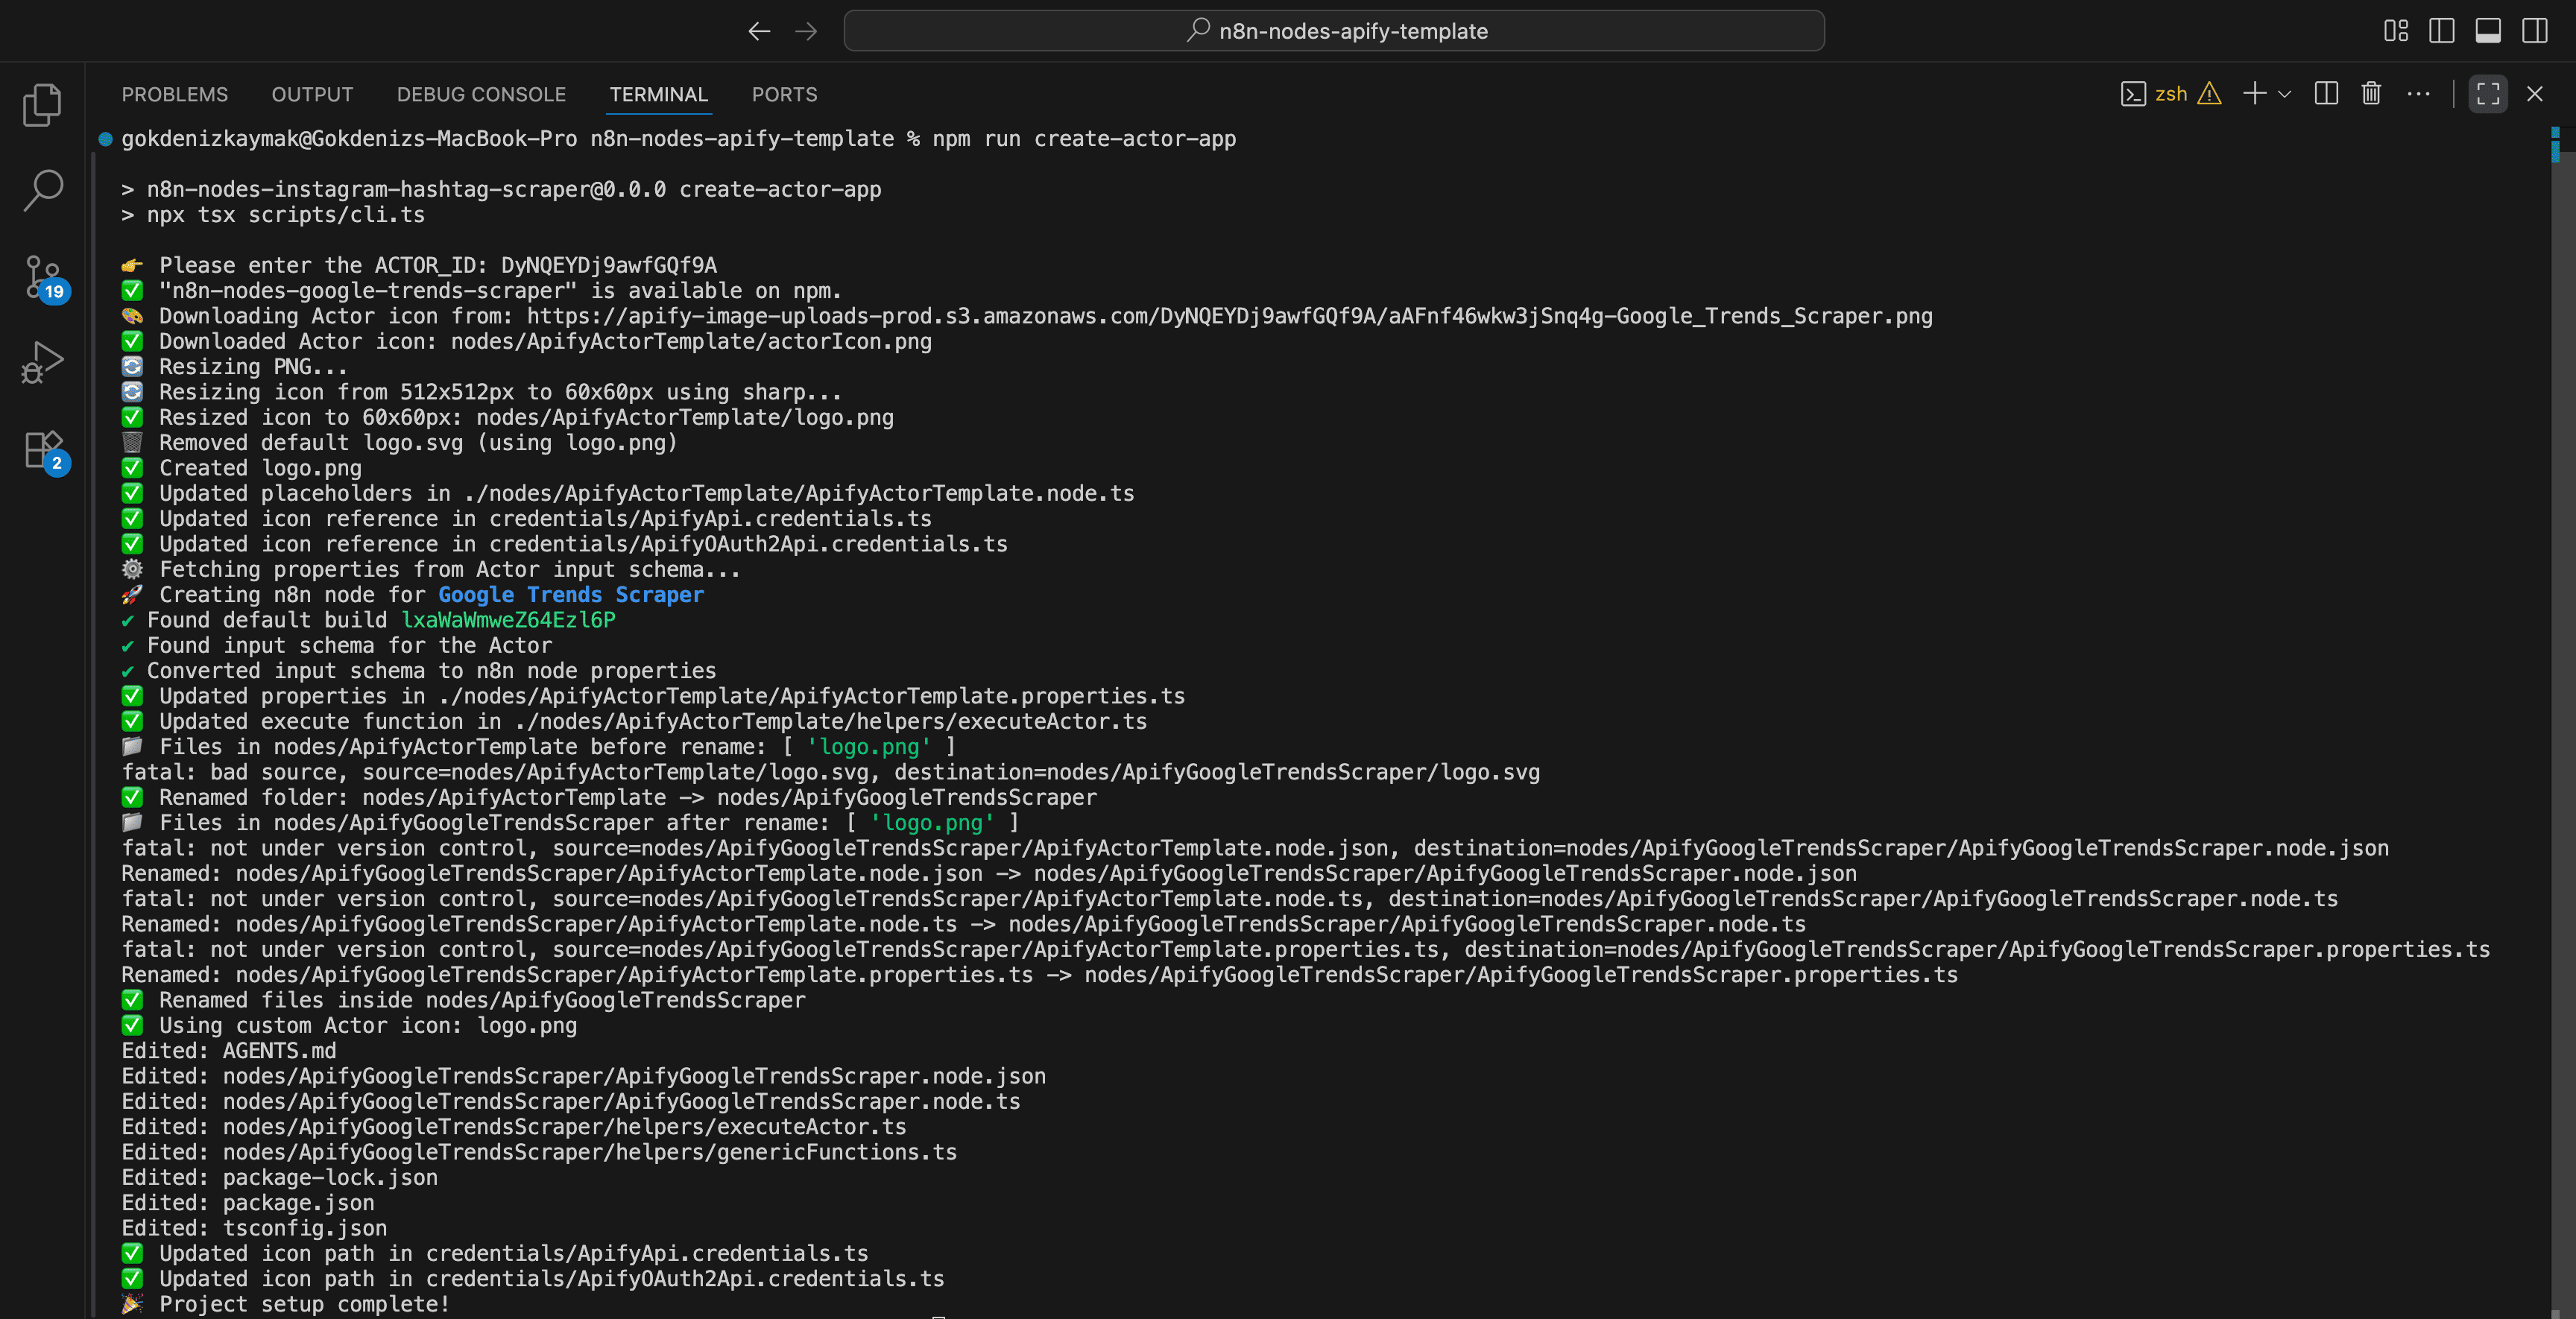
2. Generate your node
Run the node generator command and enter your Actor ID when prompted:
npm run create-actor-app
The CLI will prompt you for your Actor ID. You can find this in Apify Console on your Actor's page (a unique identifier like abc123XYZ).
The generator will:
- Fetch your Actor's input schema from the Apify platform
- Generate the necessary n8n node files
- Create a basic configuration based on your Actor's metadata (it also uses the Actor logo as a default icon for the n8n node)
Review the generated files in the output directory to ensure everything looks correct.
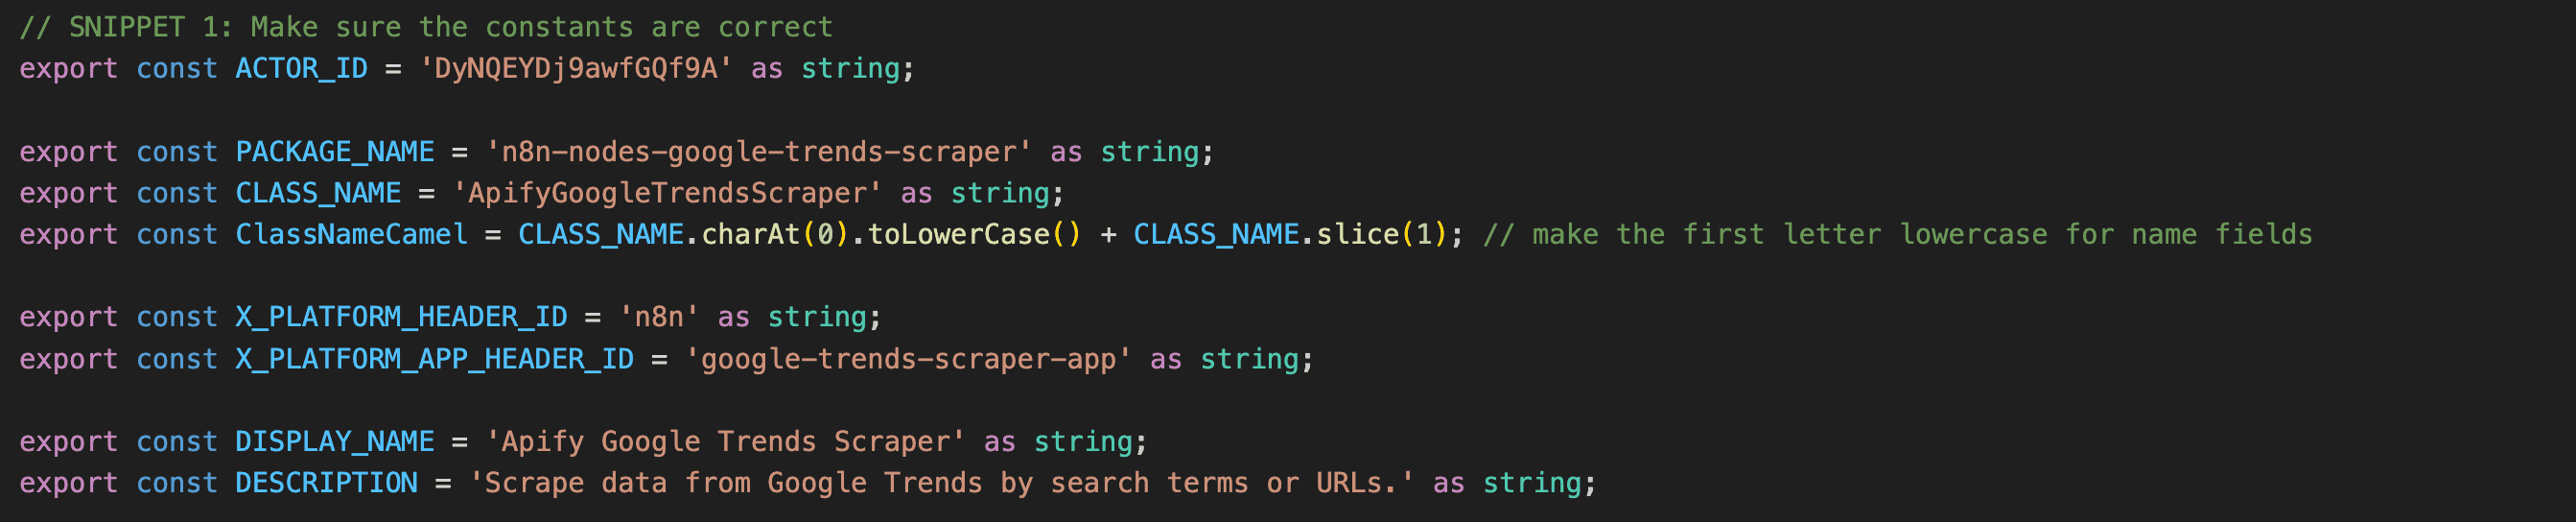
3. Customize your node
The generated node works out of the box, but you'll want to polish it for a better user experience.
Update node metadata:
- Edit the node title to be clear and descriptive
- Write a helpful description that explains what your Actor does
- Update the icon/logo to match your Actor's branding
Improve descriptions:
- Add helpful tooltips for input fields
- Include example values where appropriate
- Make sure the node name follows n8n's naming conventions
You can find the most relevant parts of the code that you will likely be modifying, by running a repo-wide search for a SNIPPET keyword in the comments.
For AI assisted modification of the node, we’ve also included an AGENTS.md file in the repo which you can use with your favourite coding agent.
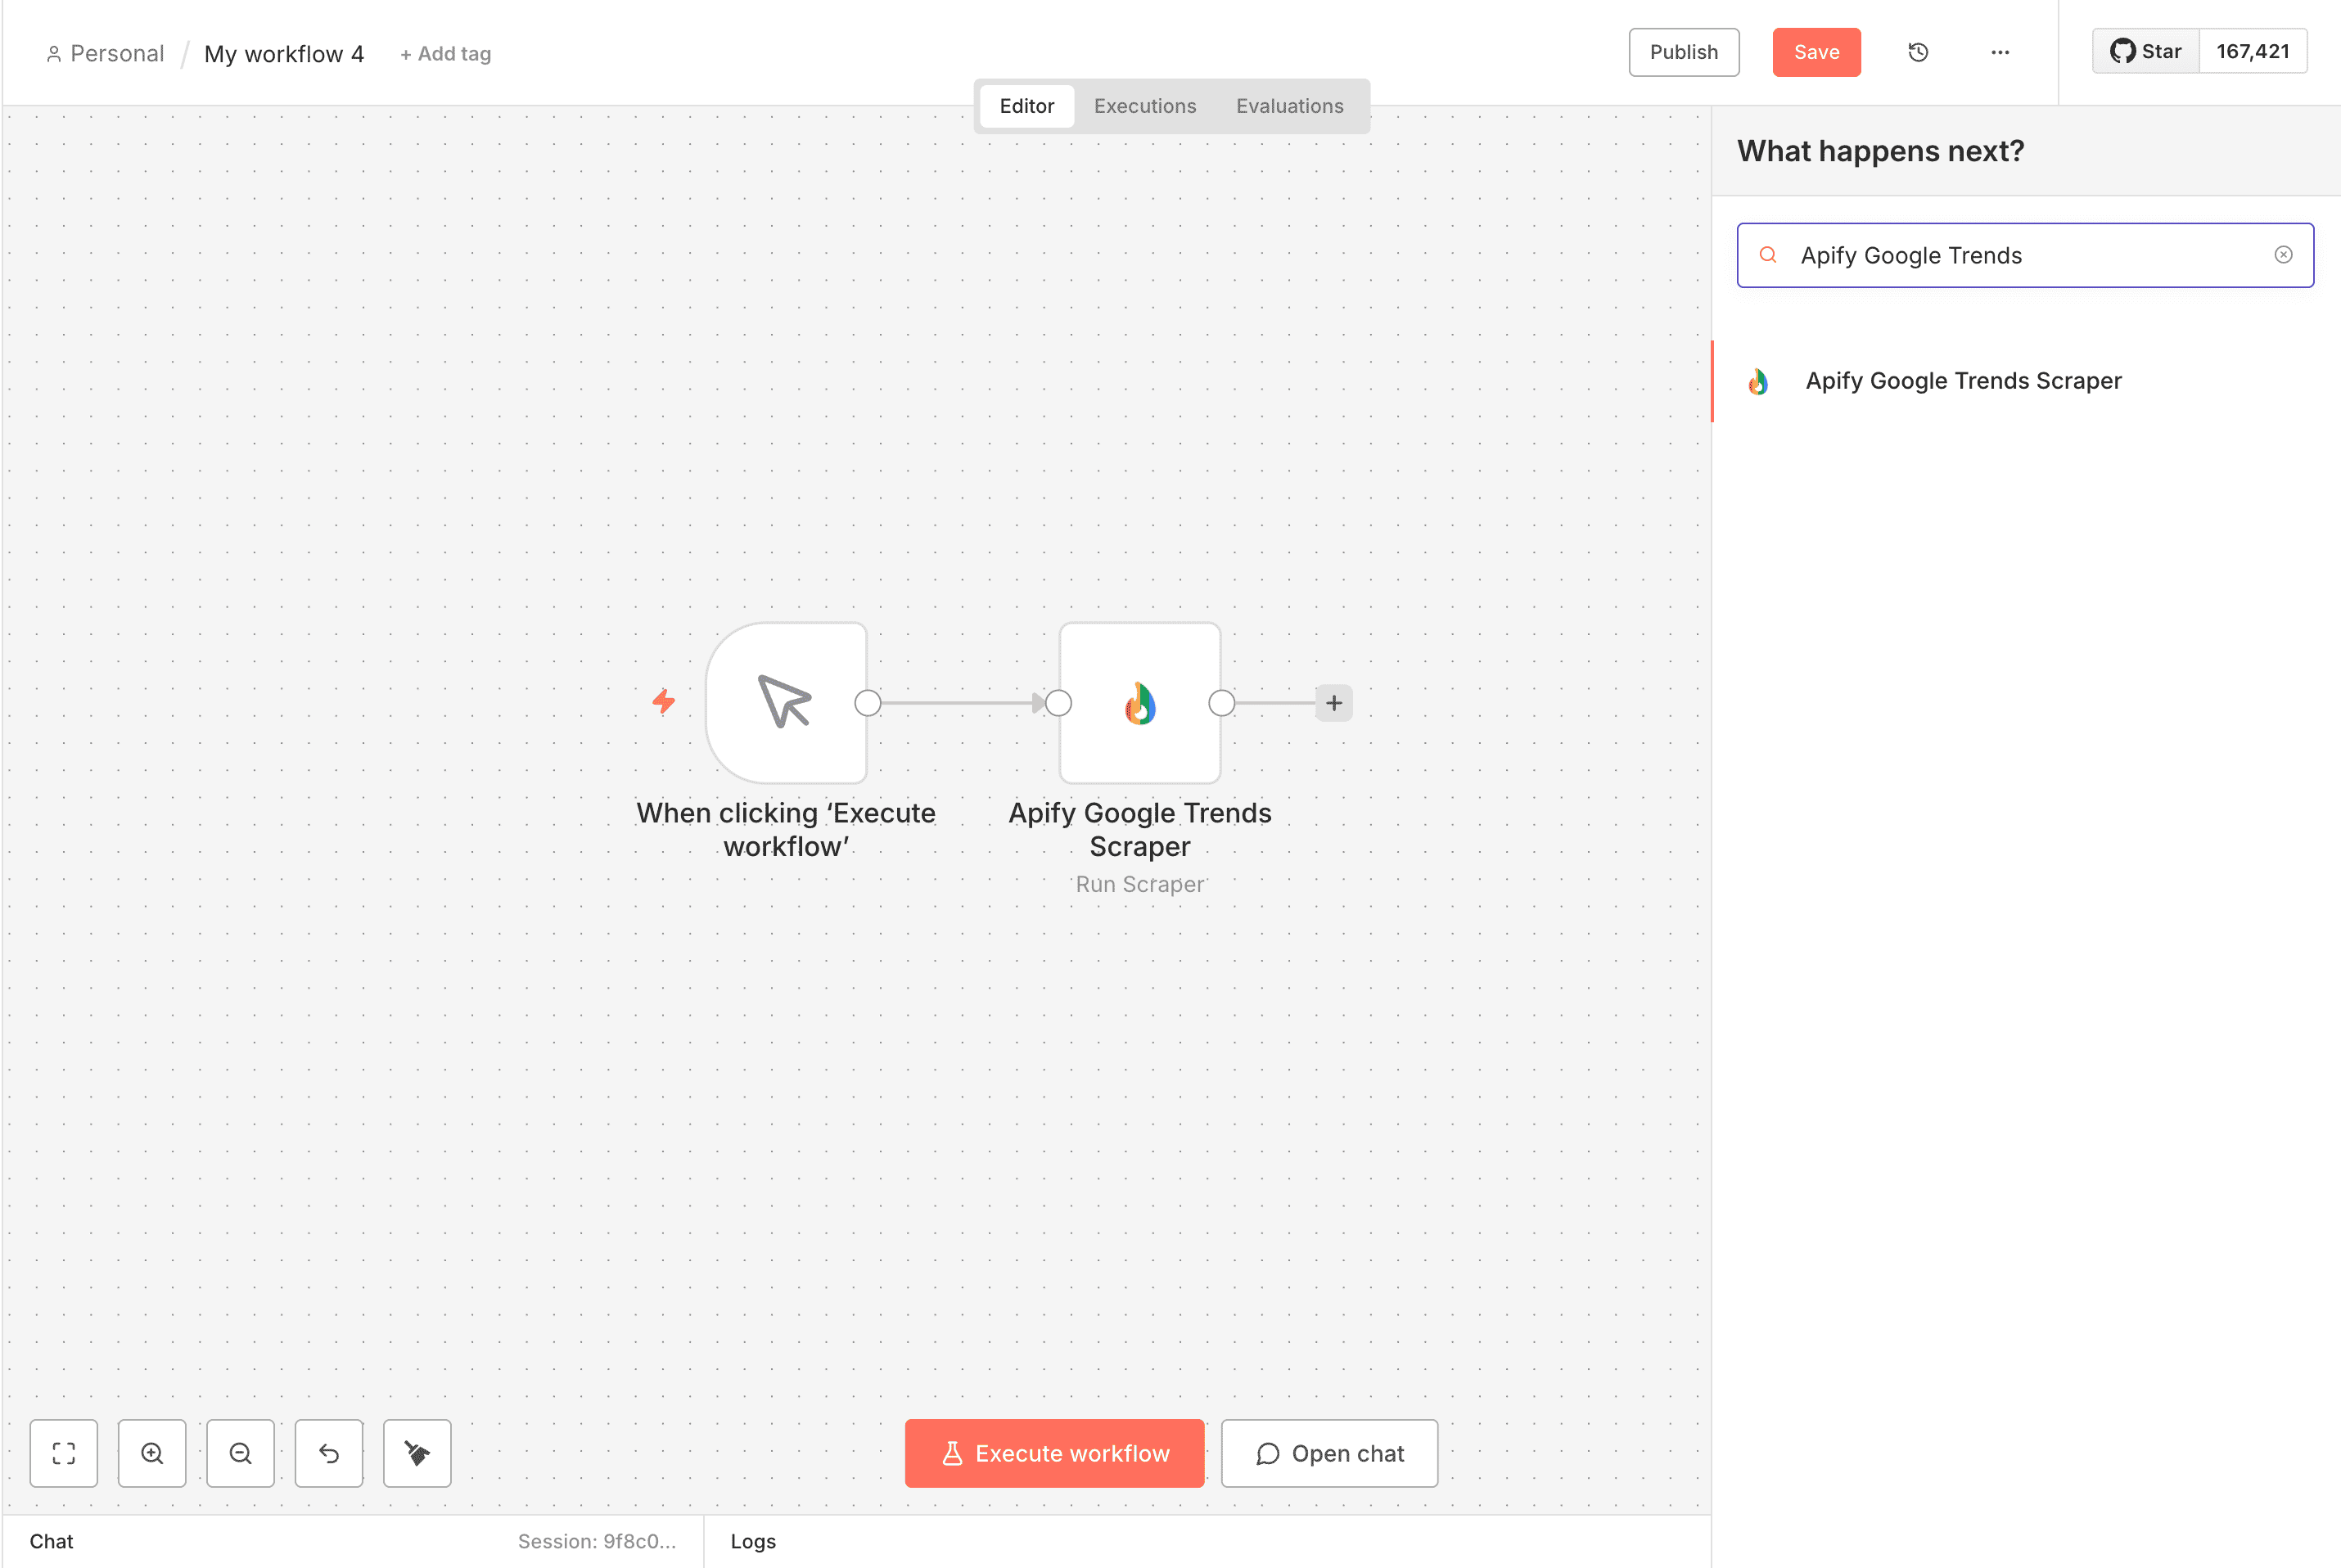
4. Test locally
Before publishing, test your node in a local n8n instance:
npm run dev
This starts n8n locally with hot reloading enabled. Open your browser and navigate to http://localhost:5678.
Testing checklist:
- Create a test workflow using your node
- Run it with sample inputs from your Actor
- Verify the output matches what you expect
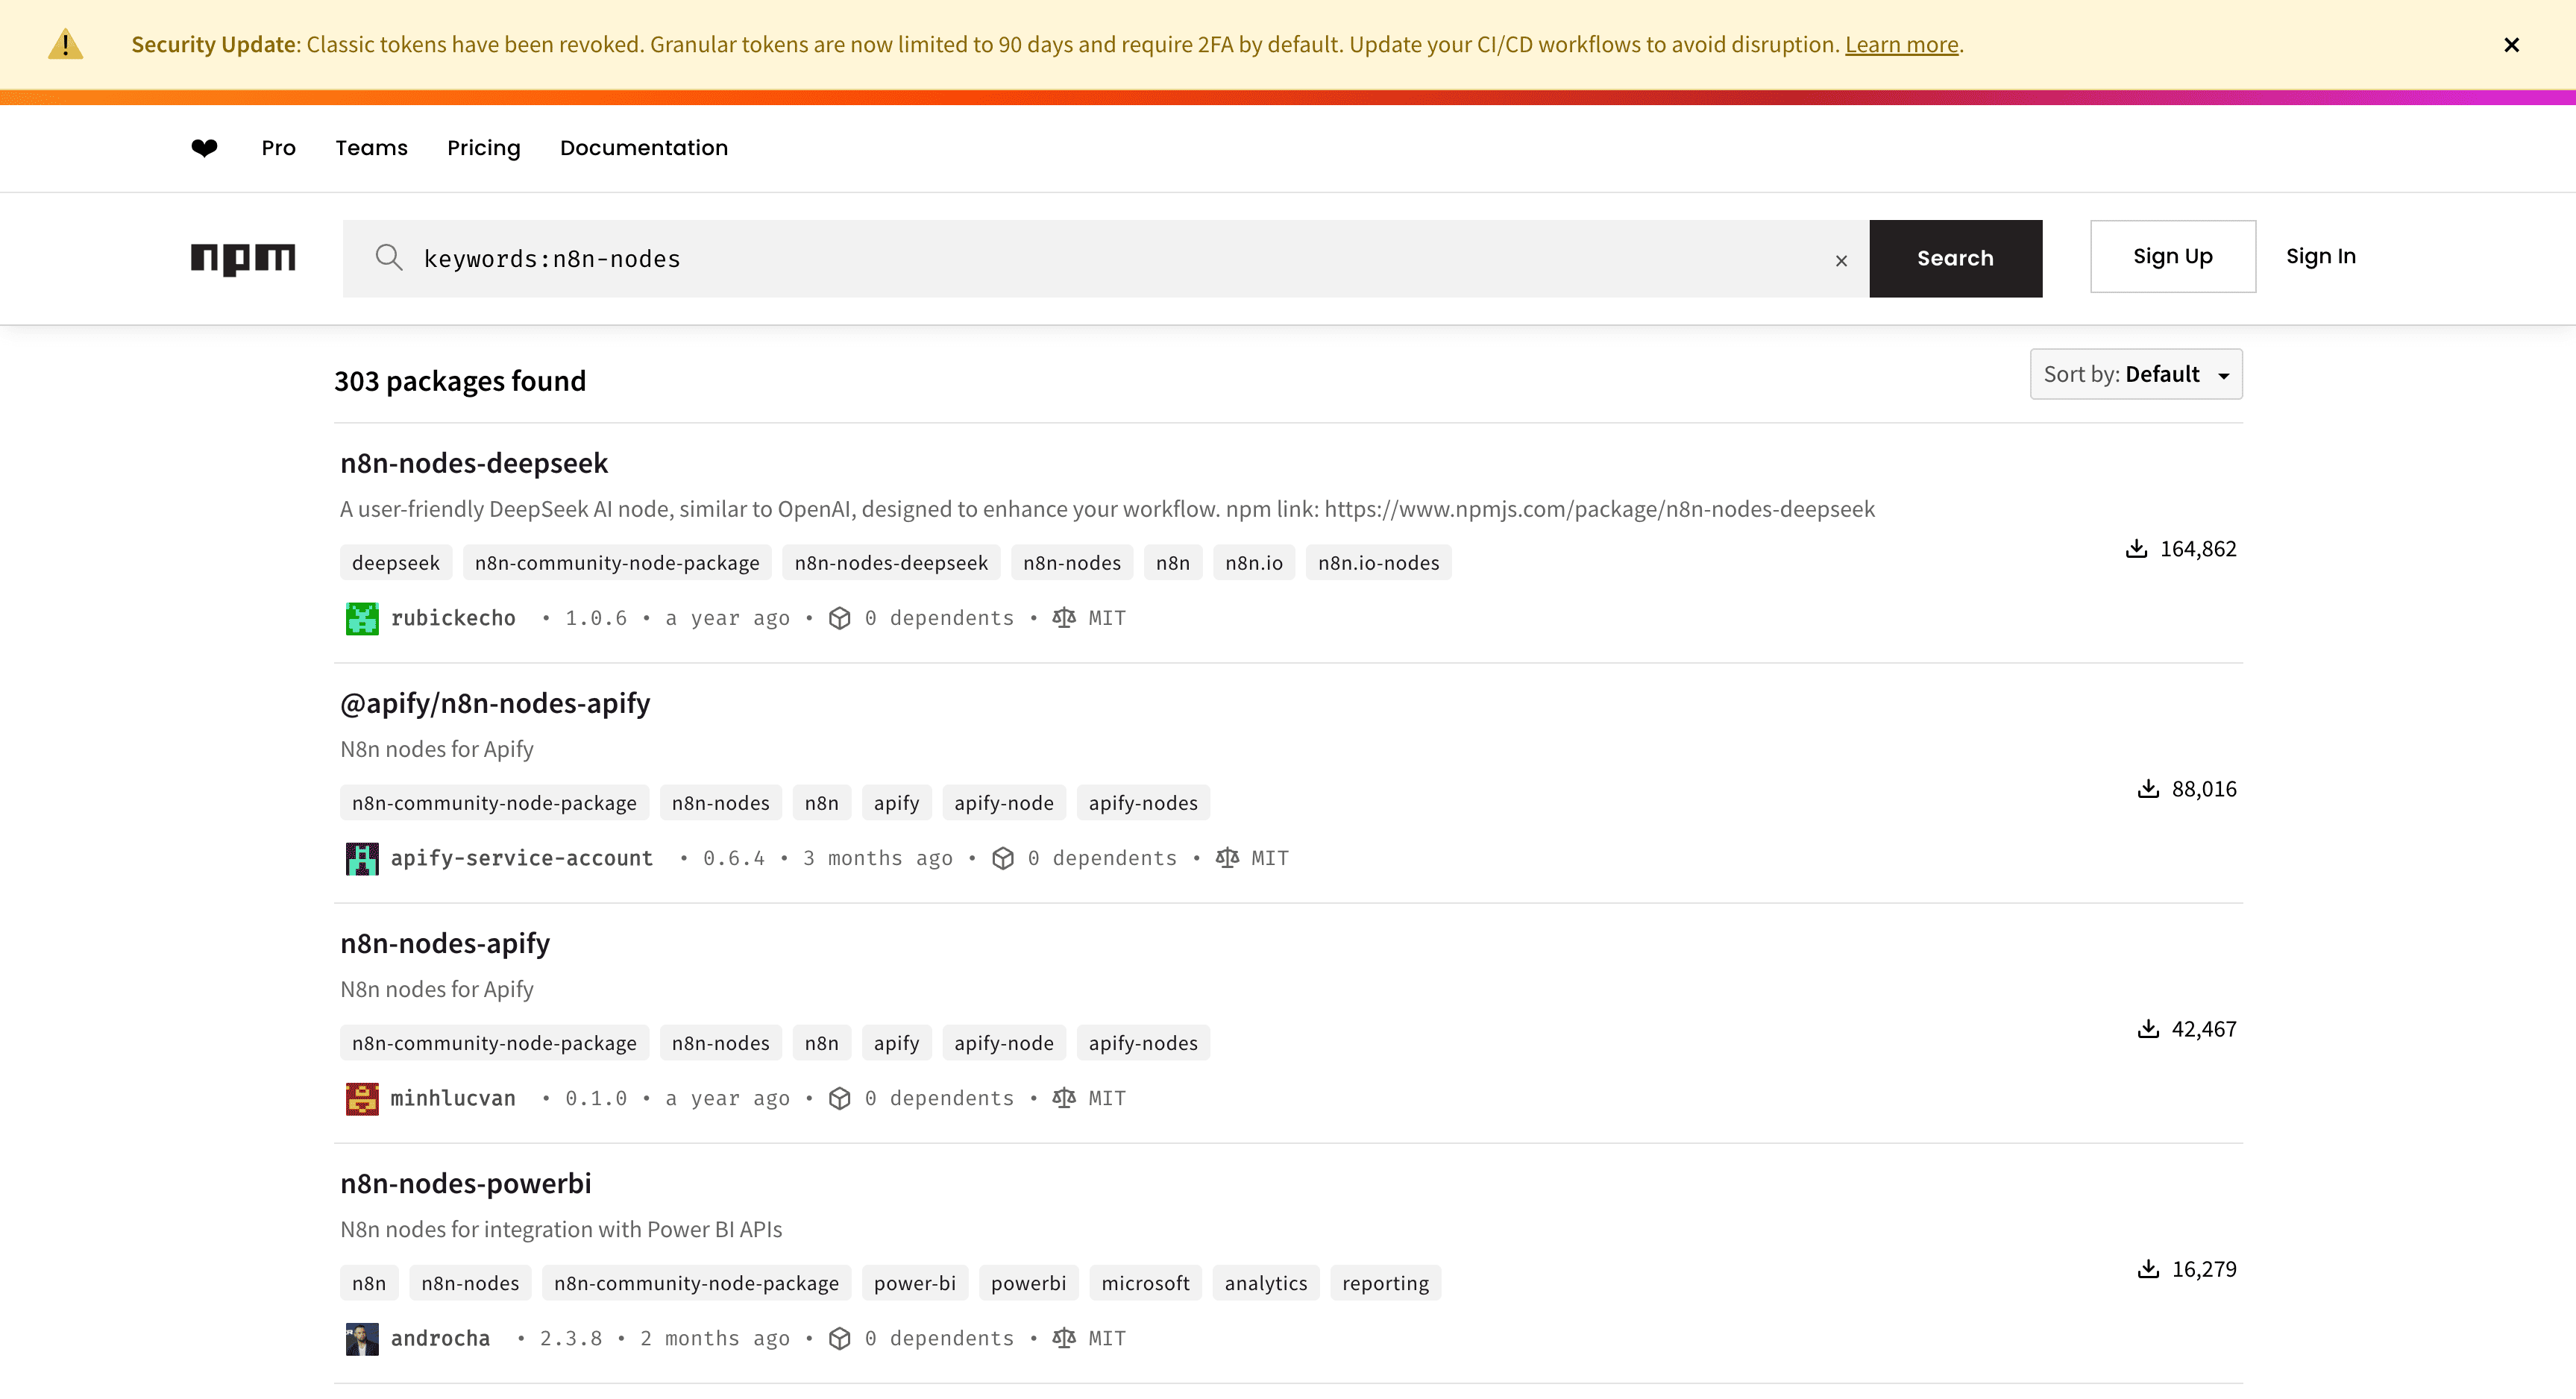
5. Publish to npm
Once you're satisfied with your node, prepare it for publication:
Update package.json:
- Set a unique package name (e.g.,
n8n-nodes-your-actor-name) - Add your details as the author
- Write a clear description
- Set the version to
1.0.0
Polish your README:
- Explain what the node does
- Include installation instructions
- Add usage examples
- Link to your Actor in Apify Store
Publish:
npm publish
Verify your package appears on your npm profile.
6. Promote your node
Publishing is just the start. To maximize reach, promote your node across multiple channels:
- Update your Actor README:
Add a section about your n8n node to your Actor's README on the Apify platform. This helps Apify users discover the n8n integration.
- Announce in the n8n community forum:
Create a launch post in the n8n community forum that includes:
- What problem your node solves and which use cases it serves
- A sample workflow demonstrating your node in action (screenshots or workflow JSON)
- How it compares to manual setup with the generic Apify node
- Installation instructions and documentation links
- Notify the Apify integrations team:
Email integrations@apify.com to let the Apify team know about your new node. We’ll consider amplifying your launch through social media posts and other communication channels.
- Share on your own channels:
- Twitter/X: Post a short demo video or before/after comparison
- LinkedIn: Write about why you built the node and what you learned
- GitHub: Pin the repository and add it to your profile README
- YouTube/Loom: Create a 3-5 minute walkthrough video
Support and resources
Need help? The Apify integrations team is here to support you:
- Discord: Reach out to the Apify Integrations team on Apify Discord
- Email: Contact integrations@apify.com
- GitHub: Open issues in the template repository for technical problems
- n8n Community: Join the n8n forum to connect with other node creators
Useful links:
- n8n community nodes documentation
- n8n Actor node template repository
- Example published node (Website Content Crawler)
Conclusion
In under 60 minutes, you can extend your Actor's reach from the Apify ecosystem to n8n's 500,000+ automation builders. The process is straightforward: clone the template, generate your node, test it locally, publish to npm, and promote it.
Your Actor handles the heavy lifting. Your n8n node just makes it accessible to a whole new audience.
Ready to get started? Clone the n8n Actor node template and follow the guide to publish your first node today.