If you’re running a business, you’re aware of the pain of collecting all invoices from all services by the end of the month for accountants. Some services send you an email with an invoice you can redirect. But some don’t and the only way to get the invoice is to log in manually to their website every month. As is the case of Toggl.com (a time-tracker application). Thanks to web automation with Apify you can download invoices with the new Toggl Invoice Download (katerinahronik/toggl-invoice-download) Actor.
The actor performs the following actions:
- Logs in to Toggl.com with provided credentials
- Navigates to invoices
- Downloads the last invoice
- Saves it to Apify’s key-value store as a PDF file
Optionally, the Actor can also:
- Save the invoice to Dropbox, using the Dropbox Upload (petr_cermak/dropbox-upload) Actor
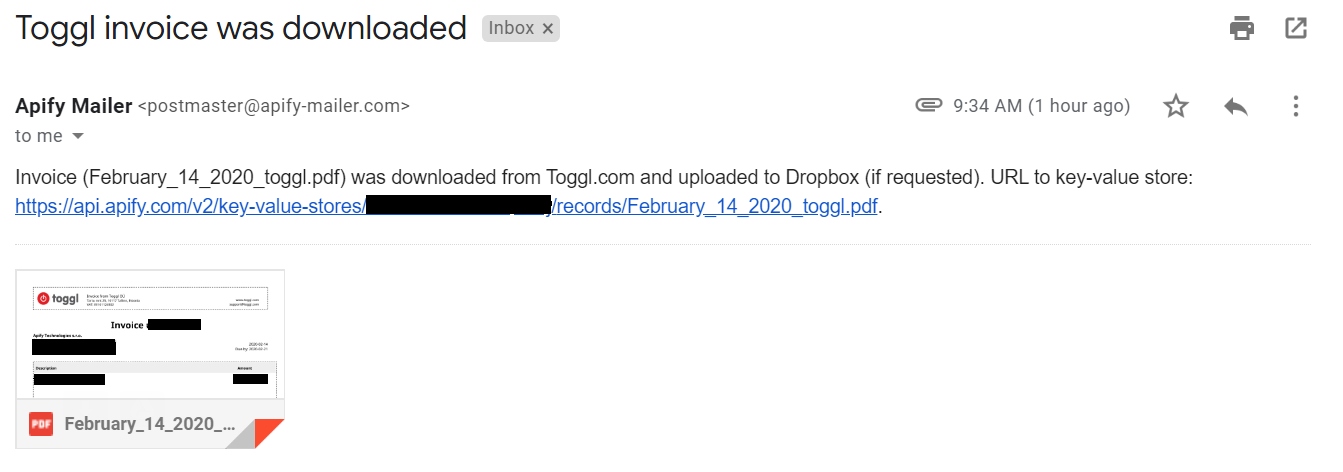
- Send a notification email with the invoice attached, using the Send Email (apify/send-mail) Actor
How to use the Toggl Invoice Download Actor
It’s pretty easy. All you need is an Apify account. Don’t have one yet? You can easily sign up and get a free account in a minute. If you already have one, great! Just follow the link to the Actor detail page and click the Try for free button.
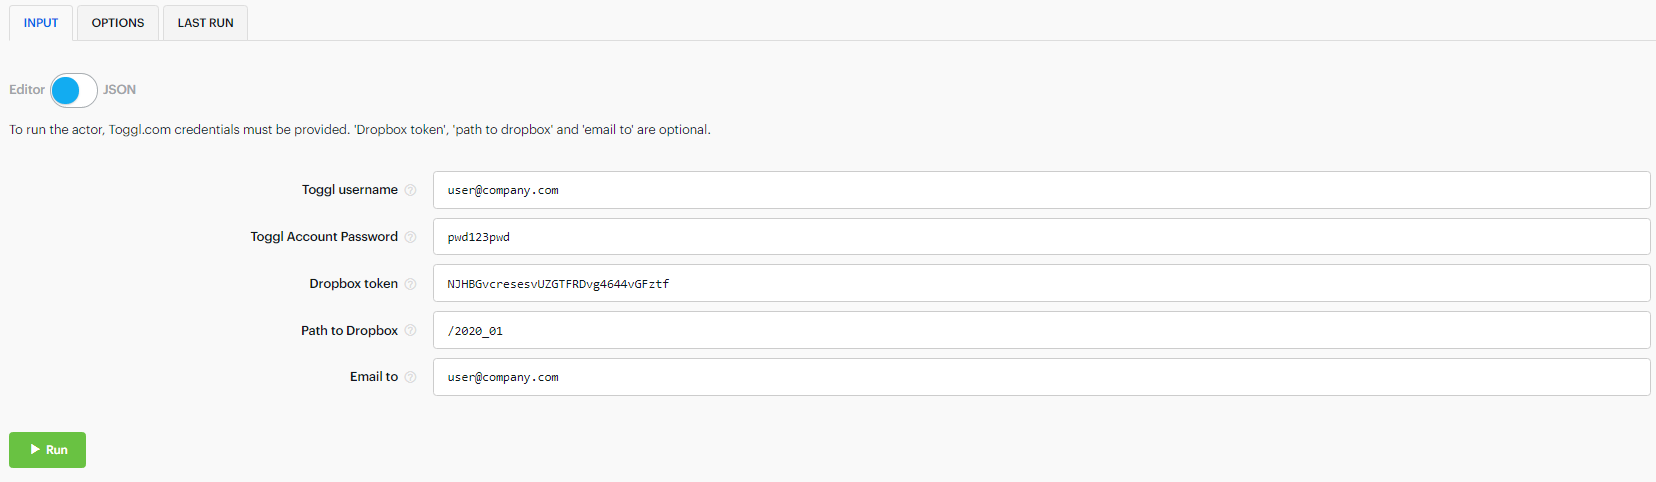
As inputs, the Actor takes your username and password to Toggl.com. These are the only required fields. The name of the invoice is fixed as “month_DD_YYYY_toggl.pdf”.
If you’d like to have the invoice uploaded to Dropbox, a Dropbox token must be provided. The path to Dropbox determines in which Dropbox folder the invoice is uploaded. If not provided, a folder named “YYYY_MM” is generated automatically. The final optional field is an email address where a notification can be sent. The notification message includes both links to Apify´s key-value store and the attached invoice in PDF format.
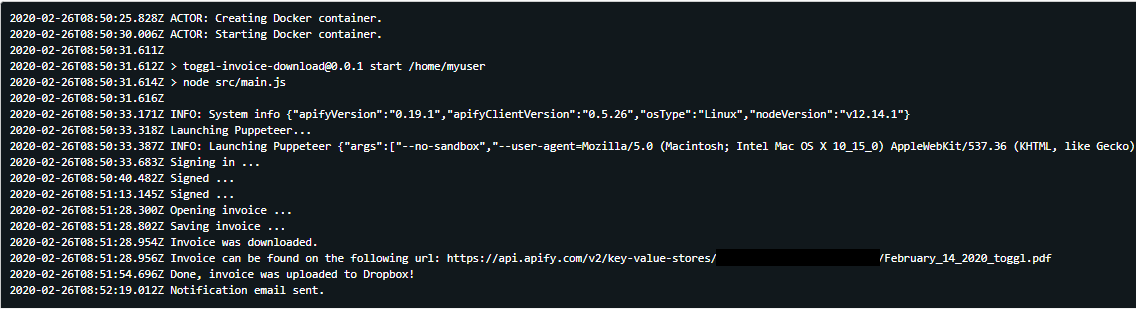
Next, just click the Run button and let the Actor do the job. During the process, you will see logs informing you about every important stage.
Now, let’s schedule the Actor to run every month. First, we create a task for it. Tasks are great as they keep a configuration for Actors, so that it can be easily reused.

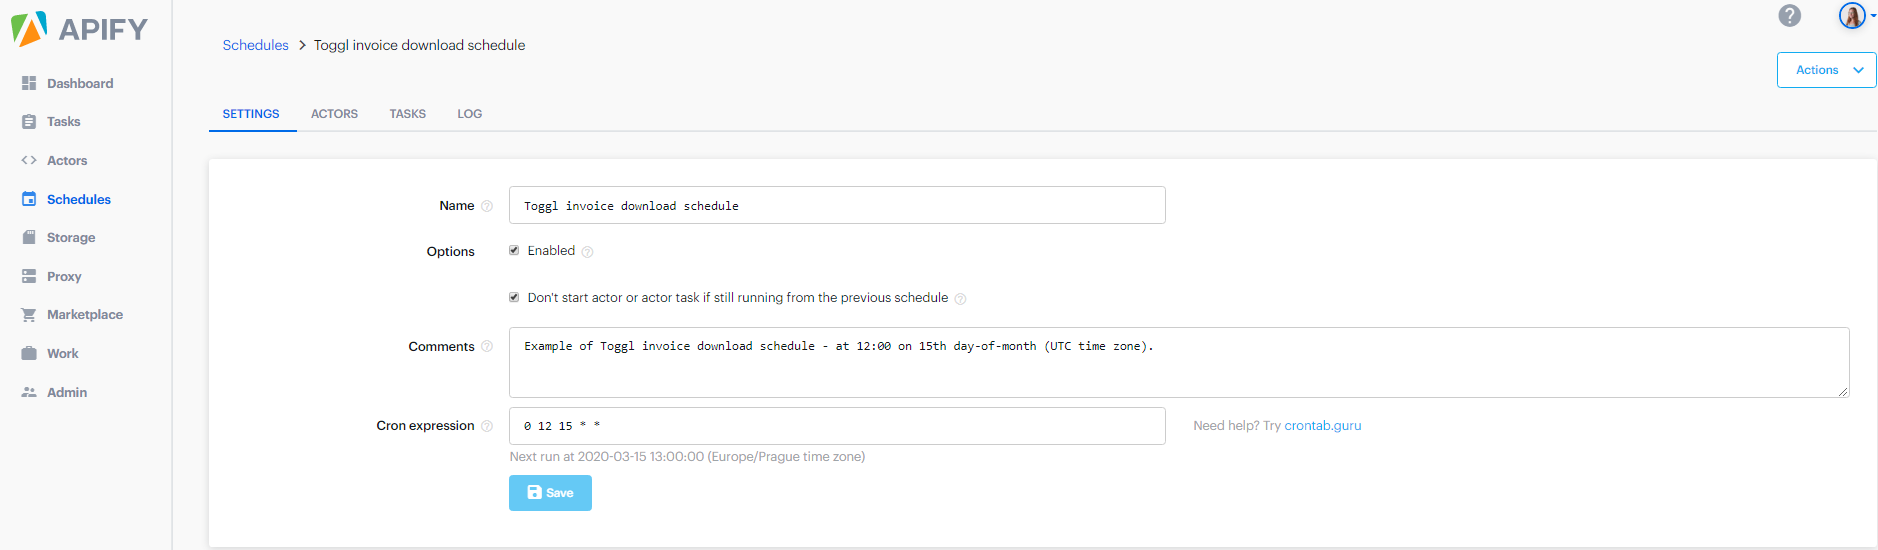
Next, click on “Schedules” in the left menu. In “Settings”, enter the name, time, and date you want the task to run.
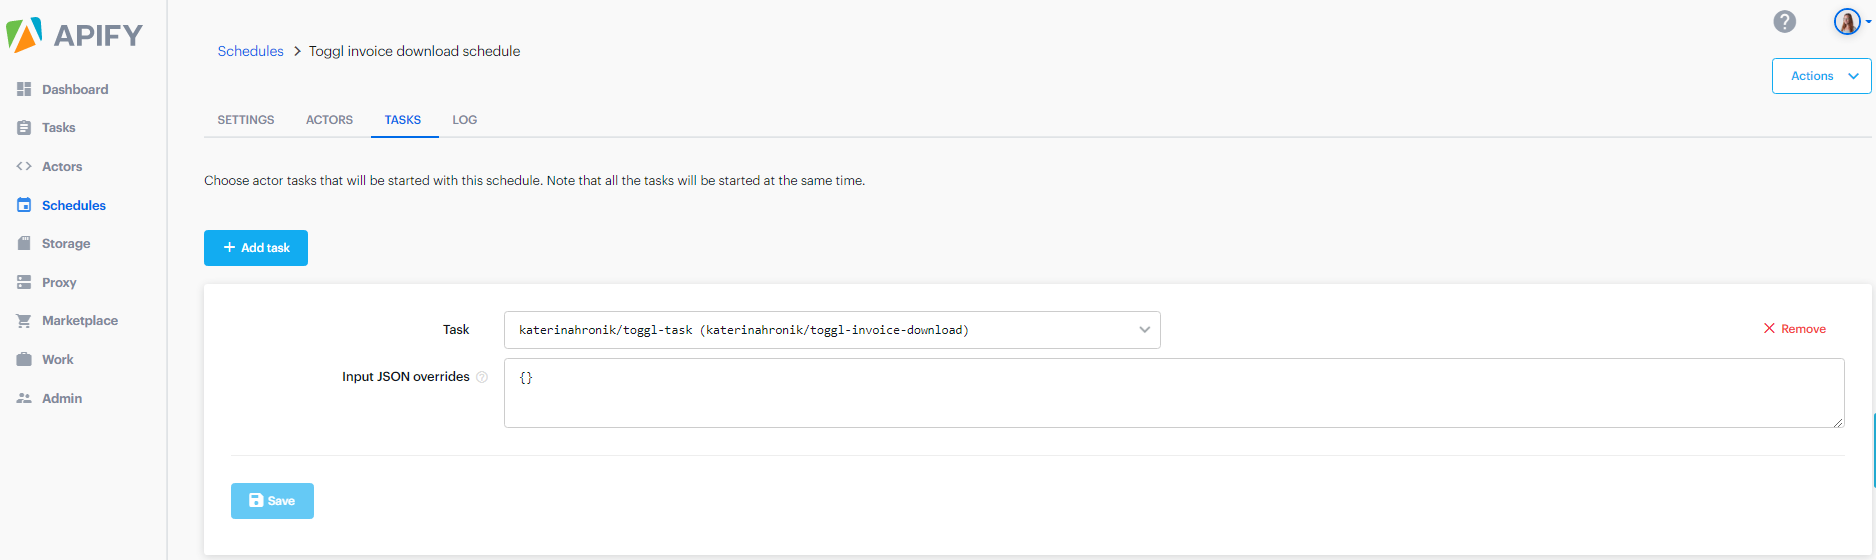
From “Settings” go to “Tasks” and select the created Toggl task.
In all three cases, click the “Save” button and that’s it. You’ve managed it! Now, you can chill out for a few minutes every month.
How it is developed
The Actor is developed using Node.js, Apify SDK and uses headless Chrome with Puppeteer. Let’s take a quick look at the code (open source on GitHub). After getting the input, the Actor is ready for a log in. It uses relevant HTML page element ids and a certain delay in typing in order to simulate a real user.
// launching Puppeteer
const browser = await Apify.launchPuppeteer();
// opening the page
const page = await browser.newPage();
await page.goto('https://toggl.com/login/');
await page.type('#login-email', user, { delay: 100 });
await page.type('#login-password', pwd, { delay: 100 });
await page.click('#login-button');Then, the Actor navigates itself through the pages until it reaches the last invoice. For this, the relevant classes become handy.
// go through pages to invoices
const showMore = '.css-dq2otx.e34dboa1 > div:nth-child(1) > div:nth-child(21) > button';
await page.waitForSelector(showMore);
await page.click(showMore);
The most tricky part comes with getting the actual invoice PDF buffer as the cookies must be included in the request header.
// get the cookies
const cookies = await page.cookies();
// defining function for getting the buffer with url and cookies
async function getPdfBuffer(url, cookies) {
// make cookie string - page.cookies() return dictionary
let cookieStr = '';
for (let i = 0; i < cookies.length; i++) {
const cookie = cookies[i];
cookieStr += cookie.name + "=" + cookie.value + ";";
}
// set cookies to header
const options = {
url: url,
method: 'GET',
timeout: 120 * 1000,
encoding: null,
headers: { "cookie": cookieStr },
}; const buffer = await simpleRequest.get(options);
return buffer;
}// calling the function
const pdfBuffer = await getPdfBuffer(linkLastInvoice, cookies);The rest of the code is easy. Just save the buffer to the key-value store and use the above mentioned existing Actors for optional Dropbox upload and notification email sending.
Conclusion
We’d love to hear your feedback. Any ideas for improvement? Found a bug? Please, submit an issue on the Actor GitHub repository.
Enjoy your free time thanks to this simple web robotic process automation process.
If you’d like to set up a similar workflow for any other manual process on the web, but you’re not a developer yourself, you can easily submit your project on Apify Marketplace, and we’ll hook you up with a developer who will build the solution for you.