
Gathering weather information from multiple locations can be challenging, particularly when the requirement is to obtain it from a dependable source in an organized way.
Whether you're a developer seeking to incorporate weather data into your application, a researcher intent on scrutinizing weather trends, or simply an individual making plans for outdoor ventures, access to precise and current weather data is of paramount importance. This is precisely where Weather Scraper steps in. Weather Scraper serves as the solution to your needs, simplifying the process of obtaining reliable, structured, and up-to-the-minute weather information.
What is Weather Scraper for?
Weather Scraper is an Apify Actor specifically designed to scrape and collect weather data from Weather.com. It's a powerful tool that automates the process of data extraction (or web scraping), transforming the weather forecasts from the website into a structured dataset.
The Actor is versatile, allowing you to specify the type of weather data you need, the locations you're interested in, and the time frame for the forecasts. Weather Scraper can be configured to scrape today's weather, a five-day forecast, or a ten-day outlook.
What data can I get using Weather Scraper?
With Weather Scraper, you can extract a wide range of weather-related data, including:
- City, state, and country information
- Zip codes
- Time and date of the weather forecast
- Temperature (in the chosen unit system)
- Weather forecast description
- Humidity levels
- Wind direction and speed
This data is invaluable for anyone needing detailed weather information for specific locations.
How to use Weather Scraper
To get started with Weather Scraper, follow these detailed steps:
Step 1. Find the Weather Scraper
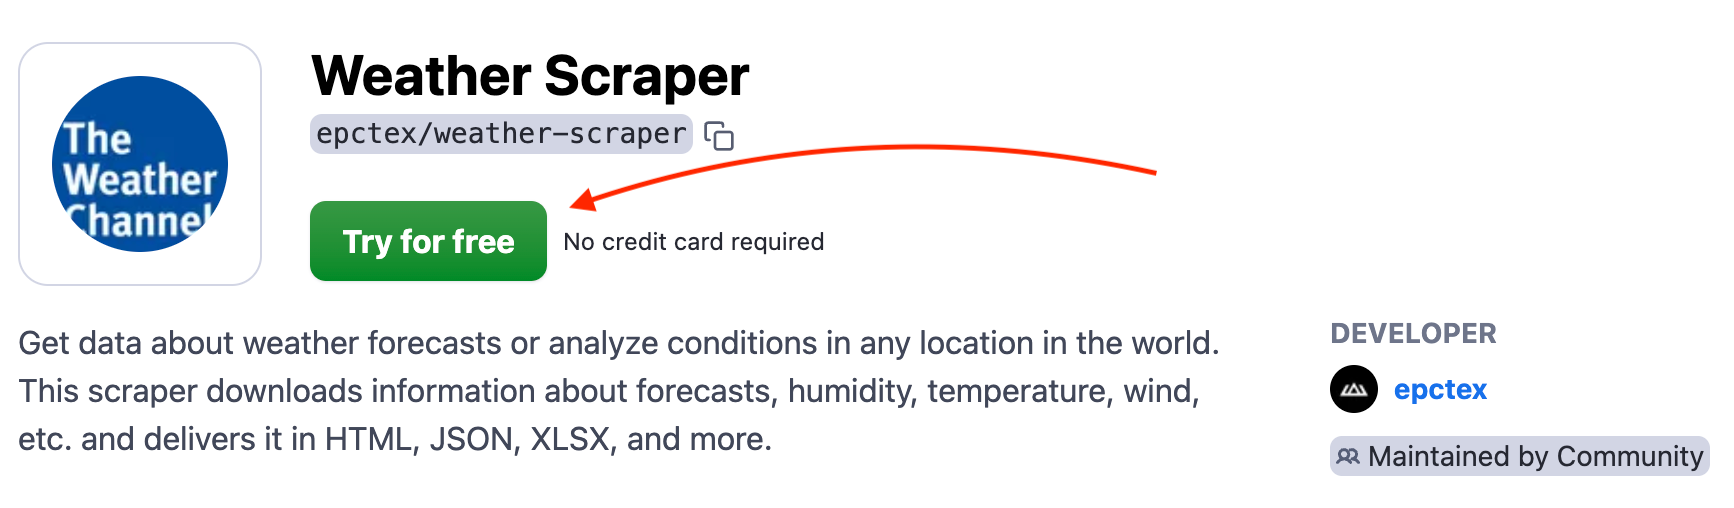
First, visit the Weather Scraper page in Apify Store. Here you'll find an overview of the Actor, including its features and how it works. Click on the Try for free button to proceed to the Apify Console, where you'll run the Actor.
Step 2. Configure the input settings
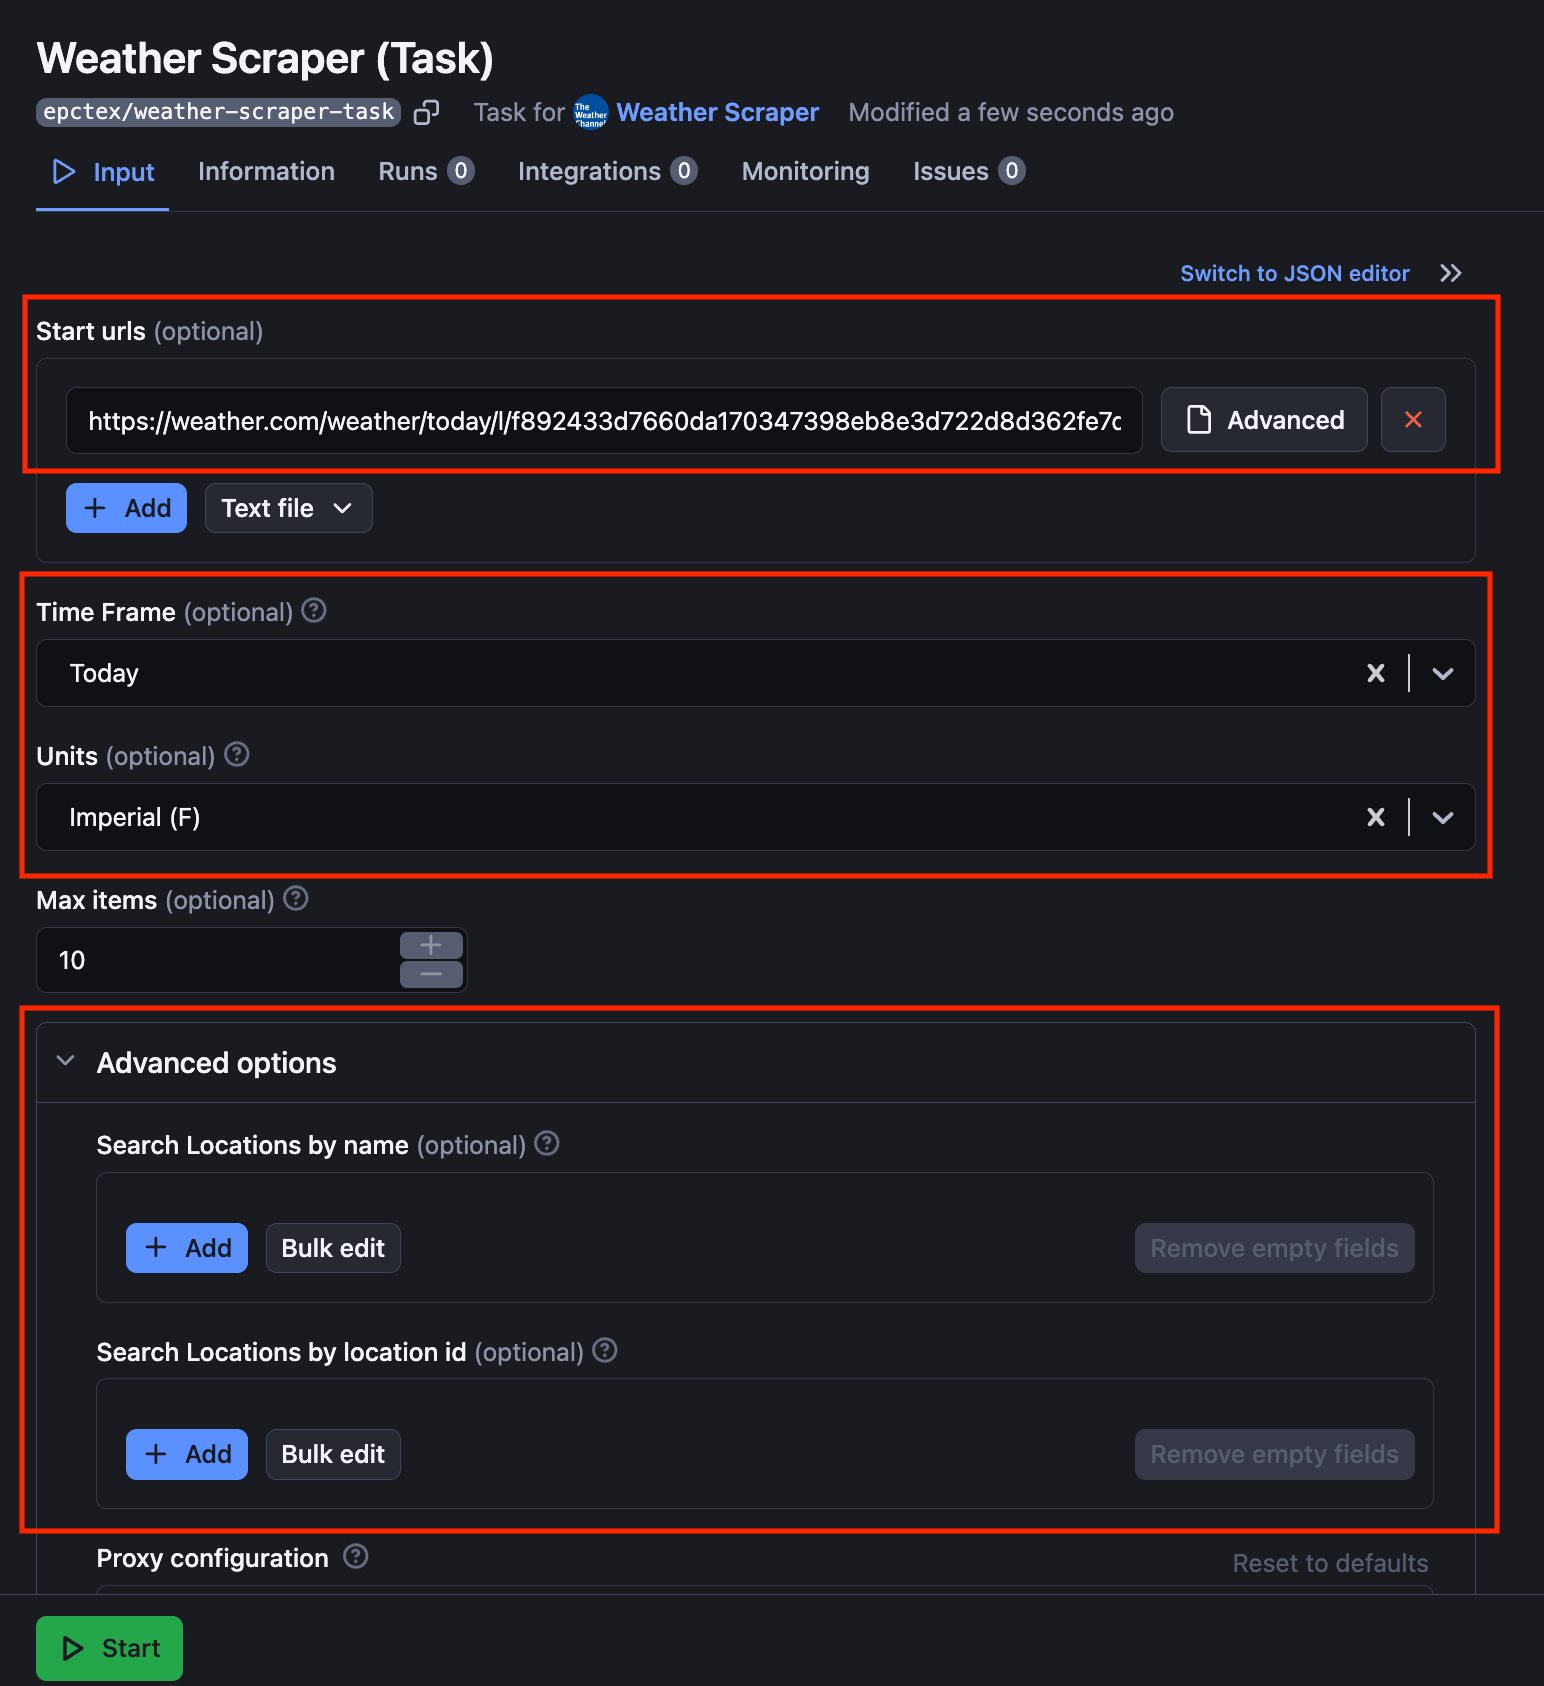
In the Apify Console, you'll be presented with an input schema form where you can configure the Actor's settings. Here's what you need to specify:
startUrls: These are the URLs from Weather.com that you want to scrape. You can add multiple URLs for different locations.units: Choose between the metric or imperial systems for temperature and wind speed measurements.timeFrame: Select the forecast period you're interested in, such as "today", "hour_by_hour", "ten_day", "weekend", or "month".locations: Enter a list of place names for which you want to get weather data.locationIds: These are specific identifiers for locations on Weather.com, which can be used instead of URLs.
Step 3. Start the Scraper
After filling in the input settings, click the Start button to initiate the scraping process. The Actor will start processing the URLs and collecting data according to your specifications.
Step 4. Monitor the run
You can monitor the progress of the Actor in real time. The Apify Console provides a log where you can see the Actor's output and any potential errors that occur during the run.
Step 5. Access the output
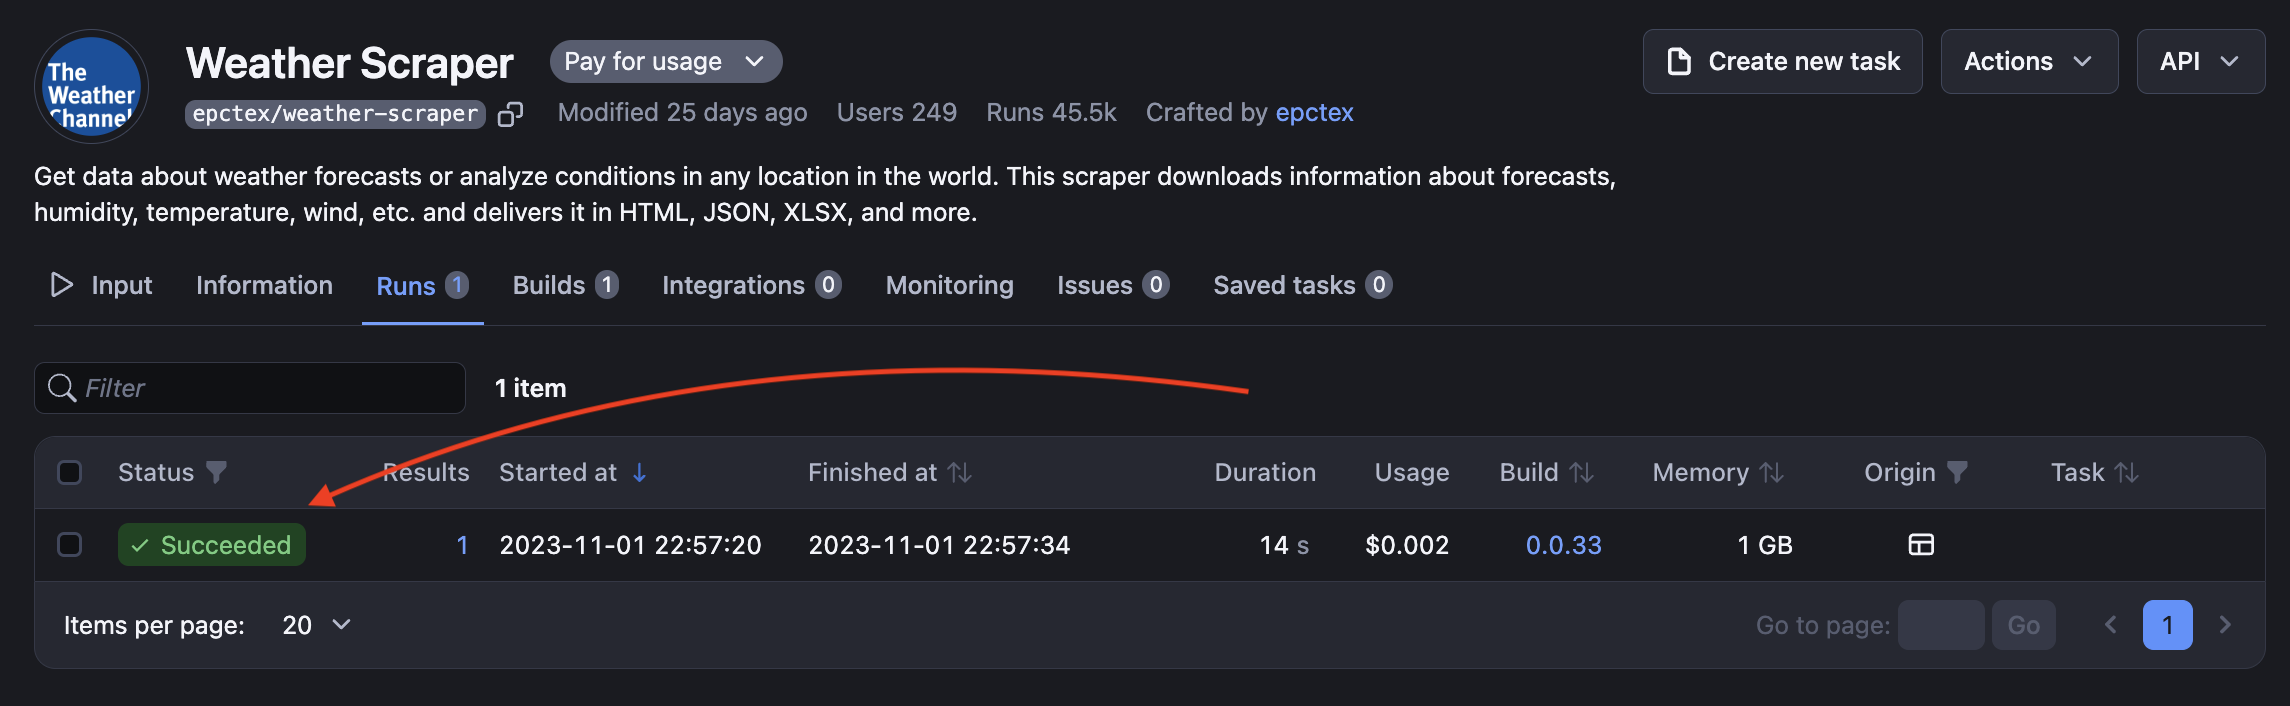
Once the Actor has finished running, the extracted data will be available in the Apify dataset. You can preview the data in the console or download it in various formats, such as JSON, CSV, or Excel.
Step 6. Download your data
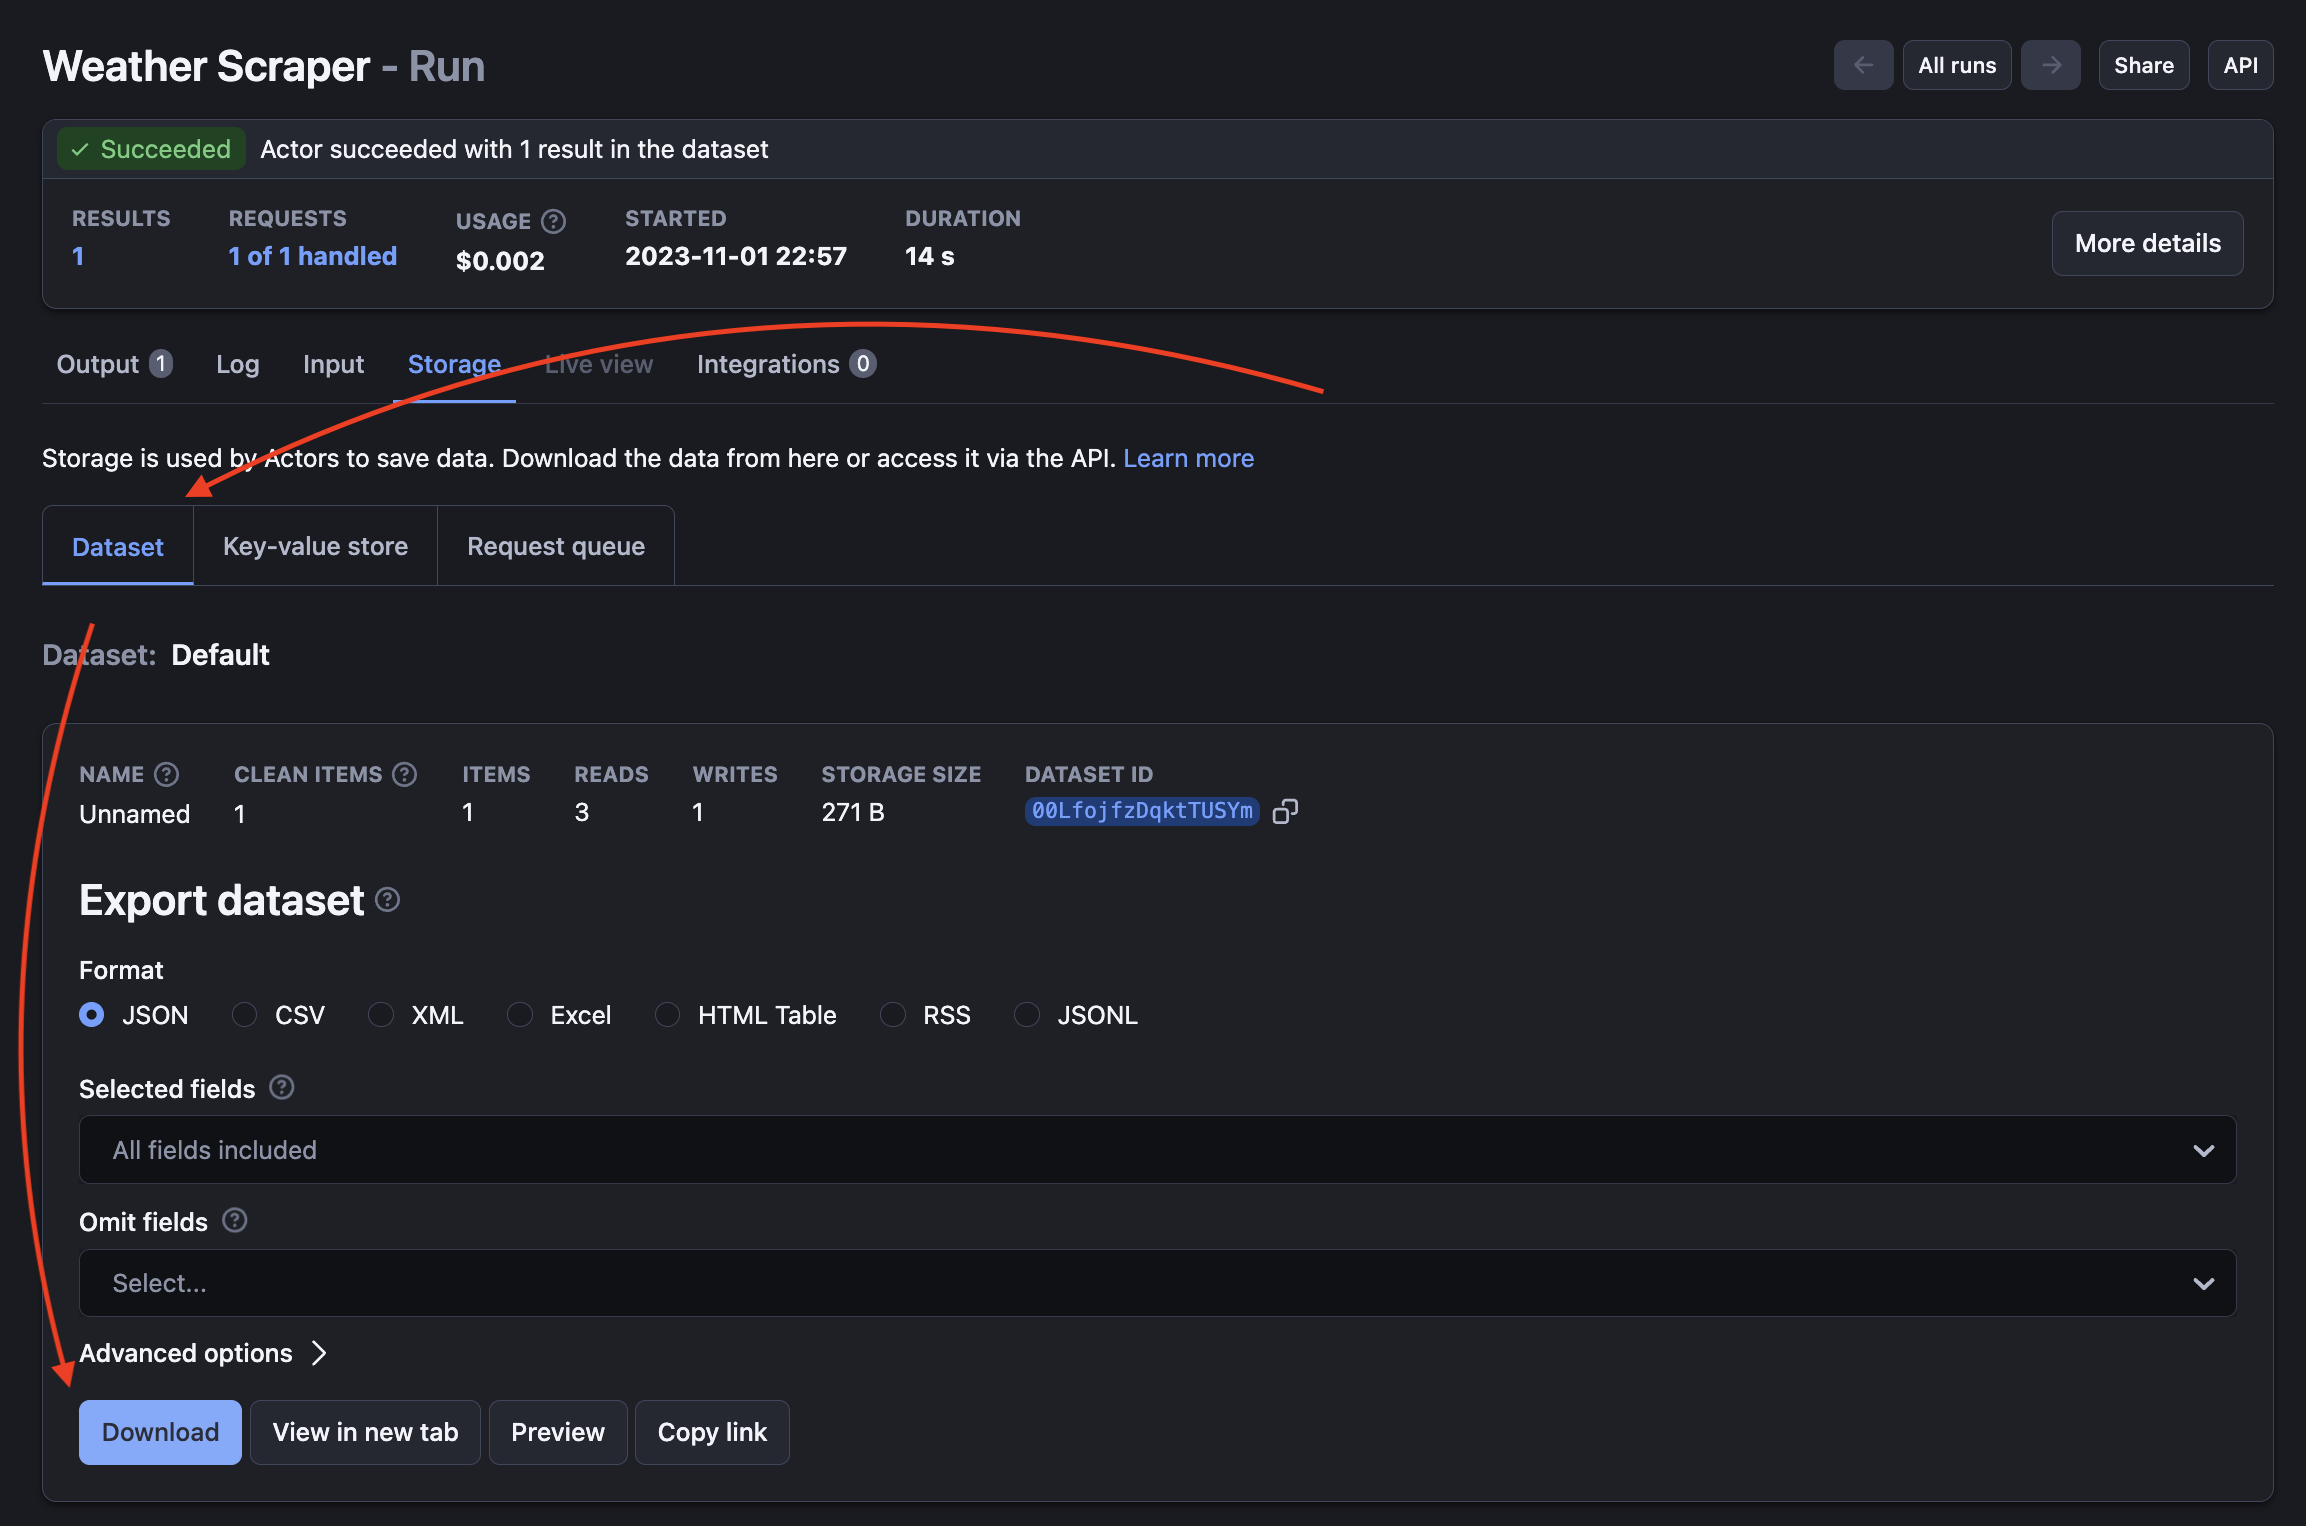
To download the data, navigate to the Storage -> Dataset tab in the Apify Console. Here you can choose the format that suits your needs and download the dataset to your local machine.
Advanced configuration and tips
For more advanced users, Weather Scraper offers additional configuration options:
proxyConfiguration: Use this to set up proxy settings if you need to scrape from a specific geographical location.maxItems: Limit the number of items scraped to stay within a budget or to comply with rate limits.extendOutputFunction: Customize the output by writing a JavaScript function to return additional data or to format the data differently.customMapFunction: Implement this function to transform the results from the page function before they are saved to the dataset. This allows for custom post-processing of data.
What are the most frequent use cases of Weather Scraper?

Weather Scraper can be used in a variety of scenarios, including:
- Mobile and web applications that provide weather updates
- Travel agencies offering advice on the best time to visit destinations
- Agricultural planning and monitoring
- Event planning, especially for outdoor events
- Academic research on climate patterns and trends
FAQ
Are there any limitations?
Yes, the Actor has limitations based on the Apify platform's usage limits and the terms of service of Weather.com. Always ensure that your use of the Actor complies with these terms.
Can I integrate this tool into my existing project or with other tools?
Absolutely. The output from Weather Scraper is in a structured format that can be easily integrated into databases and applications, or used in conjunction with other data processing tools.
Can I use this tool to get historical weather data?
Weather Scraper is designed for current and forecasted weather data. For historical data, you would need to use a different tool or service that provides access to past weather records.
How can I pass location input?
In the input section, you have the option to input the `locations`` parameter, which is a list of addresses you wish to scrape. The data scraped corresponds to the first result displayed in the search box on weather.com. To obtain more accurate results (although not always guaranteed), it's advisable to provide both the city and country names, like 'Paris, France' or 'Vienna, Austria.'
I want a specific location which is hard to describe. How can I pass this location into the input?
For specific locations, you can utilize the 'locationIds' parameter. A location ID is a unique identifier used by weather.com to distinguish individual locations. You can find it in the URL of a place, as it's the last parameter in the path. Here are a couple of examples:
- For New York, NY, with the URL: https://weather.com/cs-CZ/weather/tenday/l/f892433d7660da170347398eb8e3d722d8d362fe7dd15af16ce88324e1b96e70, the location ID is: f892433d7660da170347398eb8e3d722d8d362fe7dd15af16ce88324e1b96e70.
- For London, England, with the URL: https://weather.com/en-UK/weather/today/l/7517a52d4d1815e639ae1001edb8c5fda2264ea579095b0f28f55c059599e074, the location ID is: 7517a52d4d1815e639ae1001edb8c5fda2264ea579095b0f28f55c059599e074.
By following this guide, you should now be able to set up and use Weather Scraper to automate the collection of weather data. Remember to respect the terms of service for Weather.com and to use the data responsibly. Whether for personal use, business applications, or research, Weather Scraper is a robust tool that simplifies the task of weather data extraction.